Recursos genéricos
Conecte-se
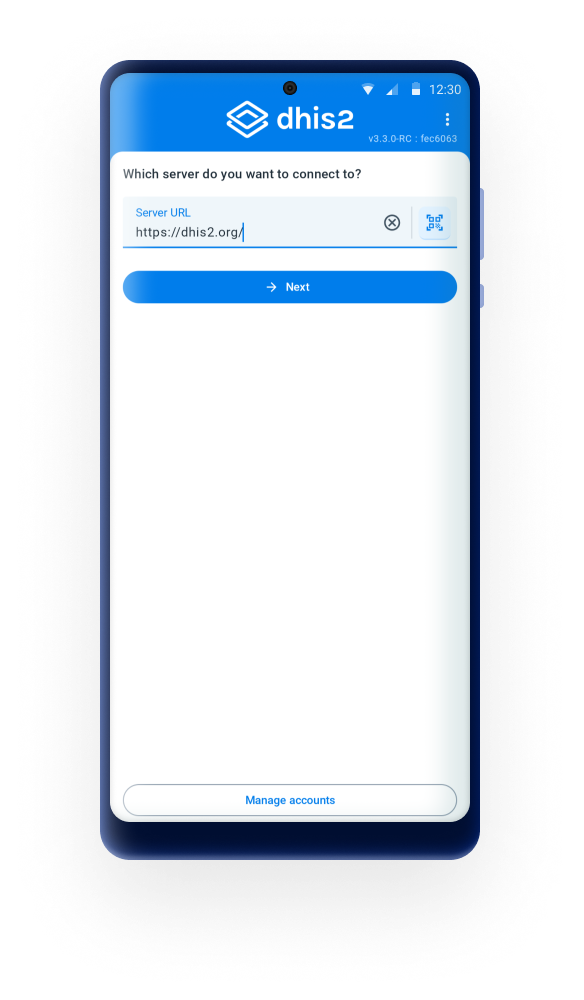
In version 3.3.0 the login screen was redesigned with a modern interface and improved usability in order to support future OAuth-based two-factor authentication (2FA), ensuring the app is ready for upcoming security improvements.
The first step to the login is to enter the server URL. This can be done in two ways:
-
Manual: The user must type the corresponding URL of the server to be used
Note
Take note that login is only possible with servers from version 2.29.
-
QR: The user can use a QR code instead of typing the URL but username and password must be entered manually.

The second step is to add the username and password.

Note
- After a succesful login the DHIS2 Android App will keep these values cached (URL and username) and will suggest them for future connections without having to type them.
After a succesful login the user should be able to perform an offline login only (only avaialble for the last combination of URL/Username). Offline usage gives the possiblity of using the application withou any type of connectivity. All data will still be stored and user can perform a synchornization once the connection is restablished or avaialble.
Warning
In DHIS2 versions up to 2.30 if a user attemps an on-line login and their account has been disabled as explained in the DHIS 2 Manual - Disable User all the data will be wiped from the phone. Make sure that before disabling a user all the data has been synced or that you are using this feature to remotely wipe sensitive data in case of a device getting lost.
Due to a change in the login API this feature is not available from 2.31.
Offline Multi-user
The Manage Accounts screen has been redesigned to align with the updated login experience introduced in version 3.3.0. Saved accounts now appear as clearer, more structured cards that display key information retrieved from each DHIS2 instance. Each card now includes:
- Application title (as configured in System Settings → Appearance)
- Server URL
- Nome do utilizador
- Country flag, when configured in System Settings
This redesign improves readability, makes it easier to distinguish between multiple saved accounts, and ensures visual consistency with the new authentication flow.
The users will need to have access to the internet for the first login of each account and will be able to switch accounts after without requiring access to the Internet.

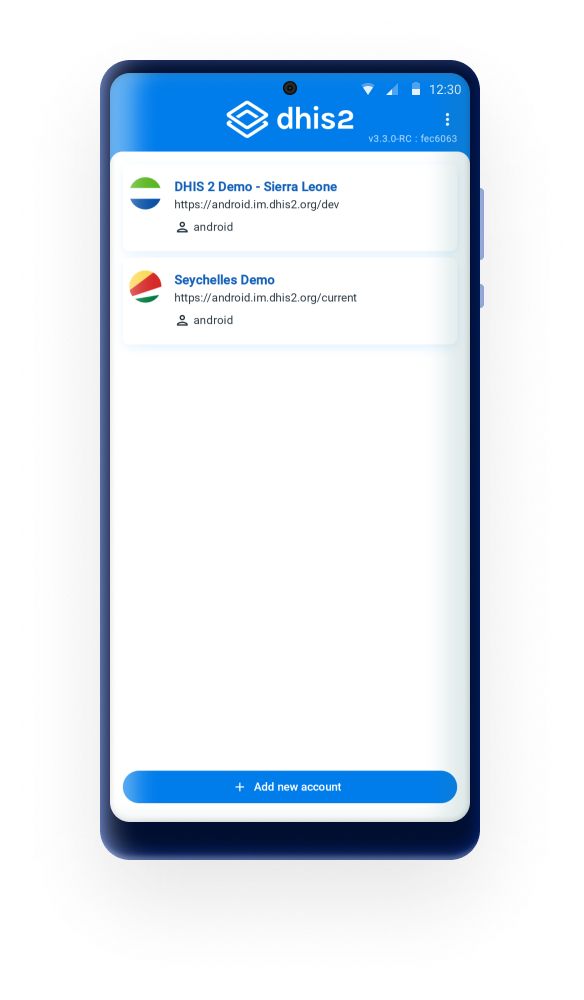
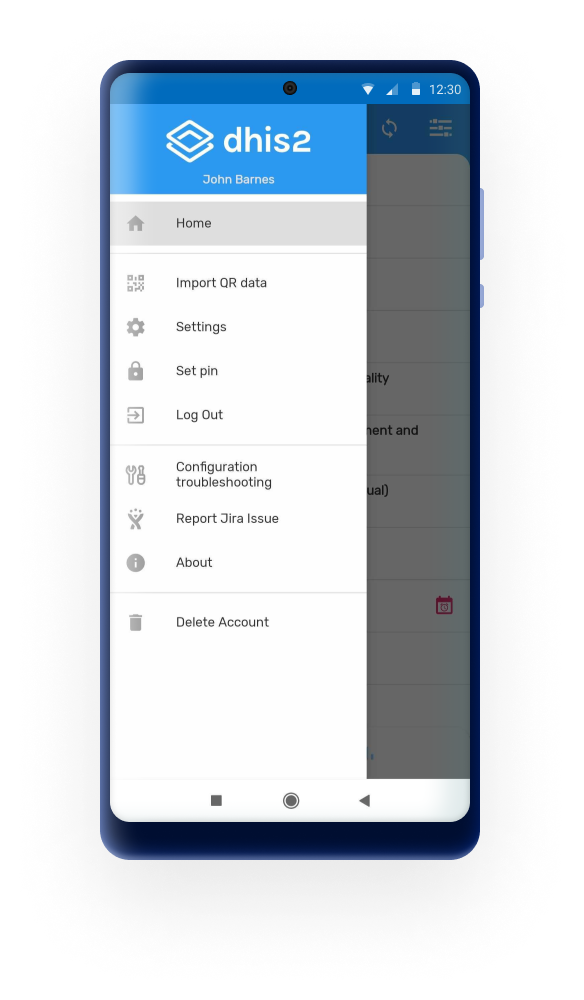
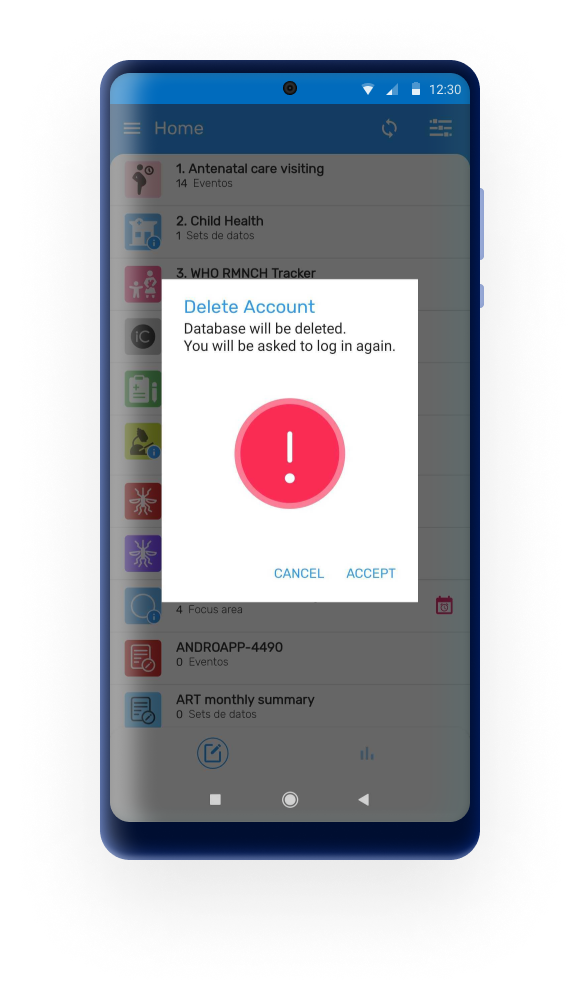
The users will be able to manage the user accounts and delete accounts if needed.
Recuperação de conta
Os usuários poderão restaurar suas próprias senhas se tiverem a configuração habilitada: Recuperação de conta de utilizador habilitada.

Blocking session (PIN) (Improved 3.4.0)
User is able to lock the session using a 4 digit PIN. This allows to move to other apps in your phone without deleting the local data.
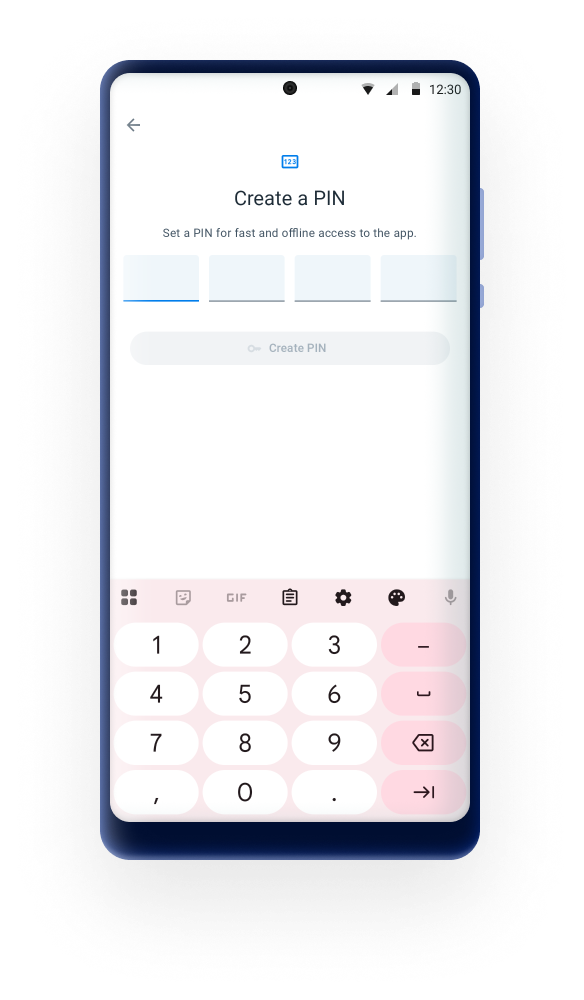
If the user forgets the PIN number, log in by entering the credentials is also available. After 3 invalid attempts, the app will ask the user to login using the password.

Biometrics login
User is able to use the fingerprint scanner or face id if the feature is activated in the device. This will only be available if there is only one account (not supported for multple accounts)
- Quando o leitor de impressão digital está ativado e não o PIN, toda vez que o aplicativo fecha, vai para segundo plano ou o dispositivo é bloqueado, a sessão será bloqueada. Assim que o aplicativo for aberto novamente, o utilizador precisa tocar no ícone da impressão digital para ativar o scanner.
- Se o PIN e a impressão digital estiverem definidos, quando a sessão for bloqueada e o utilizador abrir o aplicativo novamente, o PIN será solicitado.

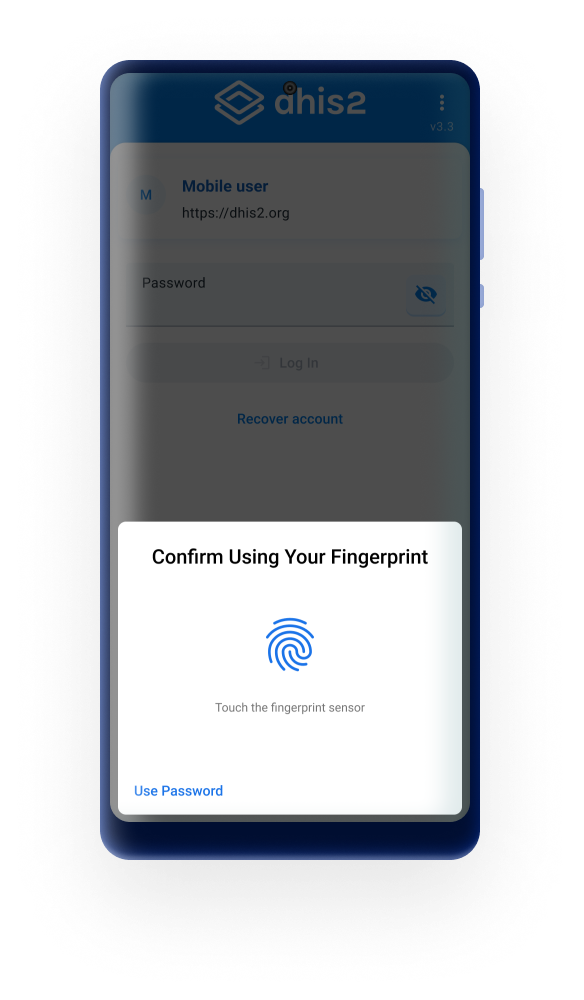
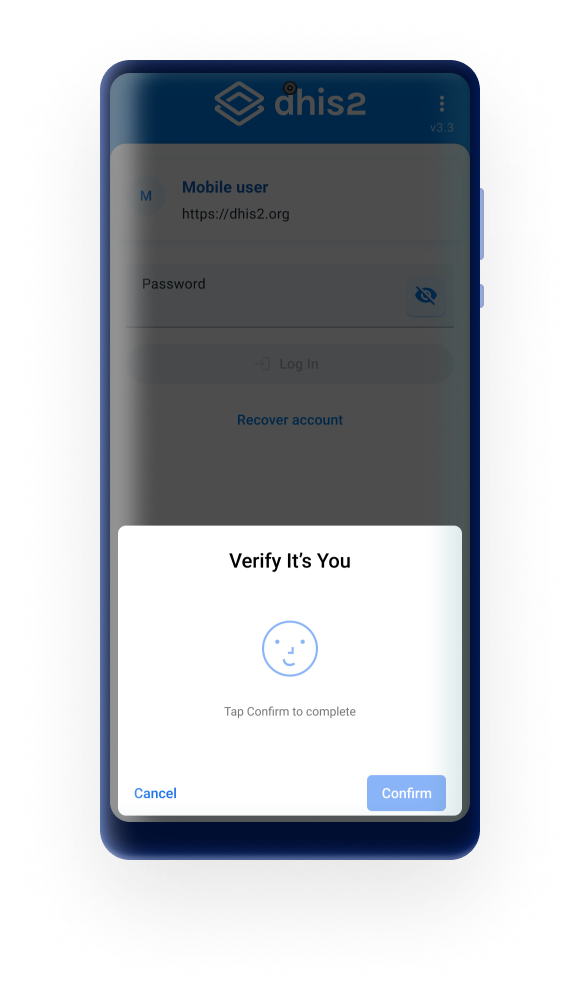
If the biomtric authentication fails, the user will be asked to enter password to finish the login process.

Botões de instruções / informações
A contextual guide is available in TEI dashboard screen.
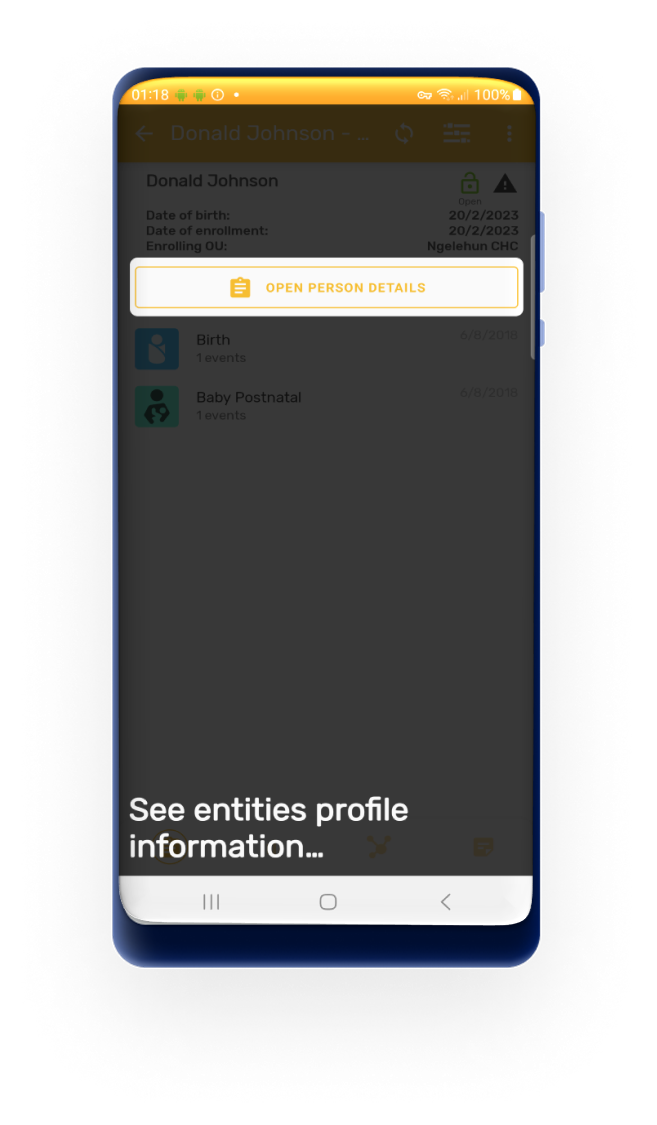
** Dica **
O utilizador pode reabrir as instruções clicando nos três pontos no canto superior direito da tela.
Filtro
A filter can be applied in all listing screens (home, event listing, tei search and dataSets) which narrows down the data displayed. The filters available are: period, org. unit, sync state, event status, category option combination and "assigned to me".


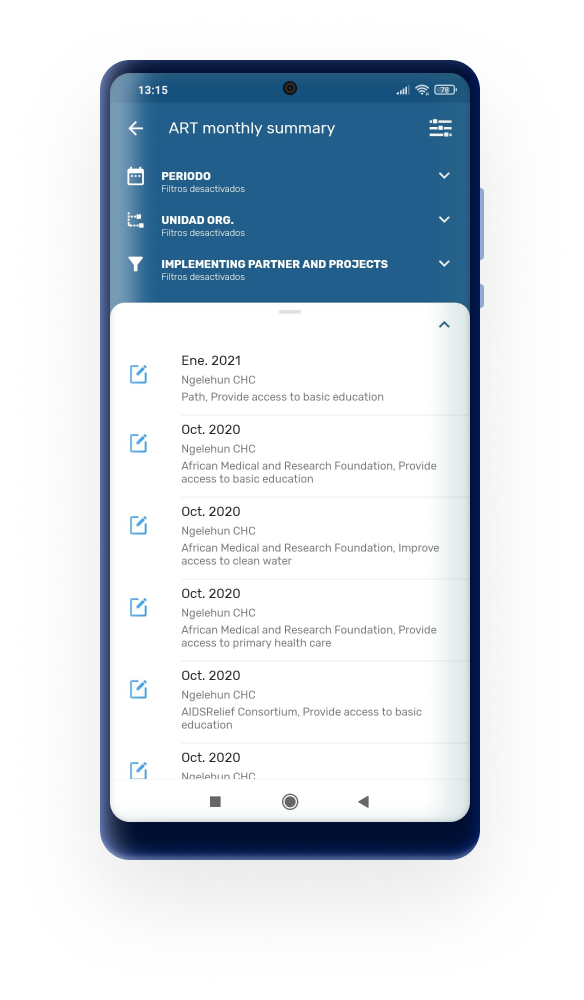
Filters will adapt to the different programs and data sets.
- Program without registration: Date, Org. Unit, Sync State, Event Status and, Category Combination.
- Program with registration: Event Date, Date of enrollment, Org. Unit, Sync, Enrollment Status, Event Status and Assigned to me. The filter icon will show only if a list of events is available (Display front page list feature or search)
- Data Sets: Period, Org. Unit, and Sync State.
Assigned to me
É possível filtrar eventos com base em sua atribuição ao utilizador atual. O filtro “Atribuído a mim” foi adicionado à lista de programa de evento único, à lista TEI e ao painel TEI e às visualizações do mapa. Ele só será exibido quando o programa ativo estiver configurado para atribuir eventos aos utilizadores.
Note The Android app can only filter and display events by their existing assignment. Assigning or reassigning a user to an event must be done from the web Capture app or Tracker Capture app — this is not currently supported within the Android app itself.
Event Date/Date/Period
Filter the Events, TEIs(based on their events) and data sets, the following periods of time are availables: - Today - This week - This month - Yesterday - Last week - Last month - Tomorrow - Next week - Next month - From-to - Other (Opens a date picker) - Anytime
Org. Unit
Allows the user to type the search or select an organisation unit from the tree. The filter will not be visible if the user has only one Organisation Unit configured.
Sync
Filer by: - Synced (events, TEIs, Data Sets) - Not Synced - Sync Error - SMS Synced
Event Status
Filter the events by: - Abrir - Schedule - Overdue - Concluído - Skipped
Multiple status selection is permited. Once you open a TEI, the filter will be kept in the dashboard and show only the events with the selected status.
Events shown are up to 5 years old.
Date of Enrollment
The 'Date of Enrollment' will apply to the Enrollment date of the TEI in the program. If there is more than one enrollment date, it should sort the results by the most recent one. The label of this filter will display when available.
Enrollment Status
The filter 'Enrollment status' offers three options: Active, Completed, Cancelled. Only one option can be selected at time. If you filter by "completed" and the TEI has more than one enrollment, the app will open the "active" enrollment. To see the completed one, select the three dot menu at the top right corner of the dashboard and select "program enrollments".
Follow-Up
The 'Follow Up' filter allowes the user to filter out the TEIs that have been marked as 'Follow-up'. TEIs can be marked to be followed up in the TEI Dashbaord.
Filtering added in TEI Dashboard:
Filtros foram adicionados ao painel TEI. É possível filtrar os eventos de um registro de Instância de Entidade Rastreada por período, unidade de organização, status de sincronização, status de evento e atribuição de utilizador.

Ordenação
Sorting has been integrated in the filter menu.
The sorting button will be on the filter bars with the following behavior: - Apenas uma classificação se aplica por vez. Se o utilizador clicar em um diferente, o anterior será desabilitado. - The icon for applied sorting shows it is active, the others are inactive.
- Repeated clicks keep changing the order to the reverse.
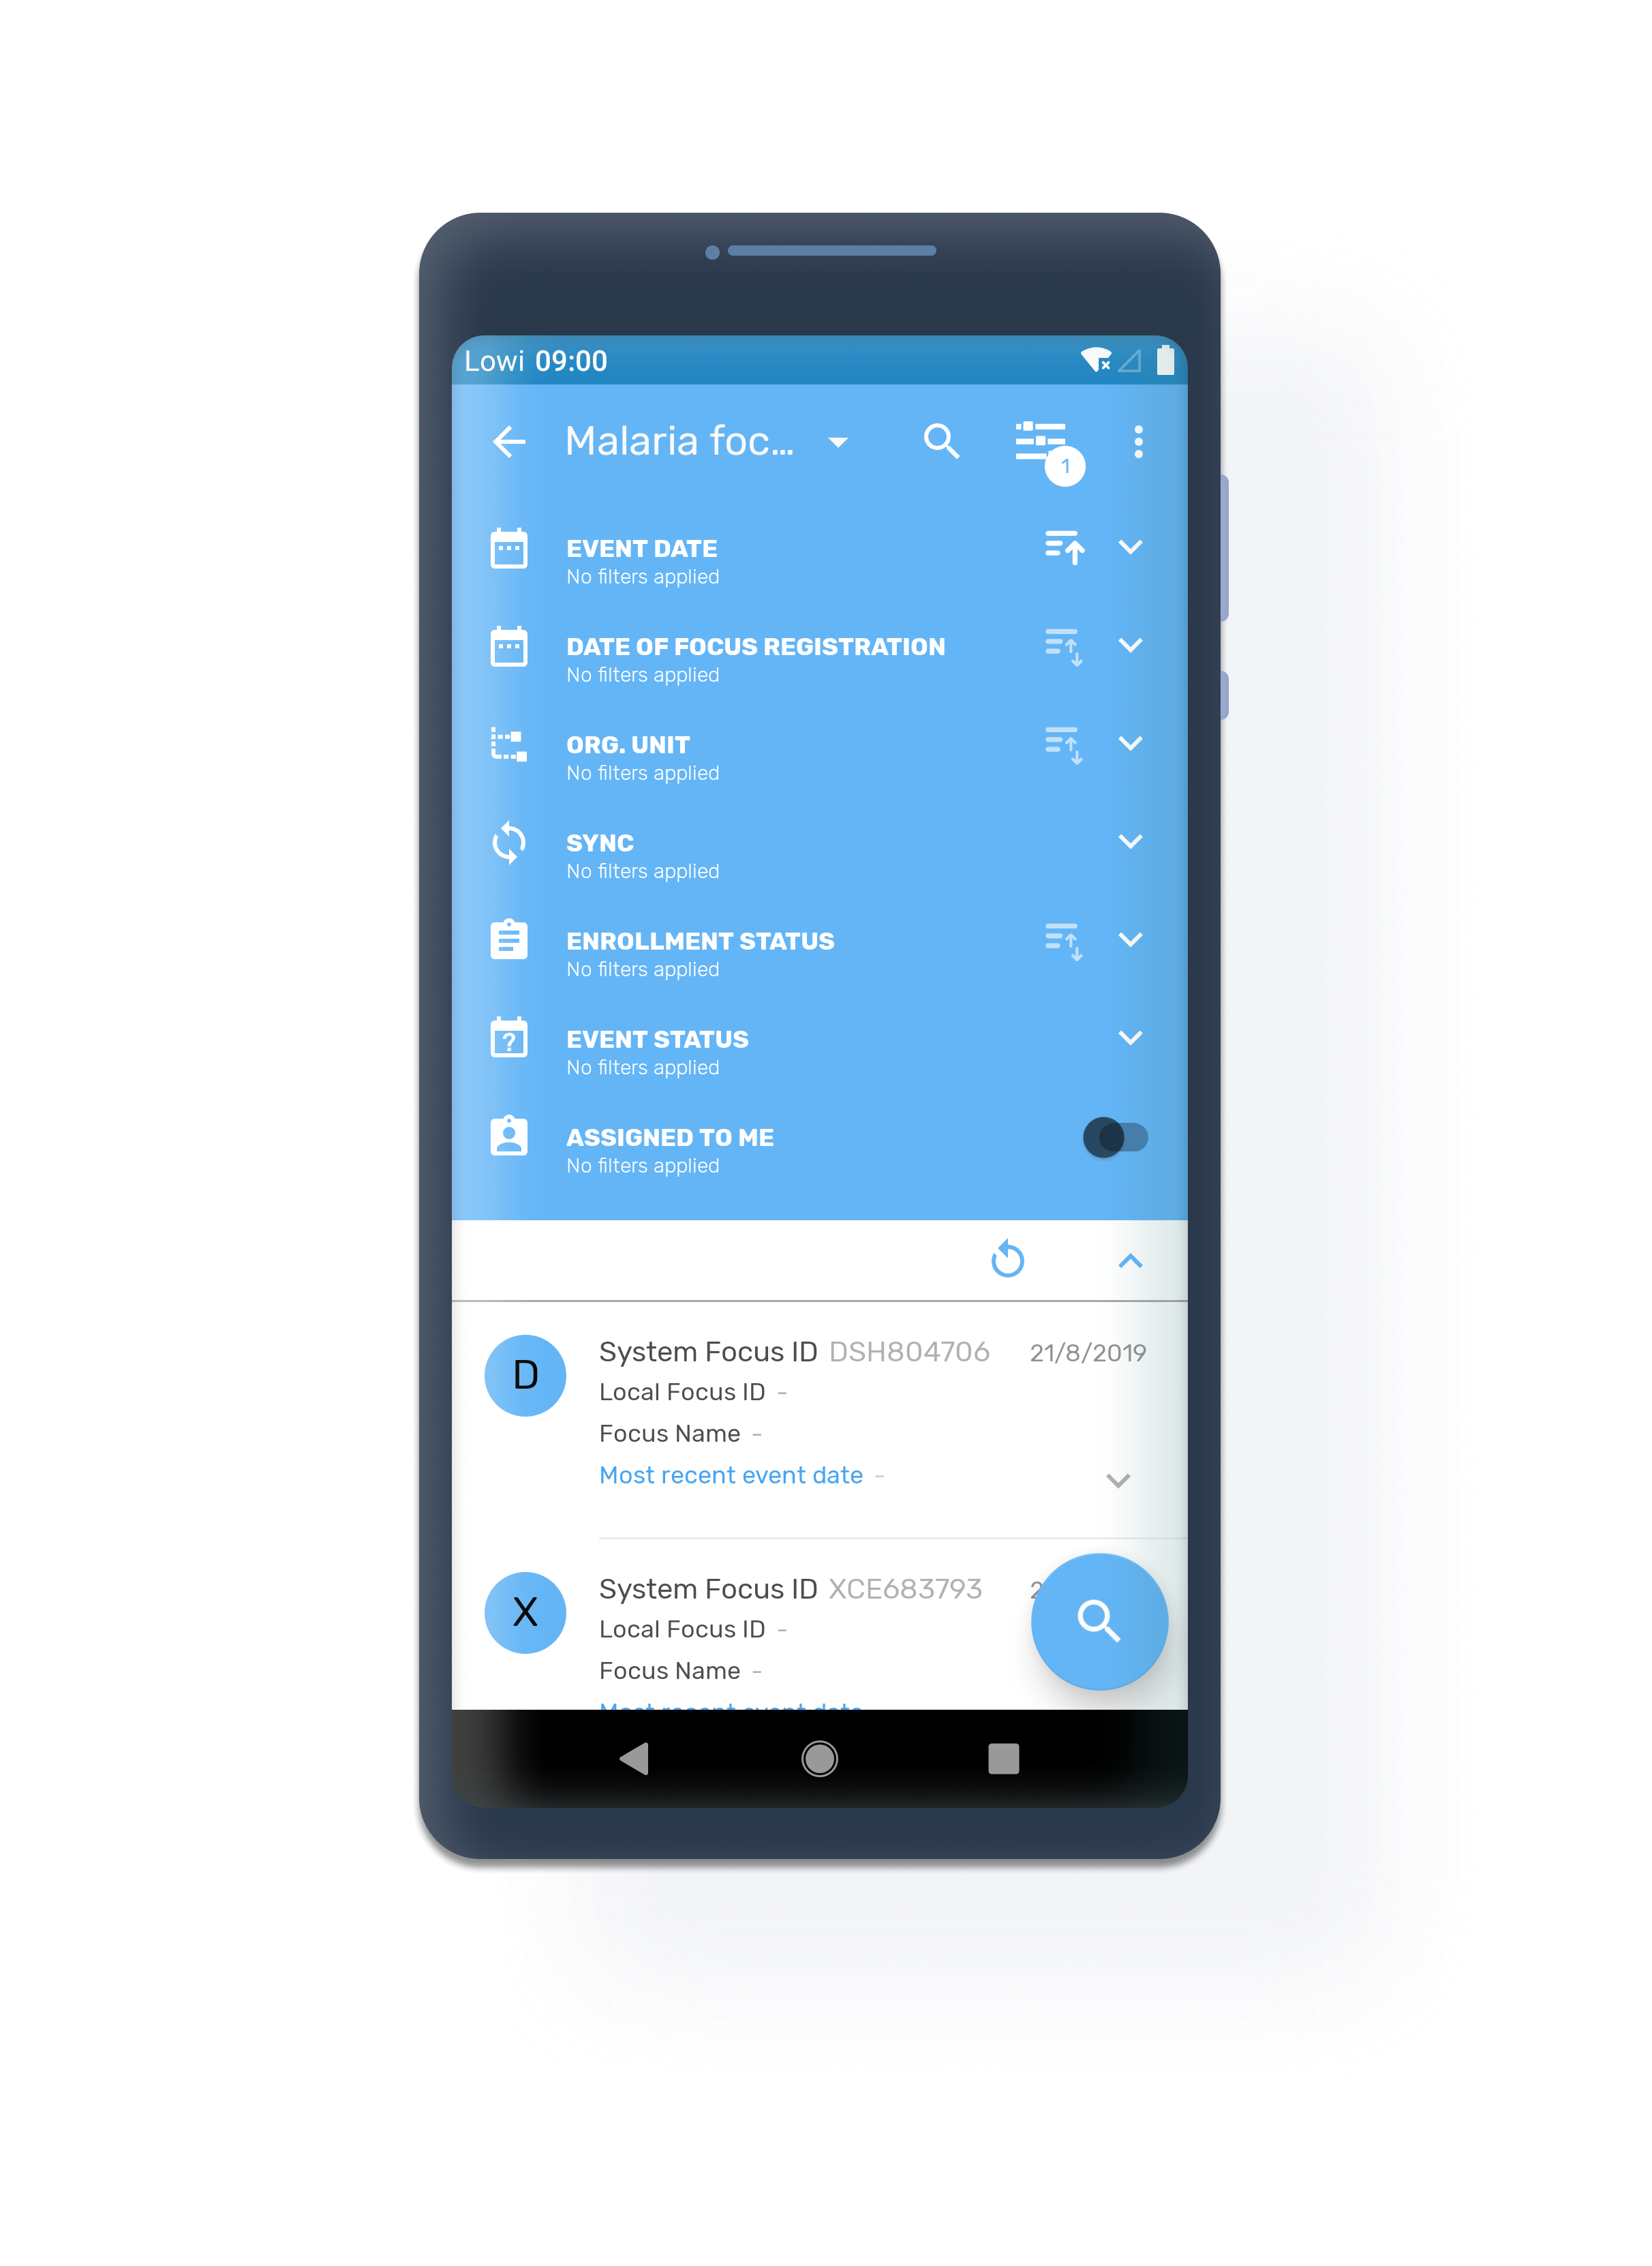
Dates (Period, Date, Event Date or Enrollment Date)
- Event Date preceds due date, only use due date when there is no event date.
- Order from most recent to less recent. Future events (due date) goes first.
Org. Unit
- List will be sorted in alphabetical order by org unit name.
Enrollment Status
- List will be sorted in alphabetical order by status name.
Sync Information
Login Sync
During the metadata download, the app will remain in the splash screen and will open the home screen once the metadata is in the device.
In the home screen, the app will inform with a loading spinner on each program when the data is downloading. After the sync process finishes, the app will display one of the two possible icons:
- A green checkmark if the program downloads data successfully and without errors (the icon will disappear after three seconds) or,
- A gray arrow if there is an error during the sync process and the total or partial data isn't donwloaded
The user will be able to see how many programs are downloading data, or completed, making the waiting process more transparent and informative about its progress.
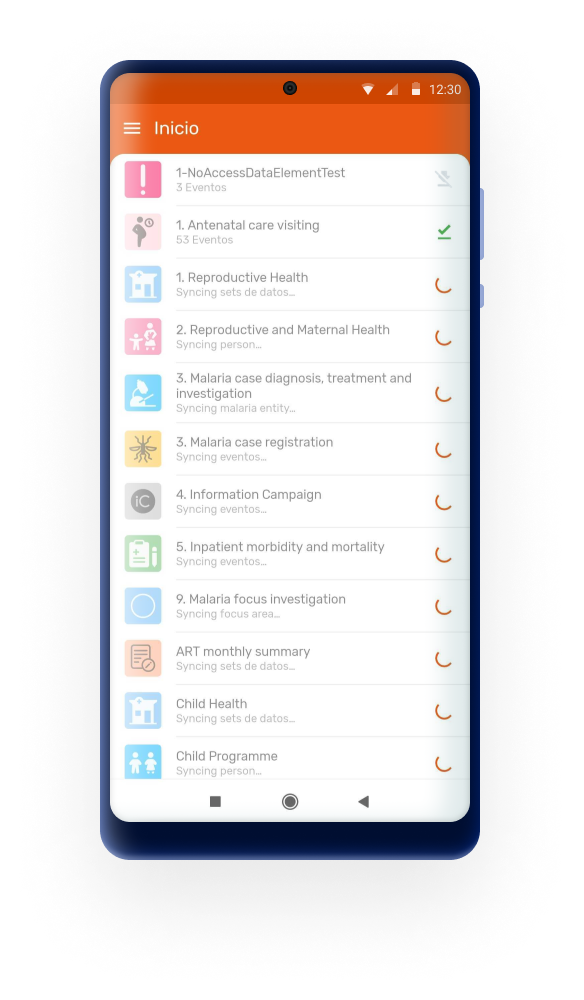
NOTE: All programs and data sets will be blocked until the sync process is fully finished.
Subsequent logins
The application will launch a sync process for data and metadata only for the first time the user logs in. In order to facilitate the work in the most difficult cases, the sync process have been removed for the subsequent logins. This means that when the user opens the app, it will open without performing a full sync even if the user logs out of the account.
If the user deletes the account, then the next login will launch the sync process.
Also, users have the option to sync with the server through the Refresh button any time they wish.
Sync Status
Next to each program or data set an icon will be displayed which allows the user to check sync information. Synced records will not show display any icon. Unsynced (grey arrows), error (red arrows), warning (orange) or SMS (blue and including the SMS word inside) icons are be displayed according to the status.


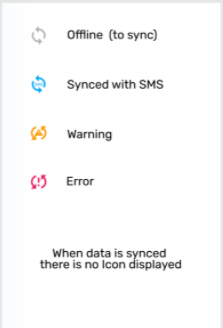
Granular Sync
Users can click on the grey arrows (which means record(s) stored online in the device) to perform a sync. These options are available at top level (programs/dataset) or individually (TEI, events, datavalues).
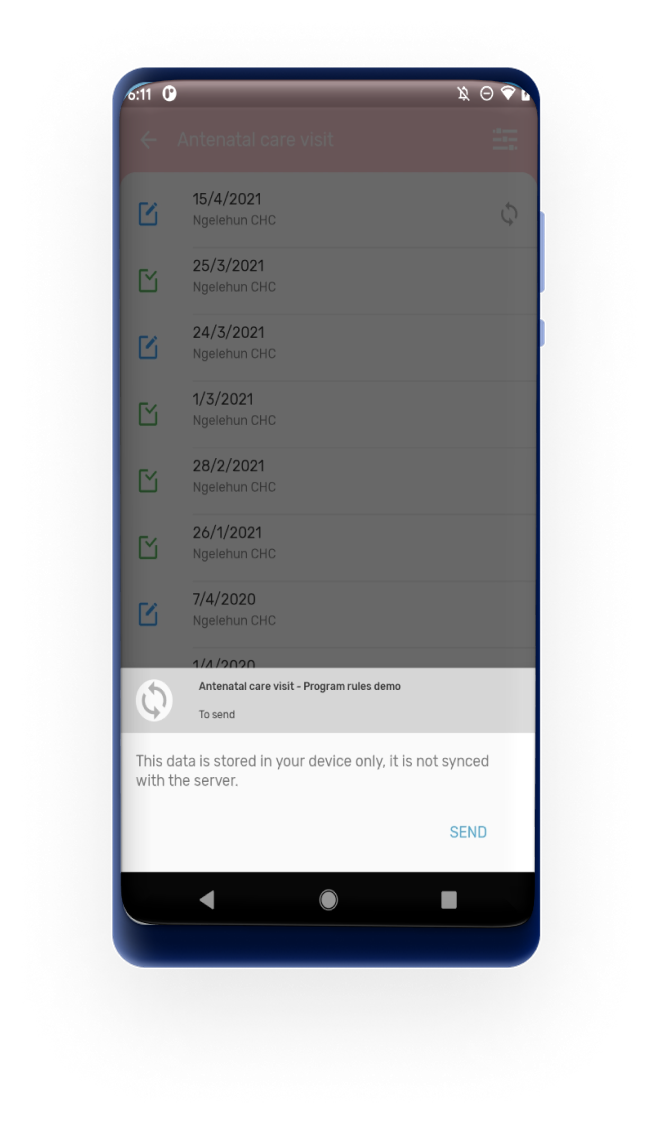

SMS Sync
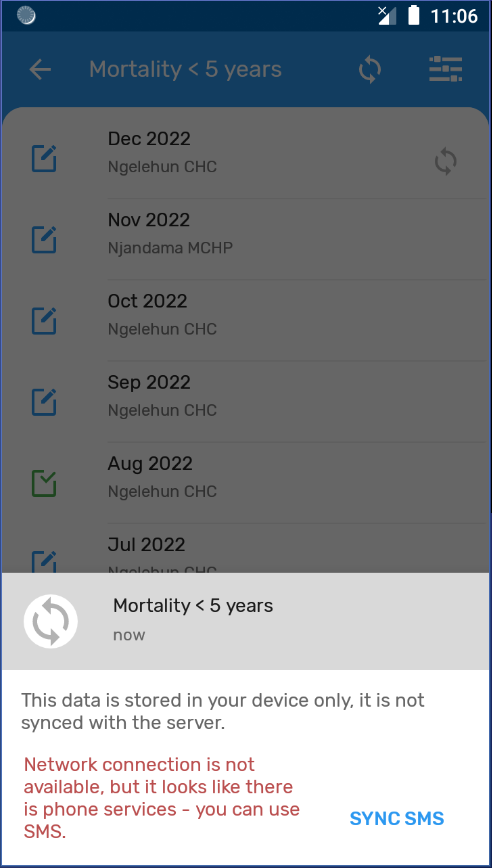
When there is no Internet conection (either via WiFi or Mobile Data) but there is still mobile conectivity, users can synchronize via SMS if the gateway has been previously established in the app and properly configured at server level.
If the app has been downloaded from Google Play users will have to send manually the SMS from their default SMS app (their default SMS application will open with the message composed). Users should send the message without modifying it and then switch back to the DHIS2 app to confirm that the message was sent.


However, if the app has been downloaded from Github (or the training version is being used) the App will just ask for a confirmation to send one or several messages (SMS) and will send them in the background (without opening the default SMS application).


Tip
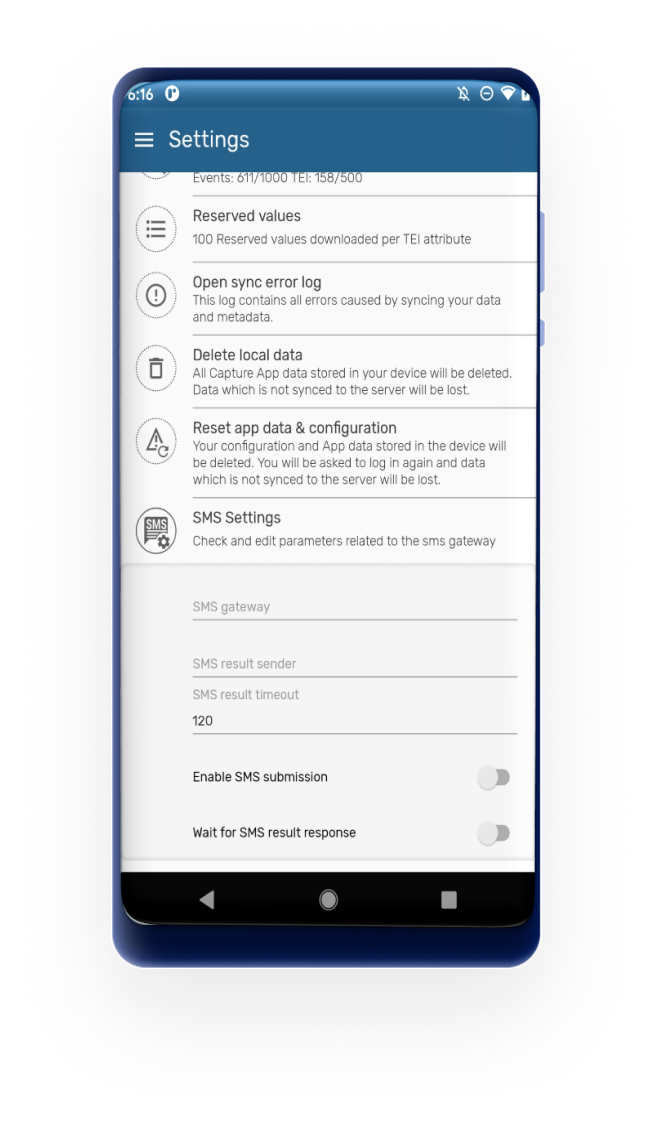
Edit parameters related to SMS gateway in the SMS Settings (Settings Menu) or set this globally via the #capture_app_android_settings_webapp_general
Note
Note that in order to user the SMS sync capabilities the SMS services needs to be enabled in the server side as described in the https://docs.dhis2.org/master/en/dhis2_user_manual_en/mobile.html#sms-service. You can also find more information on how to use different gateways in the https://docs.dhis2.org/master/en/dhis2_android_implementation_guideline/about-this-guide.html
Erro de sincronização de metadados
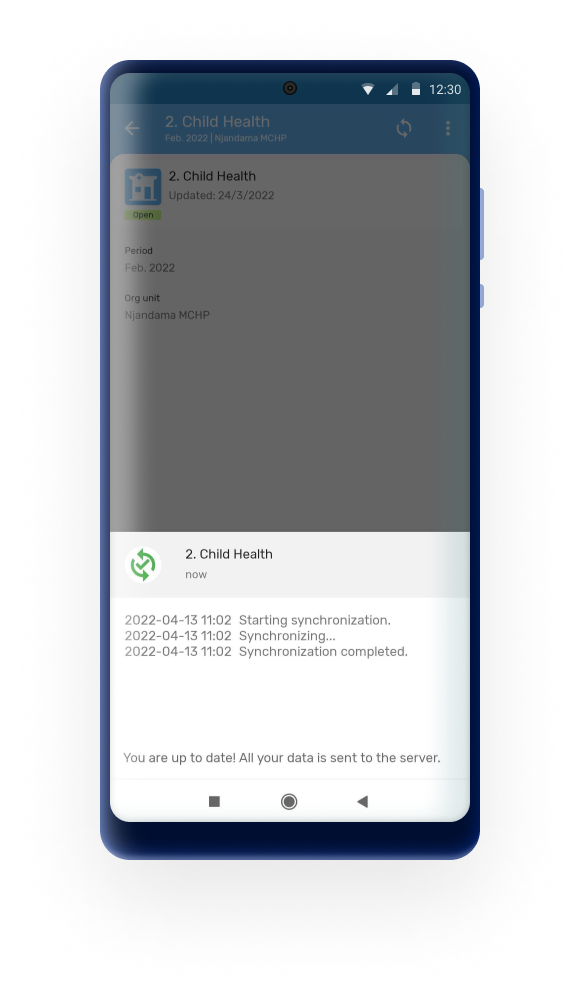
Em caso de erros durante o processo de sincronização, uma mensagem é exibida no menu de configurações (seção 'Sincronizar dados' ou 'Configuração de sincronização'). Além disso, um ícone de sincronização vermelho é exibido ao lado do programa na tela inicial. O log de erros de sincronização fornece detalhes sobre o erro e está preparado para ser compartilhado com os administradores.

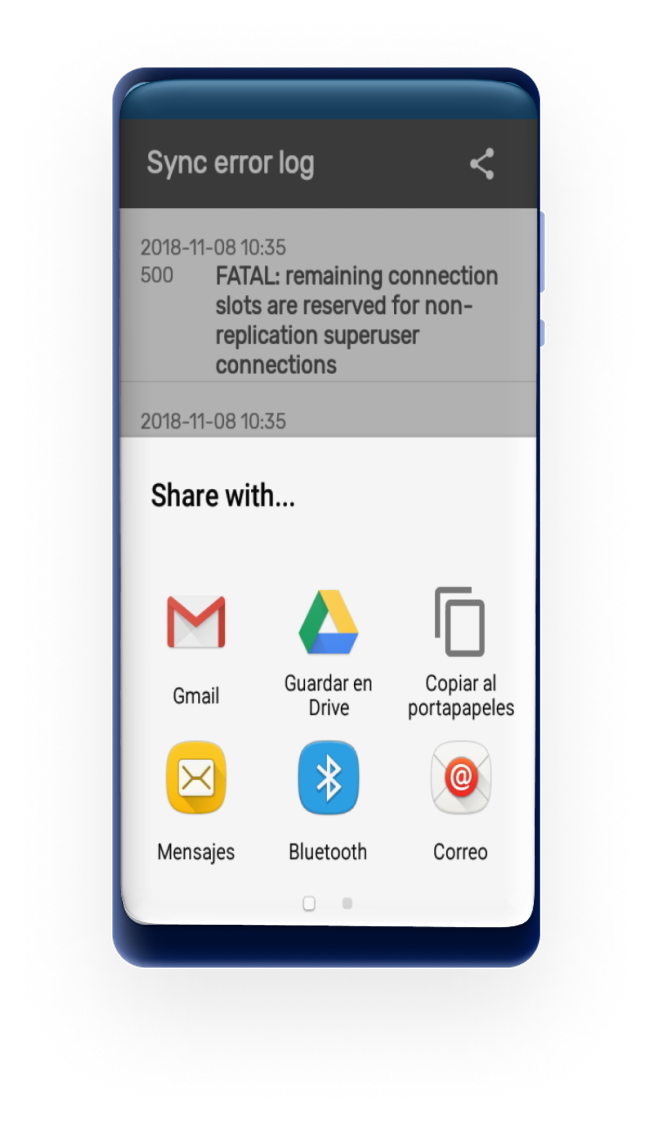
Você também pode abrir o registro de erros de sincronização em ** Configurações **:

Refresh data
Users can now retrieve the latest data from the server before entering new data. A refresh button is now located to trigger a granular synchronization in the following screens:
- Início
- Procurar
- Painel TEI
- Listagem do programa de eventos
- Detalhes do evento
- Listagem do conjunto de dados
- Detalhes do conjunto de dados


Unidade organizacional

The whole organisation unit tree is displayed. Organisation units not available for data entry will be colored in grey. User must check the box to select the org unit wanted. After an organisation unit is selected, the parents will be marked in bold to show hint of the organisation unit selection when opening the hierarchy.

** Cuidado **
Não se espera que usuários móveis acessem a organização. hierarquia de unidades de um país inteiro. O número máximo de unidades organizacionais é difícil de definir, pois o aplicativo não define o limite, mas sim os recursos do dispositivo (memória, processador). Poderíamos dizer que menos de 250 unidades organizacionais deve ser seguro, mas ainda acreditamos que é um número muito grande para um caso de uso móvel.
Conjunto de dados
O utilizador agora pode inserir dados agregados para uma Unidade de organização, um período e um conjunto de elementos de dados e enviá-los ao servidor.


Home
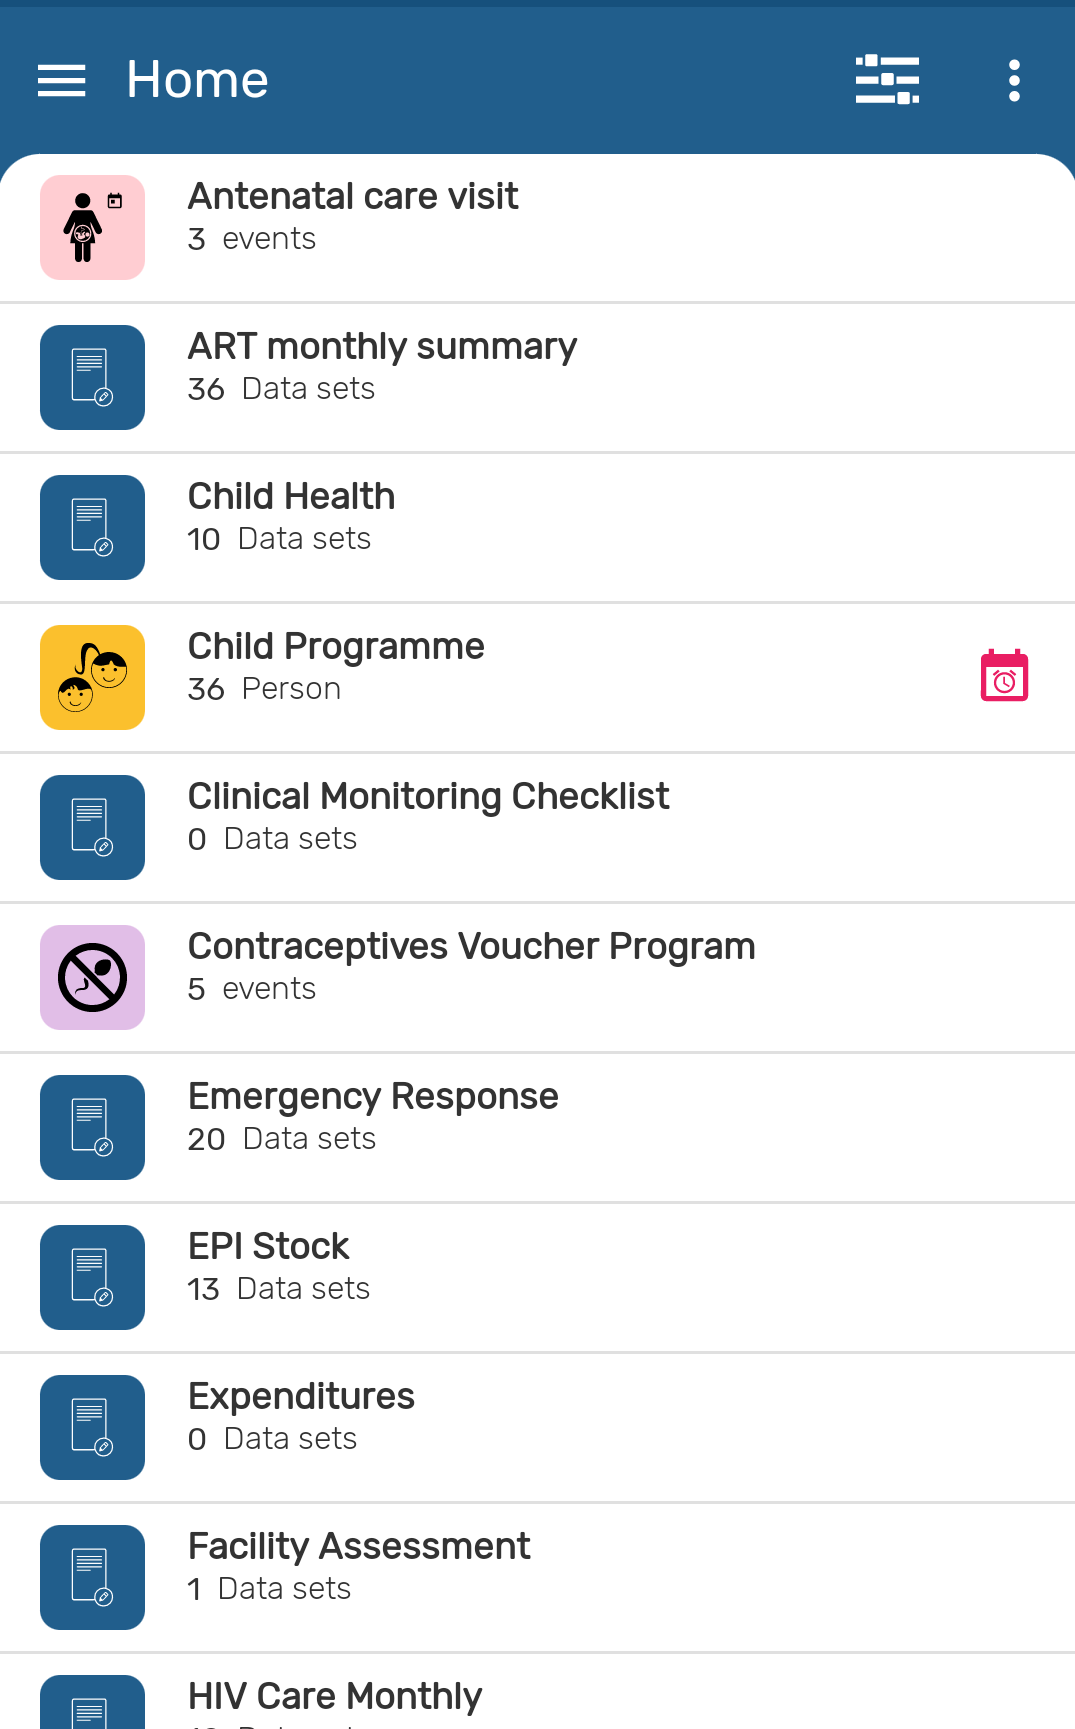
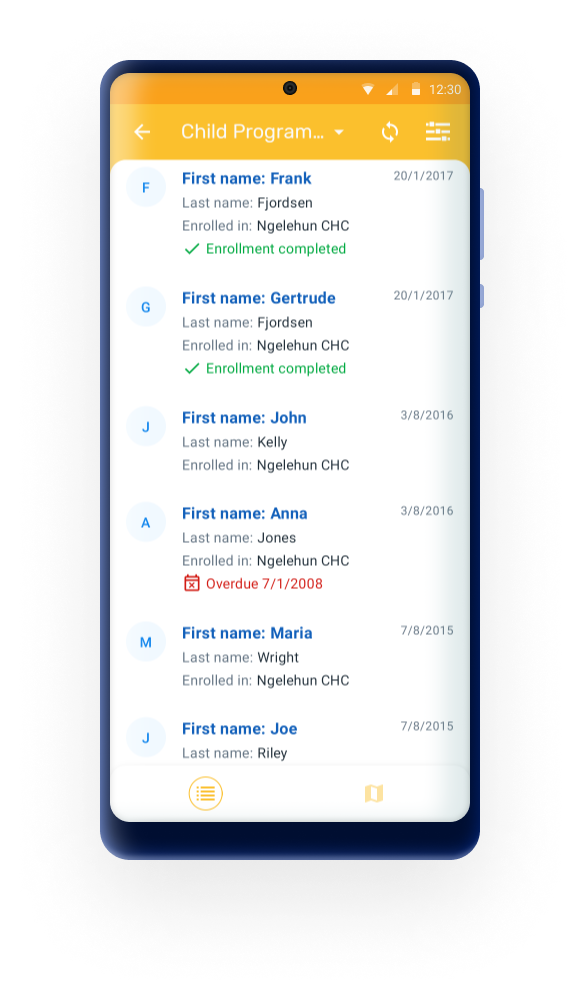
The home screen of the DHIS2 Android App shows the list of programs and data sets available for the user. The first thing the user does when collecting data in this case is to select the program or data set to work with.
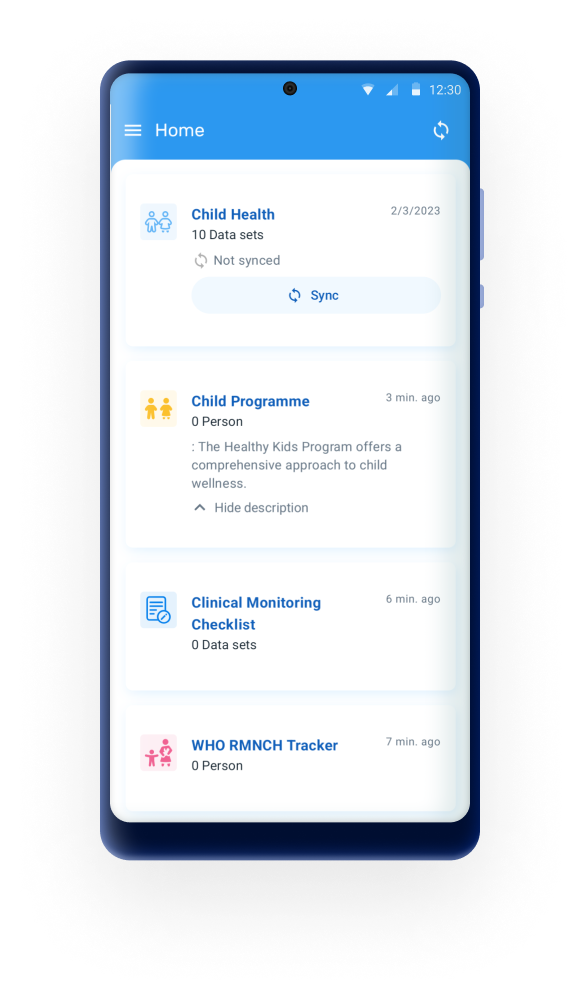
In 3.1.0, a new dynamic home screen that adapts to the number of programs (up to 4 programs) available has been implemented. This update replaces the old static list that didn’t adjust to the screen, providing a more responsive and user-friendly interface.The responsive design makes better use of screen real estate, providing a more engaging and functional home screen layout.

** Dica **
Uma maneira fácil de diferenciá-los é olhando para a palavra no canto esquerdo inferior. A palavra 'Evento' sempre estará nos programas de eventos. No rastreador aparecerá o nome do tipo de entidade rastreada (pessoa, paciente, prédio, etc.). Para conjuntos de dados, a palavra 'DataSets' será exibida ao lado do número de registros.
For those implementations where the users have access to only one program or dataset, the App will skip the home and will open directly the program or datasaset screen with the event, TEI or dataset list to reduce the number of clicks and streamline the process of data entry.
Compartilhando dados
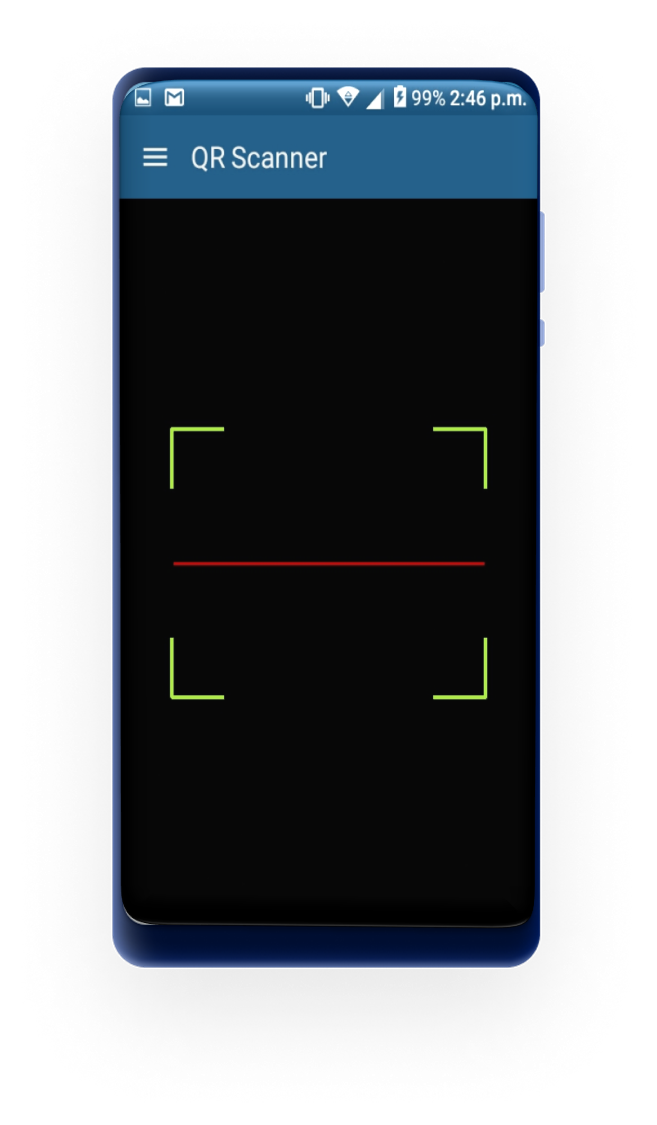
Users can share TEI via QR codes. This allows transferring/sharing information between devices without the need of transferring via the server (useful when connecitivity might be missing). To do this users should open any TEI and click on the SHARE button.

Capturar Coordenadas
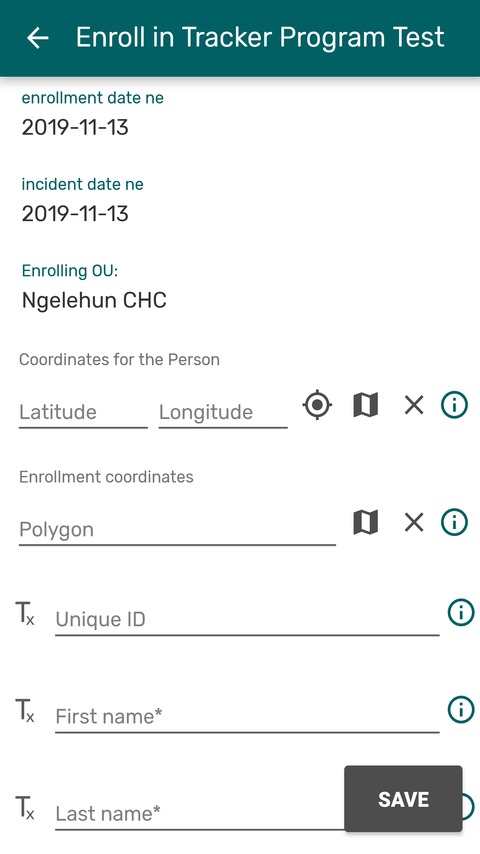
Coordenadas TEI
Capture as coordenadas TEI no formulário de registro. Habilite este recurso no tipo de recurso TET.
Polígonos
O aplicativo agora suporta o formato geoJSON e o utilizador pode capturar polígonos.

Imagens
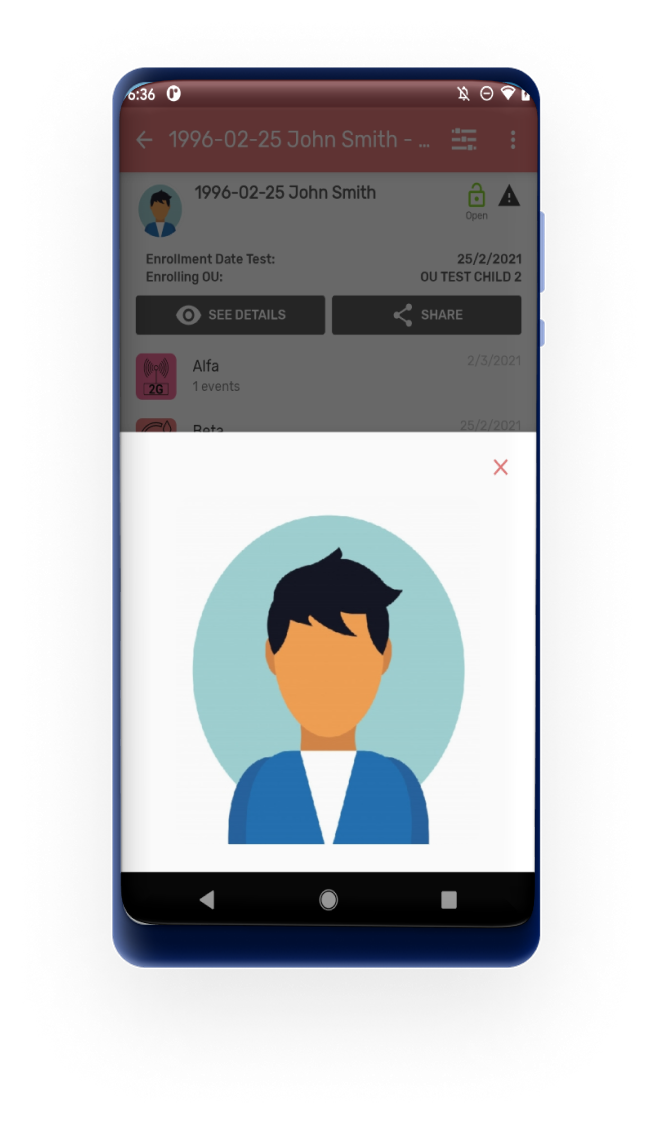
ValueType image can be used in Android to capture data and also, depending on the program configuration to be displayed in the TEI dashboard. When this value type the first data element/attribute marked as displayed in the program configuration it will be used as the TEI profile image.


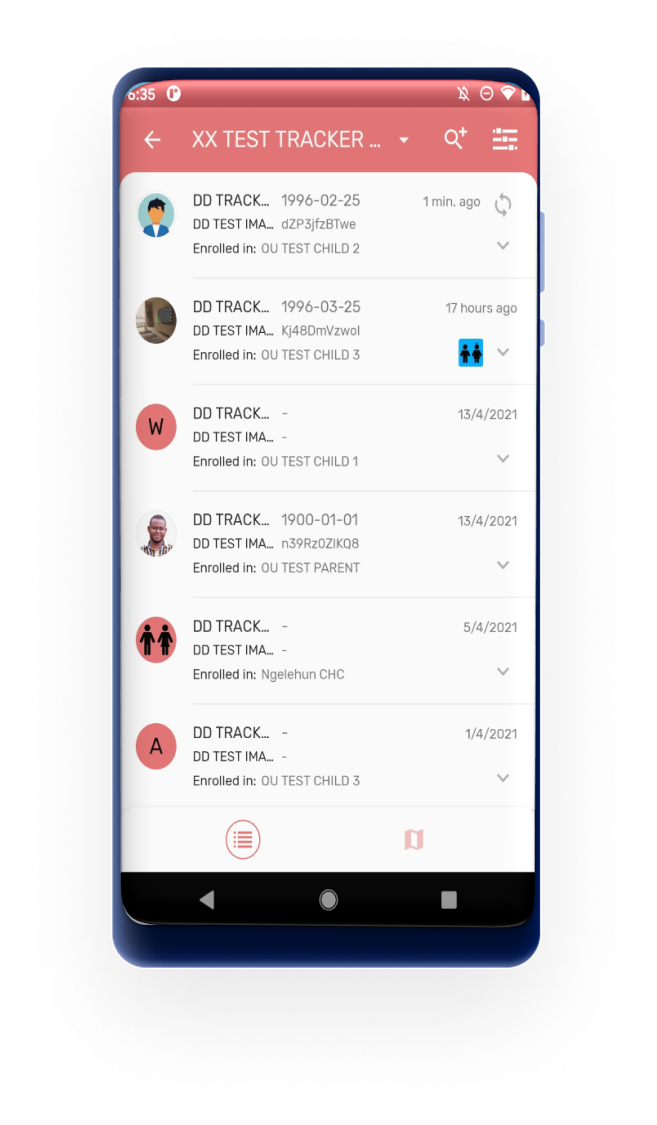
Open the TEI profile image by clicking on it.
Exibir eventos e TEIs em mapas
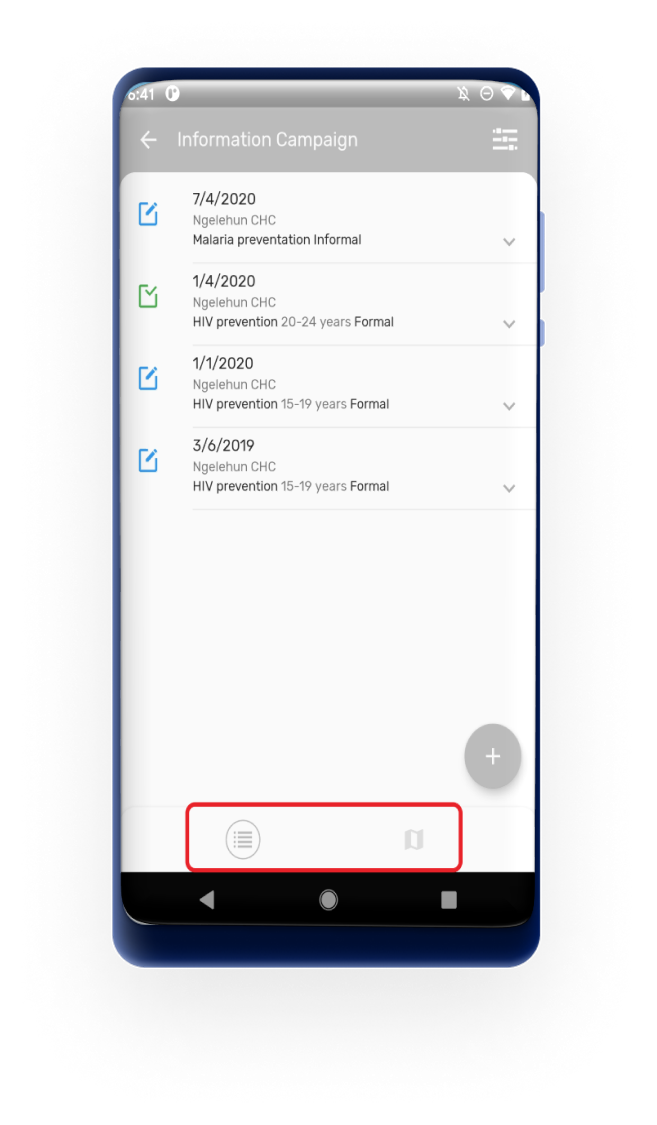
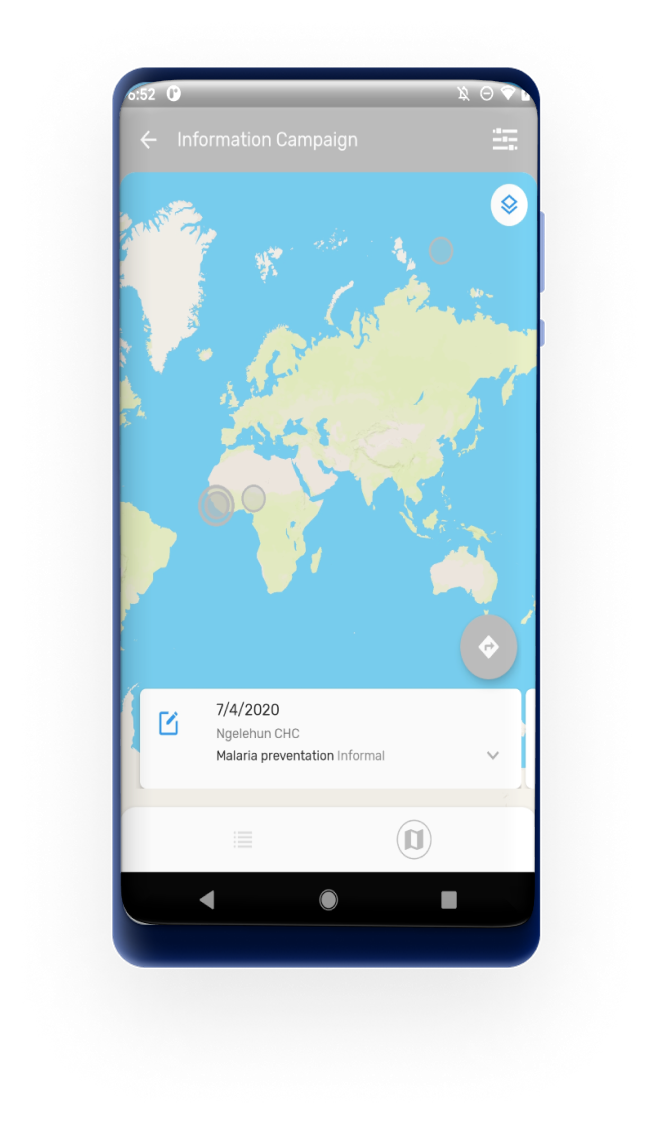
When a program stage or tracked entity type have a feature type (and for programs with registration the option displayFrontPageList is enabled) the listings can be switched to display the information in a map. Make the switch by clicking on the map icon in the navigation panel.
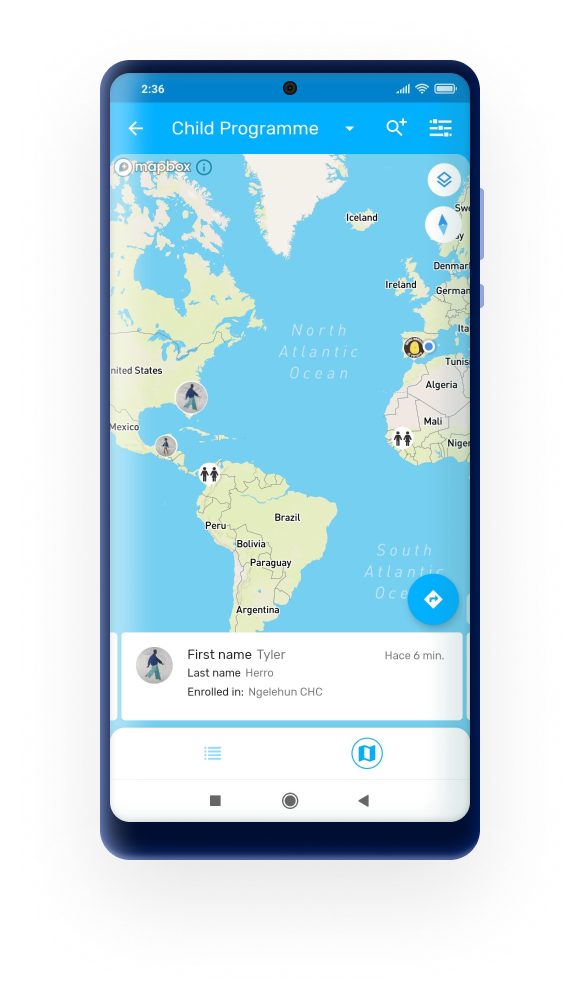
If the TEI has a profile image, the map will display it.
Personalized Calendar View
In the DHIS2 Android Capture App users can switch date selection from spinner to calendar view. In this version, the app will remember the last visualization selected by the user and use it the next time the user needs to select a date.

Reason for non-editable data
Data can be blocked for many reasons in DHIS2, because of access restrictions or expiration among others. When an Event, TEI or Data Set are not editable the user will be able to find the reason on the "Details" section.
The following list contains all possible reasons:
- Conclusão do evento
- Conclusão da inscrição
- Evento expirado
- Closed organization unit
- Organization unit out of capture scope
- Sem acesso para capturar dados no programa ou conjunto de dados
- No access to a category option in the program or data set


Configuration troubleshooting
The Configuration Troubleshooting feature is available only in the DHIS2 Android Training App. It is not included in the production version of the Capture App.
This tool is intended for administrators and implementers who need to test and troubleshoot program rules or translations during setup or training. It does not require a special user role or authority.
You can download the latest version of the DHIS2 Android Training App (APK) from the DHIS2 Training App on GitHub (look for the APK labeled Training).

- Language: the user will be able to change the language of the application user interface to identify labels, buttons or prompts with errors or without translation.

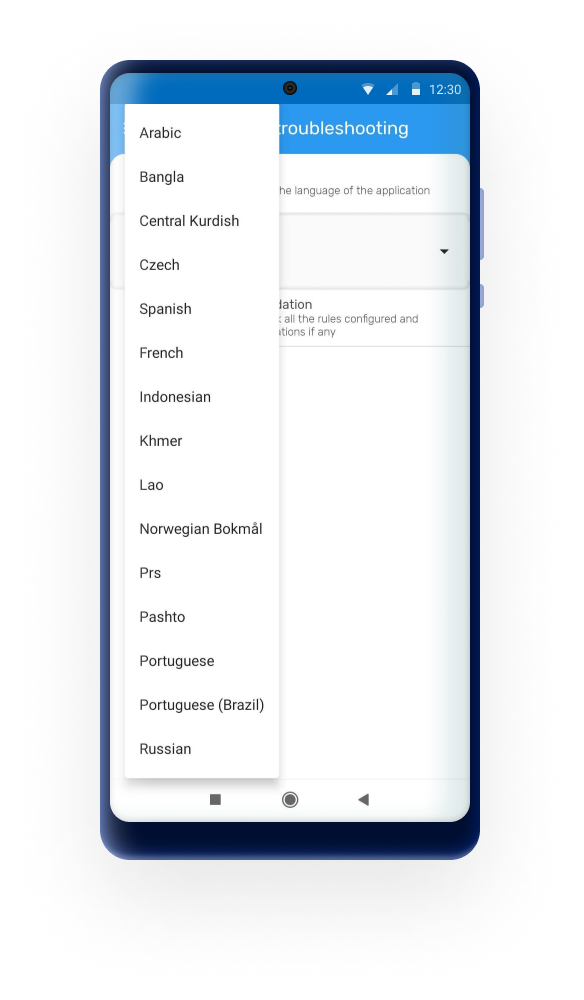
- Program rule validation: this validator will check the program rules in the device and display configuration inconsistencies.


Error Navigation
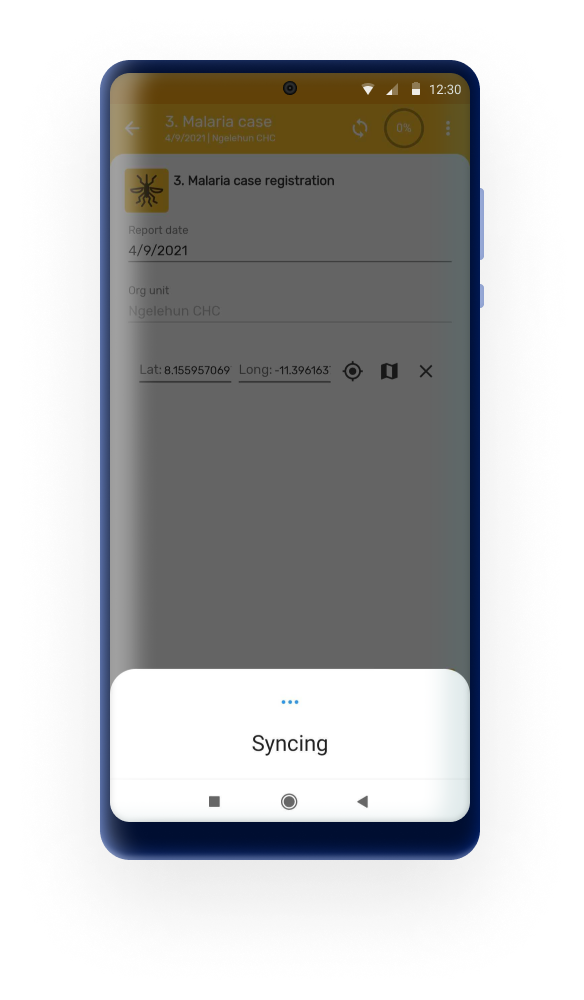
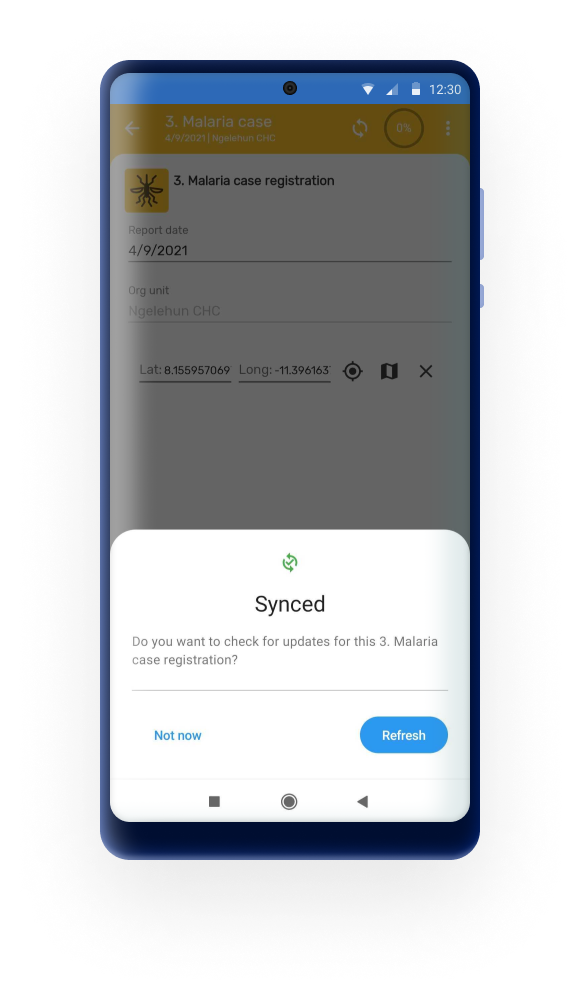
The Android App has improved the navigation of sync errors on the user interface. The app will display the sync errors in a simple and clean manner allowing the user to navigate from the home screen to the exact field that is causing the error inside the event or data set.
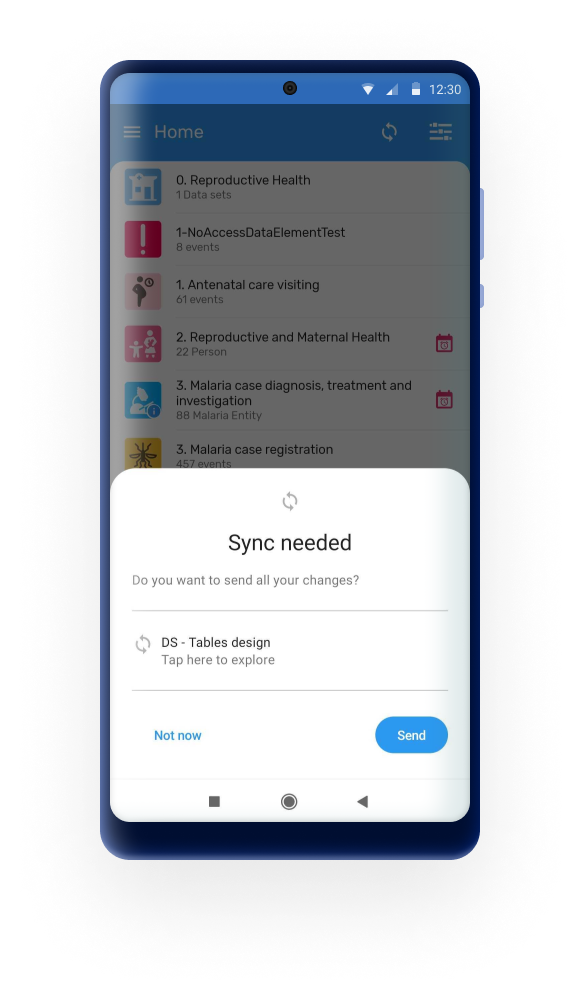
User must tap on any of the errors listed and the app will move to the correspondent screen. Once the error is located and fixed, the user can synced by tapping on the "Refresh" button.

LMIS Module
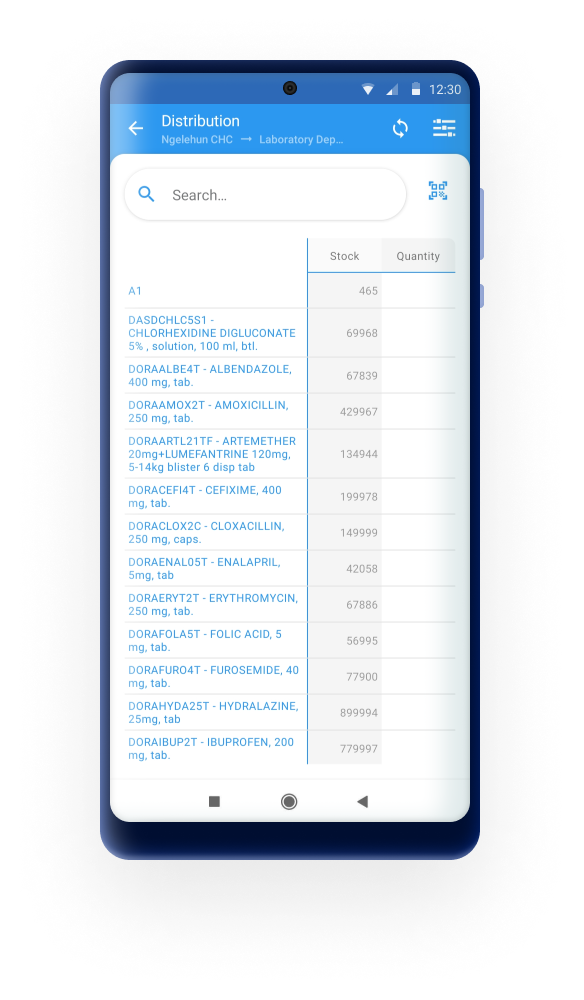
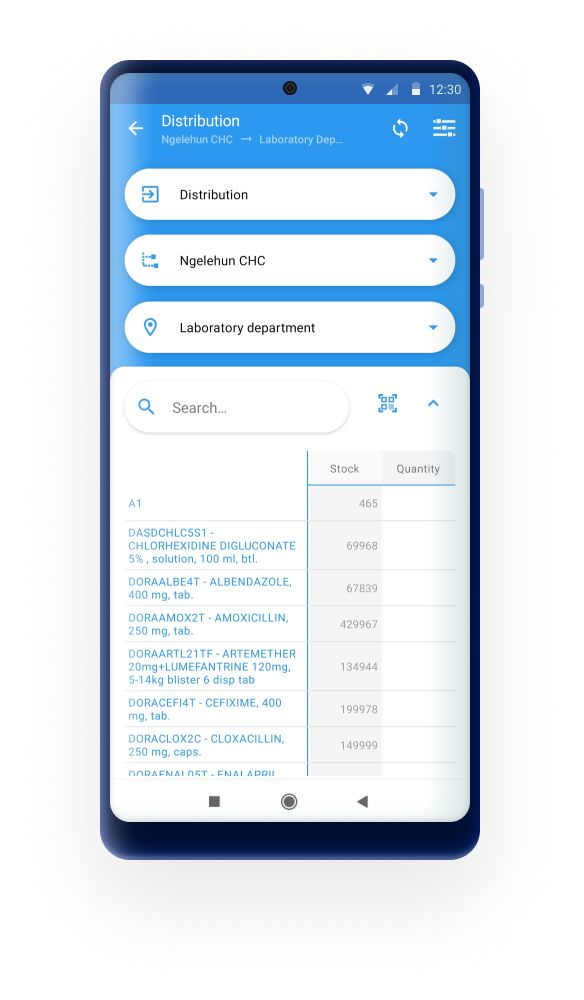
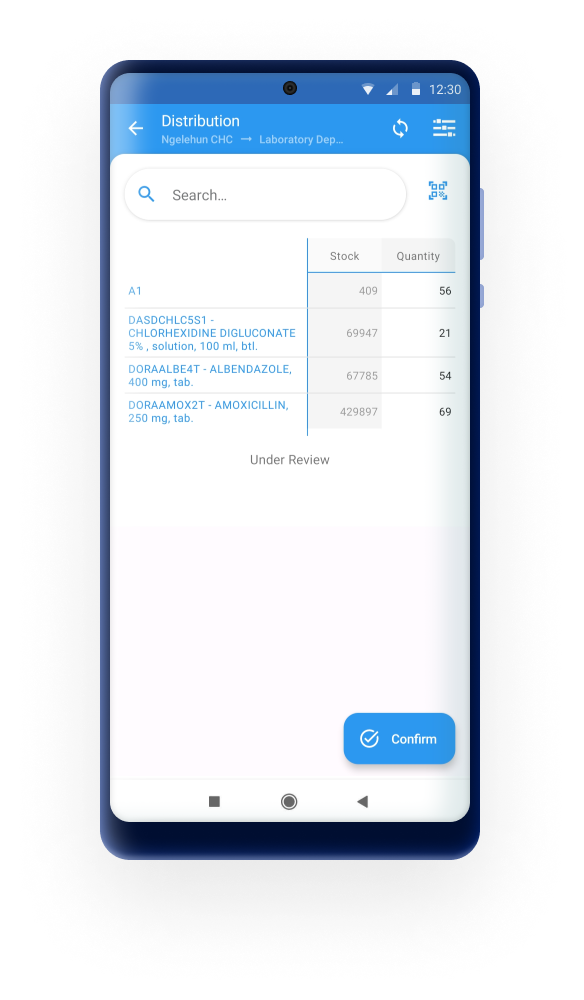
The new module for real stock monitoring use case enables users to manage and monitor their stock levels in real-time. Integrating a module implies that the app will open a completely new and different user interface and experience to respond to a different data entry flow. To use this modules the program will need to be configured using the new web app for program use case configuration.
Event upload behavior
The Android app will upload events with status COMPLETED by default. If the program configuration prevents the event from being completed on the server (for example, due to mandatory data elements or “error on complete” program rules), the app will upload the event with status ACTIVE instead. This prevents failed uploads caused by server side misconfiguration while still ensuring that data is sent.
Event ordering alignment across platforms (Improved in 3.4.0)
With this update, event ordering has been aligned across Web, Android, and API sources. This ensures that events are processed in the correct sequence during synchronization, improving data consistency and calculation reliability across the system.