Data Entry User Guide - COVID-19 Vaccination Registry (COVAC)
DHIS2 Immunization Toolkit
COVID-19 Vaccination Registry
Data Entry User Guide - COVAC
1 - Register a new case
Open the "Tracker Capture" app

- Click on App icon
- Click on the "Tracker Capture" app
Register the person
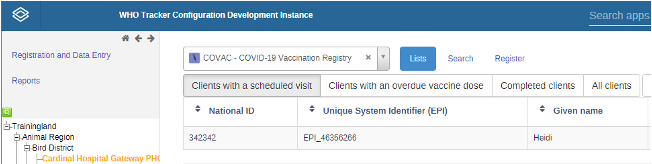
- Select the Health facility
- Select the “COVAC – Covid-19 Vaccination Registry” program
- Click on "Register"
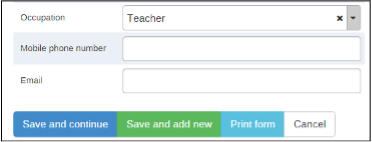
Enter the attributes

- Enter the details of your person taken from the reporting form
- Transfer the Unique ID from DHIS2 to the paper form
Click on ‘Save and continue’ to proceed to the ‘Data Entry’ section
2 - Data Entry – Vaccination (1st dose)
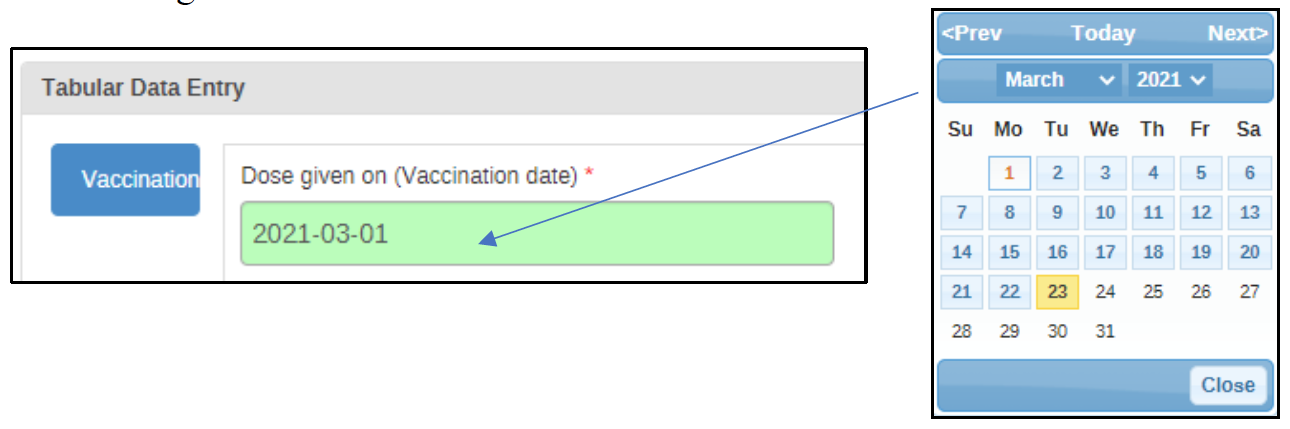
Scroll down to the data entry widget and select a date in which the 1st dose was given on
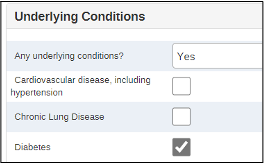
Fill in the details for Underlying Conditions, Pre-Immunization and Vaccination Information
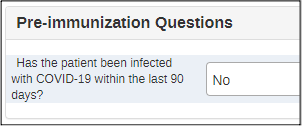

Note
- Underlying conditions can only be selected if “Any underlying conditions = Yes”
- Pregnancy details will appear if the person is female
- A number of fields in the vaccination information section will be pre-populated once the vaccine is selected
Complete the event

- Select “Complete” where it says Complete
- Confirm by selecting "Complete"
3 - Data Entry – Scheduling the 2nd dose
After completing the details on the 1st dose and having selected the “Complete” button, schedule the next vaccination
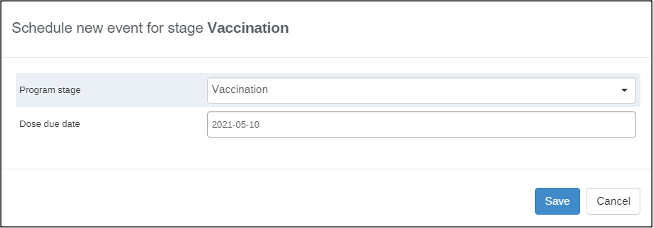
Note
By default, the scheduled date for the 2nd dose will be X (replace X with the amount of days/weeks in your SOP) weeks from the 1st dose. This is the same as the “suggested date for next dose” shown on the form. This date can be modified if necessary.
Modify the date if needed

- Select the date
- Click on “Save” in order to save the event
The new event will show, with the due date being the date you have scheduled for the next dose

4 - Searching for a case
Open the "Tracker Capture" app
- Click on the App icon
- Click on the "Tracker Capture" app
Initiate the search
- Select the health facility
- Select the “COVAC – Covid-19 Vaccination Registry” program
- Click on "Search"
Perform the search
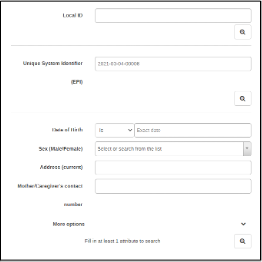
- Enter your search criteria taken from your paper form
- Select the magnifying glass to perform the search
Note
If entering an ID you will be taken directly to your case. If not, see "Step 4
Select your case from the results pop-up to be taken to their dashboard

5 - Using the front page list filters
Open the “Tracker Capture” app
- Click on the App icon
- Click on the "Tracker Capture" app
Select a filter
- Select the Health facility
- Select the "COVAC - Covid-19 Vaccination Registry" program
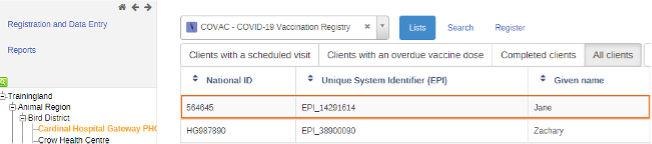
- Select one of the filters
Select your person from the front page list to be taken to their dashboard
6 - Data Entry – Vaccination (2nd dose)
With the 2nd Vaccination stage open, select a date of the event to begin data entry

Note
Select the date in which the 2nd dose was actually provided. This may be different then the date it was scheduled.
Fill in the details for Underlying Conditions, Pre-Immunization and Vaccination Information
Note
- Underlying conditions can only be selected if “Any underlying conditions = Yes”
- A number of fields in the vaccination information section will be pre-populated once the vaccine is selected
- Pregnancy details will appear if the person is female
Complete the event
- Select “Complete” where it says Complete
- Confirm by selecting “Complete” again
7 - Completing the Enrollment
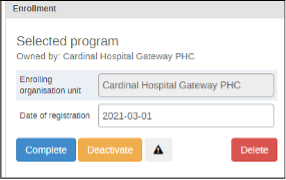
Scroll to the top of the cases dashboard until you see the Enrollment section
Note
Complete the enrollment when they data for all their required doses has been completed
Complete the enrollment

- Select the "Complete" button
- Confirm that you want to complete the enrollment
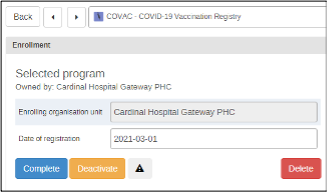
Exit the cases dashboard by using the back button
8 - Finding people scheduled for their 2nd dose
Open the “Tracker Capture” app
- Click on the App icon
- Click on the "Tracker Capture" app
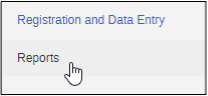
Select “reports” from the left side menu
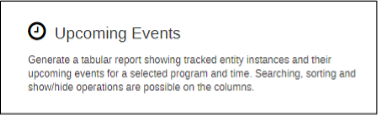
Select "Upcoming Events"
Specify the inputs of the report
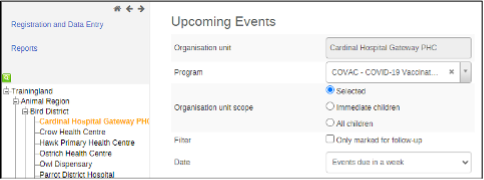
- Select the location
- Select the COVAC program
- Specify the org unit scope
- Specify the date criteria
Run the report and view the results
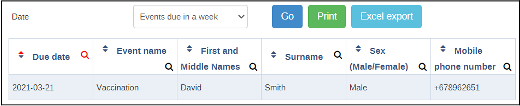
- Select "Go" to run the report
9 - Finding people that missed their 2nd dose
Open the “Tracker Capture” app
- Click on the App icon
- Click on the "Tracker Capture" app
Select “Reports” from the left side menu
Select “Overdue Events”
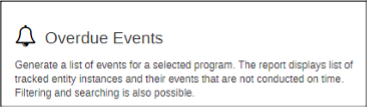
Specify the inputs of the report
- Select the location
- Select the COVAC program
- Specify the org unit scope
The report will run once you select your inputs

10 - Editing Data
To edit a person’s profile, do this from the “Profile” box in their tracker overview page
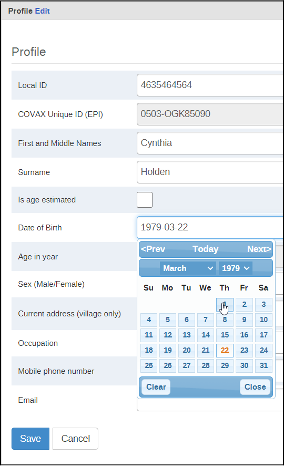
- Select the "Edit" buttom
- Edit the details
- Select "Save" to save the changes"
To change data, select the field you want to update and make your changes

- Select the field you want to modify
- Make your changes
Note
The field will turn green and changes are saved. You do not need to hit any button to save this information