AEFI - Data Entry Guide
DHIS2 Immunization Toolkit
Adverse Events Following Immunization (AEFI)
Register a New Case
Open the Tracker Capture app

- Click on the "Apps" icon
- Click on the "Tracker Capture" app
Register the person

- Select the facility
- Select “Adverse events following immunization” program
- Click on "Register"
Enter attributes

- Enter the details of your person taken from the reporting form
Click on "Save and continue" to proceed to the "Data Entry" section

Data Entry - AEFI
With the AEFI stage open, select a date of the event to begin data entry.

Fill in the details for Reporter, Vaccine, Adverse Events and Outcome.


- Select from dropdown options or fill in text where necessary.
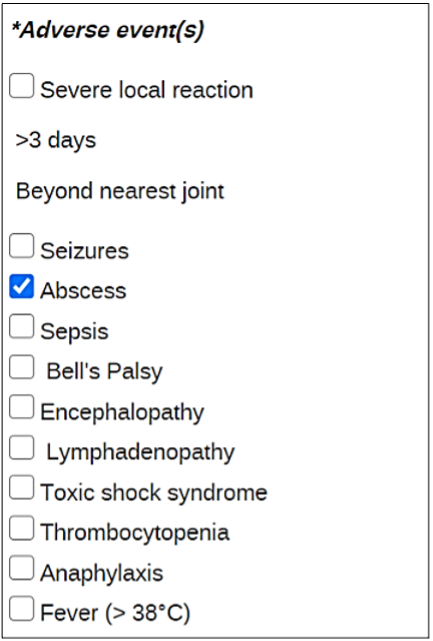
- Select the relevant symptoms.
Complete the event

Data Entry – First Decision Making Level
Click on the "+" sign to start adding a new event
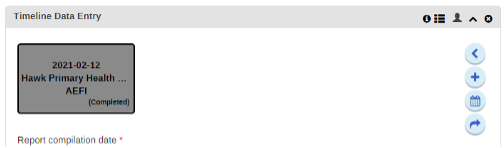
Select the first decision making level stage from the list
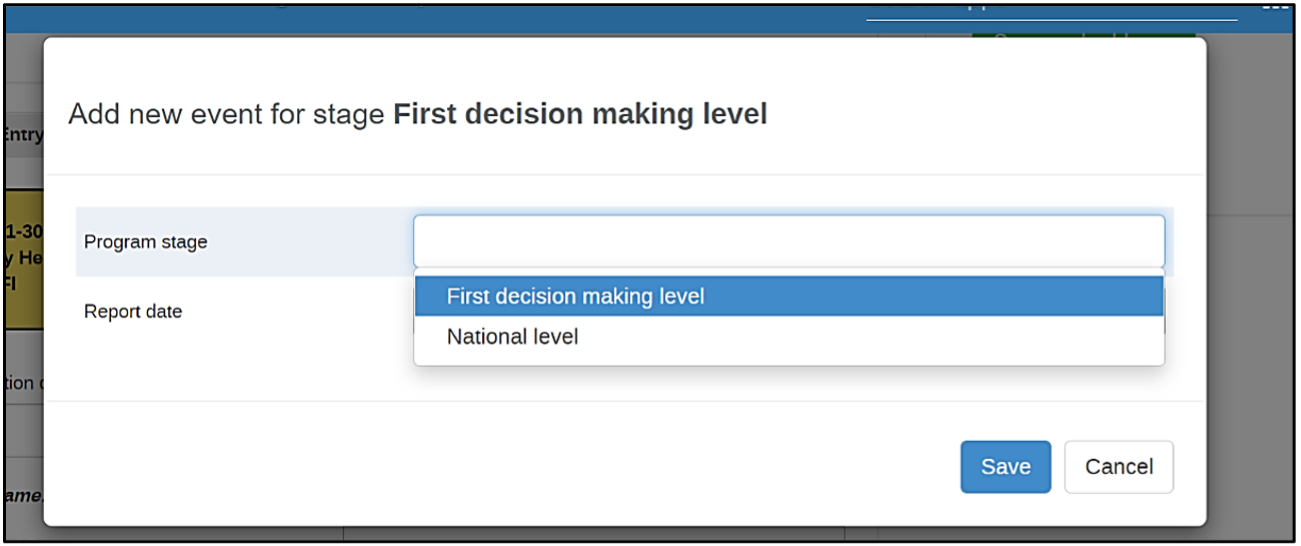

- Select the date
- Click on “Save” in order to save the event
The new event will show in the timeline and you can enter the related data.

- The new event form is now available for data entry
Data Entry – National Level
Click on the ‘+’ sign

Select the national level stage from the list


- Select the date
- Click on “Save” in order to save the event
The new event will show in the timeline and you can enter the related data.

1.The new event form is now available for data entry 2. Click on “Save” in order to save the event
Searching for a Case
Open the Tracker Capture app
- Click on the "Apps" icon
- Click on the "Tracker Capture" app
Start the Search process

- Select the facility
- Select "Adverse events following immunization"
Select the “Active” filter
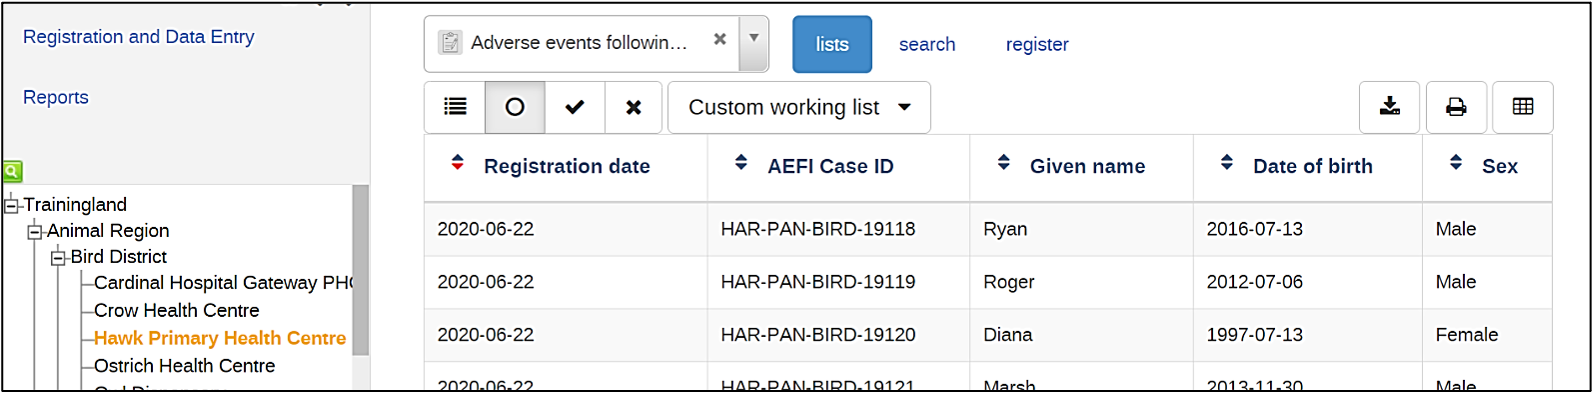
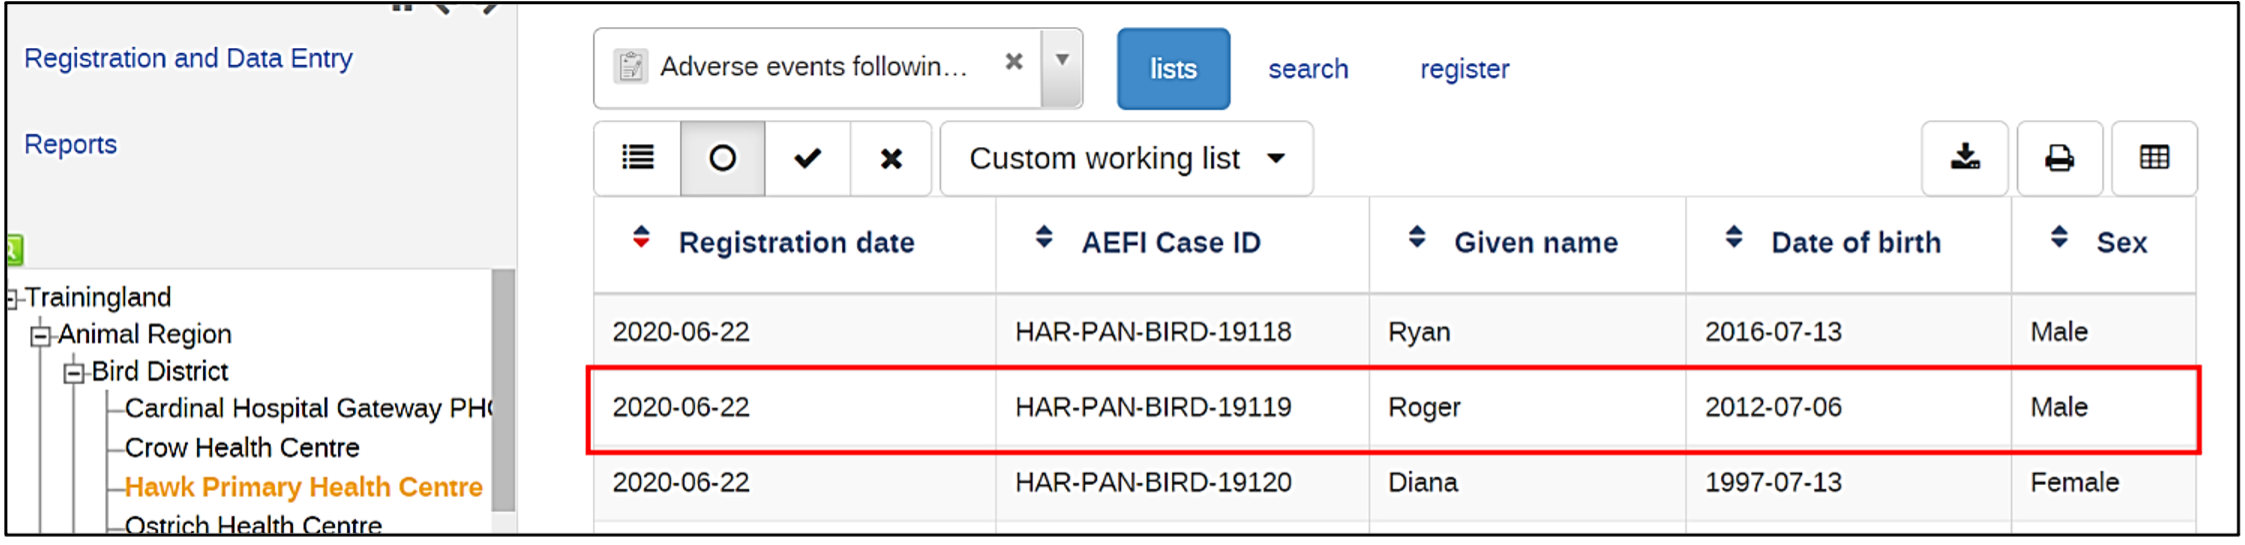
Select your person from the front-page list to be taken to their dashboard
Using the Custom Working List
Open the Tracker Capture app
- Click on the "Apps" icon
- Click on the "Tracker Capture" app
Start the Search process
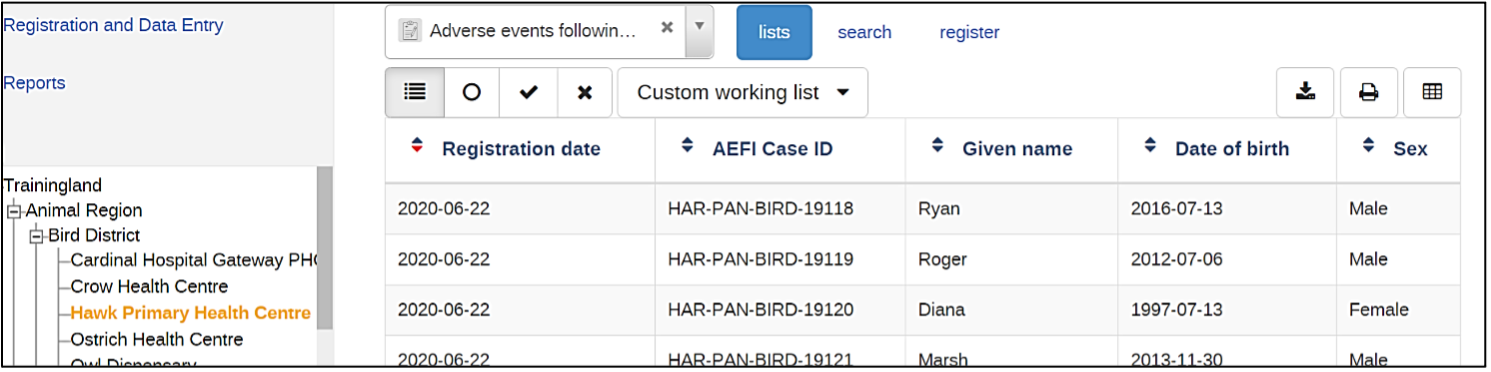
- Select the facility
- Select "Adverse events following immunization"
- Click on "Custom Working List"
Select the custom working list options

- Set the Custom working filters as required by your case
- Scroll down and select Search
Select your person from the front-page list to be taken to their dashboard

Completing the Enrollment
Scroll to the top of the cases dashboard until you see the Enrollment box

Complete the enrollment
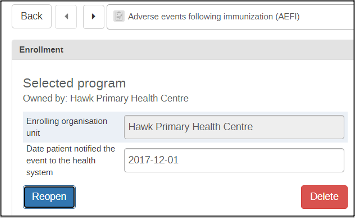
- Select the complete button
- Confirm that you want to complete the enrollment
Exit the case's dashboard by using the back button

Reviewing Notifications
From the dashboard, select the messages icon
Open the Message

- Select the system tab
- Select the message
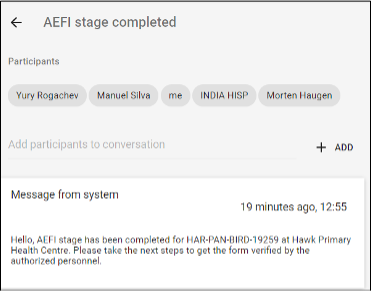
Review the Message