DHIS2 Documentation Team
Copyright © 2008-2023 DHIS2 Team
source.revision.date: 2026-04-30
Warranty: THIS DOCUMENT IS PROVIDED BY THE AUTHORS ‘’AS IS’’ AND ANY EXPRESS OR IMPLIED WARRANTIES, INCLUDING, BUT NOT LIMITED TO, THE IMPLIED WARRANTIES OF MERCHANTABILITY AND FITNESS FOR A PARTICULAR PURPOSE ARE DISCLAIMED. IN NO EVENT SHALL THE AUTHORS OR CONTRIBUTORS BE LIABLE FOR ANY DIRECT, INDIRECT, INCIDENTAL, SPECIAL, EXEMPLARY, OR CONSEQUENTIAL DAMAGES (INCLUDING, BUT NOT LIMITED TO, PROCUREMENT OF SUBSTITUTE GOODS OR SERVICES; LOSS OF USE, DATA, OR PROFITS; OR BUSINESS INTERRUPTION) HOWEVER CAUSED AND ON ANY THEORY OF LIABILITY, WHETHER IN CONTRACT, STRICT LIABILITY, OR TORT (INCLUDING NEGLIGENCE OR OTHERWISE) ARISING IN ANY WAY OUT OF THE USE OF THIS MANUAL AND PRODUCTS MENTIONED HEREIN, EVEN IF ADVISED OF THE POSSIBILITY OF SUCH DAMAGE.
License: Permission is granted to copy, distribute and/or modify this document under the terms of the GNU Free Documentation License, Version 1.3 or any later version published by the Free Software Foundation; with no Invariant Sections, no Front-Cover Texts, and no Back-Cover Texts. A copy of the license is included in the source of this documentation, and is available here online: http://www.gnu.org/licenses/fdl.html
This guide provides a complete overview of the DHIS2 Android Capture App, including how to install, configure, deploy, and use it in real-world implementations. It is designed to support a wide range of DHIS2 stakeholders involved in Android-based data collection efforts:
While the guide strives to be complete, there may be certain functionalities which have been omitted or which have yet to be documented. This section explains some of the conventions which are used throughout the document.
DHIS 2 is a browser-based application. In many cases, screenshots have been included for enhanced clarity. Shortcuts to various functionalities are displayed such as Data element > Data element group. The ">" symbol indicates that you should click Data element and then click Data element group in the user interface.
Different styles of text have been used to highlight important parts of the text or particular types of text, such as source code. Each of the conventions used in the document are explained below.
Note
A note contains additional information which should be considered or a reference to more information which may be helpful.
Tip
A tip can be a useful piece of advice, such as how to perform a particular task more efficiently.
Important
Important information should not be ignored, and usually indicates something which is required by the application.
Caution
Information contained in these sections should be carefully considered, and if not heeded, could result in unexpected results in analysis, performance, or functionality.
Warning
Information contained in these sections, if not heeded, could result in permanent data loss or affect the overall usability of the system.
Complete
Information contained in these sections, will indicate that these are issues that have been fully implemented.
Incomplete
Information contained in these sections, will indicate that these are issues that are not implemented and will be ignored.
Not_applicable
Information contained in these sections, will indicate that these are issues not applicable.
Work_in_progress
Information contained in these sections, will indicate that these are issues or freatures not completely implemented or with unexpected behaviour already reported.
Program listings usually contain some type of computer code.
They will be displayed with a shaded background and a different font.
Commands will be displayed in bold text, and represent a command which would need to be executed on the operating system or database.
Links to external web sites or cross references will be displayed in blue text, and underlined like this..
This guide is designed to assist you in configuring DHIS 2 for use with the Android Capture App.
It is not a tutorial or training manual; it is designed to complement the core DHIS 2 documentation and training materials with specific reference material for the Android application.
The document is divided into sections, which are intended to describe all the features that have been implemented in the app, those that have not yet been implemented and those that will not be supported. Where applicable, an explanation of problems with the use of a particular feature in Android app will be provided. Recommendations or tips will also be presented for a better understanding and use of the app.
In addition, the document has sections for new features in the login, visual configurations, synchronization management and a list of known important errors.
If you plan to deploy the DHIS2 Android App in the field, we strongly recommend you to read the Mobile Implementation Guidelines published by UiO. It includes chapters on technology requirements, security and configuration aspects, and testing and roll out recommendations. Below you will find some key aspects briefly introduced, we recommend reading the extended document.
The DHIS2 Android App is compatible and supported for DHIS 2 versions 2.35 to 2.37. And has no breaking changes with 2.30 to 2.34.
It requires a device that is running Android v4.4 (not recommended but supported until Apr 2022) or higher. The minimum recommended for new devices: Android 7 or higher.
In the specific section of the Mobile Implementation Guidelines you will find recommendations for new mobile device acquisitions for a Dhis2 Android deployment.
If you plan to deploy the DHIS 2 Android App in the field, you should first do a full round of testing of the app in you own configuration.
The app has been extensively tested with the demo servers, and during Beta testing it was tested against some real configurations as well. We know, however, that every DHIS 2 configuration is special in many senses, and might cause inconsistencies that we have not being able to identify.
It is strongly advised to carry out a comprehensive testing of the app in your own server before piloting it.
This guide follows the journey of a DHIS2 Android user and implementer, from setup to field data collection, synchronization, and ongoing maintenance. Each stage explains how some issues may appear, possible causes to them and the fixes using DHIS2’s Android ecosystem tools.
Before any data is captured, the setup determines how synchronization will be. This phase focuses on installation, configuration, and first sync.
The production version of the DHIS2 Android Capture App cannot run on rooted devices.
This is a security measure designed to prevent extraction of sensitive information from the local database.If the user attempts to run the production app on a rooted phone, the device displays a message such as: “For security reasons, this version of the app is not allowed to be used on rooted devices. Please use the training version.”
The training version of the app can run on rooted devices and is recommended only for testing, debugging, or training, not for production use.
The Android Capture app synchronizes two distinct data streams:
Metadata/Configuration Metadata includes all structural and configurational information downloaded from the DHIS2 server (programs, data sets, categories, category options, org units, option sets, program rules...). The Android app stores this information in its local database so that users can continue to operate even when offline.
Metadata synchronization ensures that devices have the latest configuration from the server. The admin defines how often the device should check for updates using the Android Settings web app. Metadata sync can occur every 1 day, 1 week, or manually (Daily set as default).
In upcoming DHIS2 versions, shorter periods (such as 6 hours and 12 hours) will be available, giving administrators finer control.
Frequent metadata syncs can be useful during rollout or configuration changes, while weekly syncs reduce bandwidth use in stable deployments.
Data Data refers to everything the user captures through the Android Capture app (tracked entity instances, enrollments, events, and data values). The app keeps this data locally until a successful upload occurs. Data synchronization can be scheduled at intervals of 30 minutes, 1 hour, 6 hours, 12 hours, 1 day, or can be done manually. The best setting depends on network quality: frequent syncs for areas with stable connectivity, daily syncs for remote regions.
The offline first design of DHIS2 Android means that users can always work without a connection. When network access returns, queued data is sent automatically or manually, depending on the configuration.
Because of this, maintaining fresh metadata and appropriate sync scope is critical to avoid conflicts between the device and server.
Administrators can define separate download parameters for tracked entity programs (Tracker) and event programs. The app always prioritizes program-specific configurations before applying global defaults. For instance, if a device is set to download 1000 tracked entities globally but a specific program limit is defined for 200, the app first counts those 200 and then subtracts them from the total global limit.
Event settings only apply to event-type programs, tracker programs are governed by tracked entity download limits. This ensures that devices do not exceed their capacity and that key programs always receive priority data.
The app can also respect a maximum download file size (set in Android Settings). Files larger than this limit won’t be downloaded by the app. This prevents devices with low memory or poor connectivity from downloading very large files.
Reserved values are pre-generated unique identifiers used for tracked entity attributes marked as auto-generated (for example, patient or case IDs). When a user registers a new tracked entity, the app assigns one of these reserved IDs locally, ensuring that even offline registrations have globally unique identifiers.
Here’s how the process works:
The server pre-generates a pool of unique IDs for each auto-generated attribute (configurable in ASWA, 500 by default).
During metadata/configuration sync, the device downloads this pool.
Each time a new tracked entity is registered, one reserved value is consumed.
When the pool is used to a certain degree, a new batch is requested on the next successful sync. This refill can also be done manually by the user in the app settings menu.
The Tracker Importer and Tracker Exporter are key backend services in the DHIS2 ecosystem that directly influence how the Android Capture app uploads data and how much data it downloads.orks
The DHIS2 Tracker Importer validates uploads of tracked entity instances, enrollments, events, and relationships against the server’s metadata (mandatory attributes, program rules, ownership and sharing, and organisation-unit capture). When a device reconnects and syncs, its payload is submitted to the importer; if validation succeeds the data is committed, and if not, the importer returns a detailed summary shown on the device and in the Synchronization Troubleshooting app.
The Tracker Exporter determines which tracked entities, enrollments, and events the device can download during sync, based on the user’s organisation units, assigned programs, and the Android sync scope. If the exporter returns an overly large result, first syncs become slow and may hit device limits;.
The Android Capture app enabled these services progressively. Use this matrix when aligning devices with your server:
| Service | Android support status |
|---|---|
| Tracker Importer | Available from DHIS2 2.38+ Default from 2.40+ Mandatory from v43+ |
| Tracker Exporter | Available from 2.40+ Default from 2.40+ Mandatory from v43+ |
In earlier server versions (2.36–2.37), the endpoint existed, but the Android app did not use it by default. That was a deliberate safety choice while the endpoint matured. From 2.40 onward, both importer and exporter are the standard path for Android sync, and from v43+ they are required. If your instance is below these thresholds, test behavior in staging before a large rollout.
Use the new importer when:
*Your DHIS2 server version is 2.36 or higher. * You are handling large mobile device uploads or offline-first scenarios. * You want improved performance, better error summaries, and future-proof architecture.
You may experience issues if:
The Configuration Troubleshooting feature is a diagnostic tool available only in the DHIS2 Android Training App, not in the production Capture App. It is designed for administrators and implementers to test and validate configuration elements such as program rules and translations during setup or training, before rollout to the field. This tool does not require special user roles or authorities.
The Configuration Troubleshooting feature helps identify metadata inconsistencies early, preventing validation or sync errors in production. It allows administrators to:
Validate program rules: The app runs a rule validator that checks all program rules stored locally on the device, highlighting configuration inconsistencies (invalid references, missing fields, or circular dependencies).
Test translations: The app includes a language switcher that allows users to toggle between available interface languages instantly. This helps identify untranslated or mislabeled fields, buttons, and option sets before rollout.
Including this validation step as part of your configuration workflow ensures that production deployments of the Capture App are stable and consistent, minimizing field-level data entry errors caused by configuration mismatches.
Synchronization reliability also depends on maintaining consistent Android Capture versions across all devices. The APK Distribution feature in the web app allows administrators to assign specific app versions to user groups.
When administrators upload a new Android Capture version, they define the version number, optionally set minimum or recommended Android OS versions, and assign access to specific user groups. Each user group can have access to several versions, but every user will only see the latest version assigned to their group. If no group is assigned to any version, the system defaults to the latest version for all users in the instance.
When a new version is uploaded, Android users will see an update notification the next time they log in or when they check for updates in the app. The message prompts them to download the latest APK directly from the instance, but the update is not mandatory. Users can choose to dismiss the message and continue using their current version. This design ensures that updates can be introduced gradually without interrupting field work or forcing installations during critical activities.
It is important to understand that APK Distribution does not enforce updates or control devices. Its role is limited to displaying update information and facilitating version downloads directly from the DHIS2 server. Administrators remain responsible for coordinating updates and ensuring that users eventually migrate to the recommended version.
During initial setup, most synchronization and configuration problems arise from mismatched user permissions or incomplete metadata sharing. Ensuring proper configuration before users begin data entry is essential for stable synchronization and accurate ownership validation.
The following table summarizes the most common setup problems, their causes, and how to resolve them using DHIS2 tools. Before users begin capturing data, ensure these configuration checks are verified. Most sync or visibility problems stem from one or more of these setup issues.
| Symptom | Root Cause | How to Fix | Tools / Checks |
|---|---|---|---|
| Programs/Data set not visible after login | User has capture Org Units but no access to programs/data sets or TETs. | Check that the user group has “Can capture and view” access to both Program and Tracked Entity Type. Re-sync configuration after changing sharing. | Maintenance app → Programs sharings/ OU access → TET sharings |
| Missing stages | Program stages not shared consistently. | Re-check that Program Stages inherit the same sharing as their parent program. | Maintenance app |
| Cannot register new tracked entities (no IDs generated) | Reserved values exhausted or not downloaded. | Increase reserved value count. Trigger a configuration sync. | Android Settings Web App → Reserved Values |
| Cannot create new stage or data set period/missing options in category combination | The Category Combination or its Category Options are not shared with the user, are expired, or are filtered out by period or Org Unit. | Check sharing for all Category Options linked to the program or data set. Ensure options are active and valid for the selected Org Unit and period. | Maintenance app → Category |
Synchronization is where most support questions arise. Once the device reconnects, data collected offline is uploaded through the Tracker Importer, which validates every record against the server’s configuration and permissions. When this process encounters issues, the Android Capture app now provides an improved, user-friendly way to navigate and resolve them.
The Android Capture app presents synchronization errors directly on the sync dialog after each sync attempt. Errors are grouped by program or data set and show a clear message describing what went wrong. The navigation has been redesigned so that the user can tap any listed error and the app automatically opens the corresponding event, enrollment, or data set. From there, the problematic field is highlighted for quick correction.
Once the data is fixed, the user tap the “Refresh” button to retry synchronization immediately. This behavior allows field workers to correct data without searching through multiple forms or stages.
Some of the complex backend error codes are translated into clear sentences to help users understand whether an issue is about permissions, configuration, or data entry.
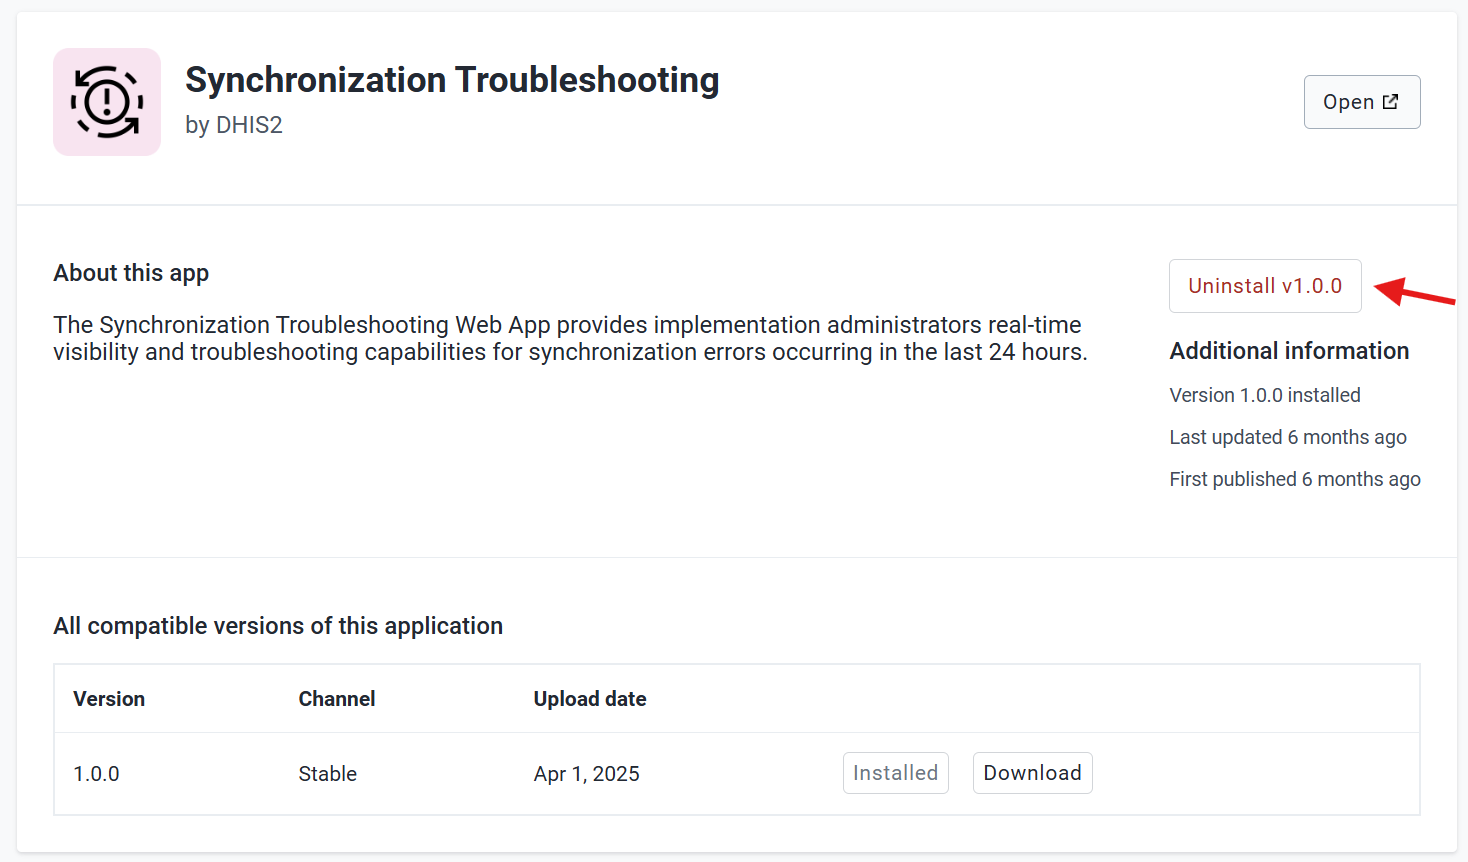
For administrators, the Synchronization Troubleshooting App in DHIS2 complements what users see on their devices. It provides server-side validation results, showing which payloads were rejected, when, and why. By filtering by message type, the admin can quickly match a device error with its corresponding import summary. This level of traceability is essential for diagnosing whether the problem stems from metadata, ownership, or program rules.
At the moment, the Synchronization Troubleshooting App only stores the errors from the last 24h (they are clean up to save disk space). This is useful to identify and correct ongoing synchronization problems, but it does not allow checking past errors.
This cleanup period is defined in System Settings and applies to all single-run jobs (such as data imports). The value can be changed through the API but no recommended since increasing the period will retain errors for longer but also increase database storage.
The Android Capture app includes a powerful diagnostic function that allows implementers to extract or restore the entire local database from a device. This feature is intended when data inconsistencies or synchronization failures cannot be resolved through the usual sync or configuration steps.
When users experience persistent sync issues, administrators can request a copy of the local database to inspect its contents. From the app’s Settings menu, select Export database. The app generates an encrypted file containing all locally stored metadata, configuration, and captured data. This file can be safely shared with the system administrator or support team.
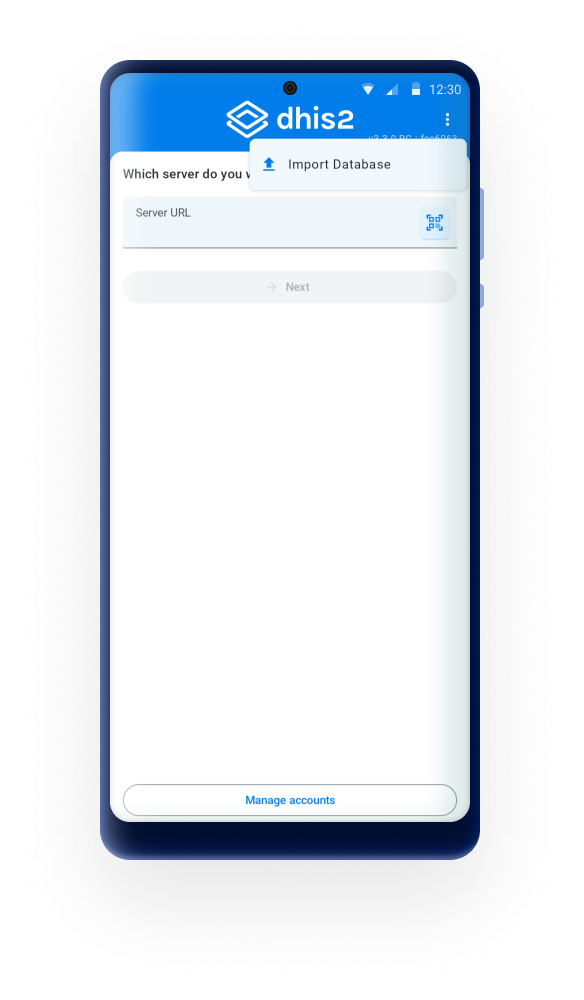
To import a database for review, open the Android Capture app on another device or a testing phone. On the login screen, tap the three-dot menu in the top right corner and select Import database. Choose the previously exported file.
Once imported, the administrator must use the same user credentials as the original owner to view the data, programs, and configuration stored in that database. This process allows support teams to reproduce the environment exactly as the user experienced it and to identify where synchronization or validation failed.
Exporting and importing local databases provides a secure and realistic way to debug issues that are otherwise hard to trace remotely, especially in large-scale deployments where devices operate offline for extended periods.
The Android app maps DHIS2 Tracker Importer error patterns to readable messages. Below is a reference of the most common errors, how the app currently interprets them, what they mean, and practical next steps.
| Code | Message Shown in App | Why am I seeing this error? | How to Resolve |
|---|---|---|---|
| E1000 | You do not have access to %s | You’re creating/updating data in an Organisation Unit you don’t have data capture rights for (or those rights were removed after you captured data offline). | If you DO NOT need to sync this data: On device, delete the local record(s) or Delete local data → Sync configuration so the app refreshes permissions and removes that OU from your scope. If you DO need to sync it: Temporarily restore the user’s capture OU and program write sharing → let the user sync successfully → Sync configuration and apply the new, restricted permissions. |
| E1001 | You do not have access to the type %s | No write access to the tracked entity type used by the program. (or those rights were removed after you captured data offline) | Don’t need the data: Delete the pending registrations using that TET → Sync configuration. Need the data: Grant write access to the TET (and program) or let a user with access perform the upload → sync data → then revert permissions and Sync configuration on device. |
| E1002 | The %s already exist. (%s: %s) | Duplicate tracked entity (same UID) or a unique attribute collision (national ID already used). | Don’t need the data: Remove the duplicate on device → Refresh. Need the data: Search the TEI on server → update the existing TEI (if it’s a unique attribute conflict, change the value to the correct, unique one) → re-sync data. |
| E1003 | %s is outside your search scope | Attempt to access TEI or event in an OU outside user’s search scope. | This might happen when the TEI is transferred from an OU outside the search scope |
| E1005 | The %s type could not be found | The Tracked Entity Type referenced by the device no longer exists | If record is disposable: Delete it → Sync configuration. If you must keep it: Configuration sync on the device → ensure the TET exists and is assigned to the program → retry data sync. |
| E1006 | The attribute %s does not exist | The payload contains an attribute UID that isn’t on the server (metadata changed since capture). | Discard data: Delete/edit the attribute data → Refresh → Sync configuration. Keep data: confirm the attribute is still part of the program/TET → re-enter a valid attribute if it was replaced → Sync configuration → re-sync data. |
| E1007 | The attribute does not match the value type %s. (Error: %s) | Entered value doesn’t match the attribute’s value type (number vs text, date format, etc.). | Don´t keep data: Remove/clear the invalid value→ Refresh. Keep data: Remove the value → Sync Configuration → Correct the value to match the expected type → re-sync data. |
| E1008 | The program stage %s has no reference to a program. | Broken metadata: the Program Stage lost its parent Program link. | Fix the stage program linkage on server (API, Import/Export app)→ Sync Configuration. |
| E1009 | The file has already been assigned. | The same file resource was linked twice or reused improperly. | |
| E1031 | Event ‘occurredAt’ date is missing. | Occurs when you attempt to import or create an event without specifying the required occurredAt (event date) field. | • If you encounter this error during import (e.g., via CSV or JSON), you must ensure that every event row or object includes a valid occurredAt value. If the field is missing or empty, the import will fail. • If you need to fix existing data in the database, you can use SQL scripts to assign a default date or remove inconsistent records. |
| E1032 | The %s event was not found in the server. | The local record references an event that was deleted or never existed on the server. | Manually delete the event |
| E1063 | The %s was not found in the server. | The local record references a TEI that isn’t on the server (deleted or never uploaded). | Manually delete the TEI |
| E1064 | Attribute value %s is not unique. | The unique attribute value is already used by another TEI. | |
| E1069 | Program linked to enrollment was not found. | Enrollment references a Program the server doesn’t have (UID changed/removed). | |
| E1081 | The enrollment was not found in the server. | The local enrollment was deleted on server or never imported. | |
| E1084 | File reference not found. | The file resource UID doesn’t exist on the server (expired, deleted, or never uploaded due to offline capture). | |
| E1100 | You do not have the authority to delete the %s. | You tried to delete a TEI without the required authority (cascade delete). | To delete record: Grant temporarily the authority (e.g., F_TEI_CASCADE_DELETE) to perform deletion → Sync data → Sync Metadata. To keep the record: Use granular sync to sync the rest of the records → Delete local data → sync configuration → Sync data to restore local DB. |
| E1103 | You do not have the authority to delete the enrollment. | You tried to delete an enrollment without the required authority. | To delete record: Grant temporarily the authority to perform deletion → Sync metadata → Sync data → Revert change → Sync Metadata. To keep the record: Use granular sync to sync the rest of the records → Delete local data → sync configuration → Sync data to restore local DB. |
| Code | Server Message | Likely Cause | Corrective Action |
|---|---|---|---|
| E1010–E1013 | Could not find Program/OU/Stage linked to Event | Deleted or misconfigured program metadata. | Verify linked program and OU; reassign. |
| E1014–E1016 | Enrollment into a non-registration program or duplicate active enrollment. | Trying to enroll multiple times into a single-enrollment program. | Check program type; close previous enrollment. |
| E1050–E1057 | Invalid or missing event dates, category options. | Date outside allowed range or invalid category combo. | Adjust event date or category options. |
| E1068–E1070 | Missing linked entities for enrollment. | Enrollment references nonexistent TEI, program, or OU. | Sync metadata; restore missing entities. |
| E1076–E1077 | Mandatory data element missing or text exceeds length. | Violates attribute constraints. | Complete missing fields or shorten text values. |
| E1082–E1083 | Event deleted or user unauthorized to edit. | Trying to modify deleted or completed event. | Unmark as completed or re-create event. |
| E1085 | Attribute value type mismatch. | Wrong data type entered. | Match expected value type. |
| E1086–E1089 | Program stage mismatch or missing in enrollment. | Inconsistent program–stage relationship. | Rebuild program rules and sync metadata. |
| E1090 | Mandatory attribute not declared in TEI type. | Metadata inconsistency. | Add attribute to TEI type. |
| E1096–E1099 | Missing data read/write access to Program or CategoryOption. | Permissions or sharing issue. | Adjust sharing; verify role configuration. |
| E1301–E1312 | Generated by program rules — mandatory fields or relationships missing. | Rule hides a required field or missing relationship. | Update rules or data; rerun sync. |
| E4000–E4018 | Relationship constraint or duplication errors. | Invalid or circular relationship definitions. | Review relationships; ensure TEIs link correctly. |
| E5000–E5001 | Persistence or delete dependency errors. | Object cannot be deleted due to reference integrity. | Clean dependencies; retry. |
| E9999 | N/A — placeholder. | Undefined import error. | Check logs or DHIS2 API for details. |
This section provides a concise overview of external tools that remain useful for testing, debugging, supporting users, or demonstrating the DHIS2 Android Capture App.
scrcpy is a lightweight, fast tool that allows you to:
It works on Windows, macOS, and Linux, and does not require root.
More info: https://github.com/Genymobile/scrcpy
If scrcpy is not available, the following tools are also commonly used:
These tools are useful during remote support, training sessions, or demonstrations.
Android emulators can replicate a variety of device configurations, allowing implementers to:
The most common option is the Android Studio Emulator:
More info: https://developer.android.com/studio/run/managing-avds
Emulators are excellent for early testing, but physical devices are still recommended for final validation and for reporting bugs.
First of all, please check the List of already reported bugs in JIRA
The list is always updated as you add new bugs and we work on them. You need an active, free DHIS 2 Jira account.
When reporting a bug please specify together with your description:
DHIS 2 and the new DHIS 2 Android App allows you to select icons for programs, datasets and the options of an optionset. DHIS 2 2.30 incorporates 125 icons. We plan to expand the collection of icons on each future version of DHIS 2- for that we need your help: we are seeking ideas for new icons - please submit yours using this form.
The steps to contribute to the translation of the app are:
Please let us know if it doesn't work well or if you need to add a new language by sending a message in the community to the user dhis2-android.
The DHIS2 Android App can now render analytics that have been created in the Data Visualizer app in DHIS2. Analytics to be displayed require to be configured using the Android Settings WebApp where administrators will be able to decide the charts and tables to be displayed for end users.
To configure analytics open the Android Settings WebApp on your DHIS2 server and follow the steps below:


Analytics are created and configured using the web tools, however, the data aggregation happens offline using only data stored in the device.


The analytics supported in the Android App are:
For each visualization object, the user will be able to filter in the app by:


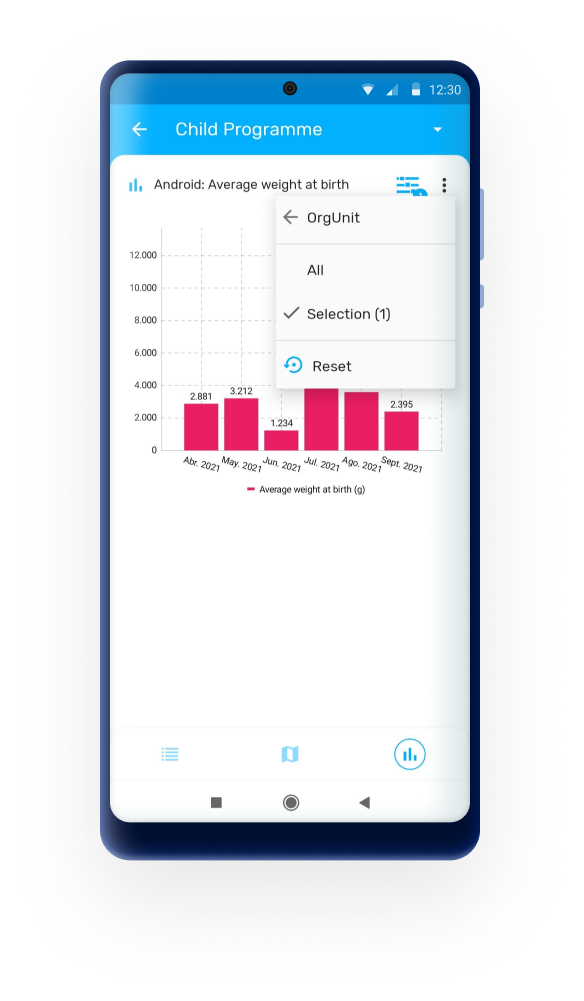
A reset button will be displayed if a filter is applied. Select Reset to display the default visualization.

Users can also change The anlytics type between chart, table or single value.

Legends are displayed in pivot tables by enabling the feature "Use legends for chart color" in the Data Visualizer App.
The Android app will color the cells using either the pre-defined legend per data item or a single legend for the entire pivot table, depending on the settings in Web.
The style for legends in tables has a new design which ensures good contrast and visibility independently from the selected colour for the legend.

All these visualizations can be organised and displayed in groups. Groups are also configured using the Android Settings Webapp following the steps below:
You can name your different groups, they will be displayed as a button in the top bar of the analytics screen.

Android uses tables and charts created using the web Visualizer app, however only the configuration parameters of the object are used by the Android App: data elements, indicators, chart type, title, periods...; all the aggregations are calculated offline by the android application. The results will be based on the data stored in the device at that exact moment.
Since the aggregations and calculations displayed are calculated in the device, the implementation of analytics is limited compared to web. In summary the compatible and suported objects and features are:
There are many more restrictions which apply to Android Analytics regarding the many configuration options available in the Web Visualizer as well as the supported functions and calculations related to indicators and program indicators. This table summarises all supported features.
Note
The following aggreagation functions are supported now in local analytics: LAST, FIRST, AVERAGE_SUM_ORG_UNIT, LAST_AVERAGE_ORG_UNIT, LAST_IN_PERIOD, LAST_IN_PERIOD_AVERAGE_ORG_UNIT, FIRST_AVERAGE_ORG_UNIT
The DHIS2 Android App can now render analytics that have been created in the line listing app.Analytics to be displayed require to be configured using the Android Settings WebApp where administrators will be able to decide the tables to be displayed for end users.
To configure analytics open the Android Settings WebApp on your DHIS2 server and follow the steps below:
In the app, the users will be able to search by period, Org. unit, or any of the columns added in the Line List.


From 3.1.0, the Android App introduces support for the Category Option Dimension in line listings. Additionally, it has been improved the text alignment within the Line Listing tables to support left alignment. This enhancement ensures better readability and a cleaner presentation of data, making it easier for users to review and analyze their information quickly.
To add an event visualization in the Android Settings WebApp, the table must:
The language of the interface will corespond to the language set in the DHIS2 user configuration. If the language is not available in the app, it will pick the language of the device.
If none of the language configurations are available, the app will default to English.
Translations set up in DHIS2 for metadata will also be shown according to the language in the user configuration.

You can set your icon in the wallpaper using the DHIS 2 App Widget. The icon will be the flag configured in your server.

Note
How to add a widget:
- Long press in your wallpaper
- Select Widgets
- Look for the DHIS 2 Widget
- Select
It will add a shortcut to your app.
You can set the generic theme of the app by configuring the them in our server:

Note
How to set the server theme and flag:
Go to System Settings > Appearance > Style
- Select your style
- Green,
- India (Orange),
- Light Blue,
- Myanmar (red),
- Vietnam
- Select your flag
There are currently 134 icons available that you can choose from. You can search by name in the icon picker widget. Icons are available in positive, negative and outlined shapes.
Icons can be associated to programs, stages, data elements and the options of an option set. This is configurable through the Maintenance App.
Note
This feature is available from DHIS 2 2.30 onwards

In the DHIS2 Android App icons render in the home screen to illustrate all the programs available to a user, or while adding an stage. For data elements and options, the icons render for single event programs, when a section contains a single or more DEs, showing the option set as a matrix or sequence of images.
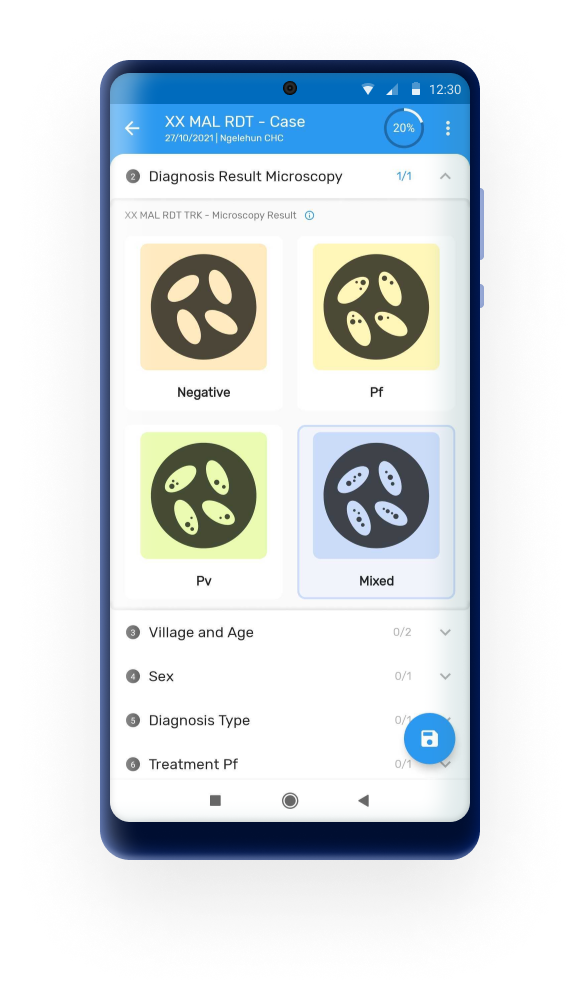
The icon based data entry can now be used in enrollment forms. When an enrollment section contains one or more Tracked Entity Attributes with option sets and icons assigned, the app is able to display them as a matrix or sequence based on the section rendering type. In previous sections of the App this feature was only available for Data elements.
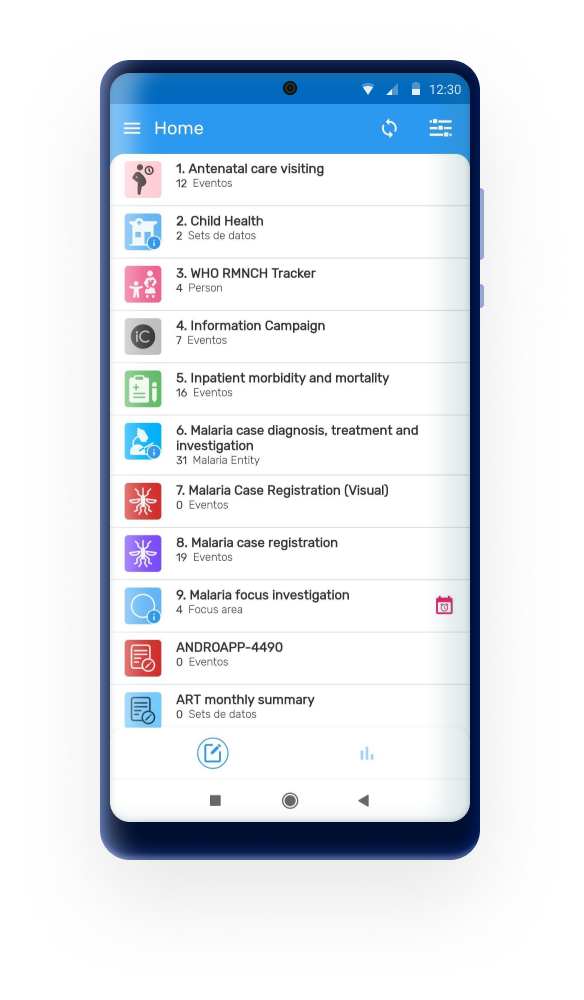
From 3.0 it is possible to display custom icons in the Android App. DHIS2 (41 version) now allows uploading custom Icons to be used in addition to the built-in Icon library. This is useful for use cases not related to health or that require very specific iconography. The Android App will render the custom icons that need to be uploaded and configured using the Maintenance DHIS2 Web App.
To upload and assign the custome icons through the instance, the admin must:

From 3.1 it is possible to disply the custom icon when a relationship is displayed.
Note
Icons will initially only render in the new Android app. The new web-based Capture App will incorporate them in the near future.
We plan to expand the collection of icons on each future version of DHIS2 for that we need your help: we are seeking ideas for new icons - please submit yours using this form.
Tracker and Event capture now have the ability to render colours for programs, stages, data elements and options in option sets. A colour picker is integrated in the Maintenance App, which shows as a palette, except for options which allows the selection of any colour.

In the Android App, the color will be rendered as background color for programs and stages combined with an icon (if selected). For options it renders as the background colour during data entry form for single event programs. When the user selects a program with an assigned colour, that colour becomes the background theme for all screens in the domain of the program.

Note
Colours will first be available in the new Android app, followed in future releases by the new web-based Capture App.

Program Section: when used in combination with icons, a Program Section with one or more data elements and associated Option Sets can render the options in sequential or matrix layout (see screenshots). If the icon is not found, the app displays the DHIS logo.

From 2.8, the app will render option set with any value type as matrix or sequential layout.


Note
Render type for sections will first be available in the Android app, followed in future releases by the new web-based Capture App UI.
Now it is possible to use two different calendars. The one on the left is the first to appear but you can change it by clicking on the calendar icon on the lower left corner.
This is available when:


Note
For Android versions 4.4, 5.1 and small devices, the Accept option is not visible in the second calendar view.
The available rendering options have been expanded to include horizontal and vertical radio buttons, checkboxes and toggles for any value type.


Note
The default rendering option will automatically display a search box whenever there are more than 15 elements in the option set to ease the selection.
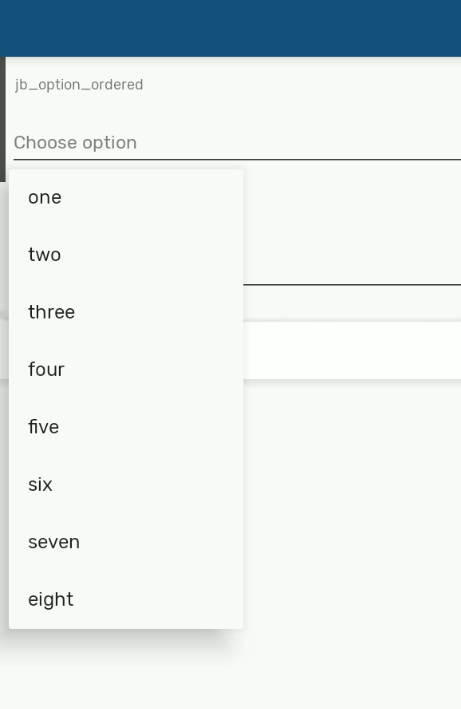
Render types are available in event and registration forms
Data elements or attributes type text can be also configured as QR or barcodes. When a Data Element or Attribute is rendered as QR/Barcode, the app will open the device camera to read the code image. When the QR/Barcode is a TEI attribute configured as searchable, the user will be allowed to scan the code in order to search and identify the Tracked Entity Instance. This will also work for option sets.
Barcodes also allow the user to manually enter the value.


Users are now able to display a bar or QR code in an image so that it can be shared for printing, take a screenshot or show it on the screen for scanning.
Non-editable fields can still share the bar or QR code, but will prevent the user from capturing a new one.


If an attribute or data element rendering type is configured as QR code, the Android App will be able to read and process the string as GS1 Data Matrix codes.
Combined with the use of d2 functions in program rules, the different fields of a GS1 code can be saved into different data elements or attributes (d2:extractDataMatrixValue(key, dataMatrixText)).


This feature allows users to collect handwritten signatures from the device. The signatures will be saved as an image data element in the app.
This configuration must be done in web ( available from 2.40 version) by selecting the "canvas" rendering type on an image value type.


From 3.0, signatures are allowed to be opened in full screen for better visibility.
Some buttons or tappable labels of the Android App had small sensitive areas for the user to tap. The whole user interface was reviewed and the tappable areas has been increased. For example the "+" button to create a new stage or the "˅" icon to open TEI details or expand a section.

The Android App provides visual animations to users when they perform actions that take longer than usual to complete, such loading maps or searching, so that they know that the system is processing their request.

This feature enhances the functionality of the app when it is used offline, ensuring that menus are disabled when the online actions are not available.
The Android App enables users to view long text in fields that are limited in size, such as a stage names or datasets headers.
The Android App displays the full description of the legend when tapping on the information icon once a legend is active. These feature is available only in event and registration forms.
From 3.1.0, the legend in a data element will now automatically update after seconds of inactivity. This means that users no longer need to move to the next field to prompt the legend update, making the process smoother and more efficient.


The new input fields are now displayed by default in the Android app and admin users are able to opt-out to use the old forms through the Android Settings web app.

A revamped of the menus and navigation bar has been made to be more user-friendly and accessible. It includes a cleaner, more modern look that improves readability and usability. These updates are designed to provide a more efficient and enjoyable user experience.


In version 3.3.0 the settings menu was redesigned to provide a cleaner structure and improved navigation experience. This update aligns the screen with the design changes introduced in previous versions and prepares the menu to host future configuration options, such as 2FA-related settings.
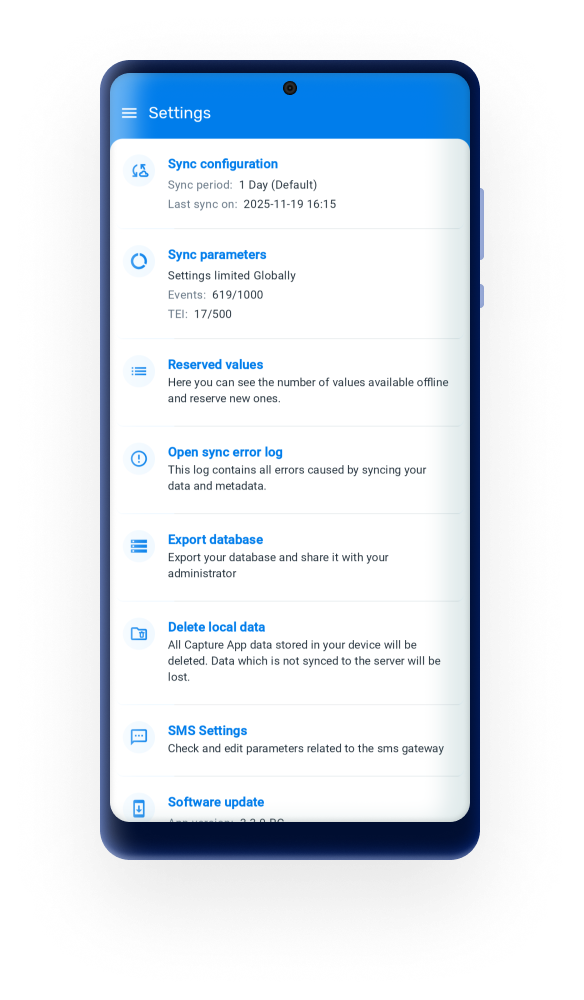
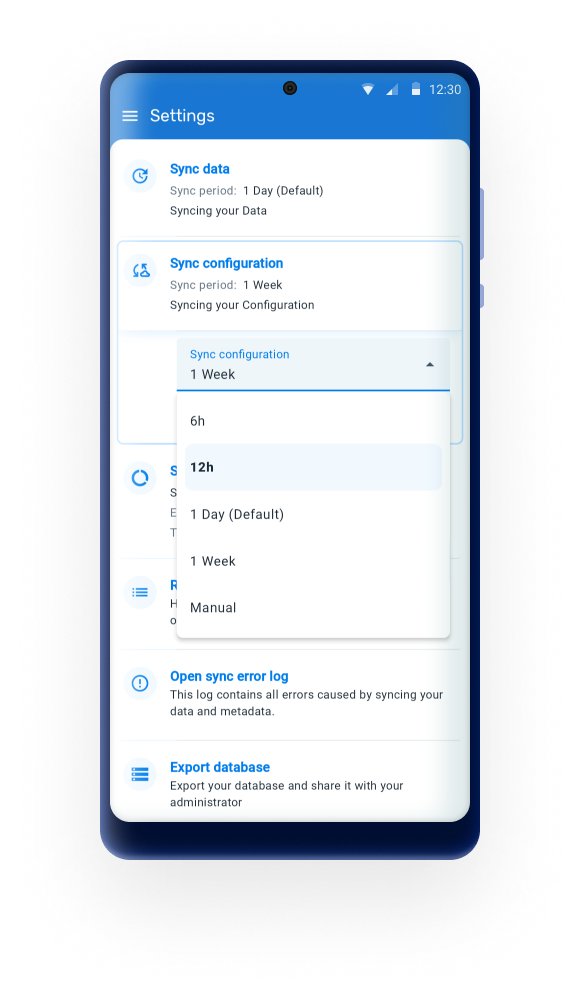
Any user is able to choose from a drop-down list if the data entered in the app is uploaded to the server manually or scheduled every 15 min, 1 hour or 1 Day. By default the app will sync every 24h. This kind of Syncing includes new and updated events and TEI’s.
Any User is able to choose from a drop-down list if the data entered in the app is uploaded to the server manually or scheduled every day or week. By default the app will sync every 24h. This sync will update changes in programs or configurations in web.
From 3.4, in addition to existing intervals, automatic metadata sync can now run every 6 or 12 hours, allowing for more timely updates and better alignment with data sync behavior.
These parameters allow the user to specify the maximum number of TEI’s and events that can be stored in the local device. The user can also specify if limits apply per organisation unit or in total. Values can be set to default by clicking on “Reset to default”.
Note
Sync data, Sync configuration and Sync parameters can be overwritten using the Android Settings Web App as described [in the specific section][#capture_app_andoid_settings_webapp_synchronization]
This will specify the number of reserved Id's available in your device and will allow you to refill them.
The sync error log gives details about the error and is prepared to be shared with admins.
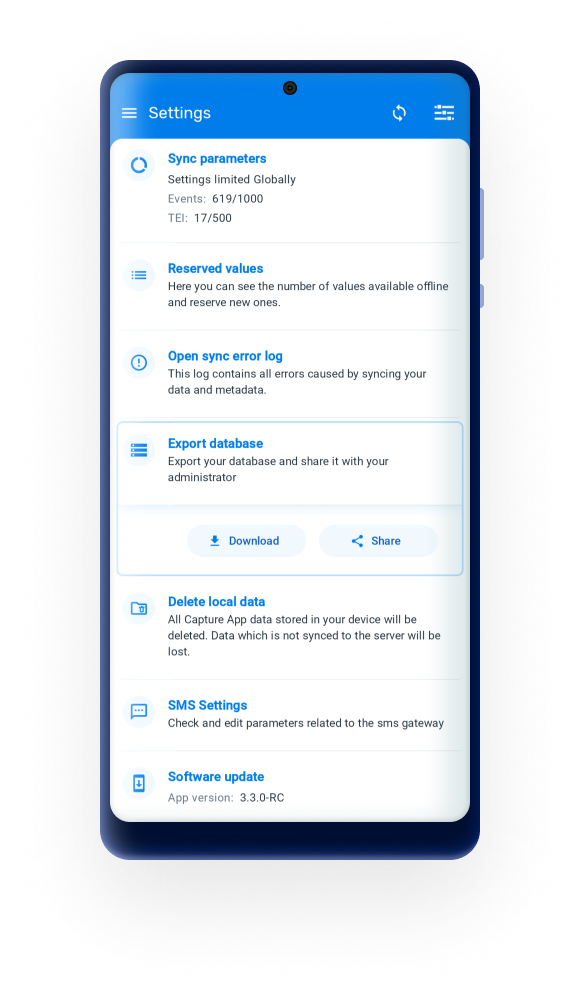
Users are able to export the local database and share it with an admin, who will be able to import it for troubleshooting, being able to replicate the exact environment (database, device, configuration). The exported database is encrypted and the administrator will require the user credentials to be able to access the database
The import button can be found by tapping on the tree dots menu at the login screen.
Warning
Using this functionality might lead to data loss if changes have not been previously synced to the server.
Warning
Using this functionality might lead to data loss if changes have not been previously synced to the server.
This sections allows to check or edit the parameters related to the sms gateway. More information here.
This feature enables implementation administrators to manage and control the version of the Android app from the DHIS2 user web interface, making it easier to manage app updates and ensure compatibility with the DHIS2 system. Managers will be able to upload the desired version and users will get a prompt message to update when they are not in the last updated version. The management of versions is made through a new Web App.

In version 3.3.0 the login screen was redesigned with a modern interface and improved usability in order to support future OAuth-based two-factor authentication (2FA), ensuring the app is ready for upcoming security improvements.
The first step to the login is to enter the server URL. This can be done in two ways:
Manual: The user must type the corresponding URL of the server to be used
Note
Take note that login is only possible with servers from version 2.29.
QR: The user can use a QR code instead of typing the URL but username and password must be entered manually.
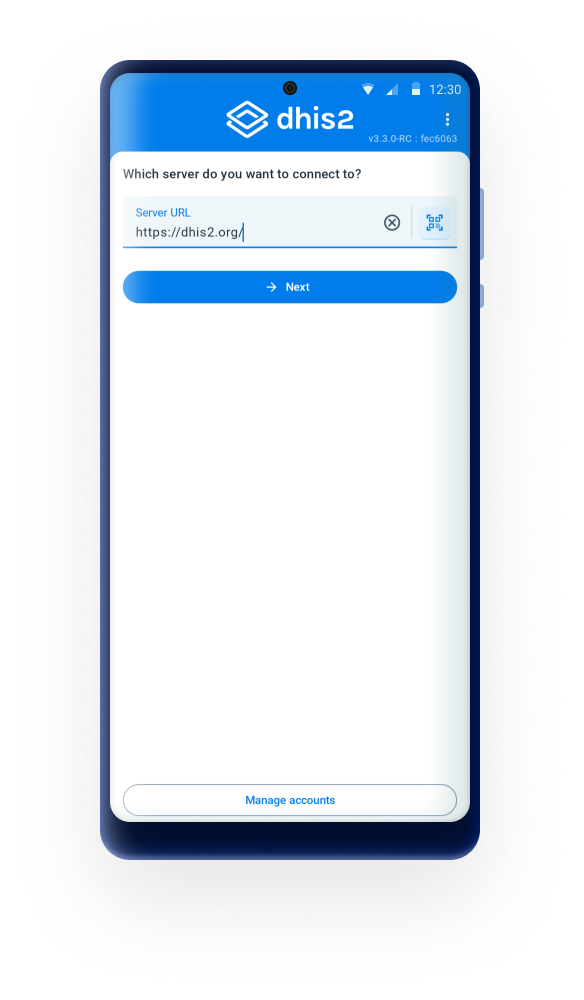
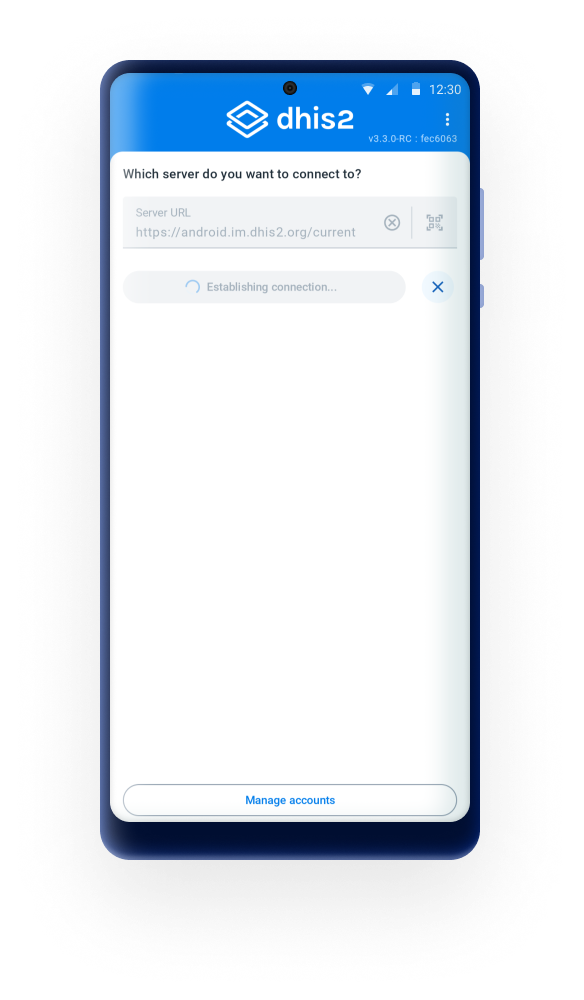
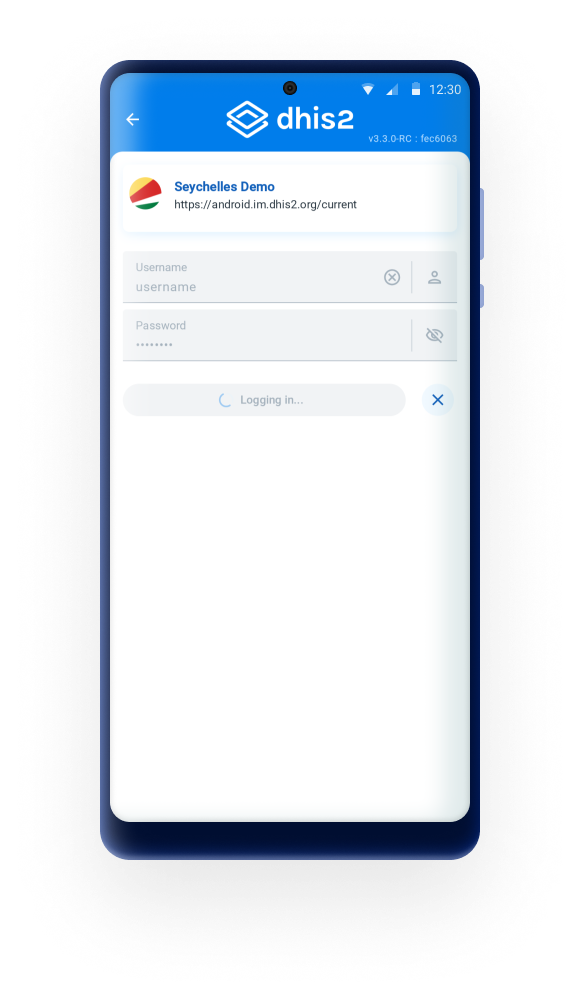
The second step is to add the username and password.
Note
- After a succesful login the DHIS2 Android App will keep these values cached (URL and username) and will suggest them for future connections without having to type them.
After a succesful login the user should be able to perform an offline login only (only avaialble for the last combination of URL/Username). Offline usage gives the possiblity of using the application withou any type of connectivity. All data will still be stored and user can perform a synchornization once the connection is restablished or avaialble.
Warning
In DHIS2 versions up to 2.30 if a user attemps an on-line login and their account has been disabled as explained in the DHIS 2 Manual - Disable User all the data will be wiped from the phone. Make sure that before disabling a user all the data has been synced or that you are using this feature to remotely wipe sensitive data in case of a device getting lost.
Due to a change in the login API this feature is not available from 2.31.
The Manage Accounts screen has been redesigned to align with the updated login experience introduced in version 3.3.0. Saved accounts now appear as clearer, more structured cards that display key information retrieved from each DHIS2 instance. Each card now includes:
This redesign improves readability, makes it easier to distinguish between multiple saved accounts, and ensures visual consistency with the new authentication flow.
The users will need to have access to the internet for the first login of each account and will be able to switch accounts after without requiring access to the Internet.
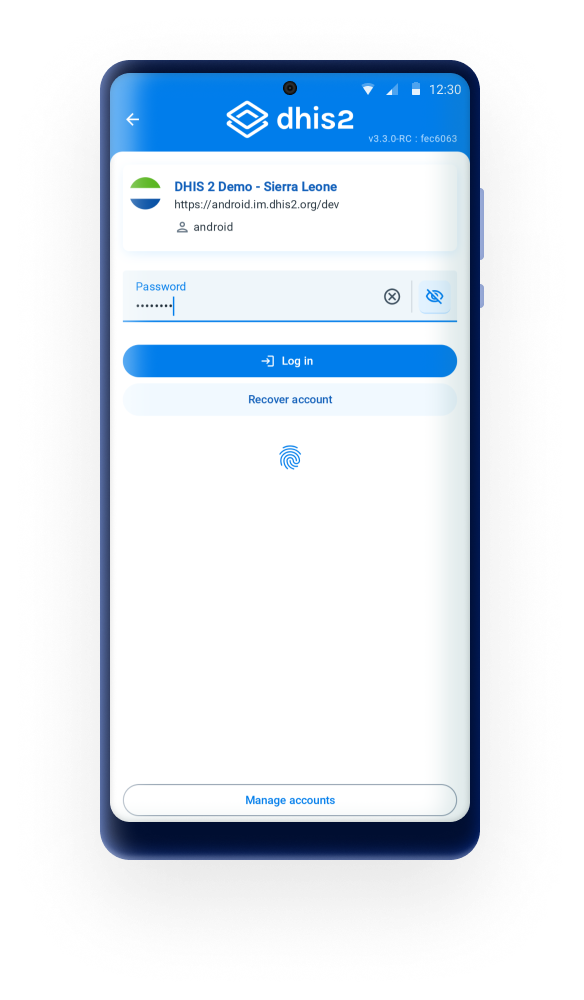
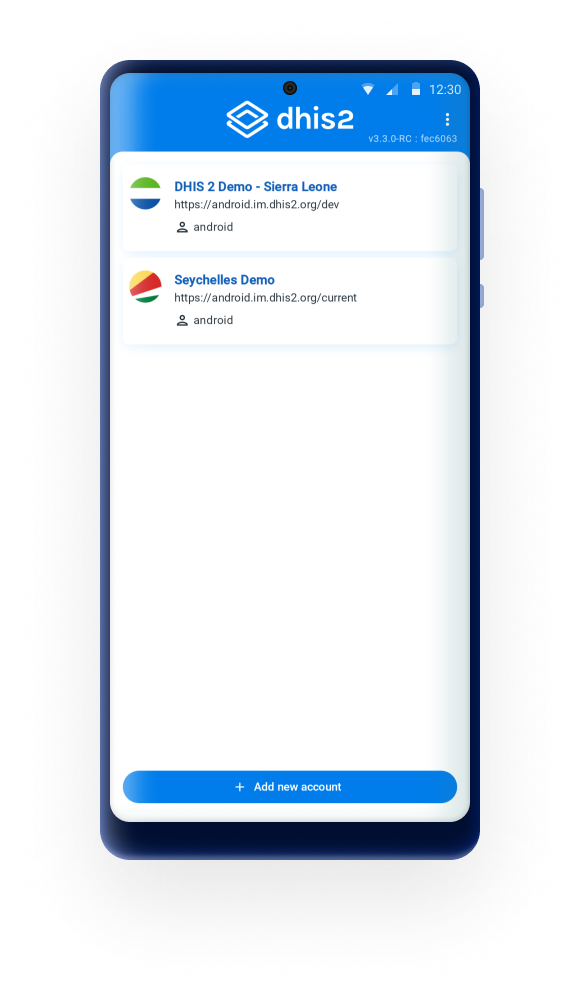
The users will be able to manage the user accounts and delete accounts if needed.
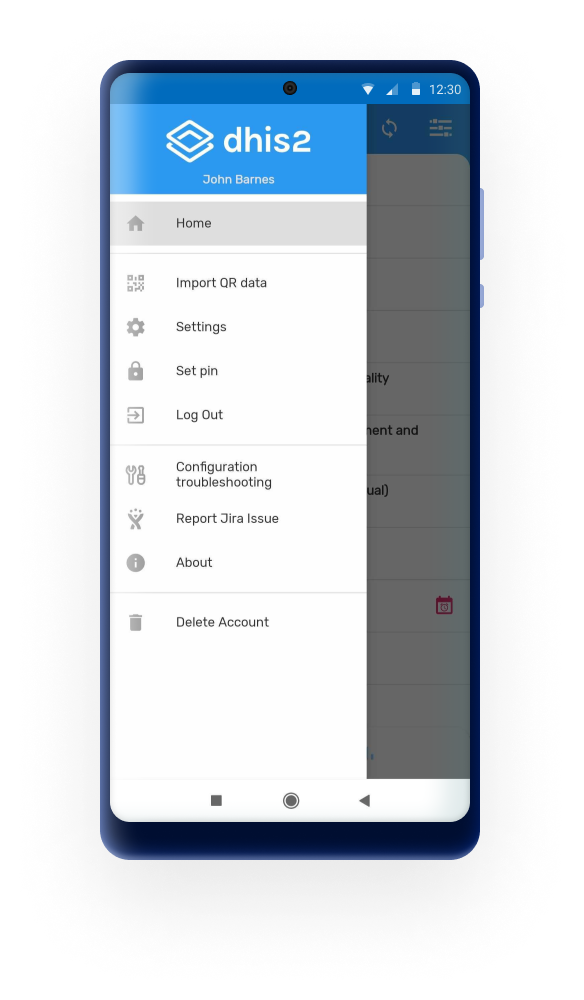

The users will be able to restore their own password if they have the setting enabled: Enabled User Account Recovery.

User is able to lock the session using a 4 digit PIN. This allows to move to other apps in your phone without deleting the local data.
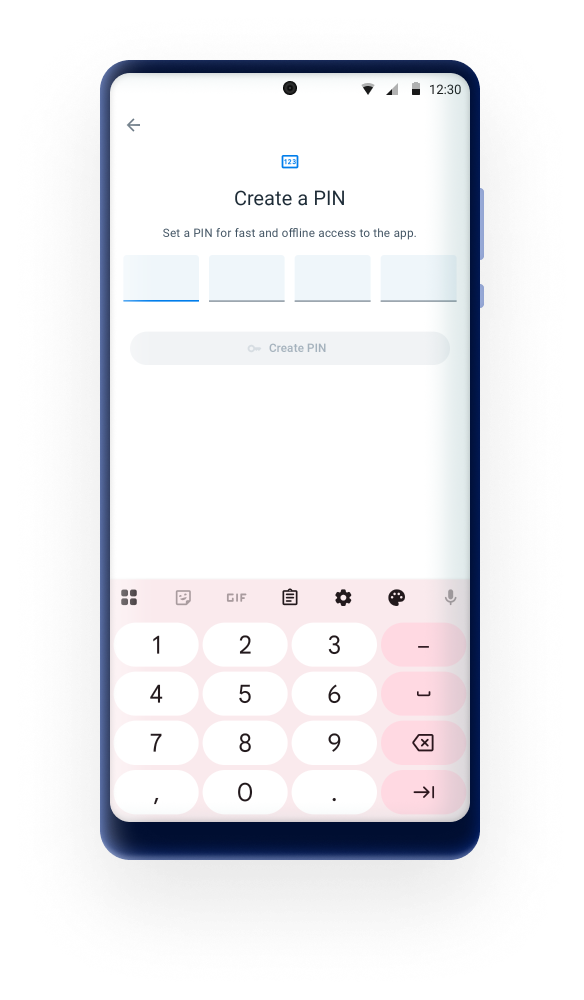
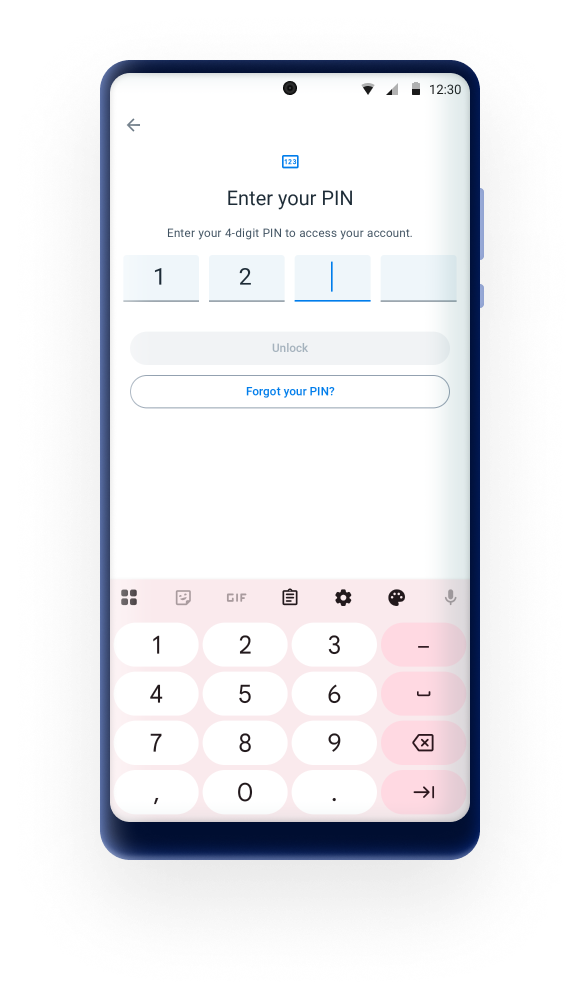
If the user forgets the PIN number, log in by entering the credentials is also available. After 3 invalid attempts, the app will ask the user to login using the password.
User is able to use the fingerprint scanner or face id if the feature is activated in the device. This will only be available if there is only one account (not supported for multple accounts)
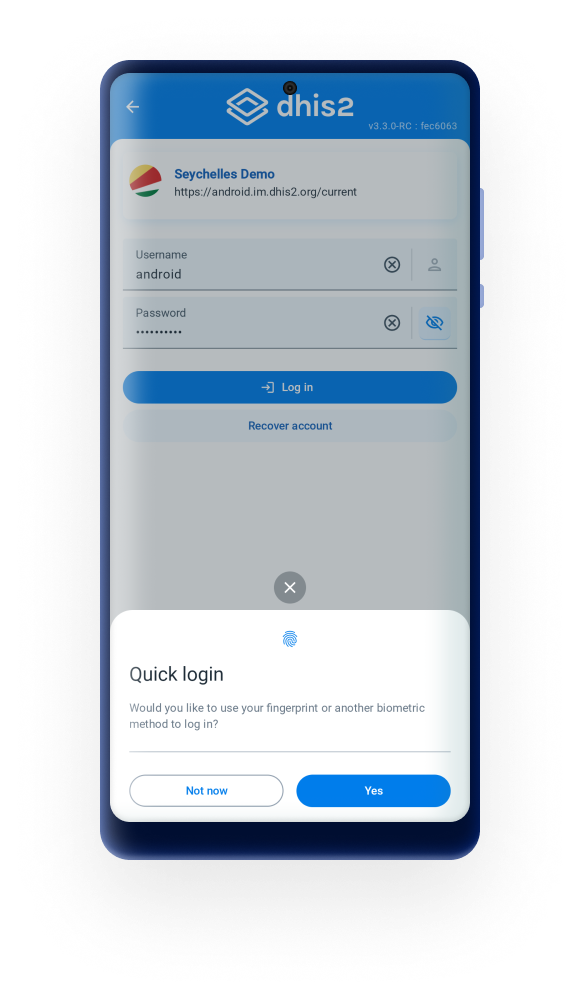
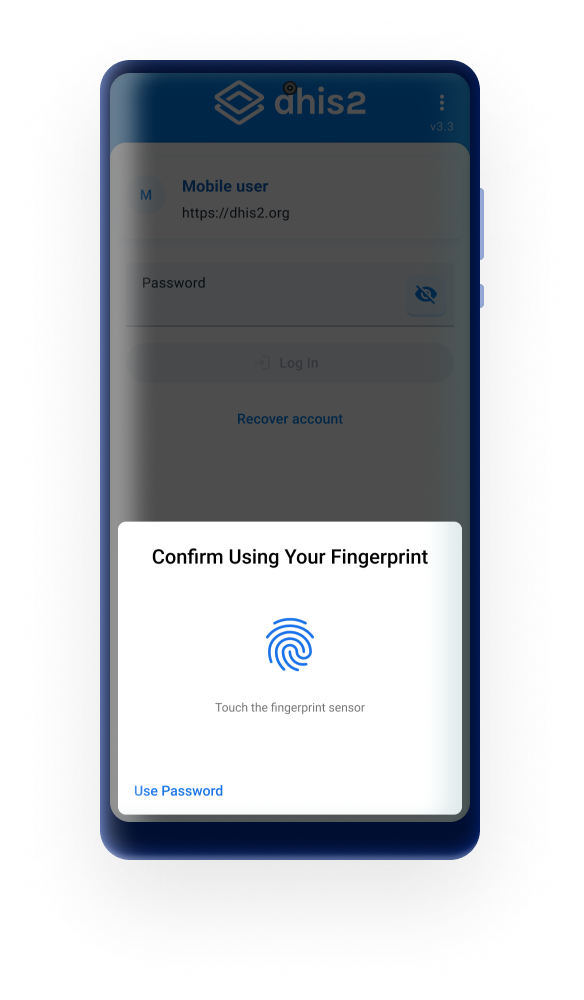
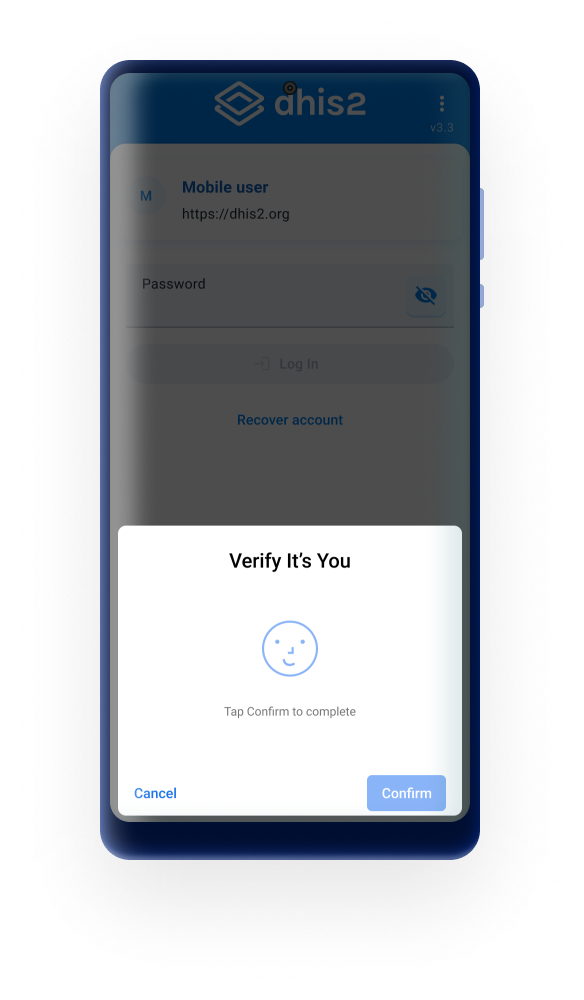
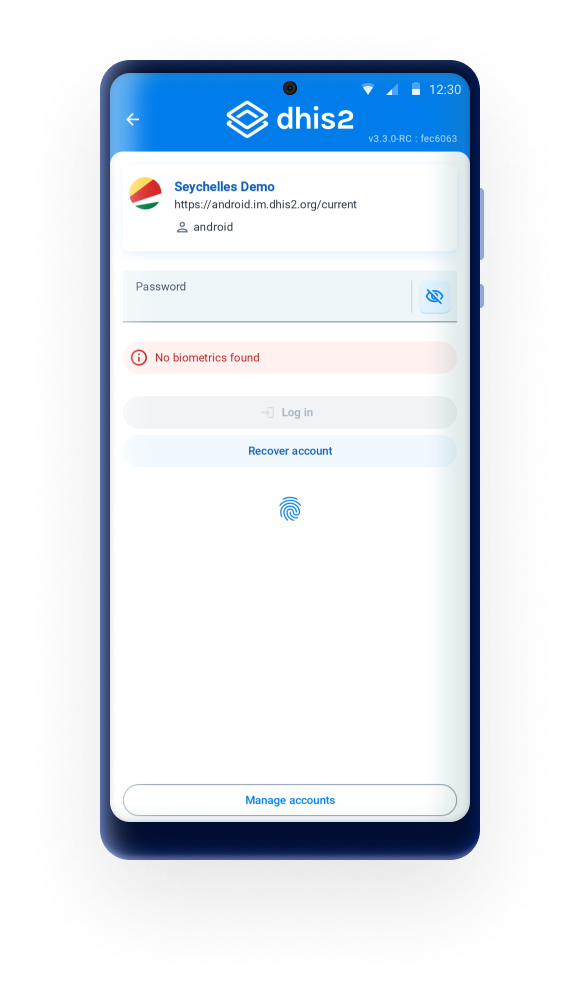
If the biomtric authentication fails, the user will be asked to enter password to finish the login process.
A contextual guide is available in TEI dashboard screen.

Tip
User is able to re-open the instructions by clicking on the three dots at the top right corner of the screen.
A filter can be applied in all listing screens (home, event listing, tei search and dataSets) which narrows down the data displayed. The filters available are: period, org. unit, sync state, event status, category option combination and "assigned to me".
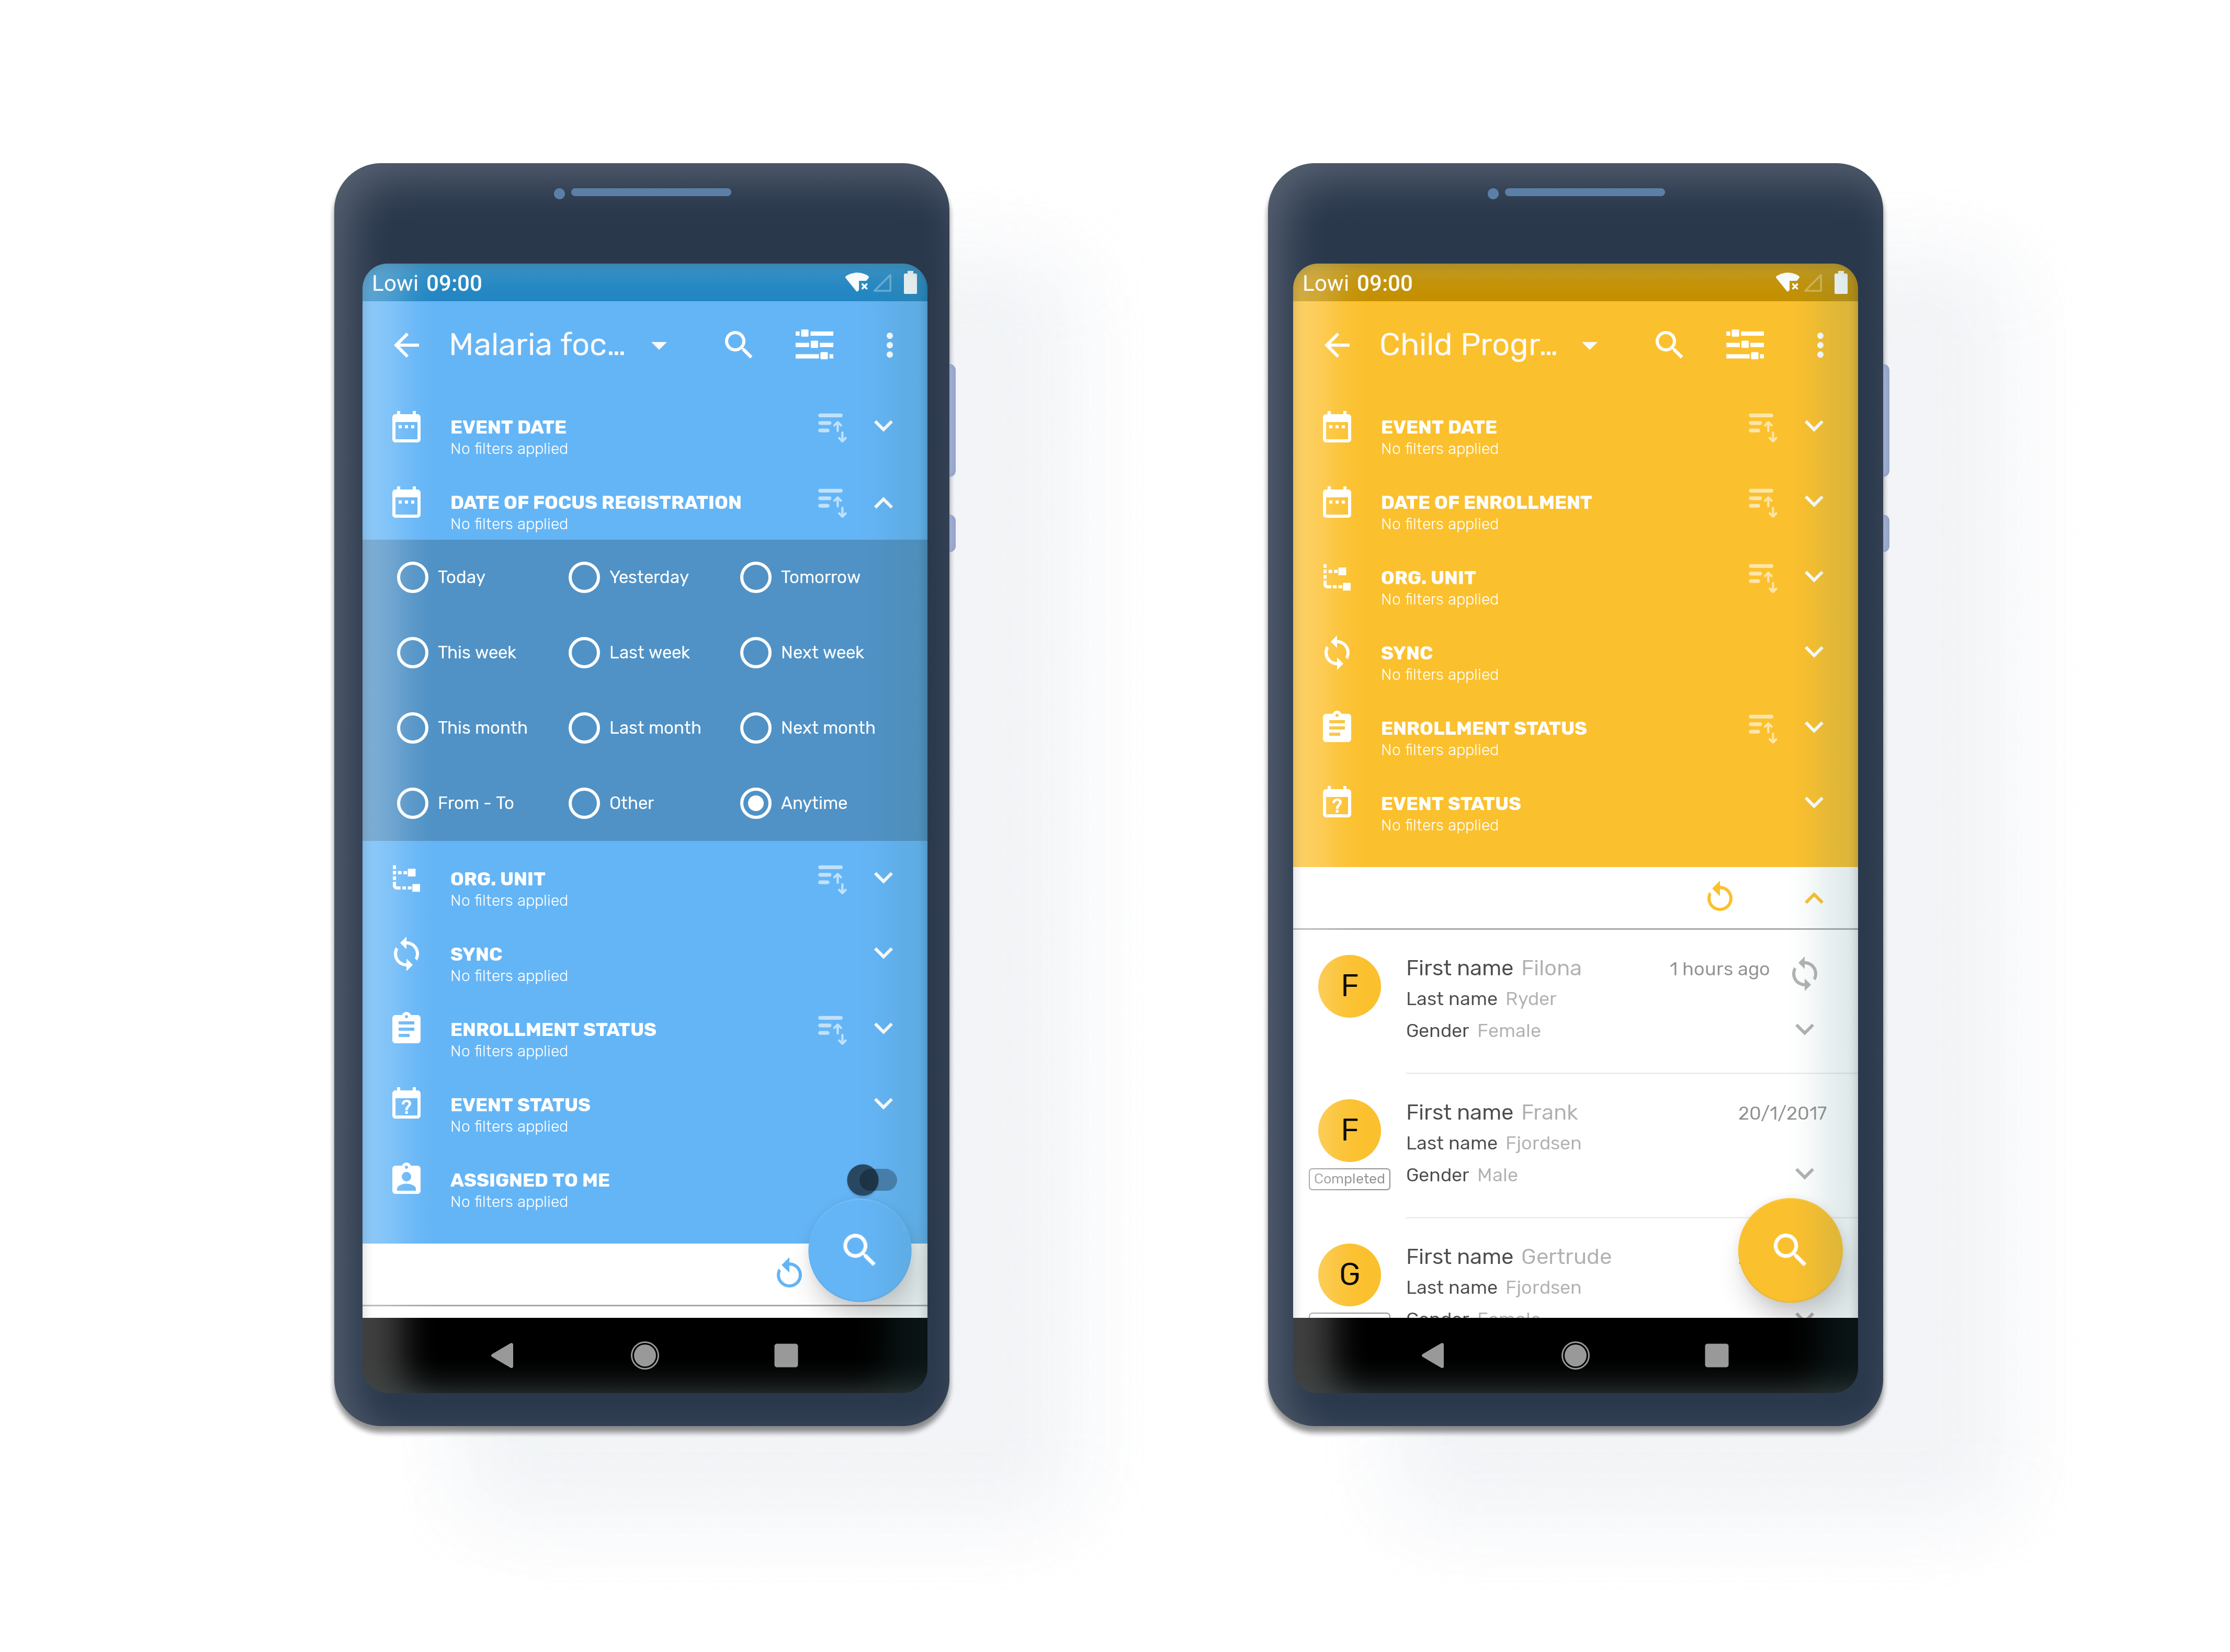

Filters will adapt to the different programs and data sets.
It is possible to filter events based on its assignment to the current user. The “Assigned to me” filter has been added to the single event program list, the TEI list and the TEI Dashboard and the map views. It will only be displayed when the active program is configured to assign events to users.
Filter the Events, TEIs(based on their events) and data sets, the following periods of time are availables: - Today - This week - This month - Yesterday - Last week - Last month - Tomorrow - Next week - Next month - From-to - Other (Opens a date picker) - Anytime
Allows the user to type the search or select an organisation unit from the tree. The filter will not be visible if the user has only one Organisation Unit configured.
Filer by: - Synced (events, TEIs, Data Sets) - Not Synced - Sync Error - SMS Synced
Filter the events by: - Open - Schedule - Overdue - Completed - Skipped
Multiple status selection is permited. Once you open a TEI, the filter will be kept in the dashboard and show only the events with the selected status.
Events shown are up to 5 years old.
The 'Date of Enrollment' will apply to the Enrollment date of the TEI in the program. If there is more than one enrollment date, it should sort the results by the most recent one. The label of this filter will display when available.
The filter 'Enrollment status' offers three options: Active, Completed, Cancelled. Only one option can be selected at time. If you filter by "completed" and the TEI has more than one enrollment, the app will open the "active" enrollment. To see the completed one, select the three dot menu at the top right corner of the dashboard and select "program enrollments".
The 'Follow Up' filter allowes the user to filter out the TEIs that have been marked as 'Follow-up'. TEIs can be marked to be followed up in the TEI Dashbaord.
Filters have been added to the TEI dashboard. It is possible to filter the events of a Tracked Entity Instance enrollment per period, organisation unit, sync status, event status, and user assignment.

Sorting has been integrated in the filter menu.
The sorting button will be on the filter bars with the following behavior: - Only one sorting applies at a time. If the user clicks a different one, the previous one is disabled. - The icon for applied sorting shows it is active, the others are inactive.
- Repeated clicks keep changing the order to the reverse.

During the metadata download, the app will remain in the splash screen and will open the home screen once the metadata is in the device.
In the home screen, the app will inform with a loading spinner on each program when the data is downloading. After the sync process finishes, the app will display one of the two possible icons:
The user will be able to see how many programs are downloading data, or completed, making the waiting process more transparent and informative about its progress.

NOTE: All programs and data sets will be blocked until the sync process is fully finished.
The application will launch a sync process for data and metadata only for the first time the user logs in. In order to facilitate the work in the most difficult cases, the sync process have been removed for the subsequent logins. This means that when the user opens the app, it will open without performing a full sync even if the user logs out of the account.
If the user deletes the account, then the next login will launch the sync process.
Also, users have the option to sync with the server through the Refresh button any time they wish.
Next to each program or data set an icon will be displayed which allows the user to check sync information. Synced records will not show display any icon. Unsynced (grey arrows), error (red arrows), warning (orange) or SMS (blue and including the SMS word inside) icons are be displayed according to the status.

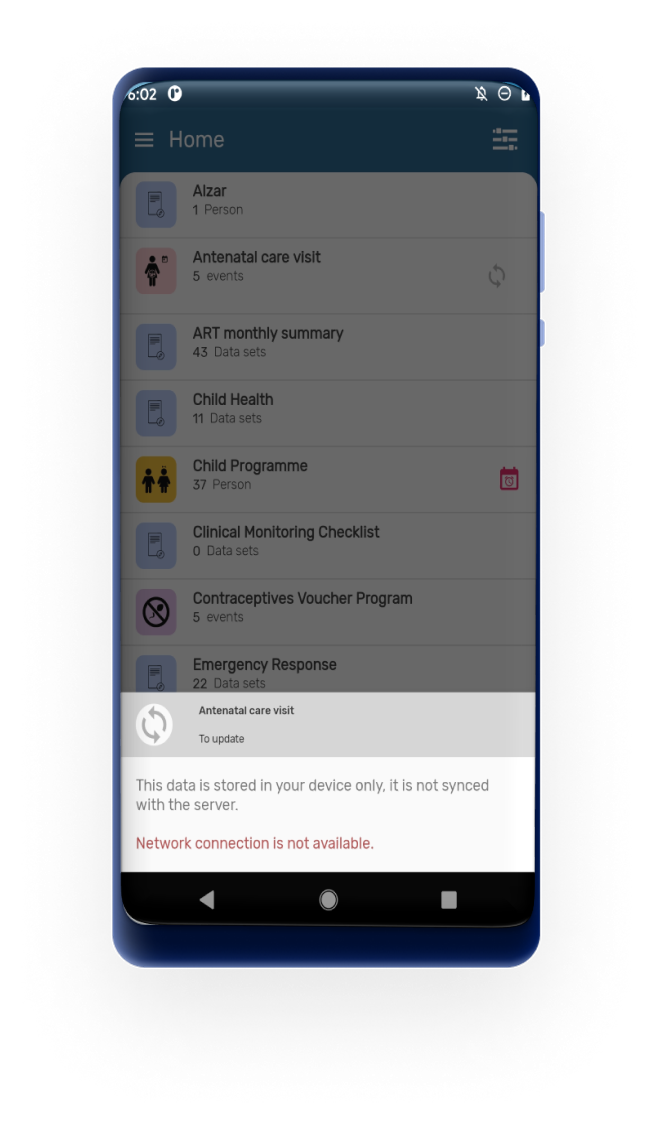
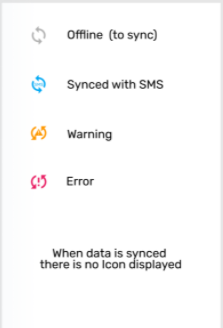
Users can click on the grey arrows (which means record(s) stored online in the device) to perform a sync. These options are available at top level (programs/dataset) or individually (TEI, events, datavalues).


When there is no Internet conection (either via WiFi or Mobile Data) but there is still mobile conectivity, users can synchronize via SMS if the gateway has been previously established in the app and properly configured at server level.
If the app has been downloaded from Google Play users will have to send manually the SMS from their default SMS app (their default SMS application will open with the message composed). Users should send the message without modifying it and then switch back to the DHIS2 app to confirm that the message was sent.


However, if the app has been downloaded from Github (or the training version is being used) the App will just ask for a confirmation to send one or several messages (SMS) and will send them in the background (without opening the default SMS application).


Tip
Edit parameters related to SMS gateway in the SMS Settings (Settings Menu) or set this globally via the #capture_app_android_settings_webapp_general

Note
Note that in order to user the SMS sync capabilities the SMS services needs to be enabled in the server side as described in the https://docs.dhis2.org/master/en/dhis2_user_manual_en/mobile.html#sms-service. You can also find more information on how to use different gateways in the https://docs.dhis2.org/master/en/dhis2_android_implementation_guideline/about-this-guide.html
In case of errors during the sync process, a message is displayed in the settings menu ('Sync data' or 'Sync configuration' section). Also, a red sync icon is displayed next to the program in the Home screen. The sync error log gives details about the error and is prepared to be shared with admins.


You can also open the sync errors log from Settings:

Users can now retrieve the latest data from the server before entering new data. A refresh button is now located to trigger a granular synchronization in the following screens:


The whole organisation unit tree is displayed. Organisation units not available for data entry will be colored in grey. User must check the box to select the org unit wanted. After an organisation unit is selected, the parents will be marked in bold to show hint of the organisation unit selection when opening the hierarchy.

Caution
Mobile users are not expected to access the org. unit hierarchy of a whole country. Maximum number of org units is difficult to set, as the App does not set the limit, but the resources on the device (memory, processor). We could say below 250 org units should be safe, but still believe that is a very big number for a mobile use case.
The user can now enter aggregate data for an organisation Unit, a period and a set of data elements and send it to the server.

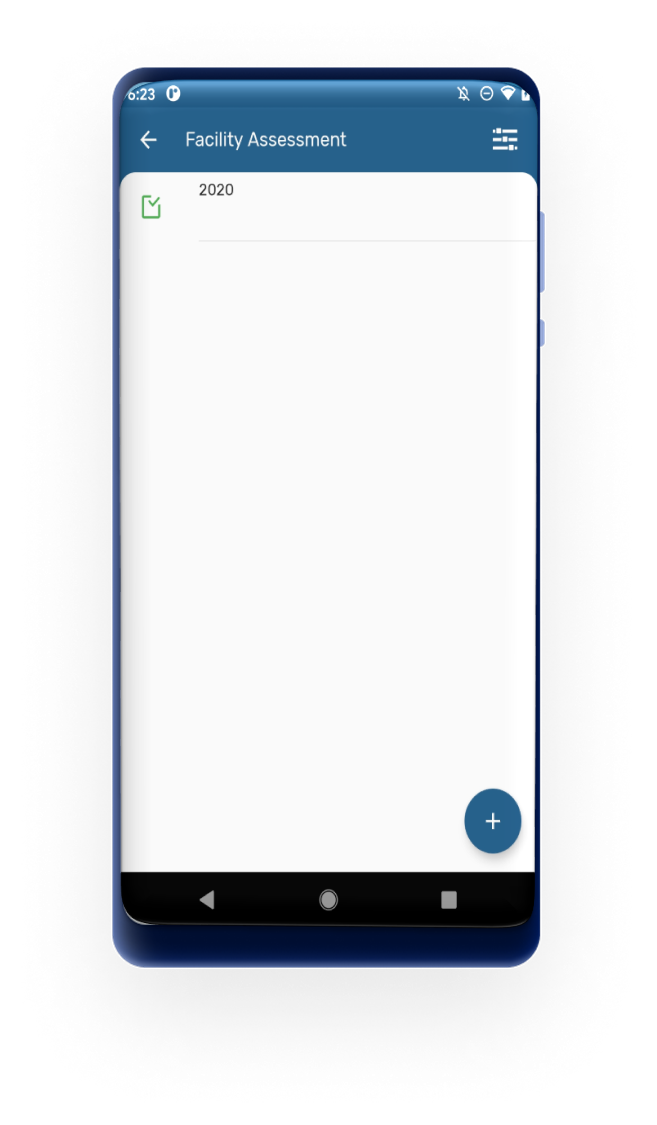

The home screen of the DHIS2 Android App shows the list of programs and data sets available for the user. The first thing the user does when collecting data in this case is to select the program or data set to work with.
In 3.1.0, a new dynamic home screen that adapts to the number of programs (up to 4 programs) available has been implemented. This update replaces the old static list that didn’t adjust to the screen, providing a more responsive and user-friendly interface.The responsive design makes better use of screen real estate, providing a more engaging and functional home screen layout.


Tip
An easy way to differentiate them is by looking at the word at the bottom left corner. The word 'Event' will always be in event programs. In tracker will appear the name of the tracked entity type (person, patient, building, etc.). For data sets, the word 'DataSets' will be shown next to the number of records.
For those implementations where the users have access to only one program or dataset, the App will skip the home and will open directly the program or datasaset screen with the event, TEI or dataset list to reduce the number of clicks and streamline the process of data entry.


Users can share TEI via QR codes. This allows transferring/sharing information between devices without the need of transferring via the server (useful when connecitivity might be missing). To do this users should open any TEI and click on the SHARE button.


Capture the TEI coordinates in the registration form. Enable this feature in the TET feature type.
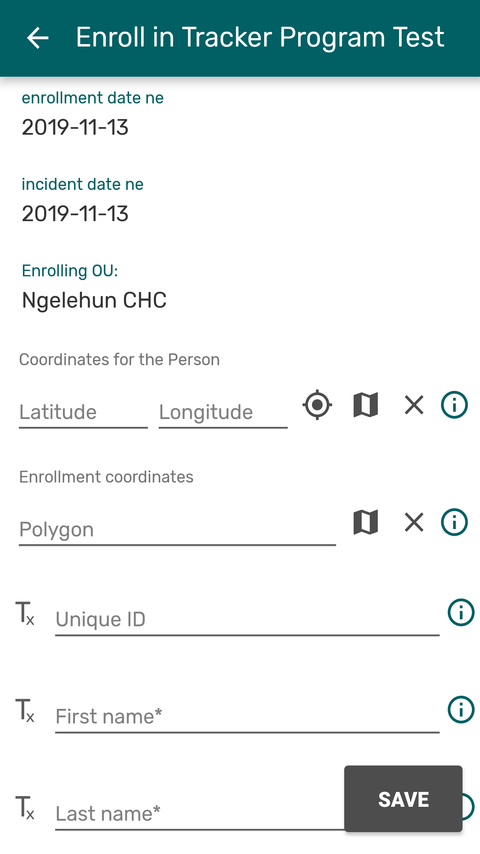
The app now supports the geoJSON format and the user is able to capture polygons.

ValueType image can be used in Android to capture data and also, depending on the program configuration to be displayed in the TEI dashboard. When this value type the first data element/attribute marked as displayed in the program configuration it will be used as the TEI profile image.


Open the TEI profile image by clicking on it.

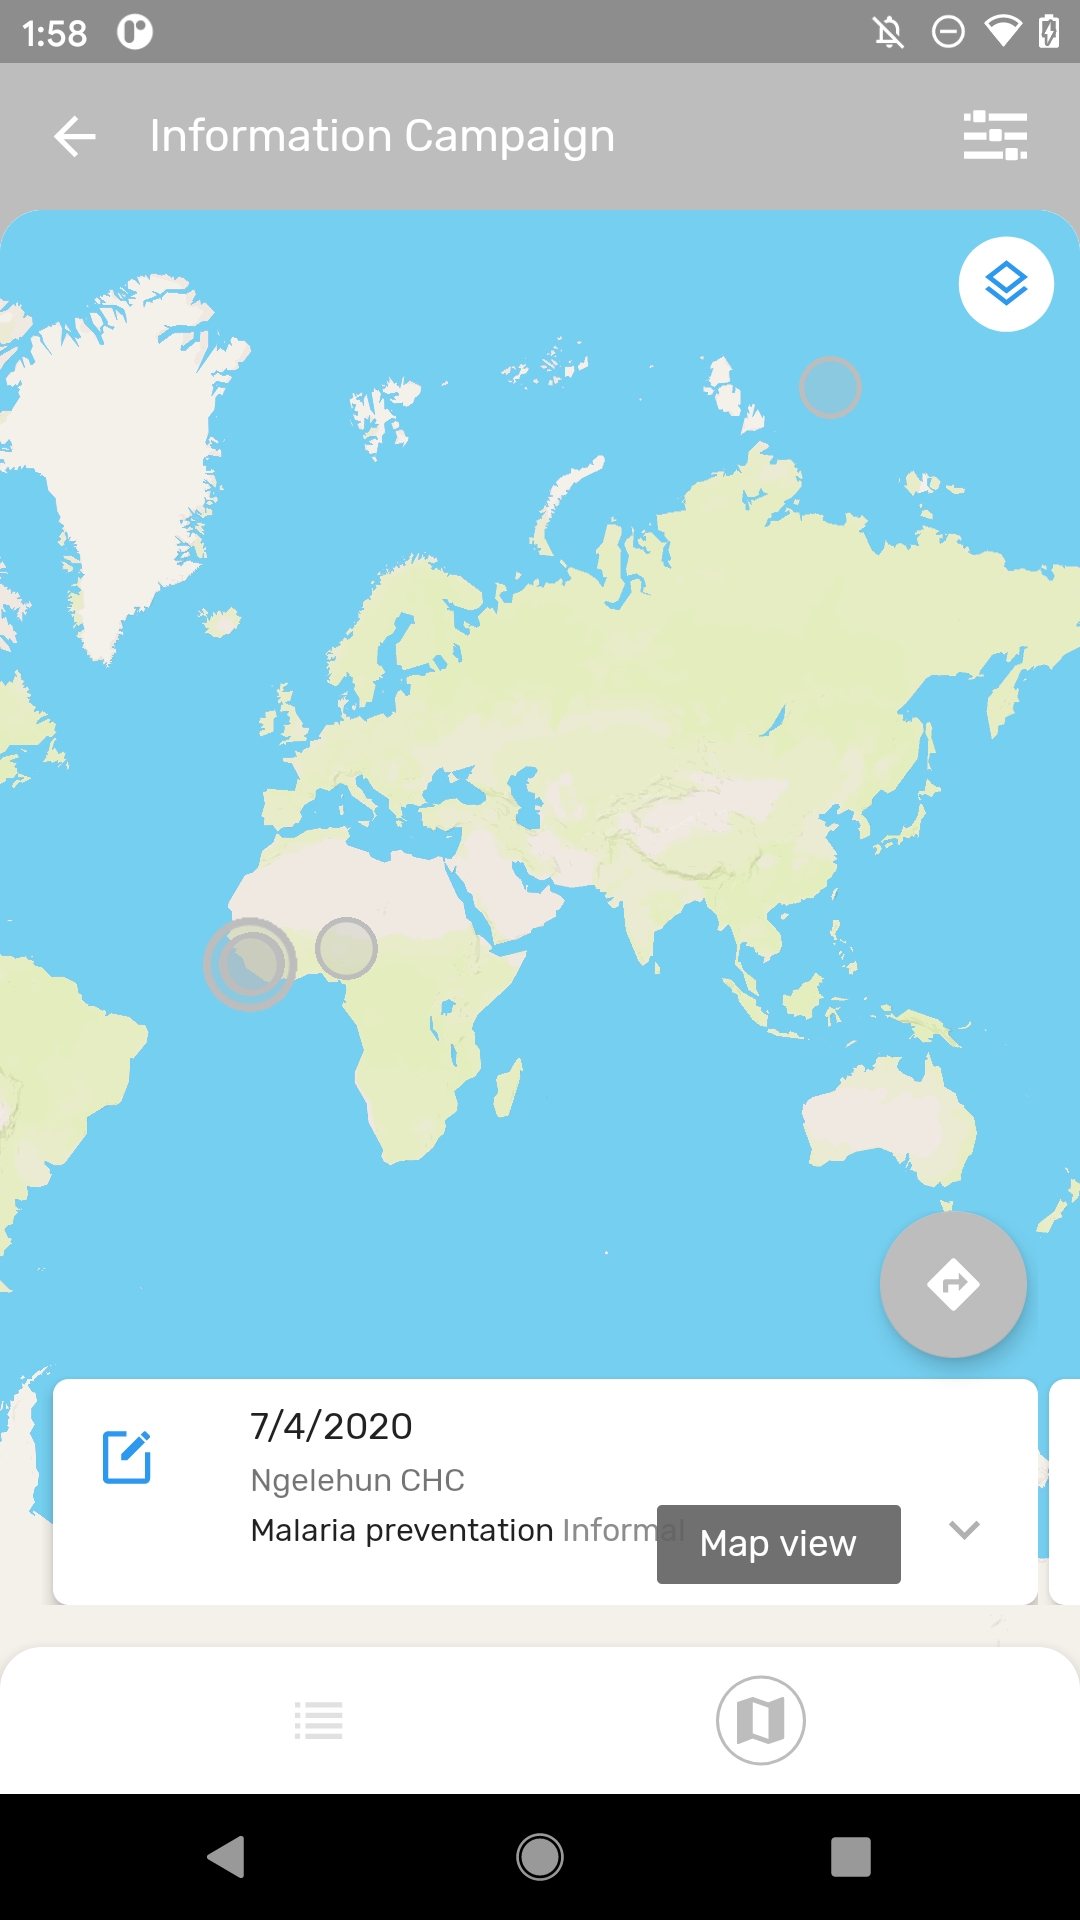
When a program stage or tracked entity type have a feature type (and for programs with registration the option displayFrontPageList is enabled) the listings can be switched to display the information in a map. Make the switch by clicking on the map icon in the navigation panel.


If the TEI has a profile image, the map will display it.

In the DHIS2 Android Capture App users can switch date selection from spinner to calendar view. In this version, the app will remember the last visualization selected by the user and use it the next time the user needs to select a date.

Data can be blocked for many reasons in DHIS2, because of access restrictions or expiration among others. When an Event, TEI or Data Set are not editable the user will be able to find the reason on the "Details" section.
The following list contains all possible reasons:


The Configuration Troubleshooting feature is available only in the DHIS2 Android Training App. It is not included in the production version of the Capture App.
This tool is intended for administrators and implementers who need to test and troubleshoot program rules or translations during setup or training. It does not require a special user role or authority.
You can download the latest version of the DHIS2 Android Training App (APK) from the DHIS2 Training App on GitHub (look for the APK labeled Training).


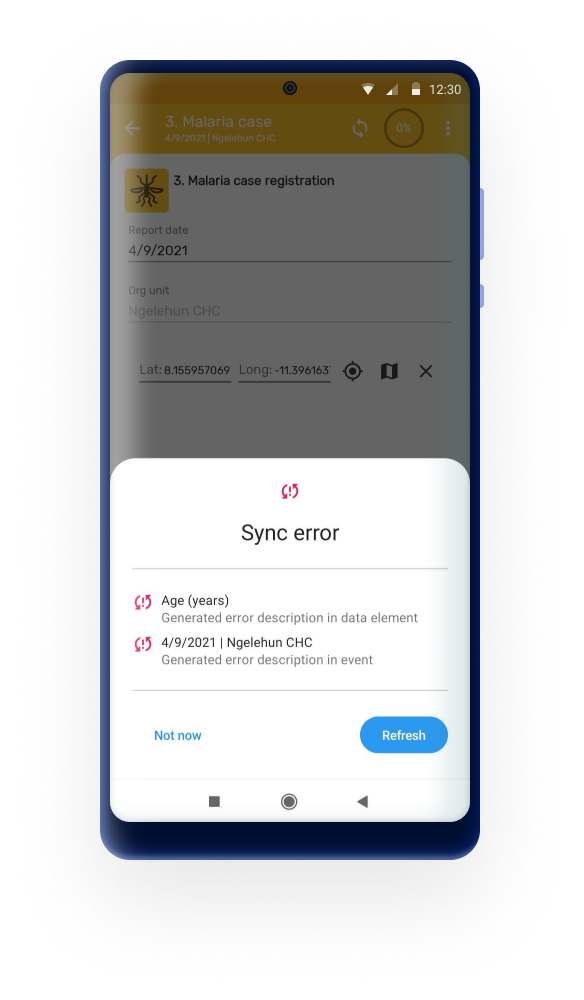
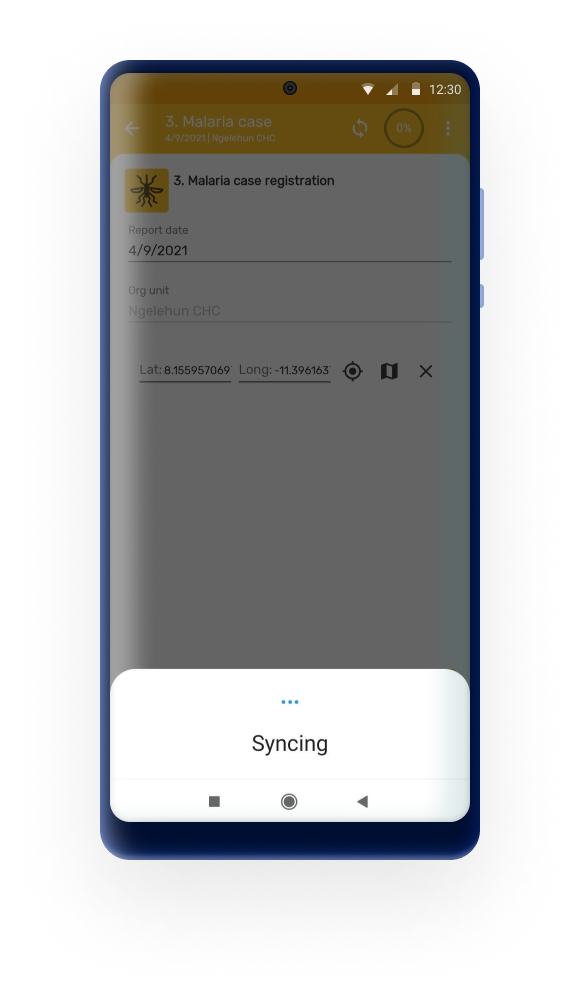
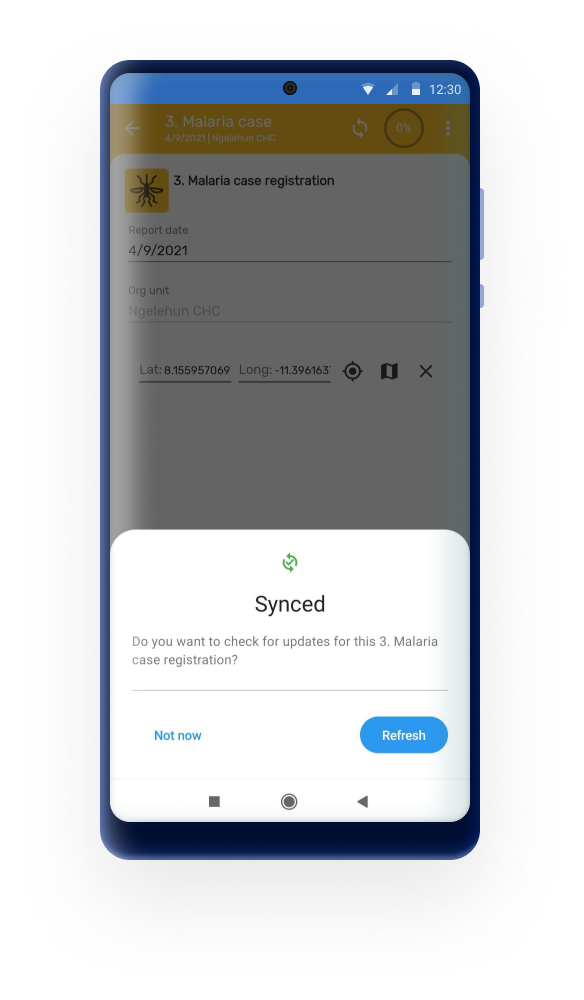
The Android App has improved the navigation of sync errors on the user interface. The app will display the sync errors in a simple and clean manner allowing the user to navigate from the home screen to the exact field that is causing the error inside the event or data set.
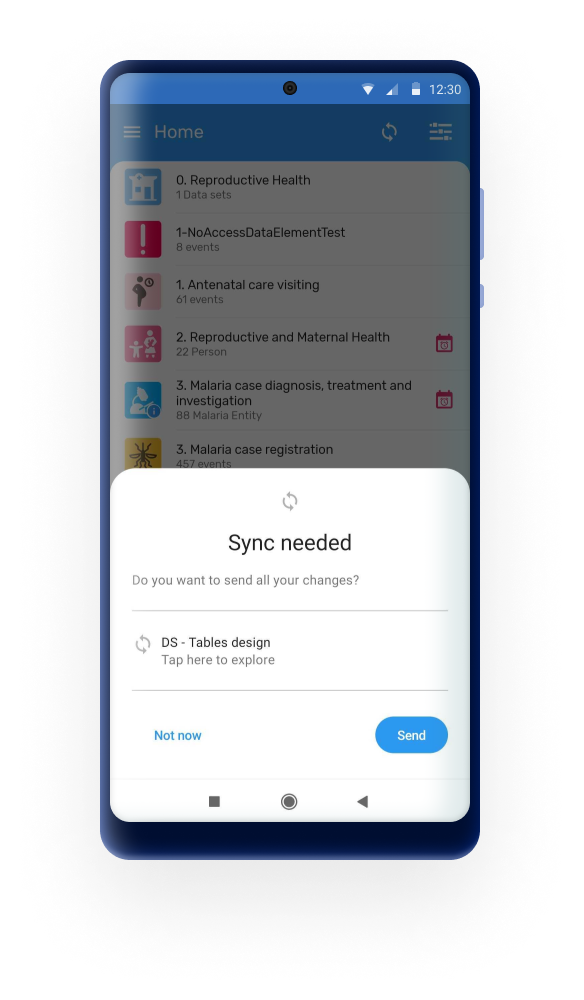
User must tap on any of the errors listed and the app will move to the correspondent screen. Once the error is located and fixed, the user can synced by tapping on the "Refresh" button.
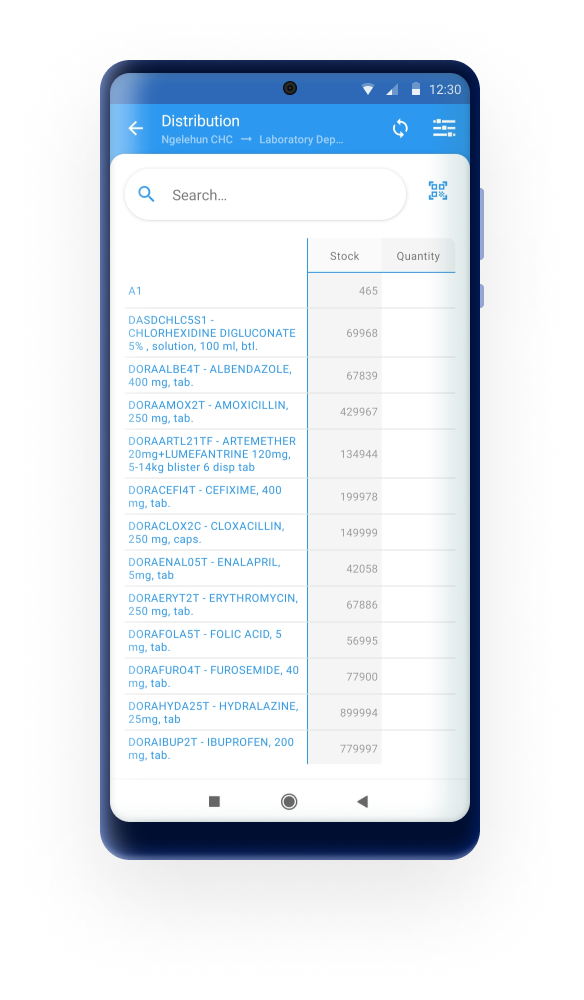
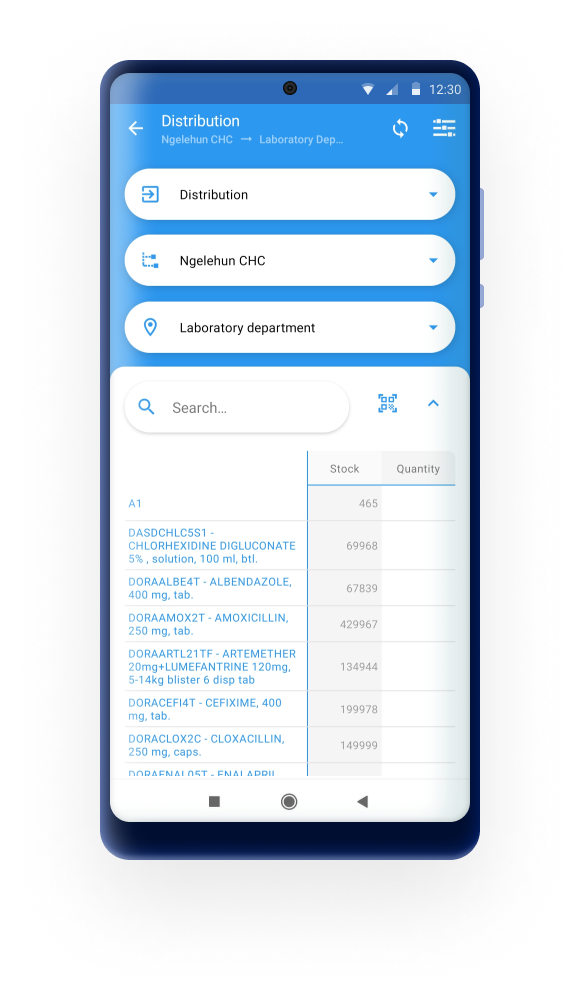
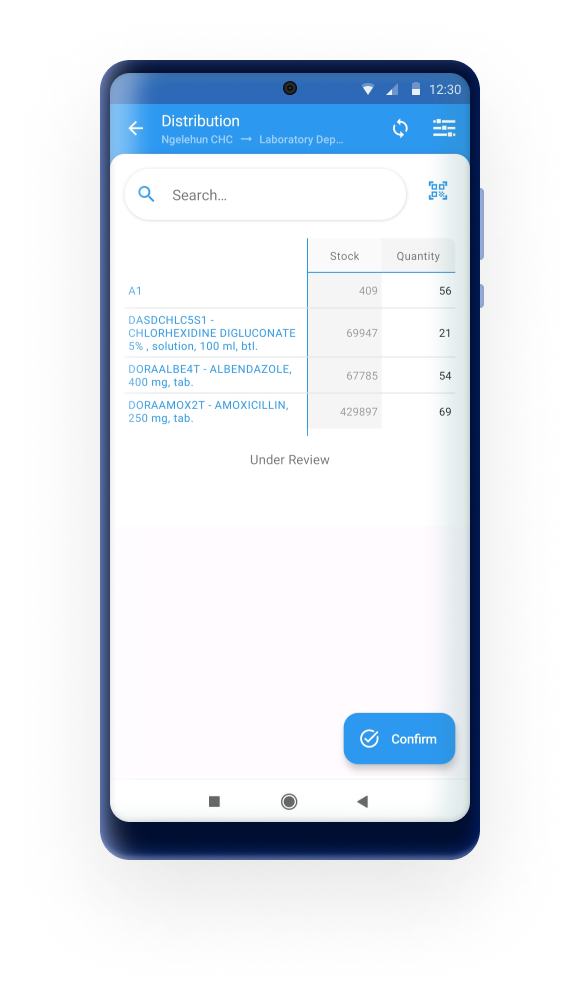
The new module for real stock monitoring use case enables users to manage and monitor their stock levels in real-time. Integrating a module implies that the app will open a completely new and different user interface and experience to respond to a different data entry flow. To use this modules the program will need to be configured using the new web app for program use case configuration.
The Android app will upload events with status COMPLETED by default. If the program configuration prevents the event from being completed on the server (for example, due to mandatory data elements or “error on complete” program rules), the app will upload the event with status ACTIVE instead. This prevents failed uploads caused by server side misconfiguration while still ensuring that data is sent.
With this update, event ordering has been aligned across Web, Android, and API sources. This ensures that events are processed in the correct sequence during synchronization, improving data consistency and calculation reliability across the system.
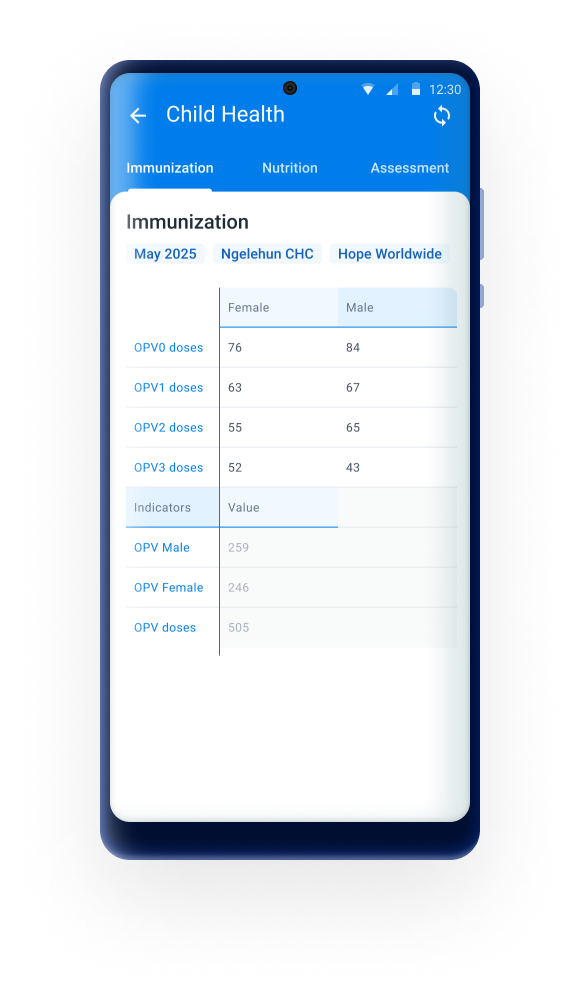
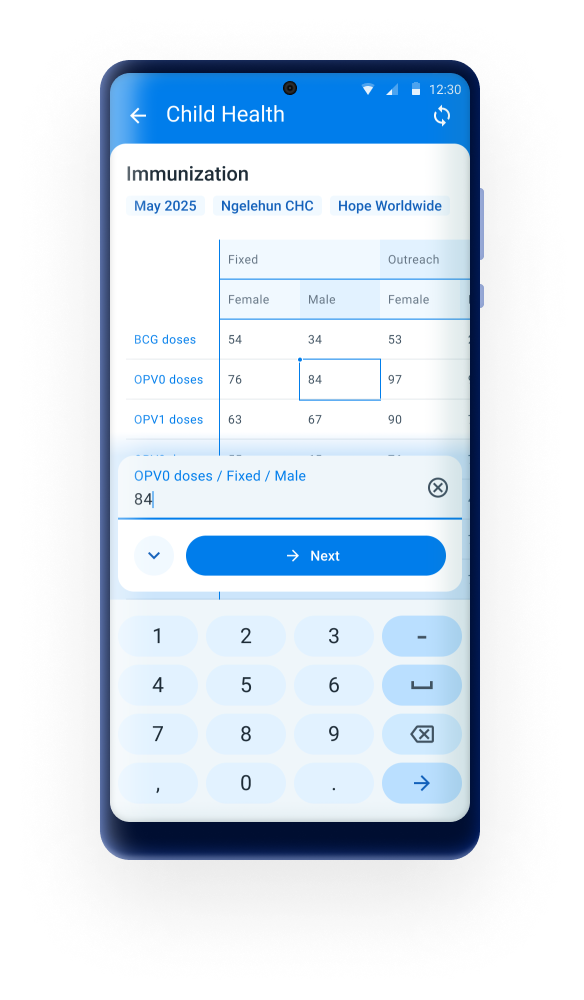
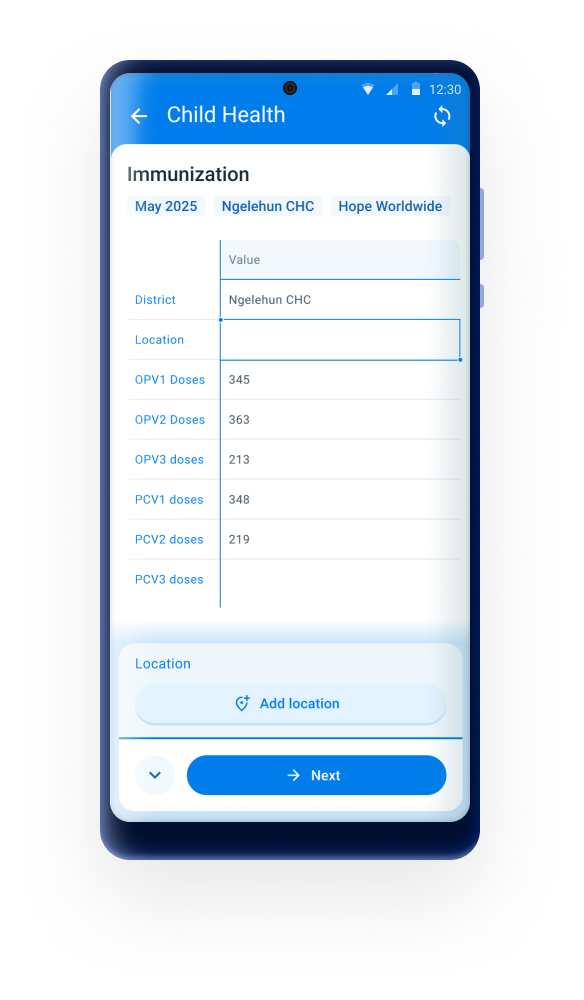
From 3.2.0, to improve usability and align with user expectations, the DHIS2 Android Capture App has undergone a comprehensive redesign of the data entry table and input dialog for Data Sets.
Key Enhancements:
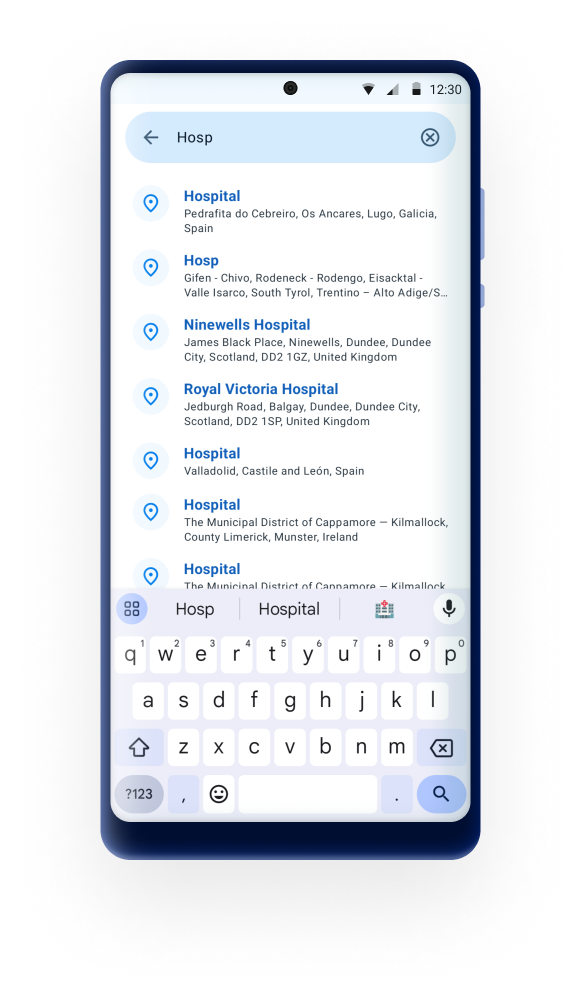
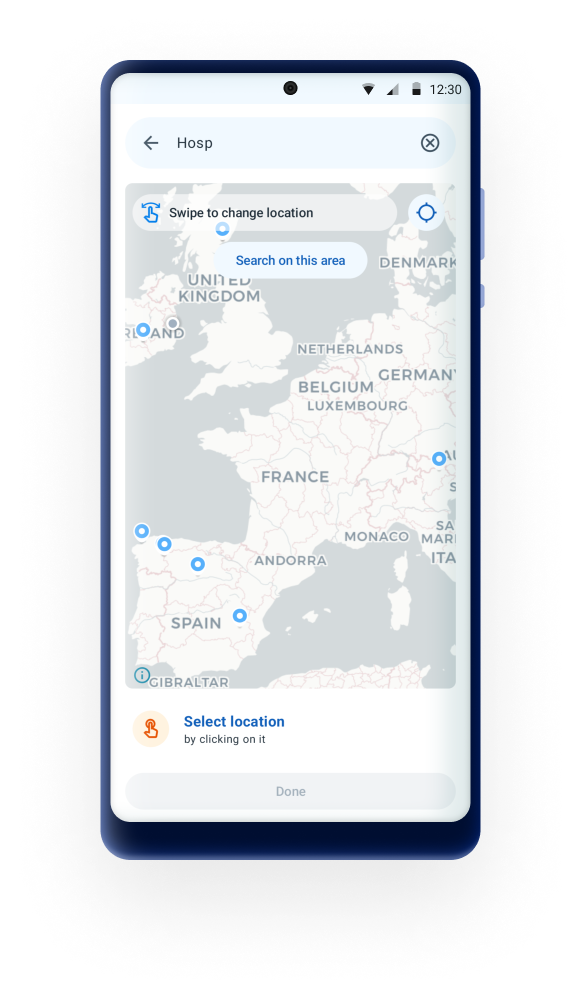
To enhance the process of capturing coordinates and align to the behavior in tracker programs, a search bar has been implemented. This feature allows users to input textual information, such as street names or numbers, to facilitate the identification of specific locations.
Use the navigation bar located at the bottom of the data set to switch between the data entry form and the overview screen.

the Overview screen for Data Sets has been removed from the Android Capture App in version 3.2.0. Users are now taken directly to the data entry screen after selecting a Data Set.
All relevant metadata is now either pre-selected or directly accessible within the data entry screen.
Validation rules and completion of data sets are integrated in the save button actions:
When a Data set is configured to complete only if validation passess. If the validation is successful, a dialog asking to mark as complete will show up. The App will allow completion only if all mandatory fields have value.
if it is not successful, then an error dialog should show and the dataset will not be marked as complete. The description and instructions of the validation rule will be displayed to help the user identify the error.

On a dataset that does not have setup "Complete allowed only if validation passes". When clicking on the save button; if the data set has validation rules associated to it, then the app will ask the user to run the validation rules.
If the validation is not successful, an error dialog should show but with the possibility to complete the data set anyway. The description and instructions of the validation rule will be displayed to help the user identify the error.

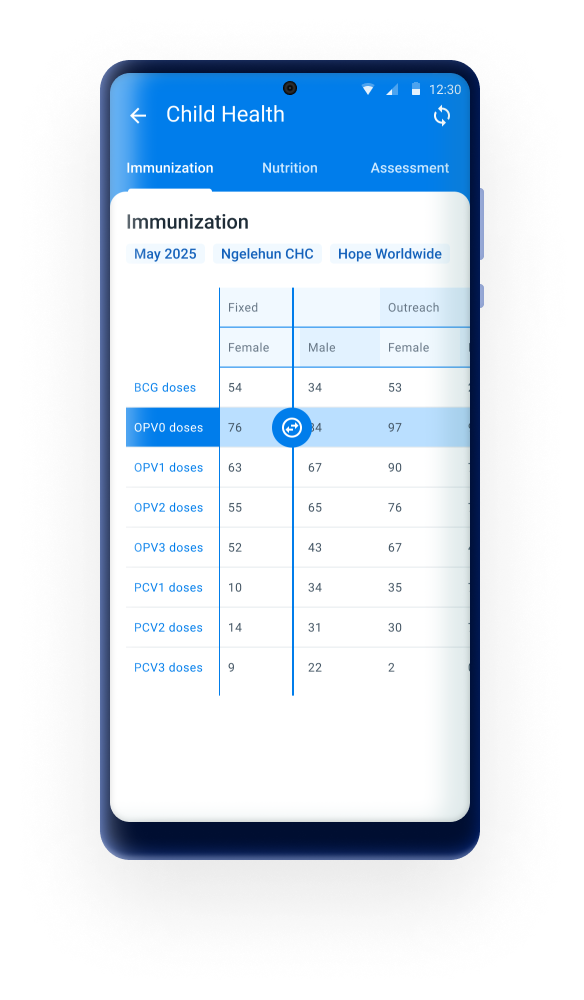
Users are now allowed to resize the row headers and columns in datasets, making it easier to view and work with larger tables.
To resize any column, tap on its header and then drag and drop until the desired size. A maximum and minimum size limit is given for the columns that can be resized to ensure a good layout.
If the column have multiple headers, the resizing will be available only for the child header (lowest level). Users can also resize all collumns at once by clicking on the top left of the table.
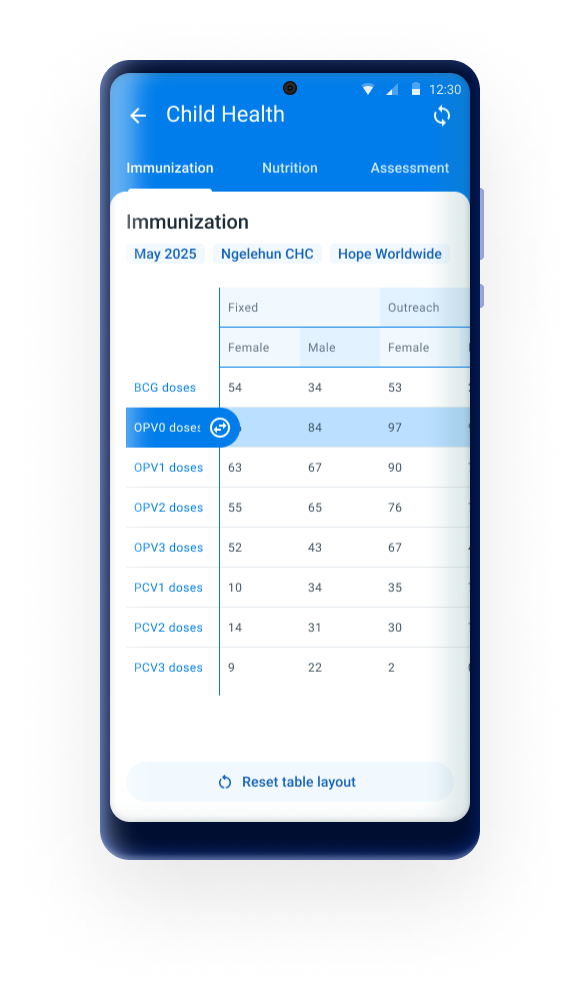
From 3.2.0 the Data Sets table includes a Reset button to complement the increment and decrement input controls in columns.It appears only while resizing is active and lets users quickly revert any resized columns to their original (default) width.
The button is contextual and will:
Indicators are now available in default and section forms and are displayed at the bottom of the data entry form.
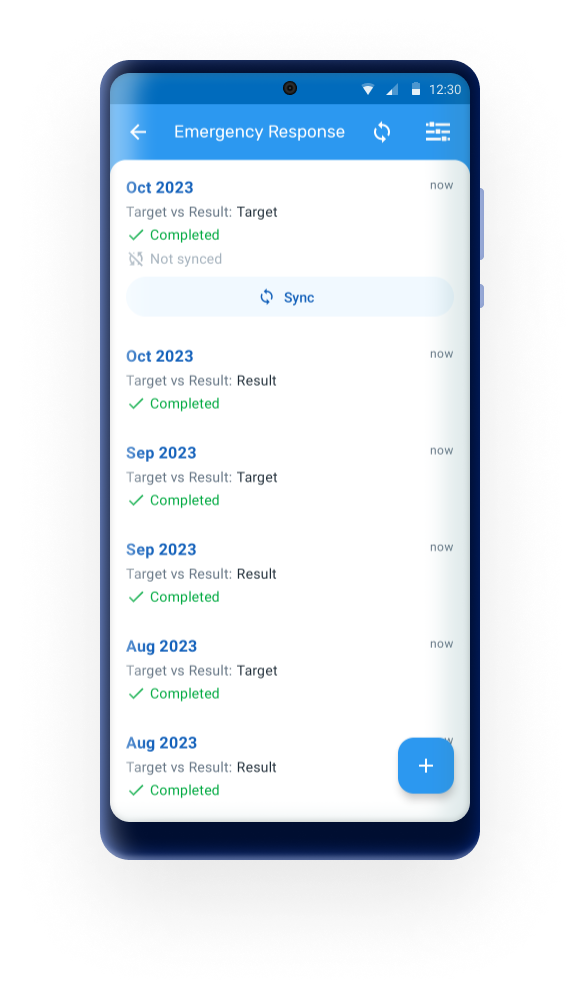
The new design of cards offers a cleaner and more intuitive layout replacing the use of coloured icons by explicit text when relevan.
Sync button: It now appears as a button at the bottom of the card and it is only displayed if there are unsynced data or an error or warning after a sync.
Completion status: After the data set is completed, the app will add a label in each card to specify the completion status.
This new feature supports a variety of layout and display configurations, allowing data sets to better reflect national paper tools, simplify workflows, and reduce user errors. It requires a configuration in the maintenance app whithin a DHIS2 Web version: 2.41+.
The following configurations are supported:
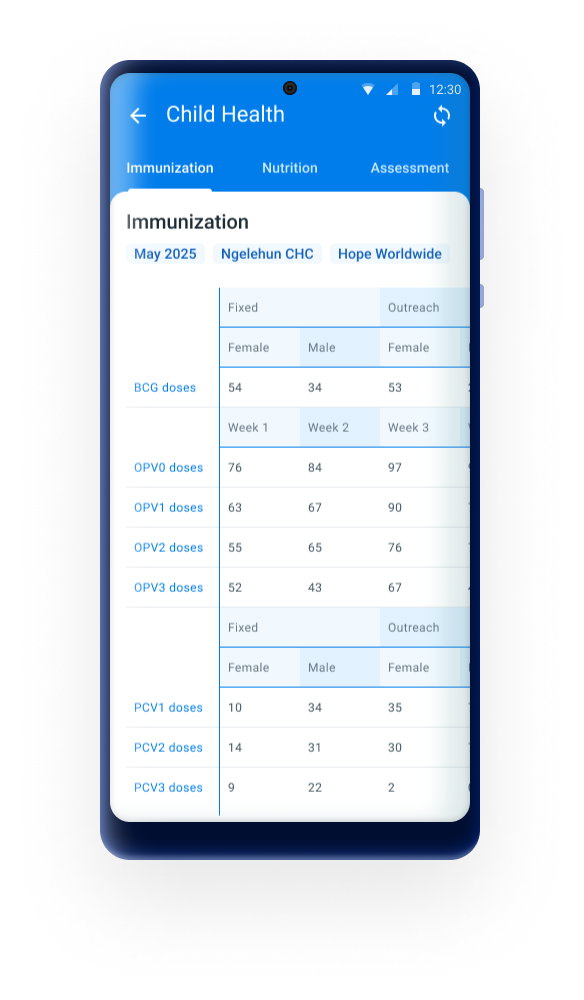
Ensures data elements retain their defined order, even if they share category combination and prevents the default behavior where data elements are grouped by category combination and sorted alphabetically.
Enabling grouping (default)
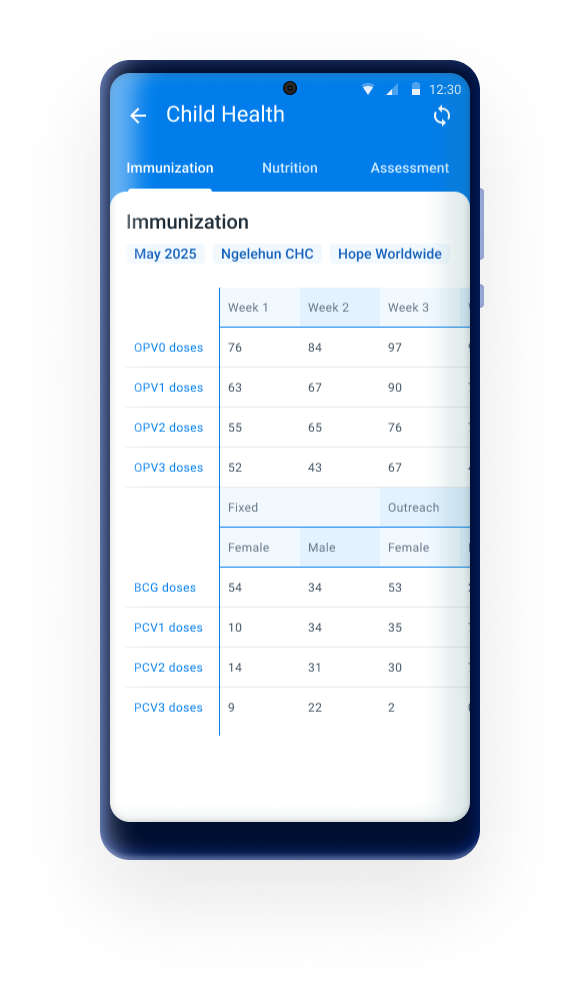
Disabling grouping
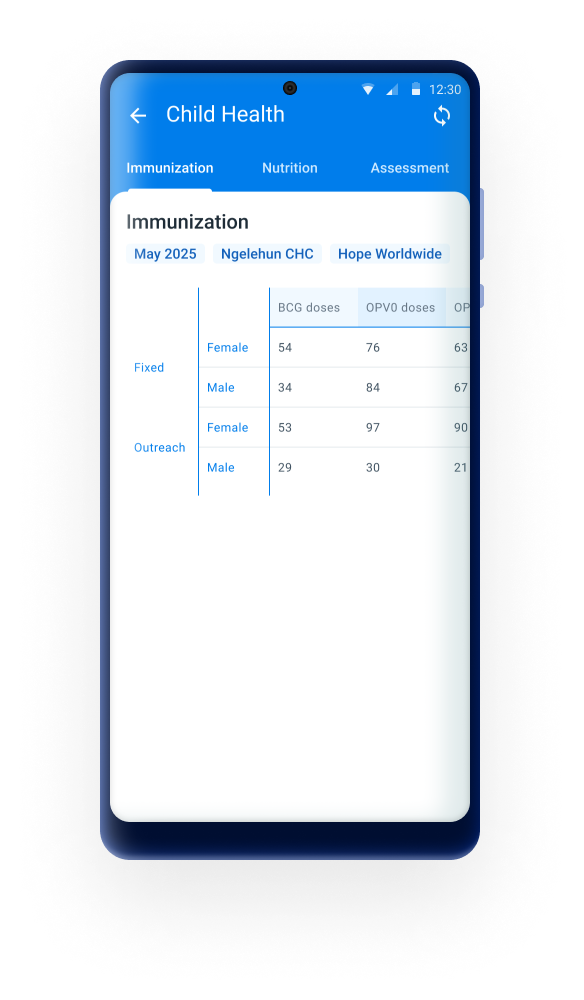
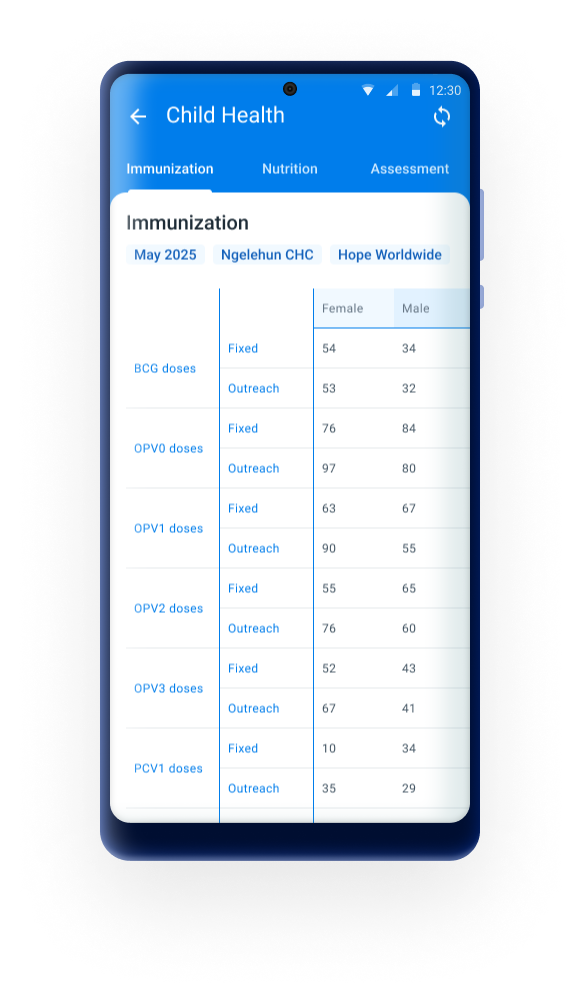
Controls how data elements and category options are arranged in tables:
| Mode | Description |
|---|---|
| Default | Data elements as rows, categories as columns (standard layout) |
| Full Pivot | Categories as rows, data elements as columns |
| Move Specific Category to Row | Shift only one category to rows for partial transposition |
Full Pivot
Specific category to row
Adds instructional text or HTML content above and below each section and supports simple styling: < a >, < u >, < b/strong >, and < em >.
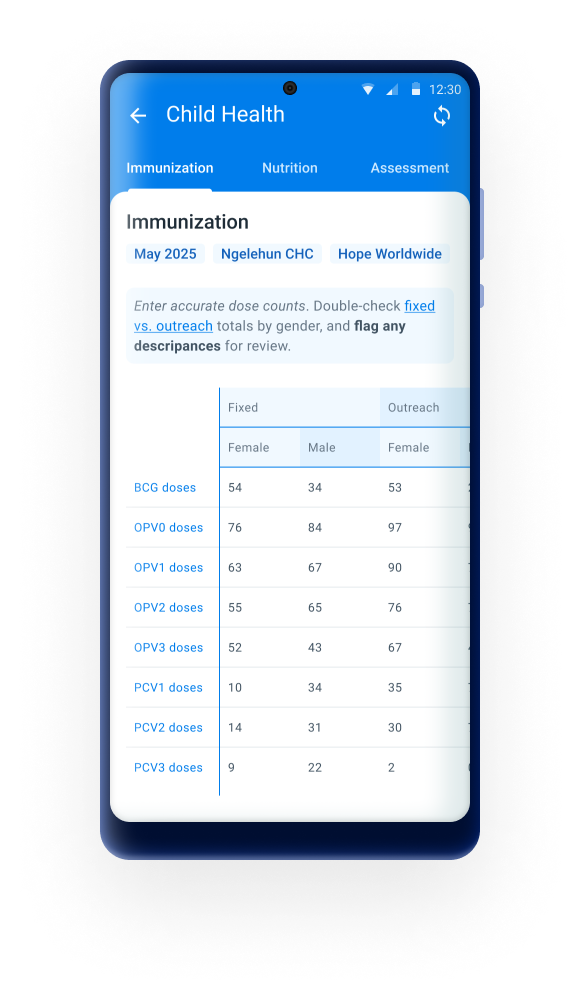
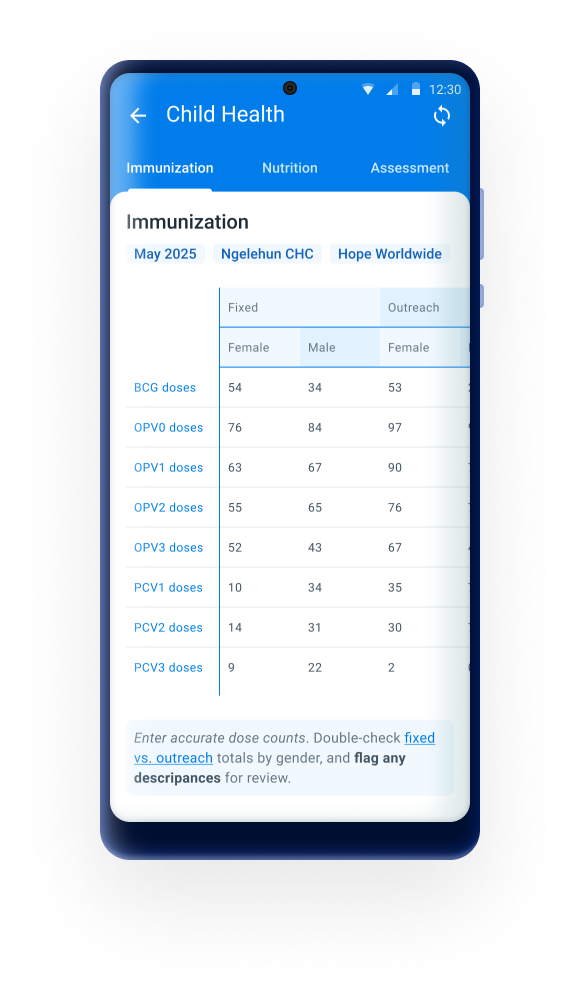
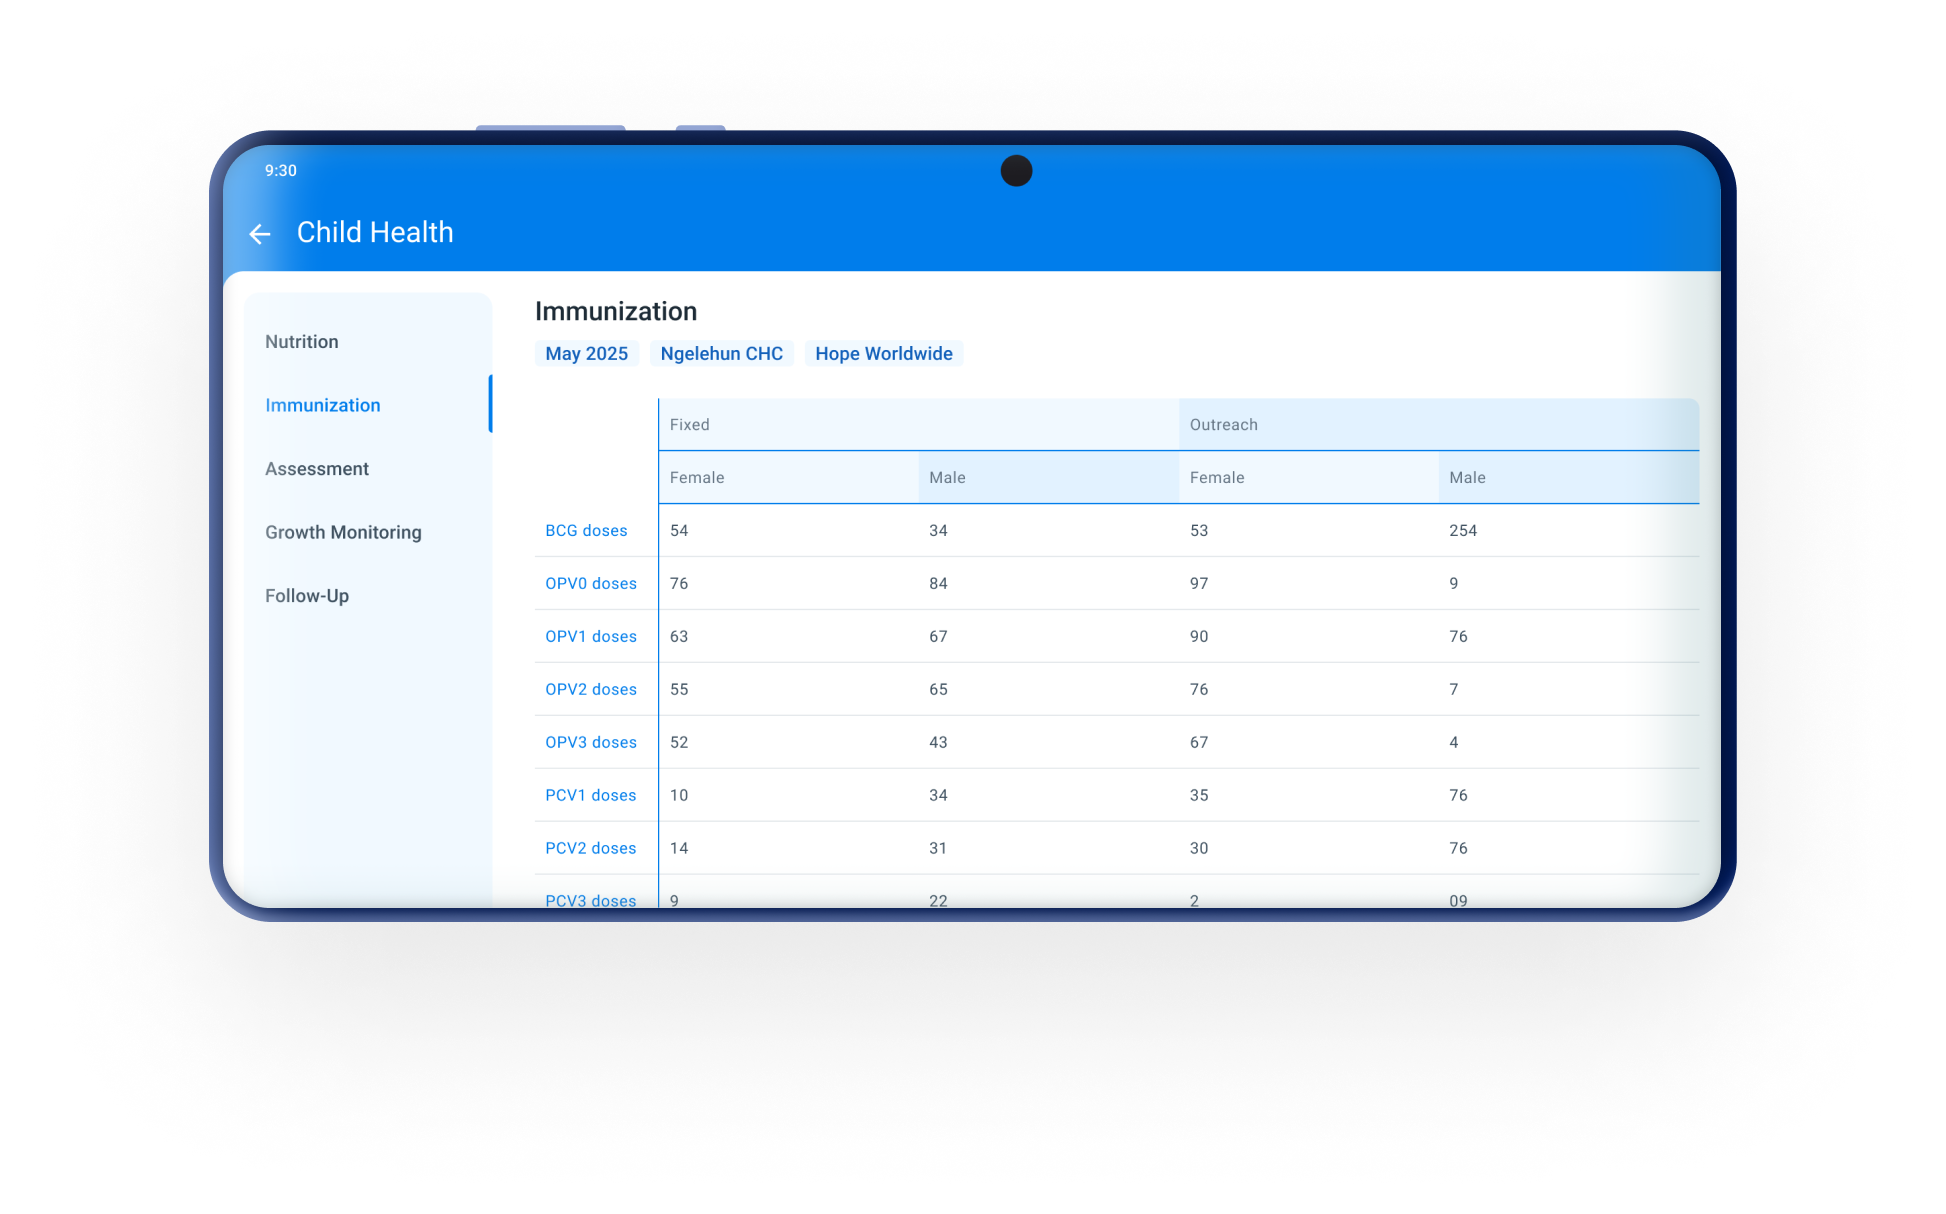
When the feature is enabled in the section configuration, the form displays a left panel listing all the sections as vertical tabs.This panel is only shown in landscape orientation. In portrait mode, the traditional tab bar remains.
The following is a comprehensive list of all features available for Data Sets in DHIS2 and notes on whether or not these have been implemented in the Android Capture app.
In the notes, ‘admin’ refers to someone who develops and configures a DHIS2 system, and ‘user’ refers to someone who uses apps to capture data, update it, and review reports.
| Legend | Description |
|---|---|
 | Feature implemented |
 | Feature not implemented (will be ignored) |
 | Not applicable |
 | Work in progress. Feature not completely implemented yet or with unexpected behaviour already reported. |
| Feature | Description of feature | Status | Notes on implementation |
|---|---|---|---|
| Period type | Determines the period covered by data-entry. | | |
| Expiry days | Sets the deadline (days after period) after which DHIS2 locks all data entry for the period (0 means no locks at all). Periods can still be opened, but cells will be greyed out. | | |
| Open future periods for data entry | This setting can be used to unlock the current period or all periods up to a certain point in the future. | | |
| Data input periods | Allows you to set a specific range of dates for a period's data-entry, and prevents data capture for periods outside of this date range. | | |
| Days after period to qualify for timely submission | Sets the deadline (days after period) after which DHIS2 treats data entry as 'late'. | | |
| [Attribute] category combination | Allows an admin to attach a Category (set of Options) to the Data Set, generating a separate data entry screen for each Option (This is called an Attribute Category Combination in DHIS2). | | |
| [Attribute] Category Combination option restrictions | If Attribute Category Combinations (see above) are used, then this features gives admins the ability to restrict which specific options are available in the drop-down. Each option can be restricted to a particular range of dates and/or organisation units, and that option will not be shown if data is being captured outside of these dates or org units. | | |
| Complete notification recipients | Sends a DHIS2 message to the selected User Group when the Data Set is marked 'complete'. | | |
| Send notification to completing user | Sends a DHIS2 message to the data-entry user when the Data Set is marked 'complete'. | | |
| All fields for data elements required | Where one or more Categories are used to disaggregate a data element, this setting forces the user to either complete all disaggregations, or to leave them all empty. | | |
| Complete only if validation passes | Only allows the Data Set to be marked complete if no Validation Rules are triggered. | | |
| Skip offline | Requires the user to add a 'comment' if a value is left blank (or Data Set cannot be 'completed'). Only allows Data set to be selected for data entry while connected to the internet (although once selected, data entry can continue offline). | | |
| Data element decoration | Shows the description of the Data Element when the mouse hovers over the Data Element Name. | | |
| Section forms - render sections as tabs | Displays each section in the form as a separate tab, instead of all together on the same page. | | |
| Section forms - render vertically | | ||
| Data Element - CatCombos | Enables an individual Data Element to be automatically disaggregated into one or more categories (eg both male/female and child/adult), with separate fields/values collected for each of these disaggregations. | | |
| Inline indicators / section form totals | Enables the default CatCombo for each data element to be overridden with a different CatCombo for this Data Set only. | | |
| Section forms - render sections as tabs | Adding indicators to Data Sets makes them available for use in section forms and custom forms; row and/or column totals can also be added to these forms. (Both are displayed on the screen alongside data capture cells, and update automatically as values are captured.) | | |
| Organisation unit assignment | Ensures the Data Set is only available for those organisation units to which it has been assigned. | | |
| Compulsory data elements | This allows the marking of specific Data Elements/CatCombos as ‘compulsory’, which means users must enter a value (they cannot be left blank). | | |
| Forms - default forms | DHIS2 automatically renders the form as table(s), with a new table started every time the Category Combinations change (= different column headings). | | |
| Forms - section forms | Form sections and section titles can be specified, giving you more control over the grouping and layout of the form (but it is still rendered automatically). This section form automatically overrides the default form if implemented. | | |
| Forms - custom forms | A custom HTML form can be designed, giving total control over layout, and enabling JavaScript code to be included within the form. This custom form automatically overrides the default and section forms if implemented. | | |
| Section forms - disable fields (grey) | With section forms, this enables you to individually 'grey out' fields (a whole data element, or specific CatCombo Options) so that users cannot enter data into it. | | |
| Multi-organisation unit forms | When this server setting is enabled, form layouts are changed to show multiple org units as rows, and all data elements/CatCombos as columns (ie very flat and wide form per org unit). | | |
| Data value pop-up: mark value for follow-up | Enables the user to mark this specific data value for follow-up (marked values can be reviewed in the Data Quality web app). | | |
| Data value pop-up: add comment to value | Enables the user to add a comment to this specific data value. | | |
| Data value pop-up: display data element history | Shows the history over time of this specific data element (i.e. previous 12 months' values). | | |
| Data value pop-up: display audit trail | Shows a history of previous edits to this specific data value. | | |
| Data value pop-up: min/max ranges (also accessible via Data Administration app) | This enables users to set minimum and maximum expected values for a data element, enabling DHIS2 to highlight values outside this range during data entry (but it does not prevent saving or 'completing'). You can set min/max ranges automatically/in-bulk (via the Data Administration app) or manually/individually (via the Data Entry app). | | |
| Print form / print blank form | Enables printing of a data-entry form, to permit data capture on paper, and data-entry later. | | |
| Save data | Data entered into the screen is not captured until 'saved' - until then, it is only held in memory, and is lost if power is switched off etc. | | |
| Complete data set | This enables user to mark data-entry for a period/org unit/etc as 'complete'. Note that this is just for data-entry tracking and timeliness purposes, and does not lock the data set or prevent further edits. | | |
| Data elements: validation rules | Enables the creation of rules (at the data element level) to enforce data quality, based on comparing different values/collections of values. (Eg number of patients seen in the month must be less than the number of visits for the month.) | | |
| Data sharing levels/Can capture data | Enables the user to add new values, edit values and delete values in the dataset. | | |
| Data sharing levels/Can view data | Enables the user to see values within the dataset. | | |
| Data sharing levels/No access | The user won’t be able to see the dataset. | | |
| Data approval workflow | If an admin selects a pre-configured Data Approval Workflow, this will be used to enforce an ‘approval’ or ‘acceptance and approval’ cascade, enabling users to sign-off and lock data. | | The process of the approval has to be done in web. Once a data set is approved, the data will not longer be editable in the app. |
| Missing values requires comment on complete | Any missing values will require a comment to justify their absence. | - |
Use the bottom navigation bar to move from one screen to another.
While entering information of the event, the bottom navigation bar allows the user to choose among:
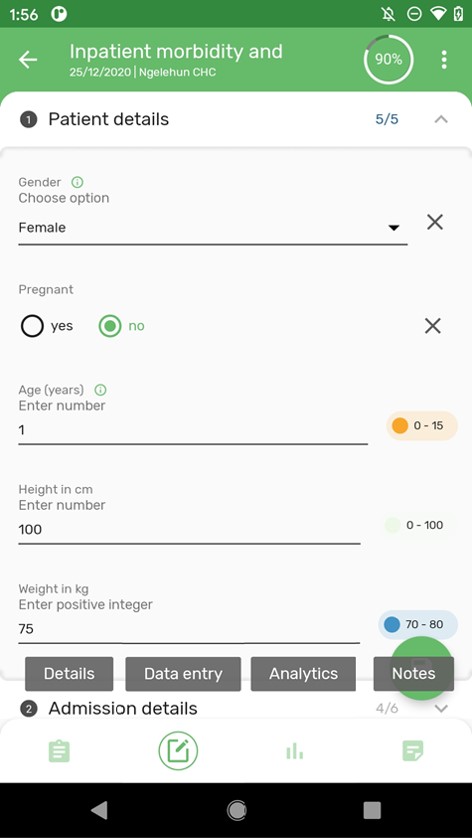
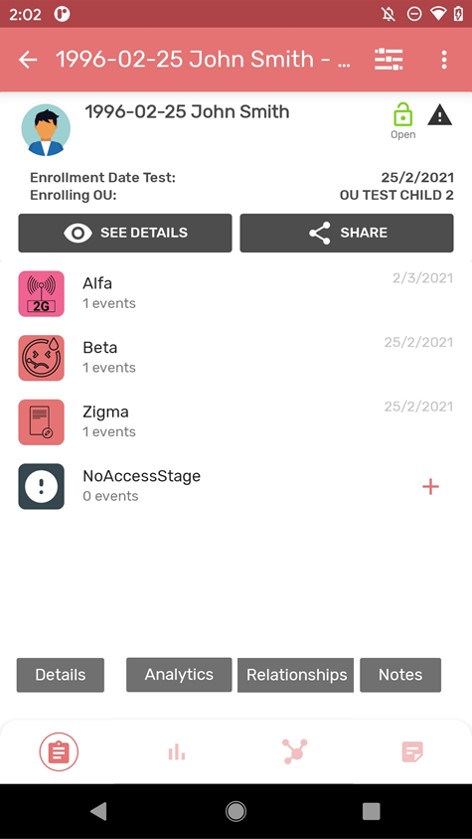
While in the TEI dashboard the bottom navigation bar allows the user to choose among:
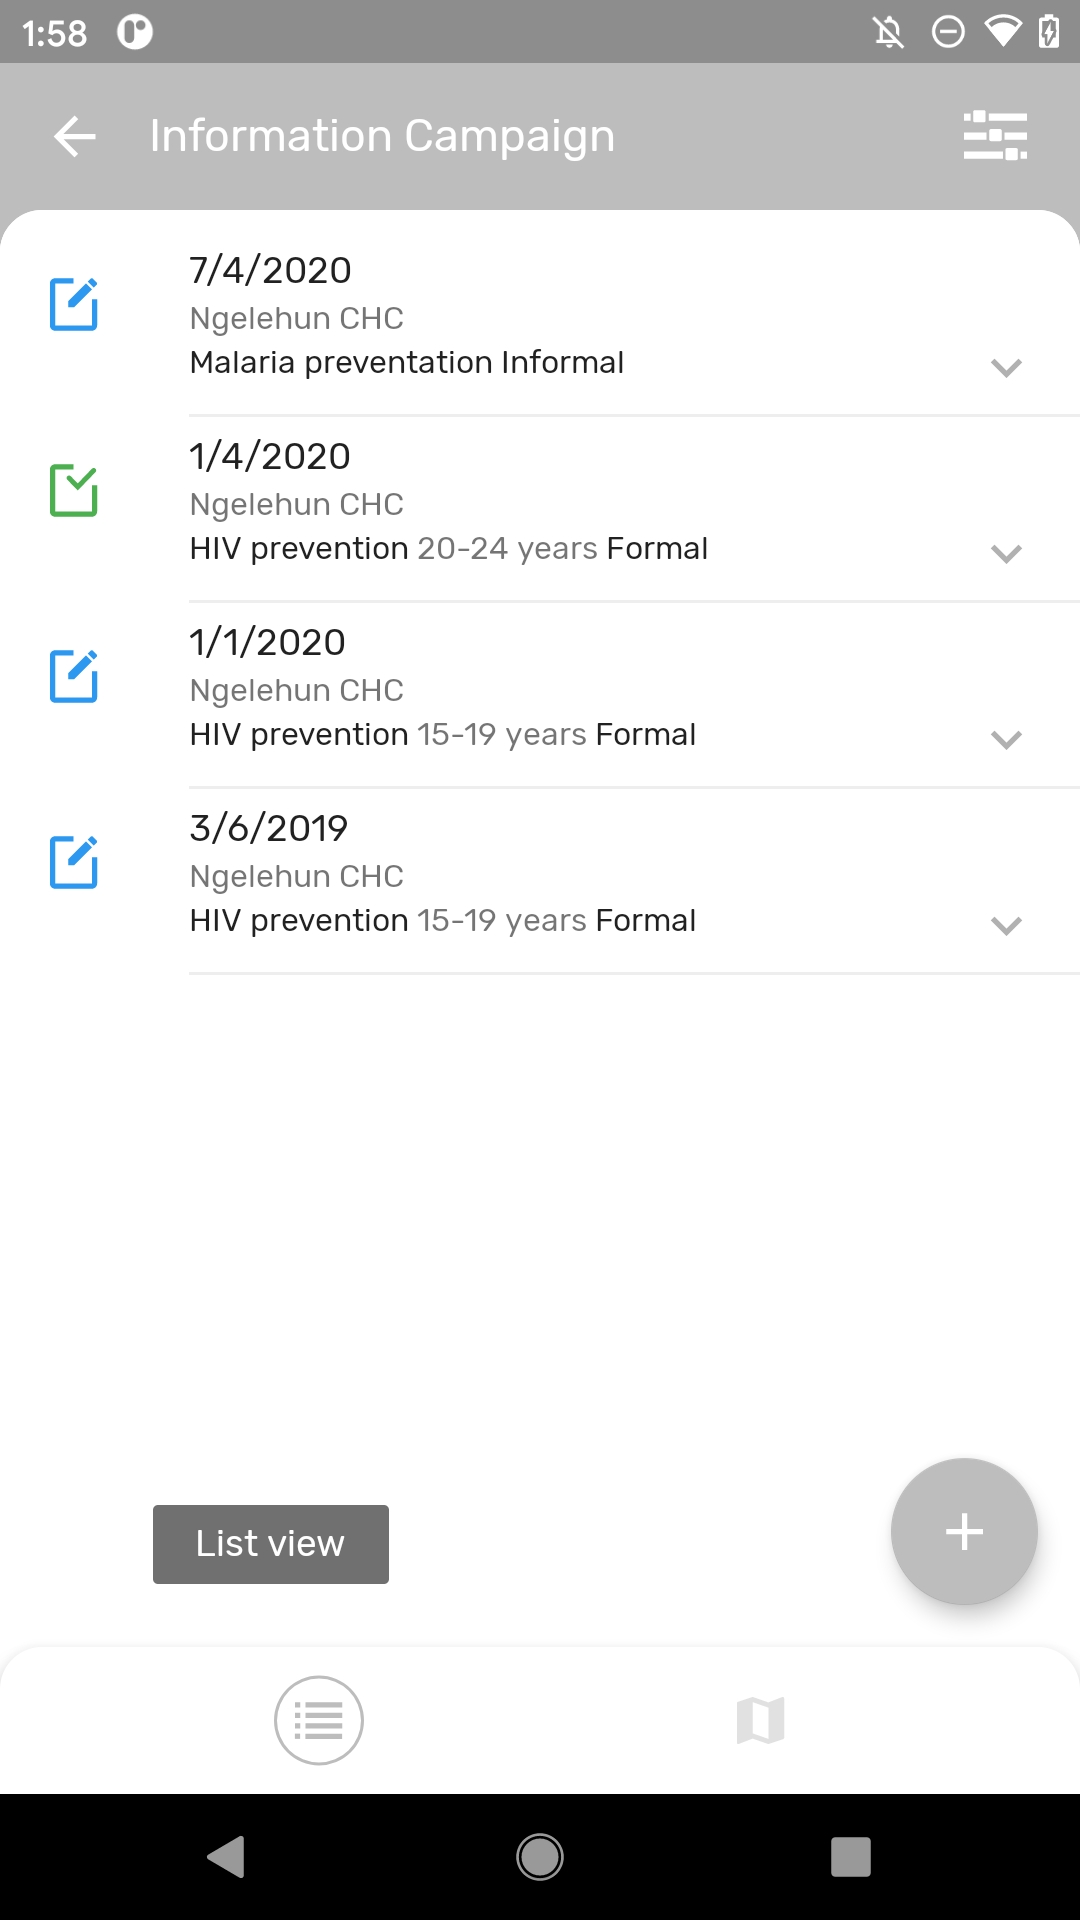
The bottom navigation bar also allows switching the visualization mode if the event program or the tracker program have been defined with coordinates. More information about the map view can be found on the specific section below.
When creating an event or an enrollment, there are a number of fields that are not data elements or attributes, for example, event date, org unit, coordinates, enrollment date, category combinations.
Those elements are referred to as event/enrollment details and in previous versions they were displayed in different screens separated from the data elements or attributes. From 3.0, the details are displayed inside the form, as the first opened section for completion. Once they are filled in, for example when the user reopens the event or enrollment form, the details section will be visible and easily available, but collapsed to leave more space for the data collection.
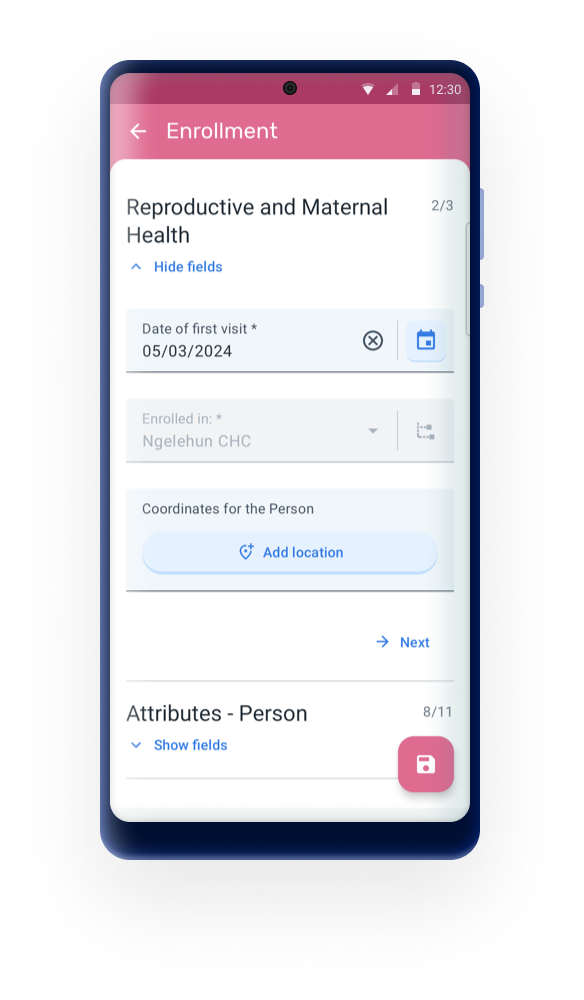
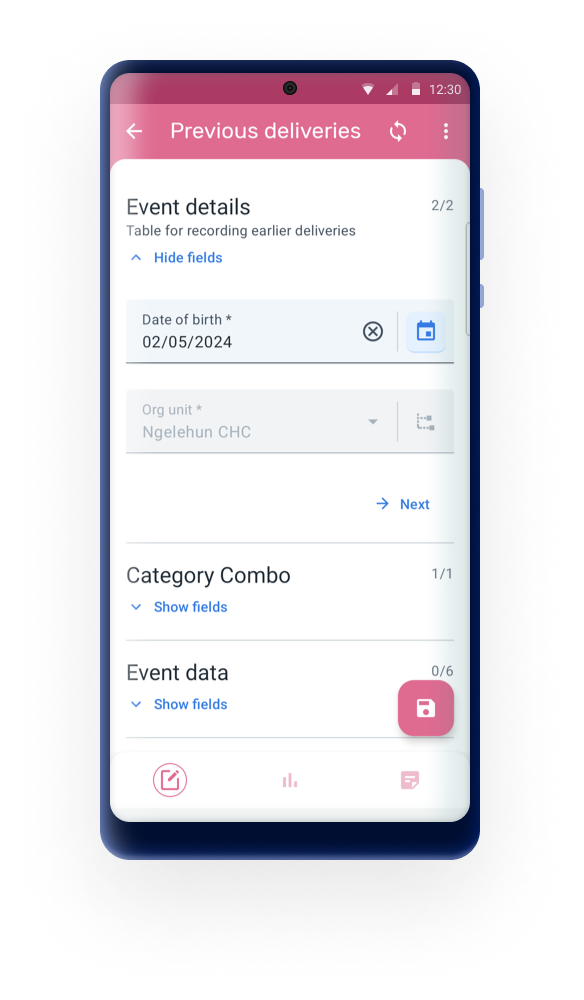
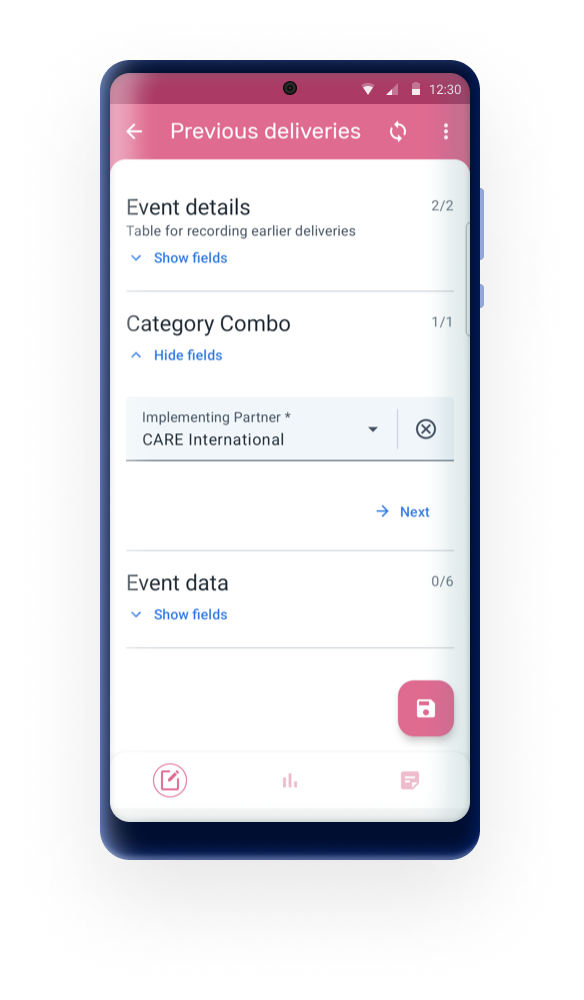
When adding an event to an event program or inside a tracker program the user should fill the information and scroll down to make the save icon appear at the bottom right corner.
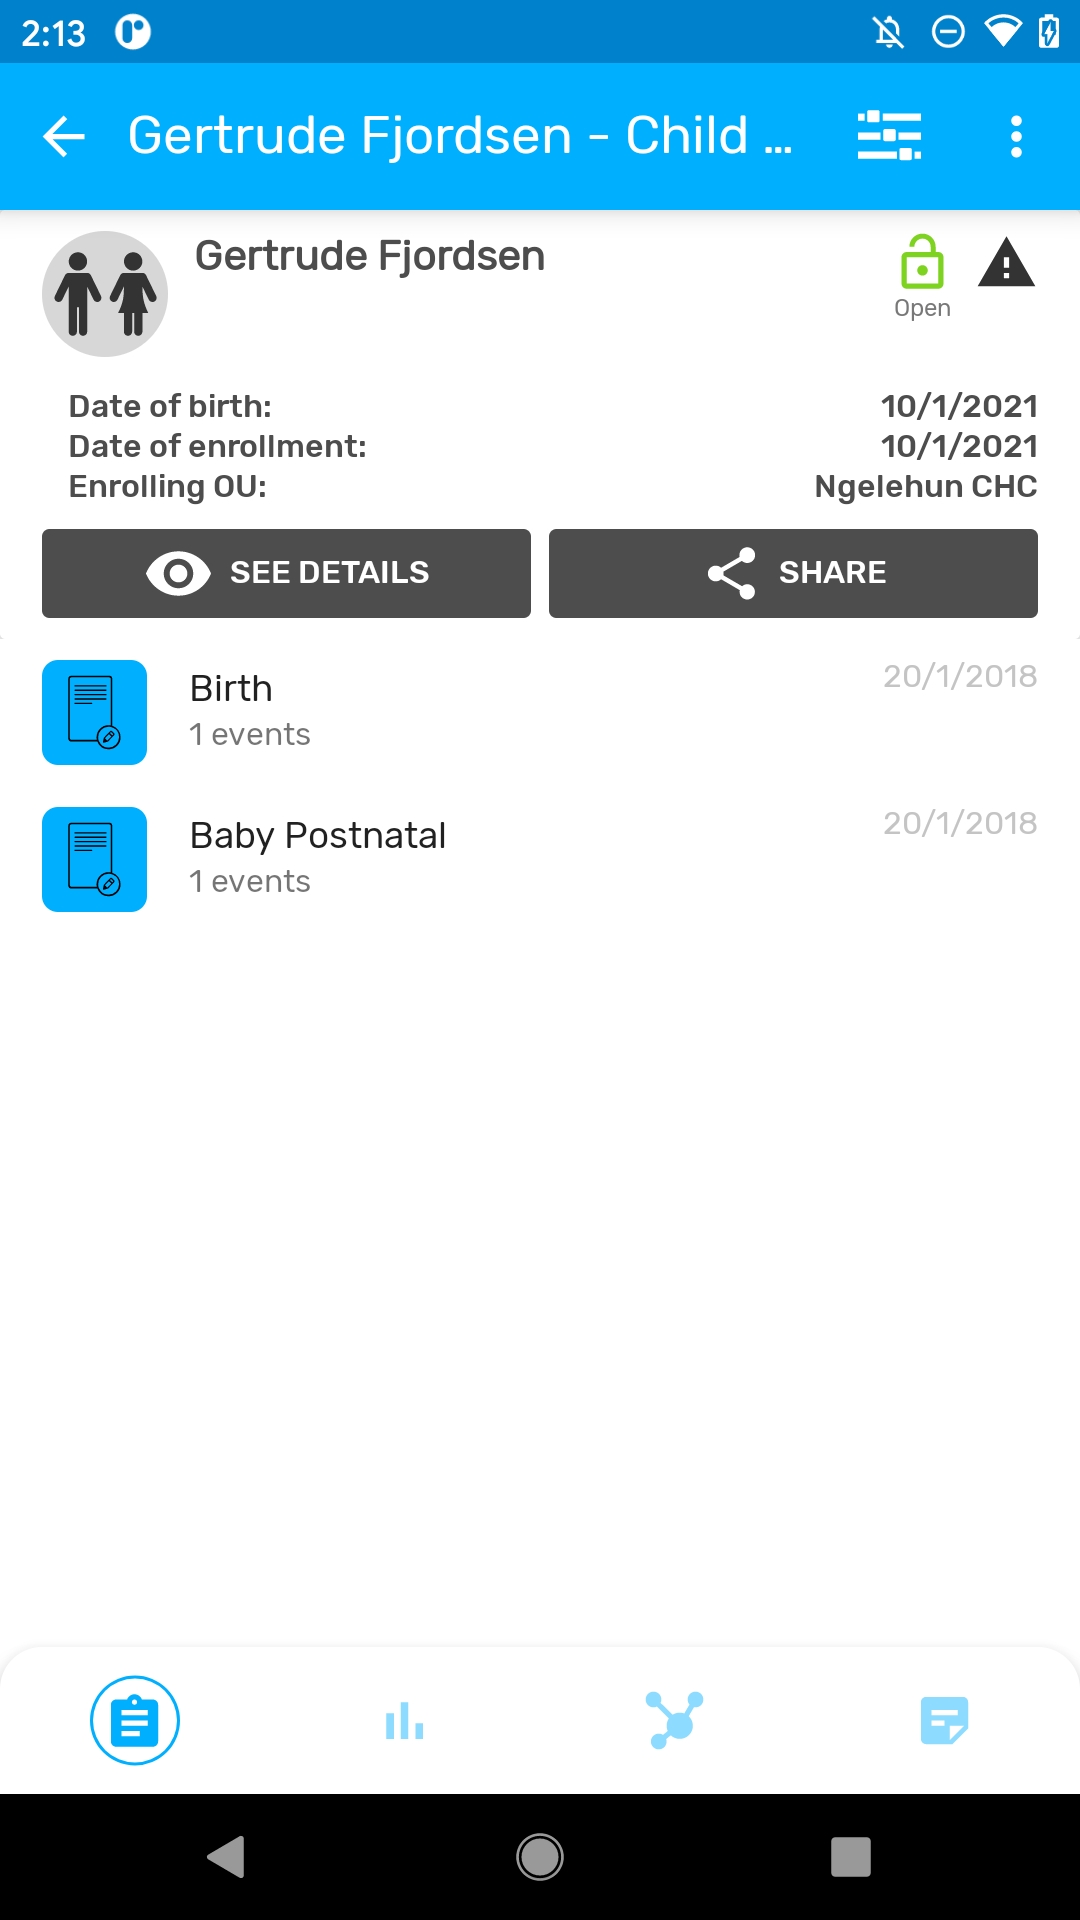
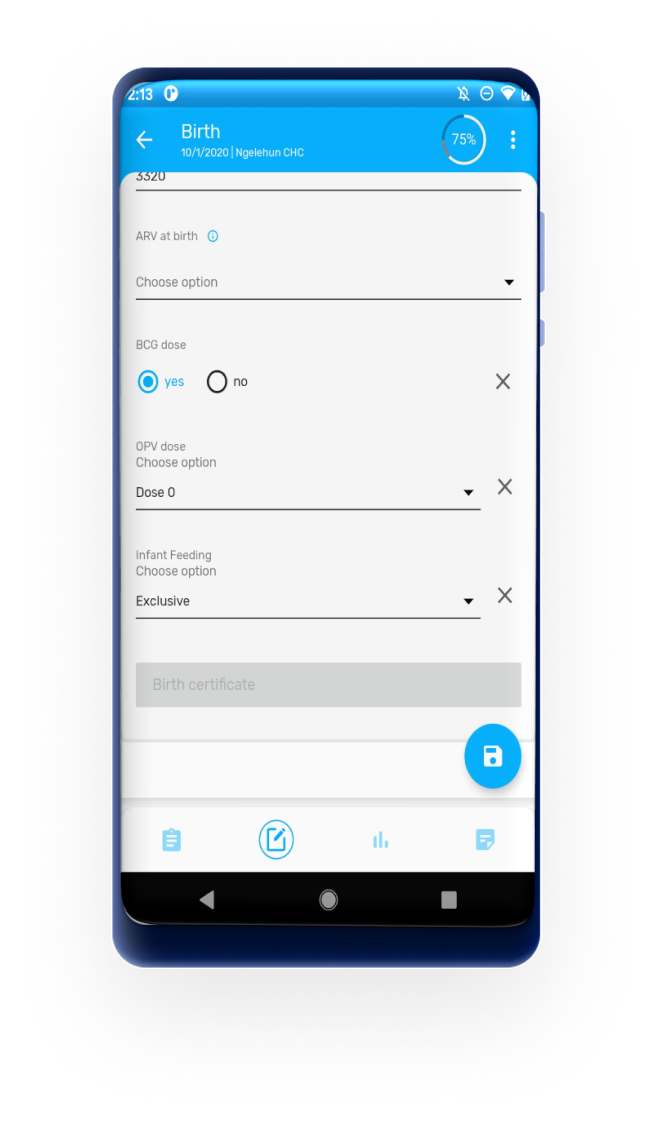
After tapping on the 'save' button, if the form does not contain any errors, warnings or empty mandatory fields, the app will ask if the user wants to complete the form. Two options are given to the user:
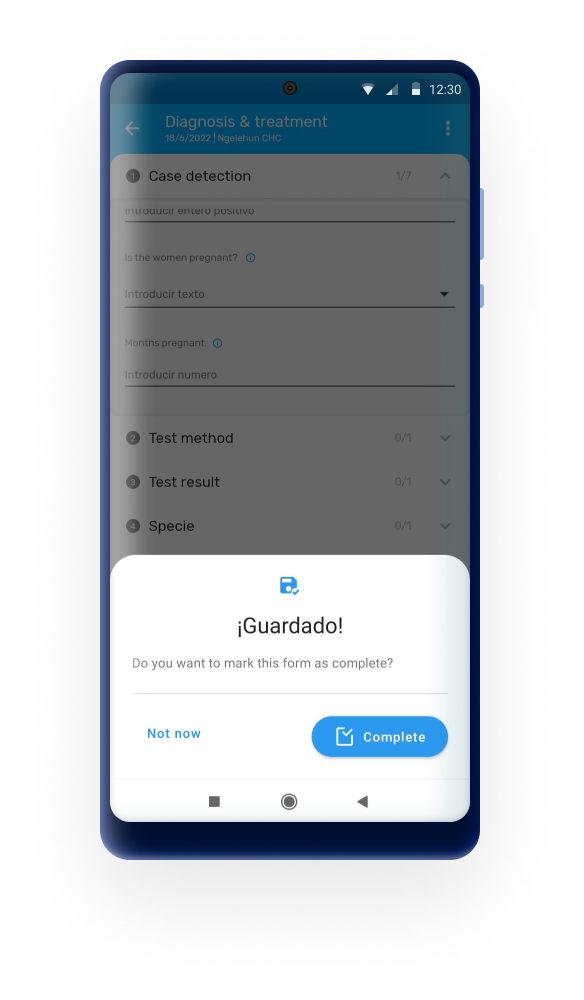
Note
To verify if an event is completed look at the icon, it must be a green checked box.
Note
If the event is non-editable, the app will hide the 'save' button
To re-open an event, the app now displays a "Re-open form" button in the Details screen. This button will be available only if the user has the correct authority (‘Uncomplete events’) to reopen a completed event.
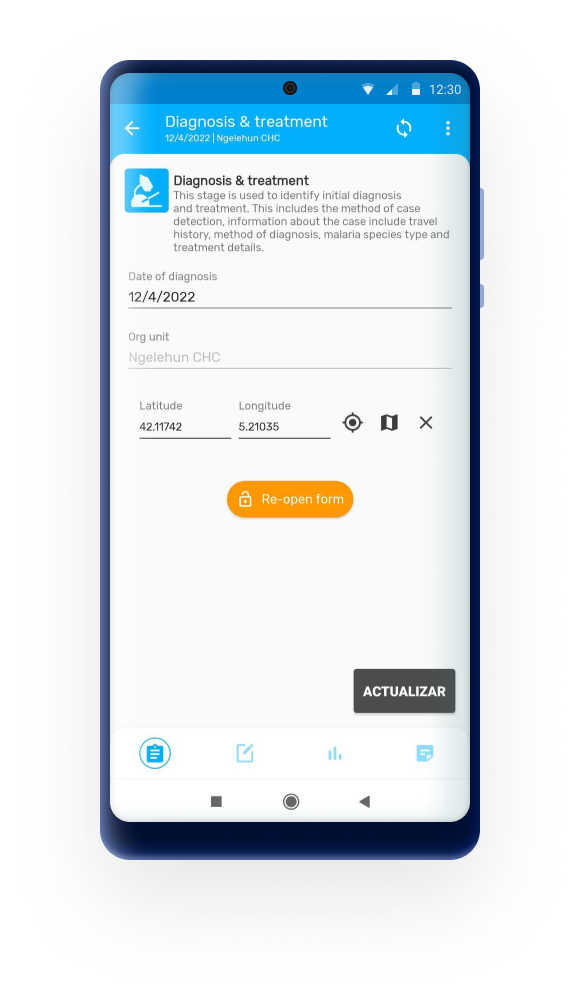
Tapping the back arrow in an enrollment or event form now provide two options:
If the user is in a new enrollment or event, the options allow the user to:
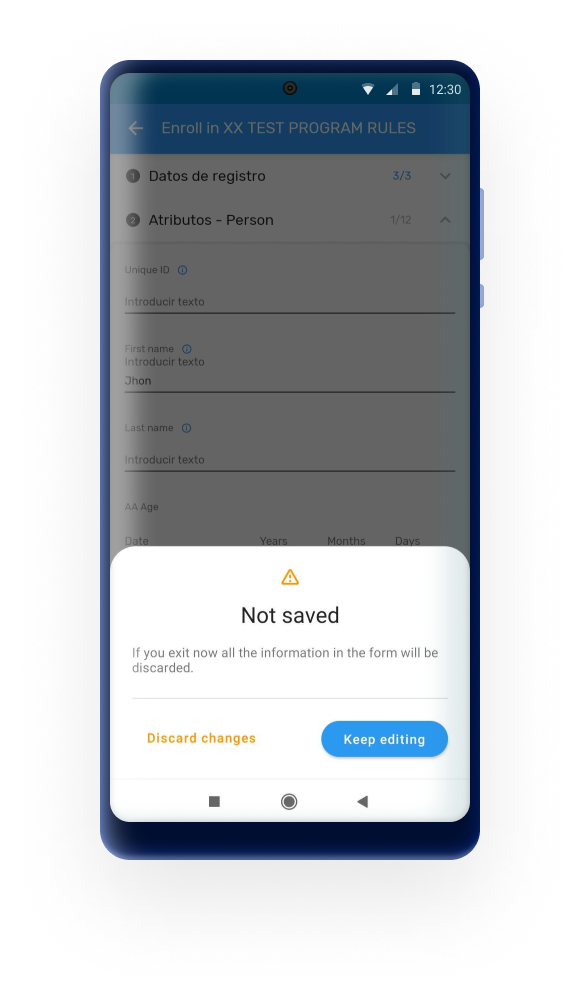
From 3.1.0 Discard changes will not only apply to new events but also when edit them.
The percentage of data completed in each event is shown in the top right corner of an event when it is opened after first registration.
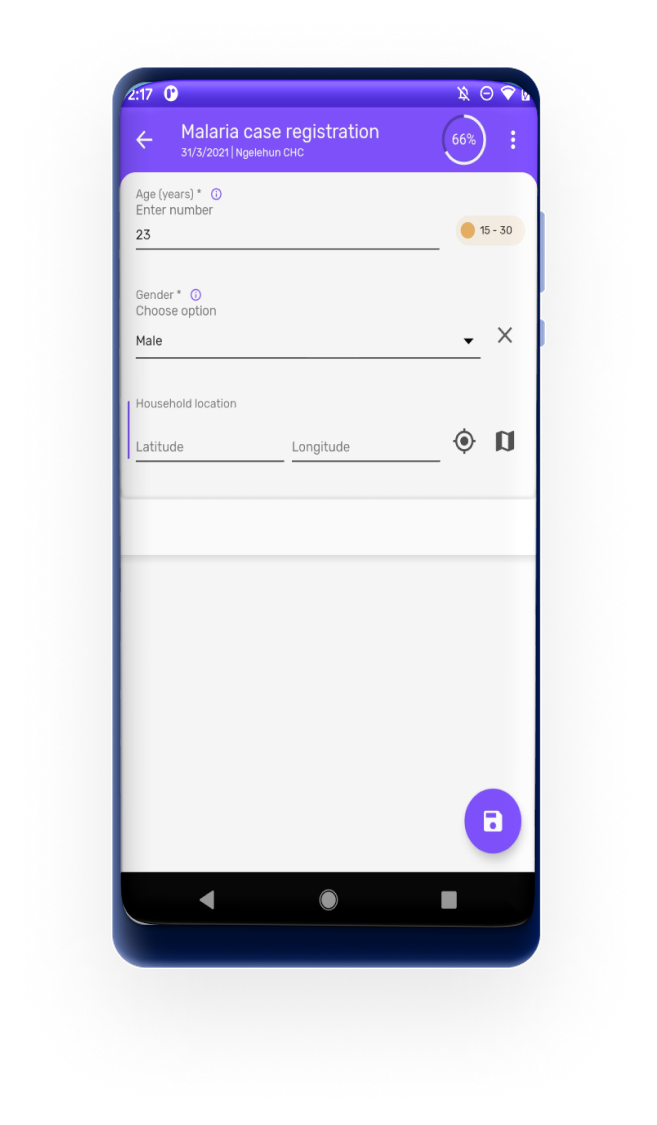
Note
The display of the percentage can be set up to be displayed or not using the #capture_app_android_settings_webapp_appearance_program
The sections can be collapsed for a simpler user experience. Sections in enrollment forms are also supported and are aligned with the design of the event sections.
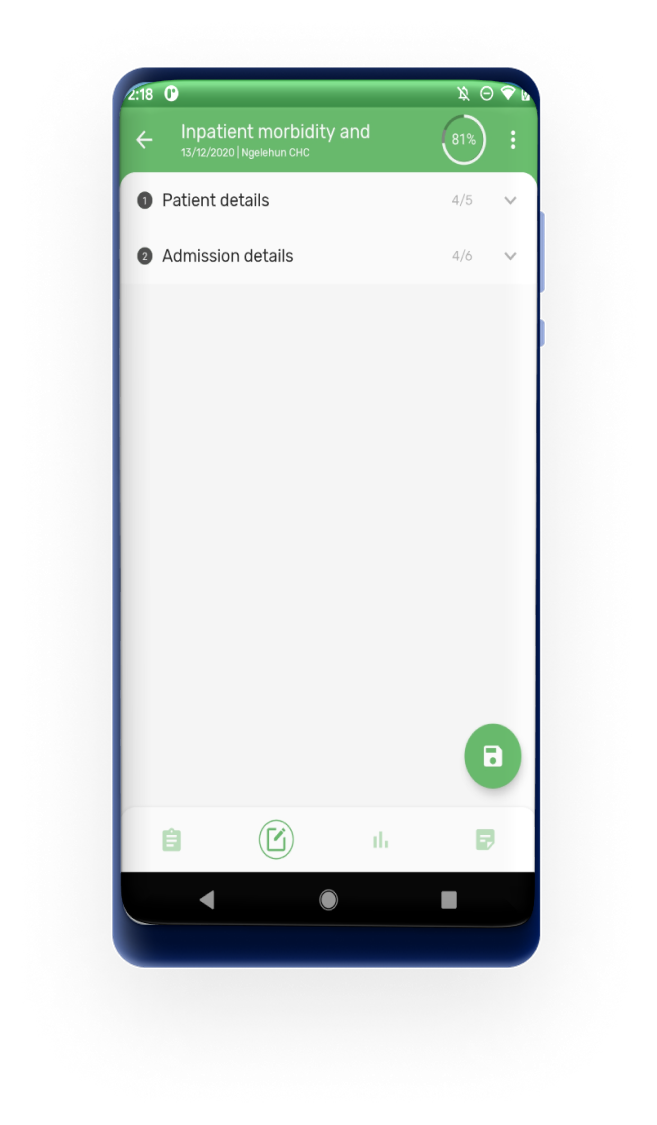
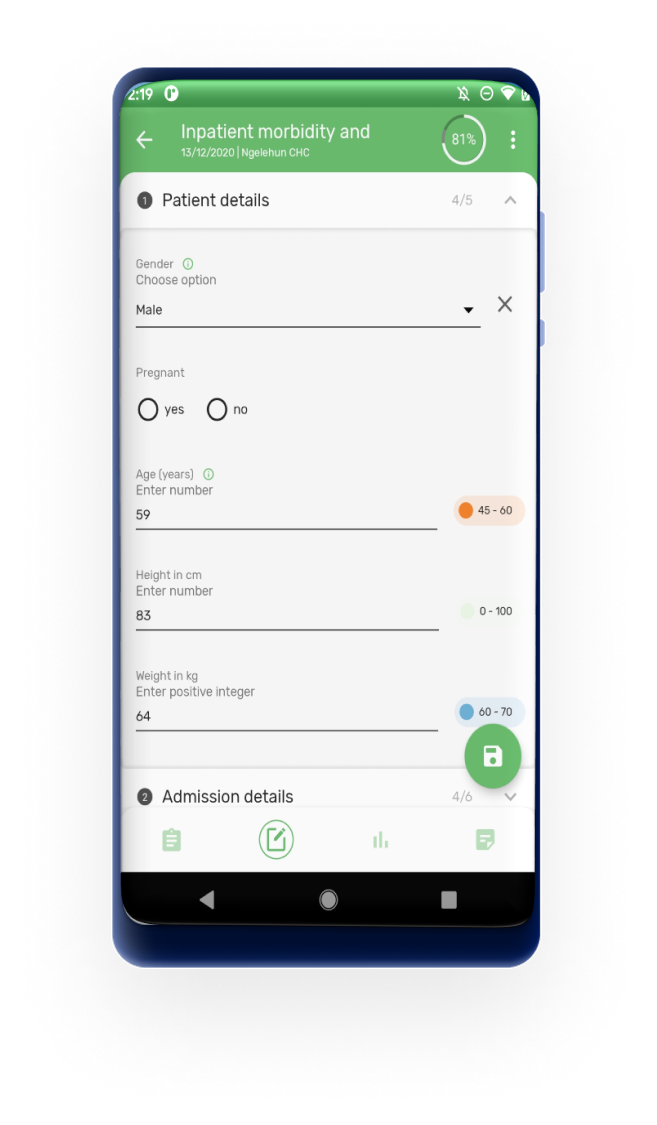
The app will list the name of the mandatory fields missing when the user tries to complete an event or enrollment. The sections containing the missing fields will be highlighted to help the user find the missing fields.
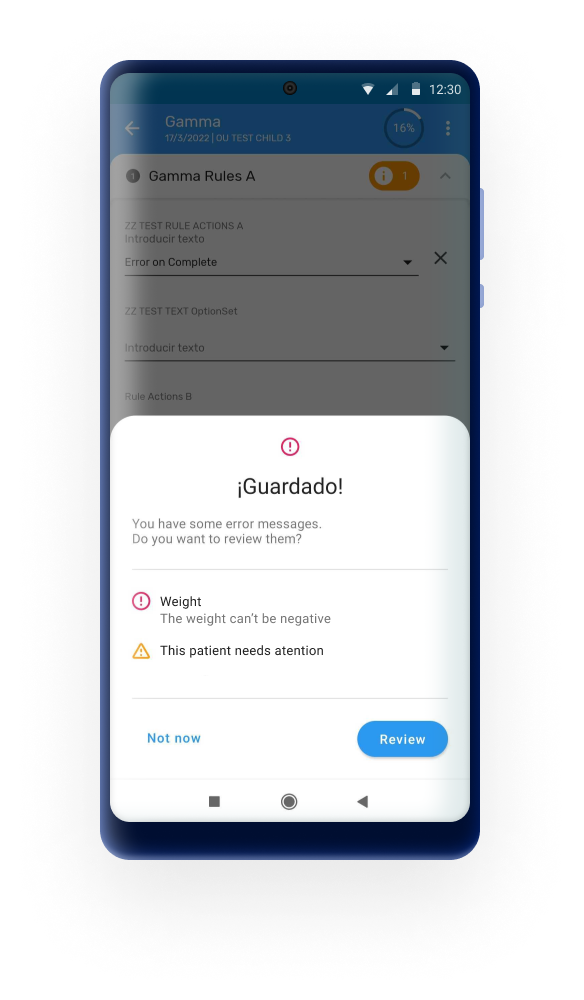
After tapping on the 'save' button, the app will display two options:
The errors and warnings are also shown as an indicator next to the section name including the number of errors for each section. A list of the fields with the errors/warnings when the user tries to save the form will be displayed.
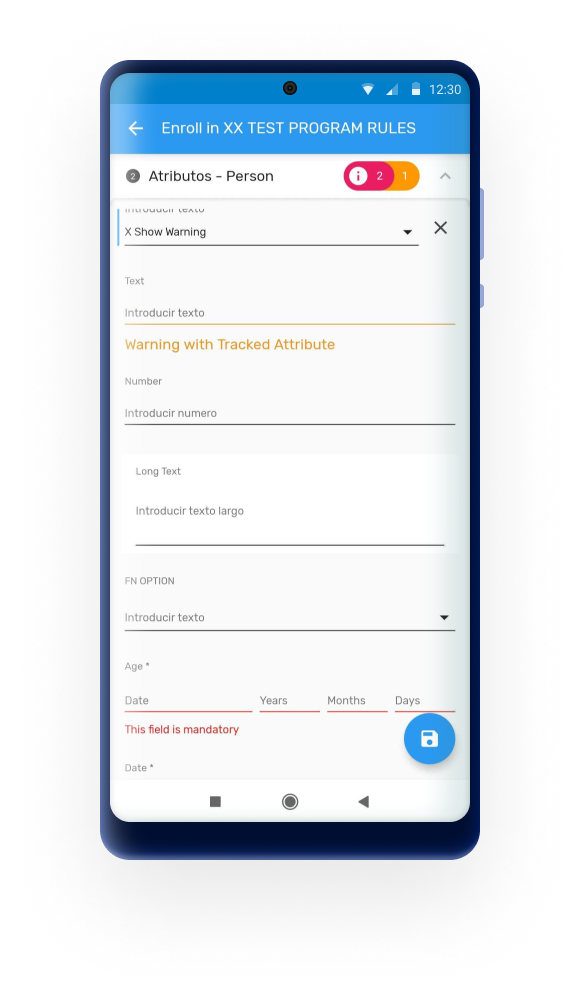
After tapping on the 'save' button, the app will display two options:
Warnings
Errorrs
If there is a combinantion of errors, warnings and missing mandatory fields, the app will display the 'Not now' and 'Review' options only.
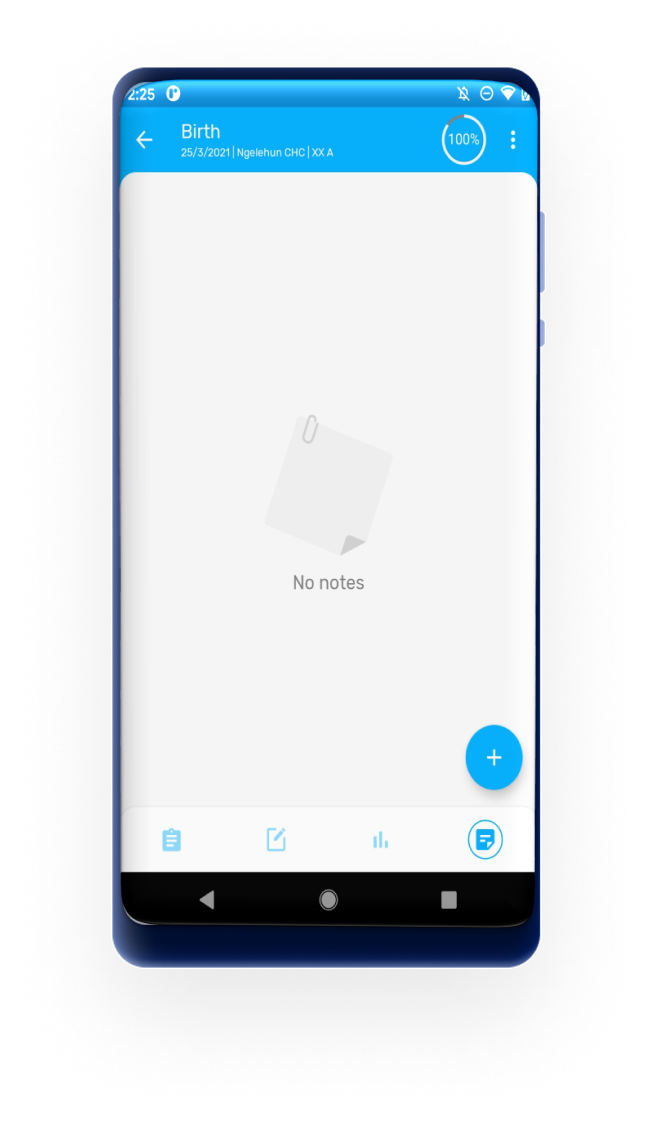
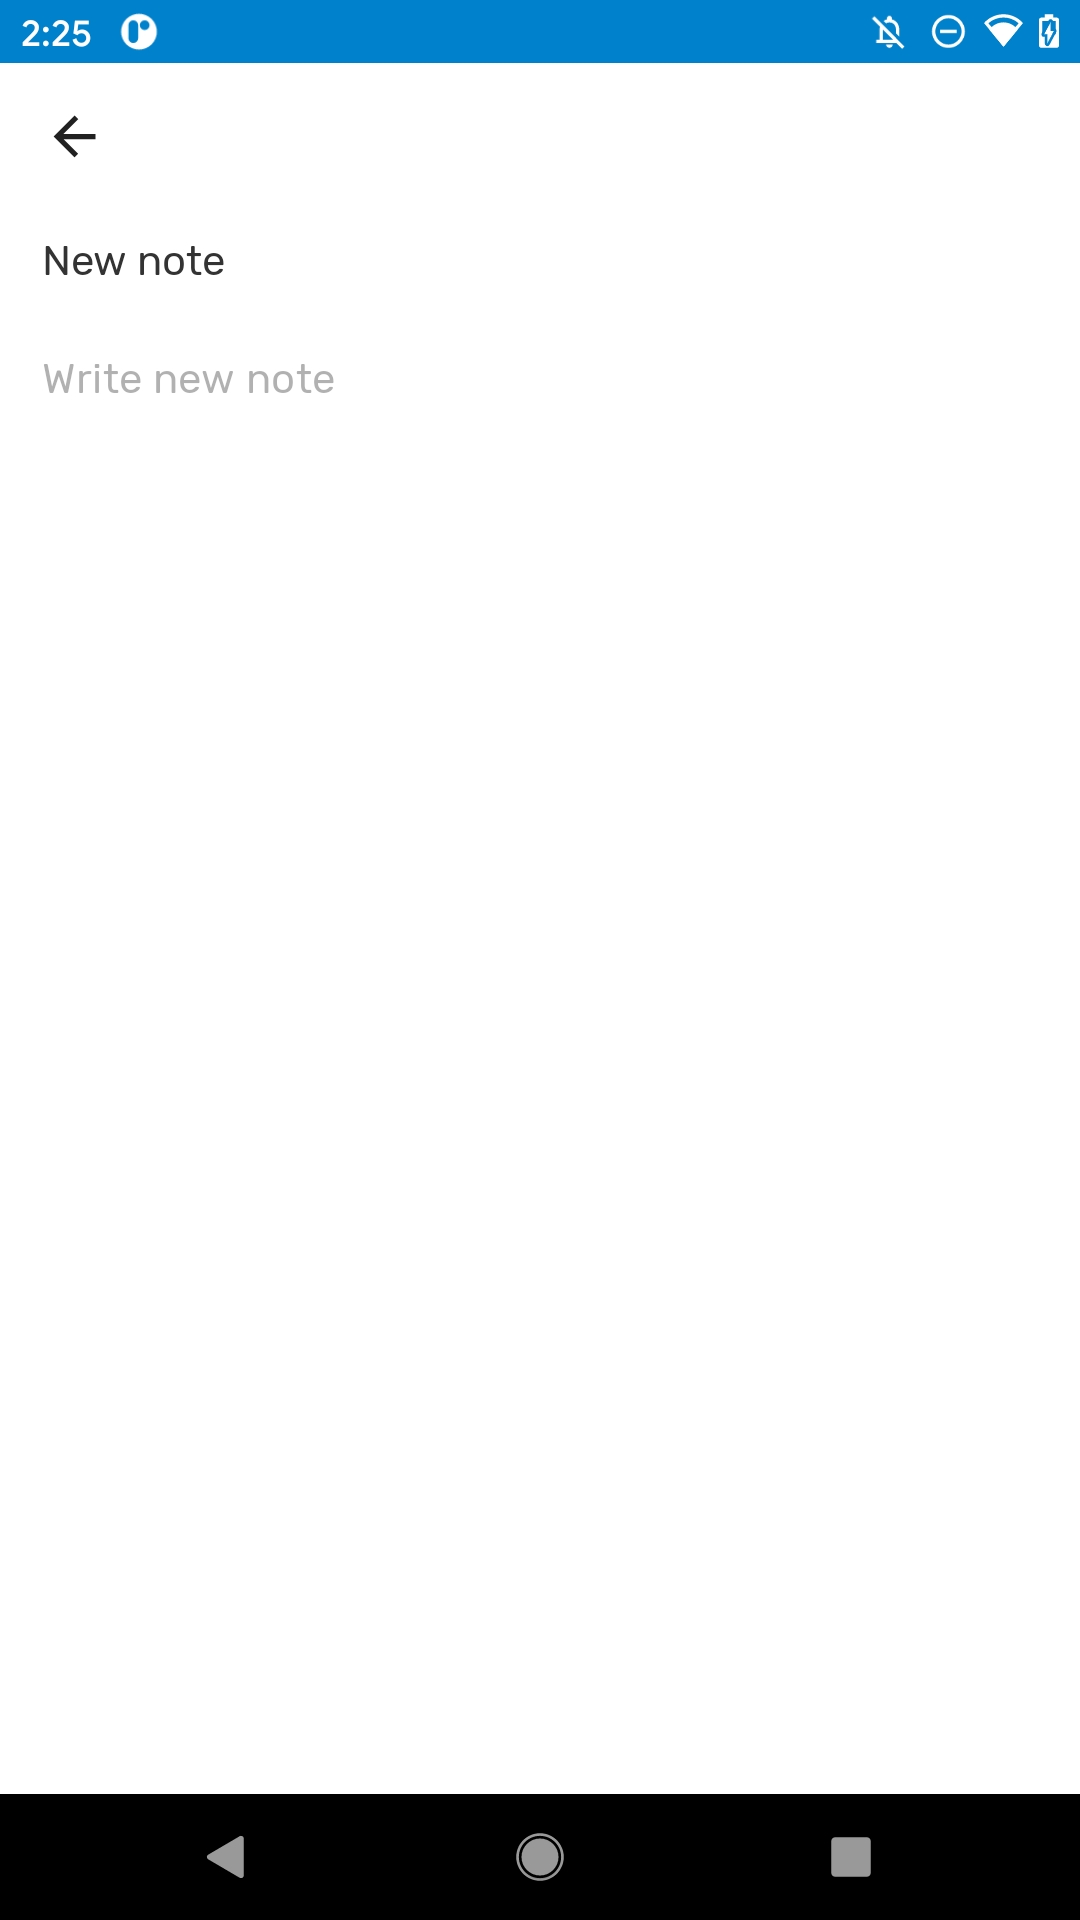
It is possible to add notes to events in single event programs and program stage events. Notes are available in a new tab at the data entry form.
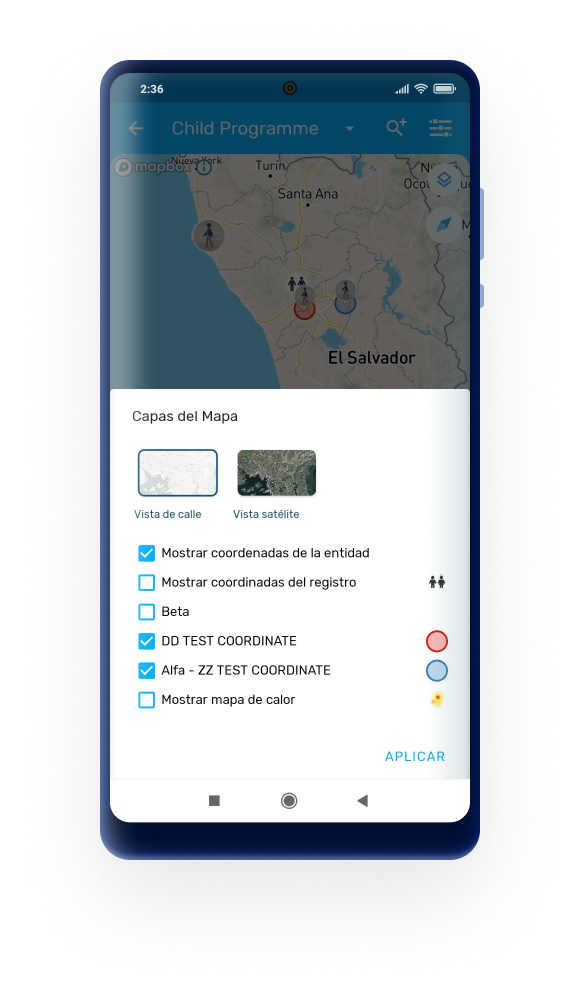
When displaying maps there are different layers that can be displayed by clicking on the specific button on the uppper right corner. The user can select one or more layers to be displayed. Both coordinate and polygons types will be displayed. The layers are depenandat on the type of program as explained below:
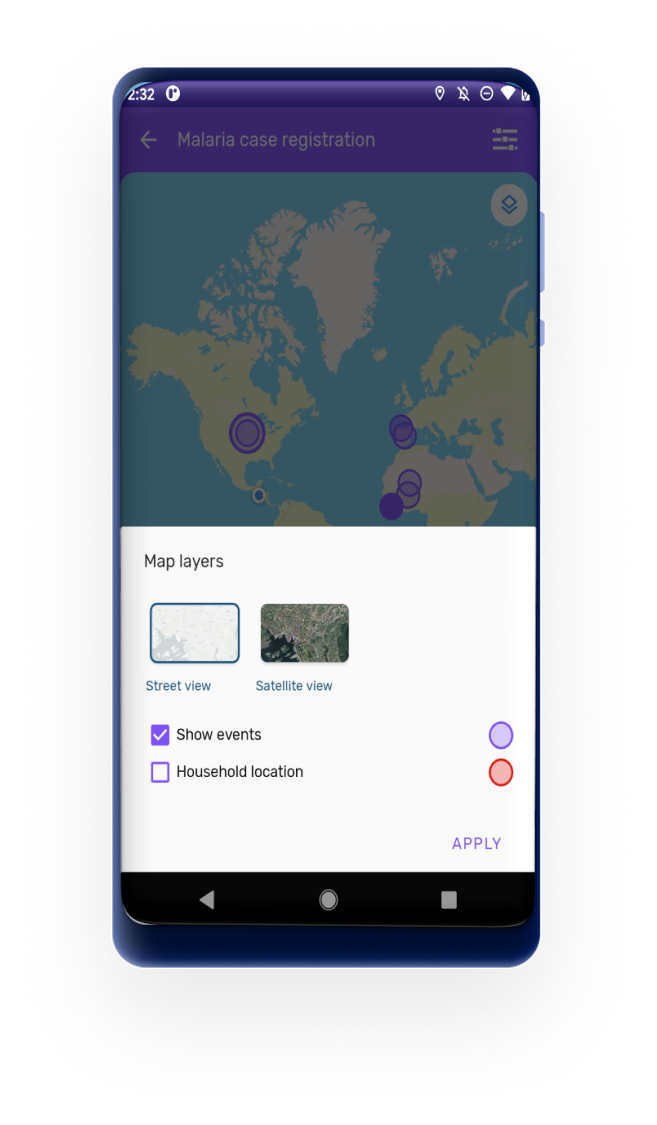
From 3.0 custom map layers are also supported by the Android App. These custom layers, configured in the maintenance app, will be downloaded and displayed as additional layers to the default ones. 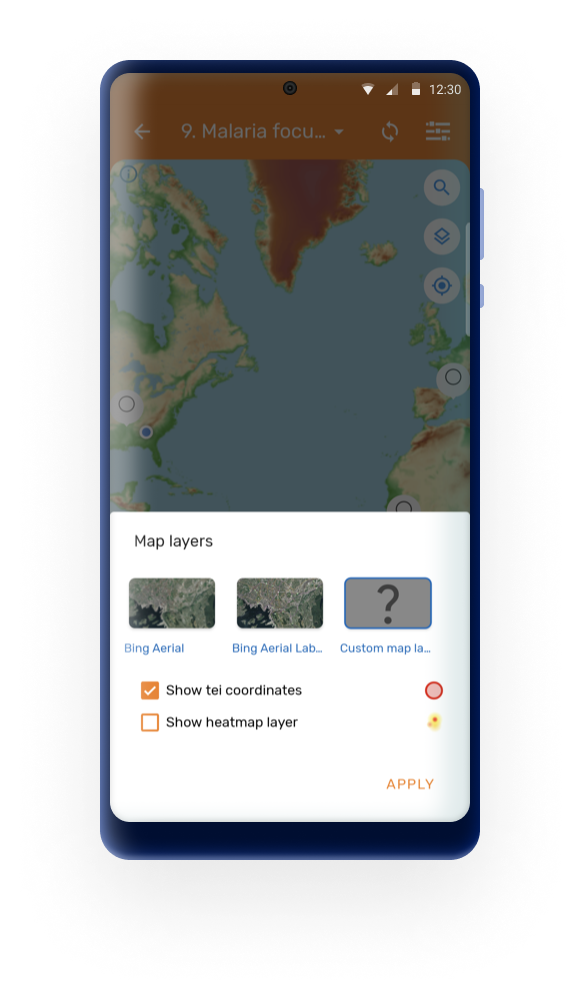
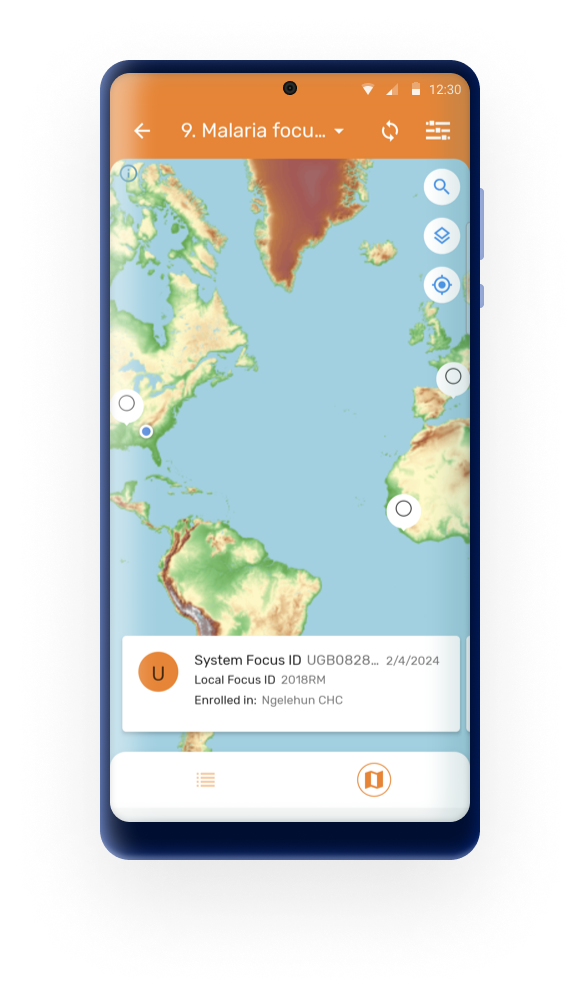
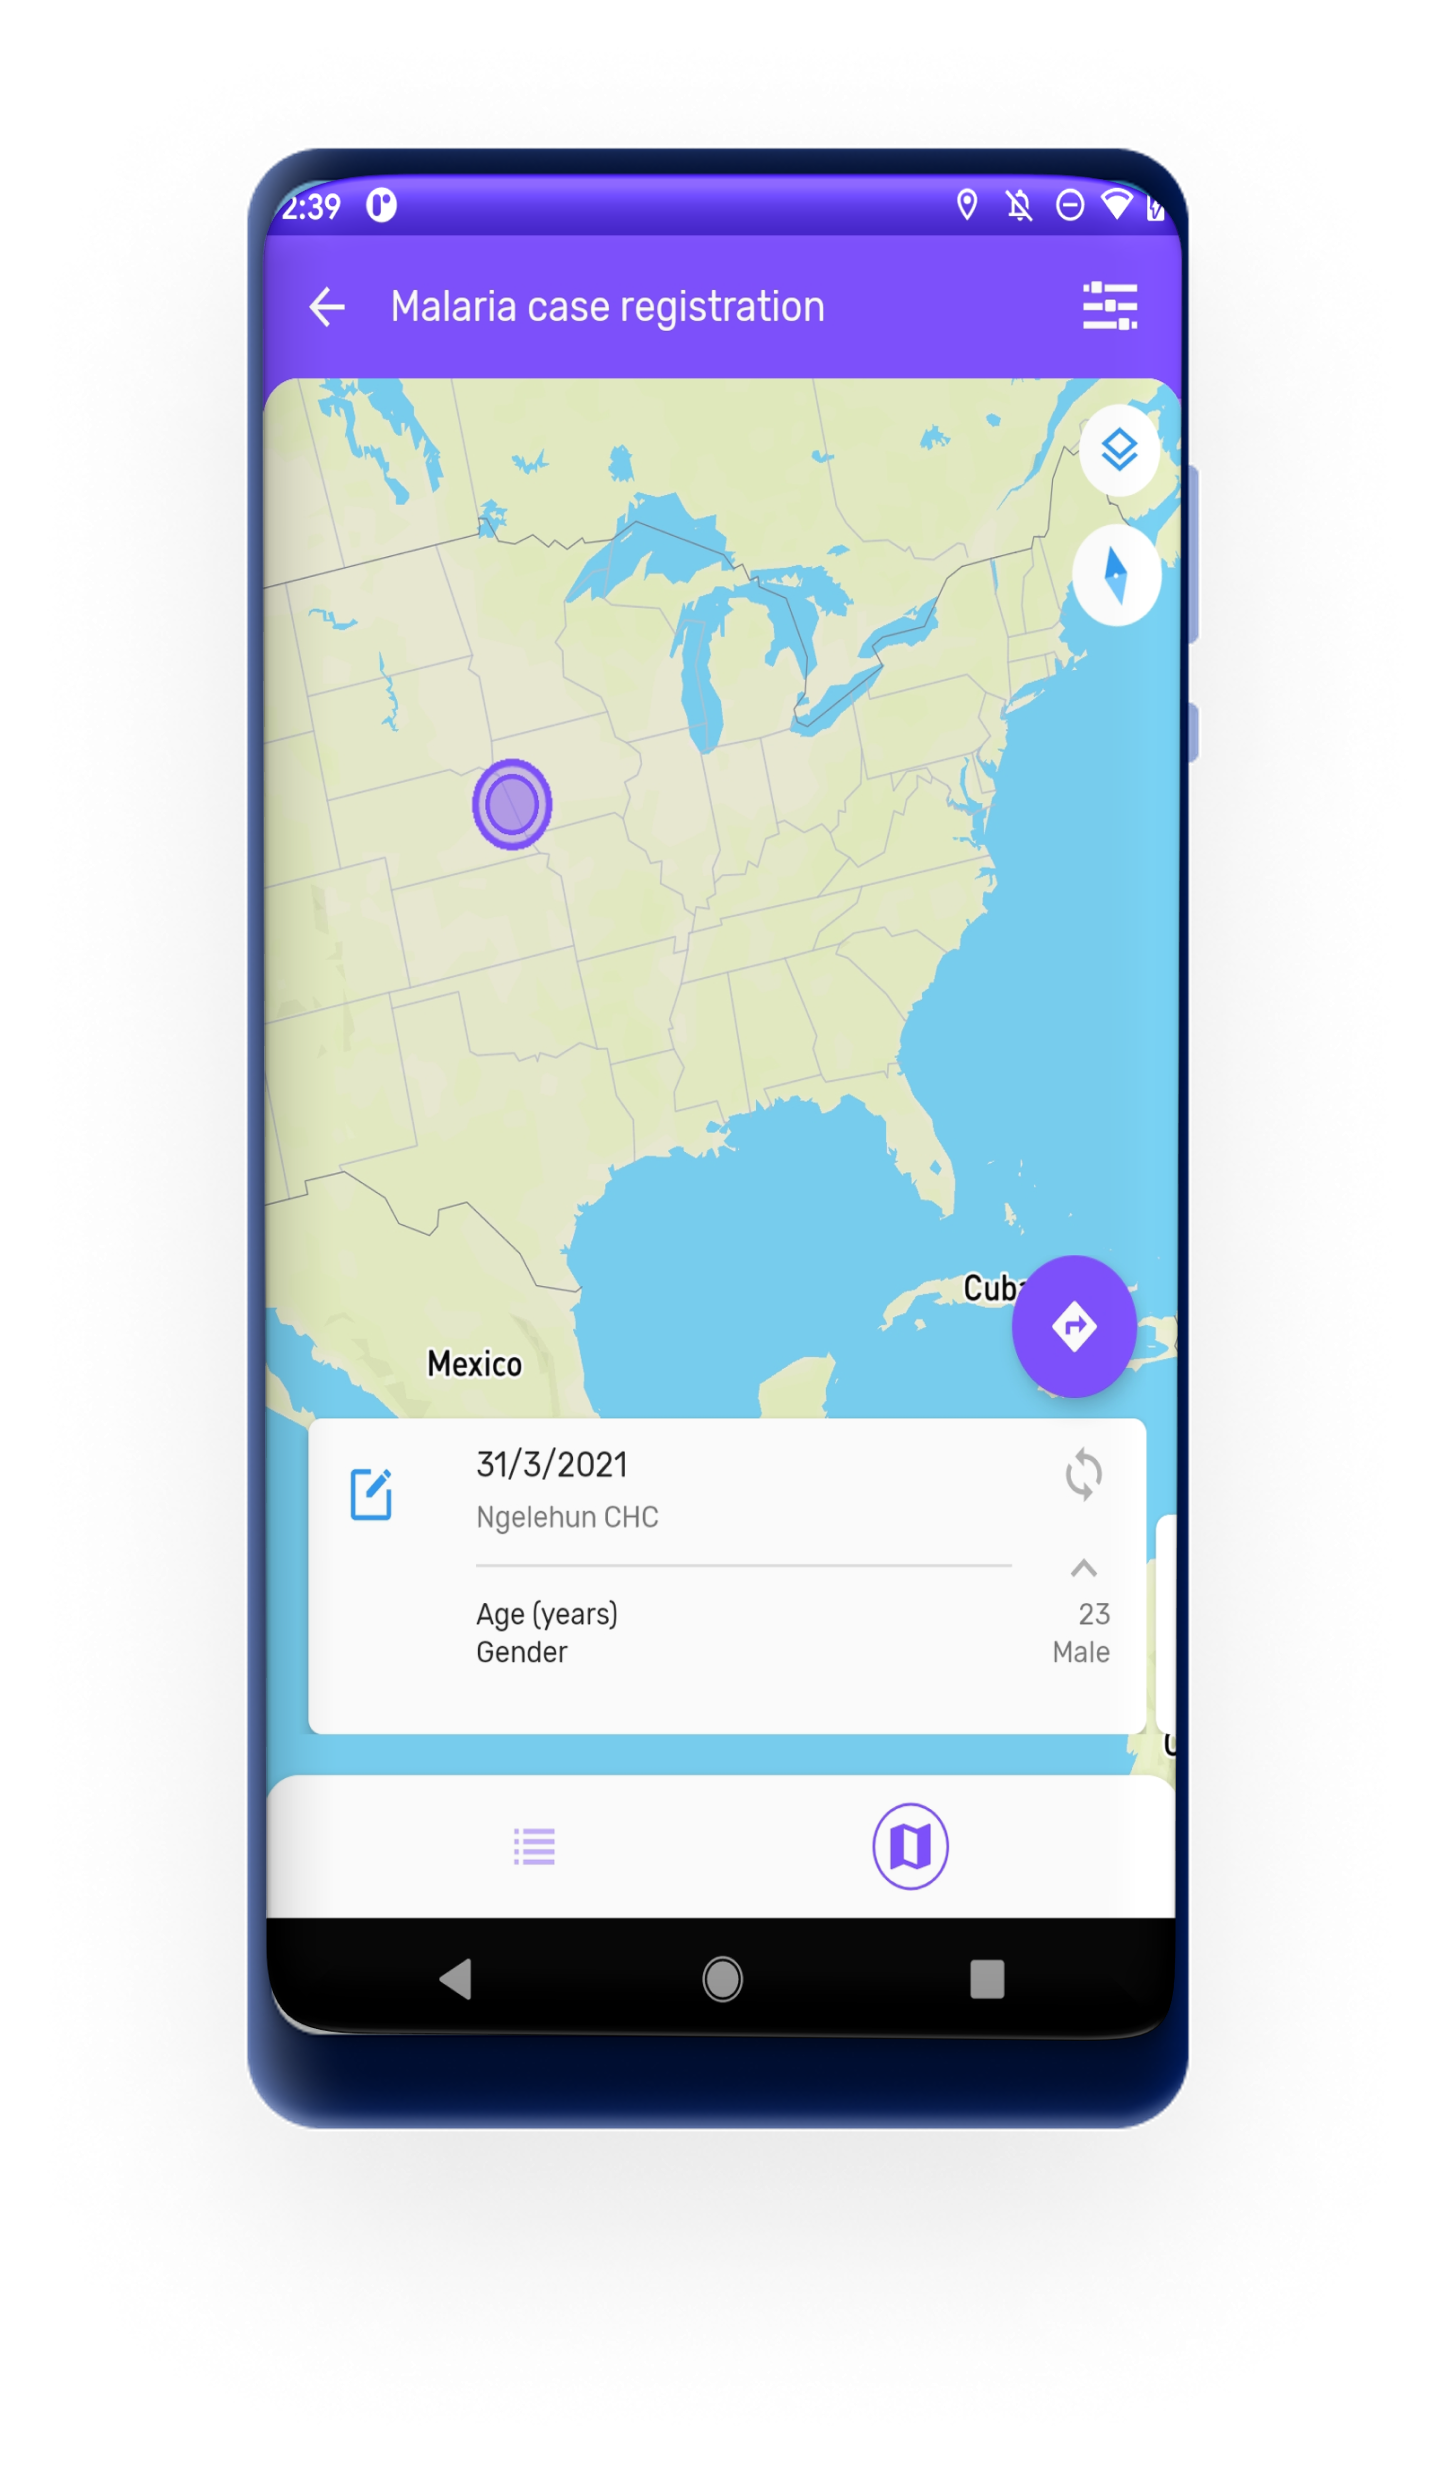
On the map view of the program, a carousel of cards is displayed, one for each enrolled TEI (Tracker programs) or Event (Event programs).
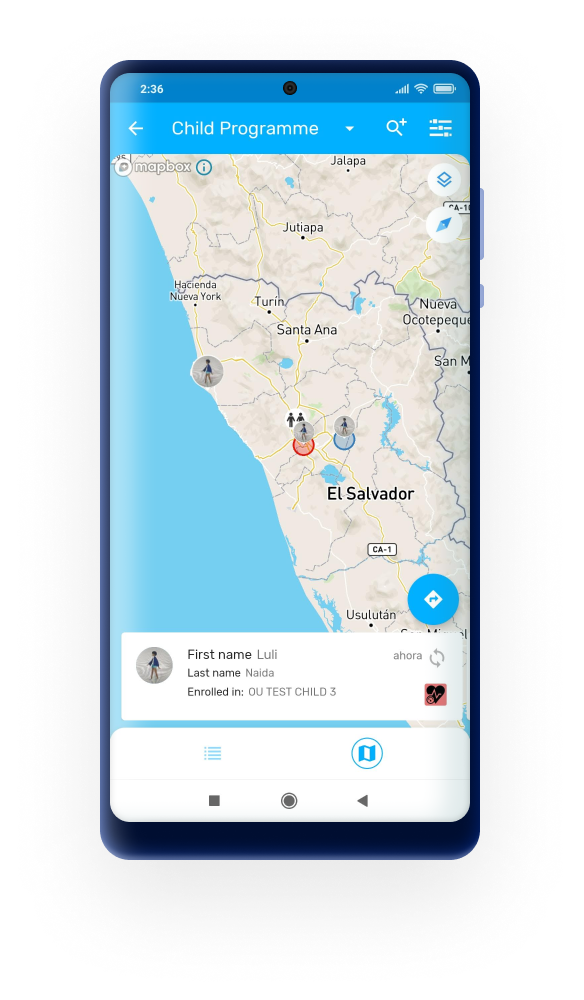
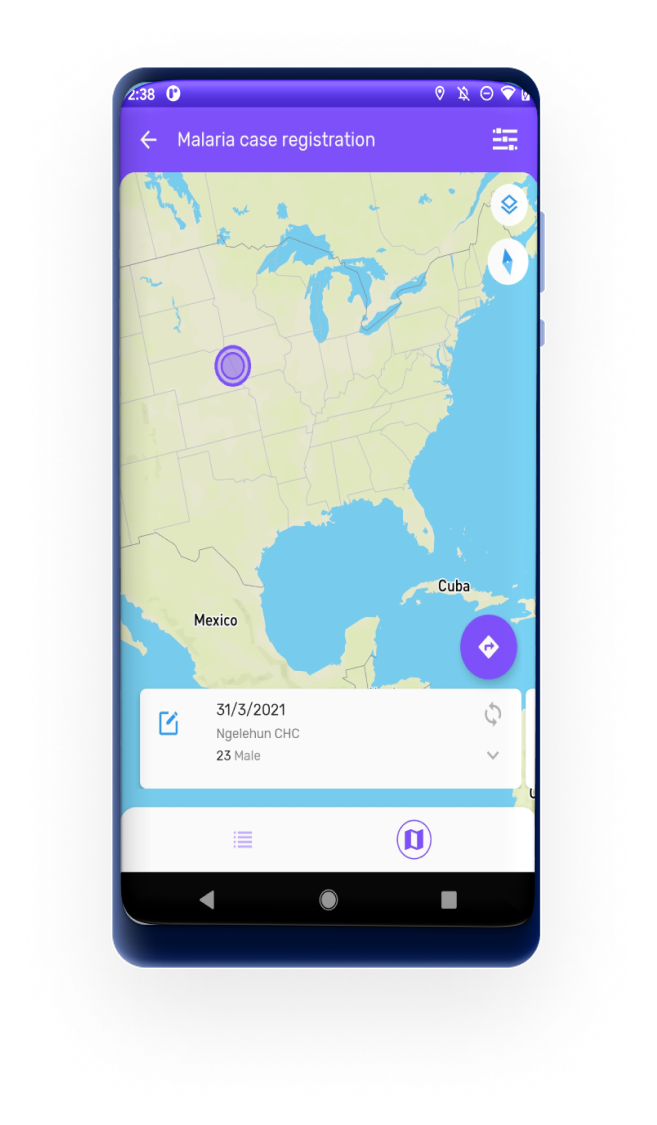
Each card displays Tracked Entity Attributes (for Tracker Programs) and Data Elements (for Event programs) configured as 'Display in list'.
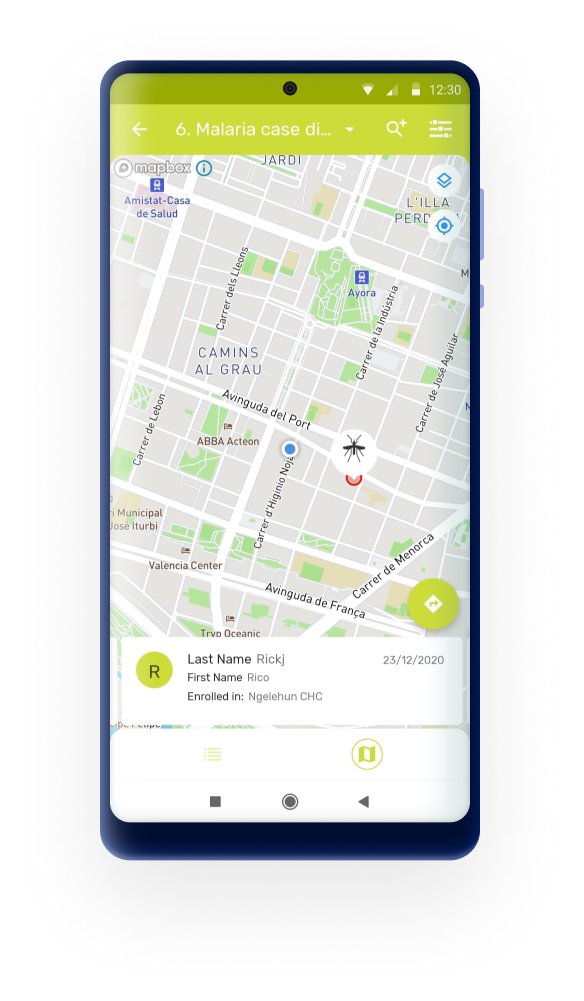
If the user has granted location permissions to the App, the map will show the current location represented as a blue color dot. The maps in the DHIS2 Android Capture App include the possibility to center the map on the user location.
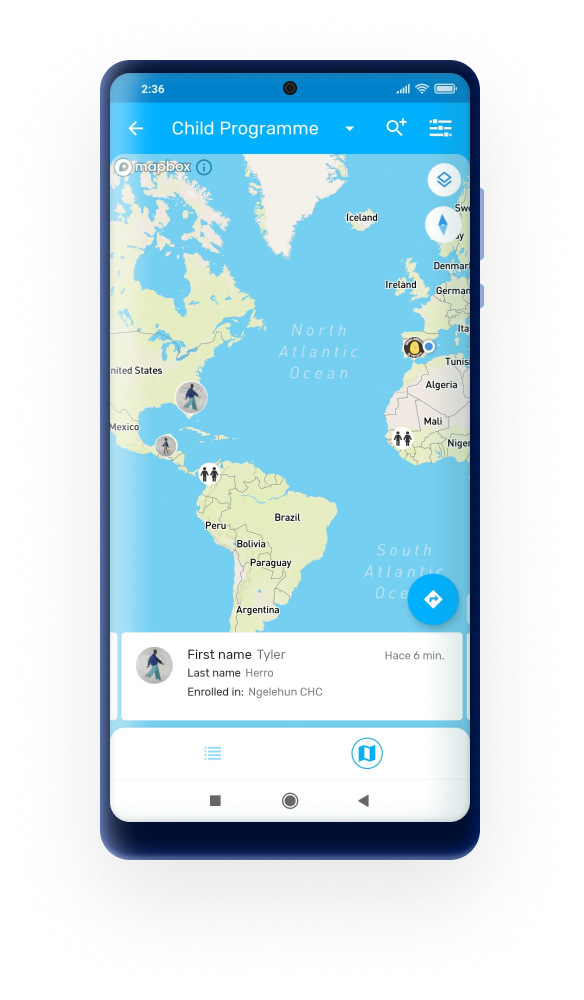
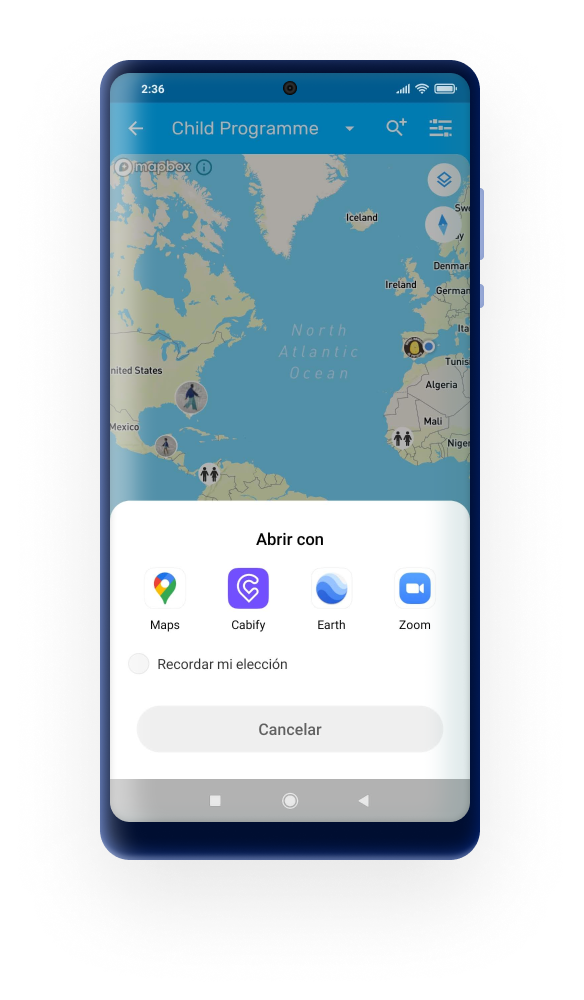
If the TEI or event has coordinates a navigation icon will be displayed at the top right of the card. Click to open the location in the default maps app configured in the device.
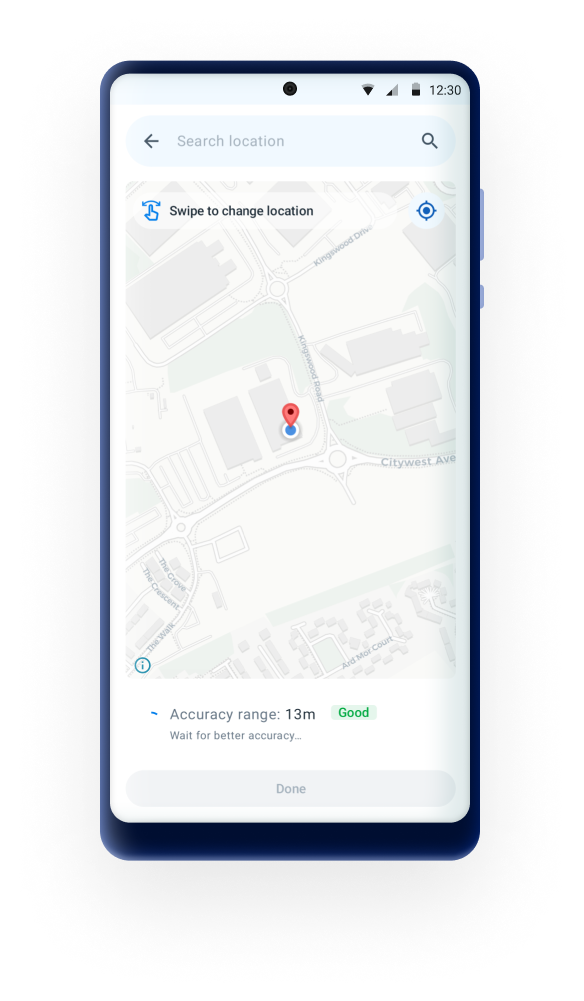
From 3.1.0, the capture coordinates process now includes a feature that displays the precision of the captured location. This allows users to see how accurate their location data is in real-time.
The user will see the tags according to the following ranges:
The coordinate can be captured even if the accuracy is low, but this behavior can change if there is a restriction/limit on the precision (configured in Android Settings WebApp). When there is a restriction, the “Done” button will remain disabled until the precision meets the required threshold.
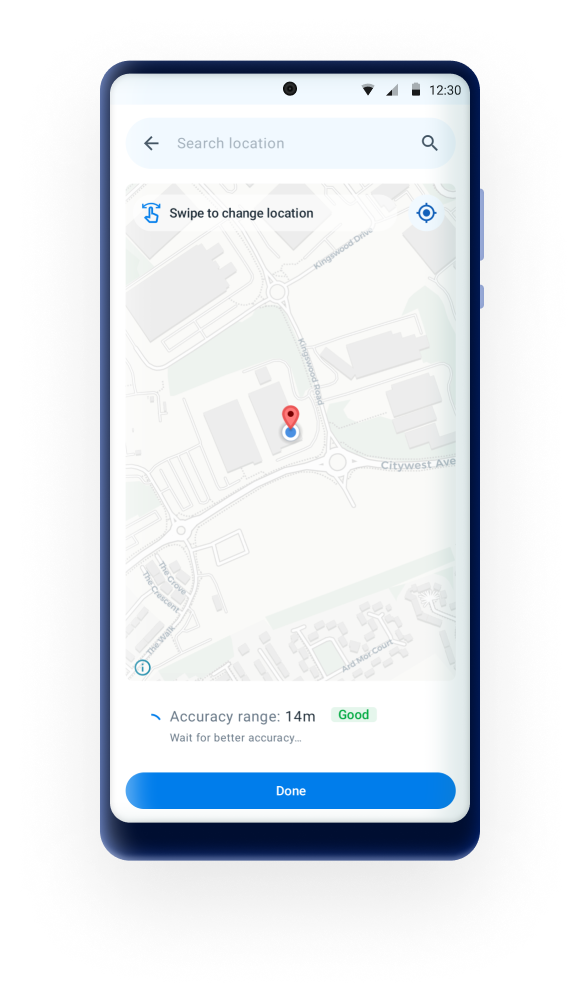
A new search functionality has been added, allowing users to look up specific locations by name or address. Once the user tap on the search bar, the keyboard will open and the user can enter any street or location name. The user can select any of the locations of the list or tap on the "select in map" to display all the locations in the map (blue pins).
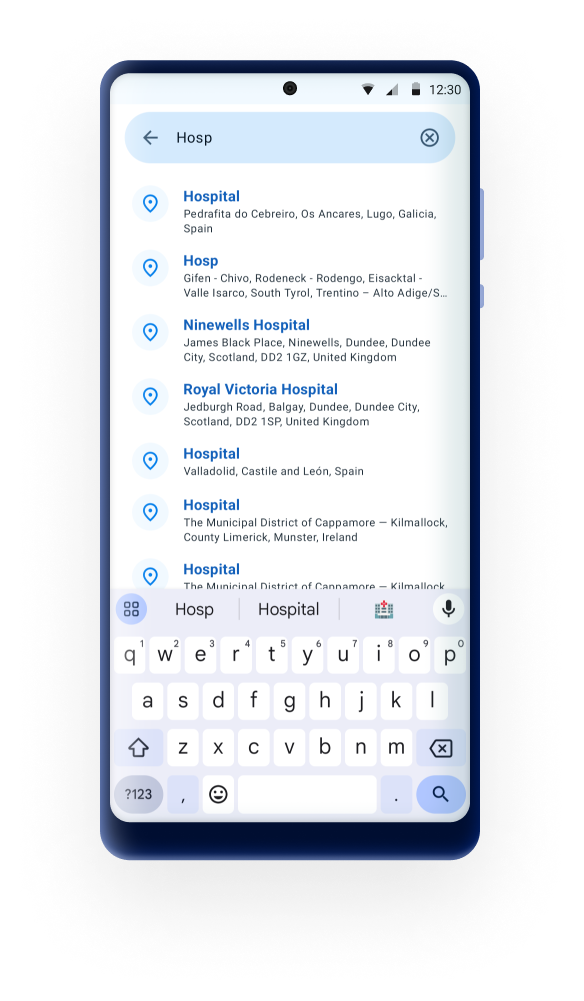
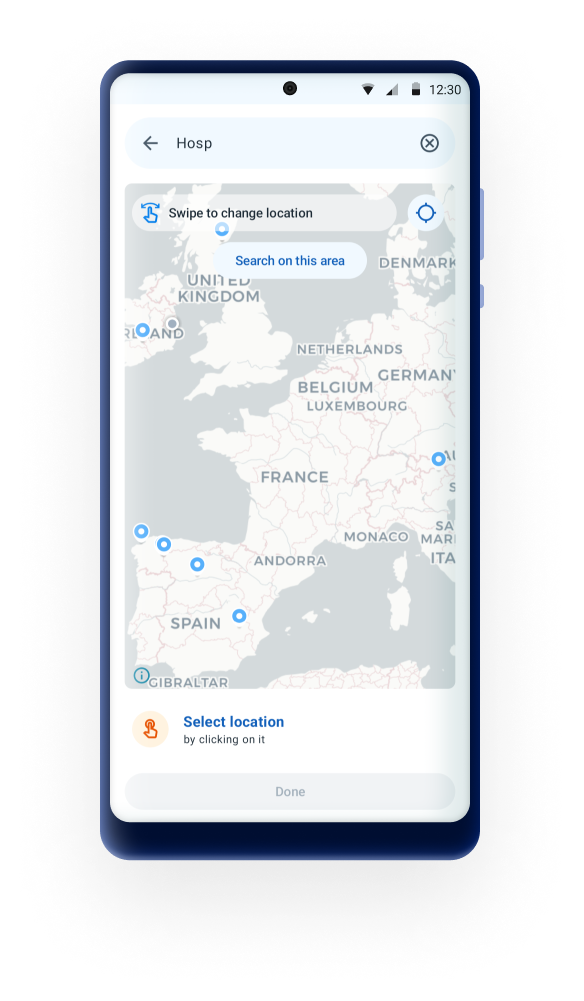
When a place is selected, the location will be displayed as a card below the map, the pin will be positioned on the selected place and the search bar will be filled up with the place name.
The list of pins is based/limited on the current location. But once the search is done, if the user moves to a different area, the search can be done within the new area by tapping on the "search on this area" button.
By dragging the map the user can choose the pin location manually. At the bottom of the map, the label "selected location" will be displayed with the respective coordinates.
In 3.1 the manual capture can be disabled (Android settings webApp configuration).This will hid the search bar and won't allow the user to select any location on the map. It will be restricted to save the current location only.
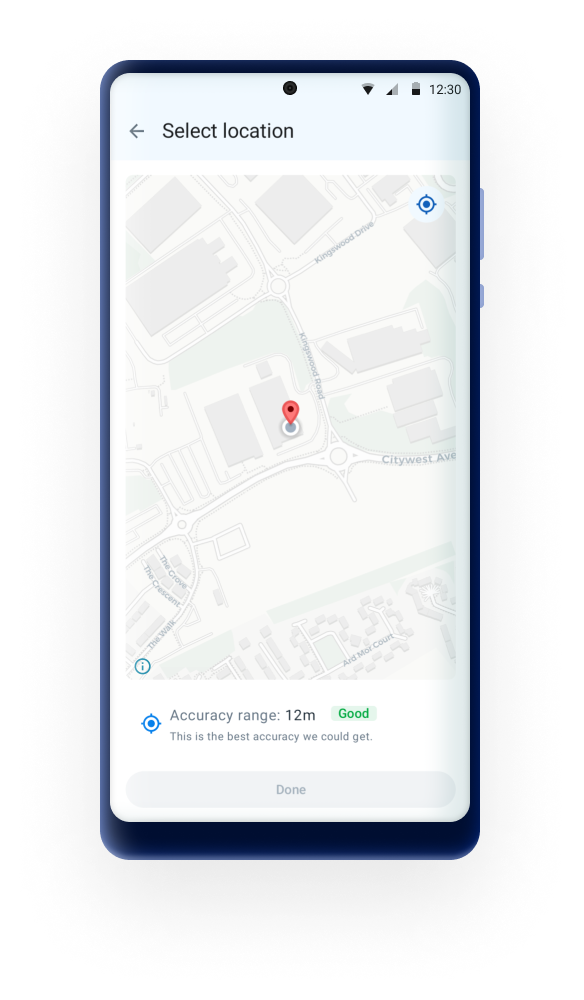
Working lists are available in Event and Tracker Programs, once a list is selected the filters will be blocked and not allowed to change until the user resets the search.
The Android App supports the new tracker working lists, allowing users to filter by data elements. The working lists need to be configured in web using the web Capture App. The Android app will download the working lists that are configured and saved on the server side.
In 2.9, the working lists have been moved from the filters section to the main program screen. In earlier versions the user had to open the filters to be able to see and select a working list, from this version the working lists are always visible under the search bar facilitating its selection for filtering out Tracked Entity Instances
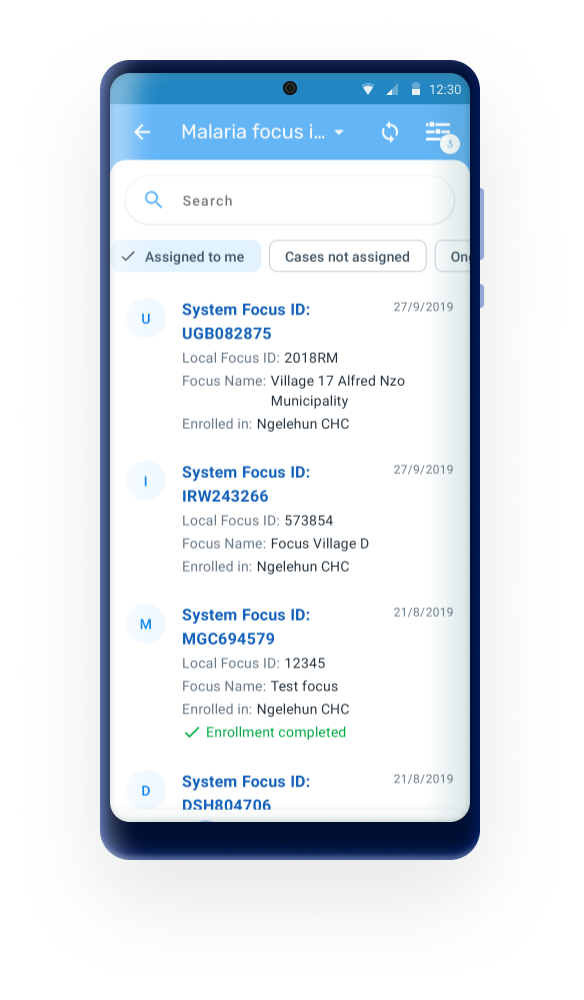
From version 3.3.0, the Android Capture App supports synchronization based on working lists defined in the Capture web app and assigned through the Android Settings Web App (ASWA). Working lists allow administrators to specify exactly which tracked entity instances (TEIs) or events should be downloaded to a device, ensuring focused, context specific data for each group of users.
When working list based sync is enabled for a program:
This feature helps deployments reduce sync time, limit unnecessary downloads, and ensure that each user receives only the data relevant to their workflows.
Configuration note:
Working list assignments and synchronization rules are configured in the Android Settings Web App (ASWA). For instructions on how to assign working lists, manage sharing, and control synchronization behavior, see the Synchronization settings section of the ASWA documentation.
The analytics tab supports displaying text and key/value pair in feedback or indicator section.
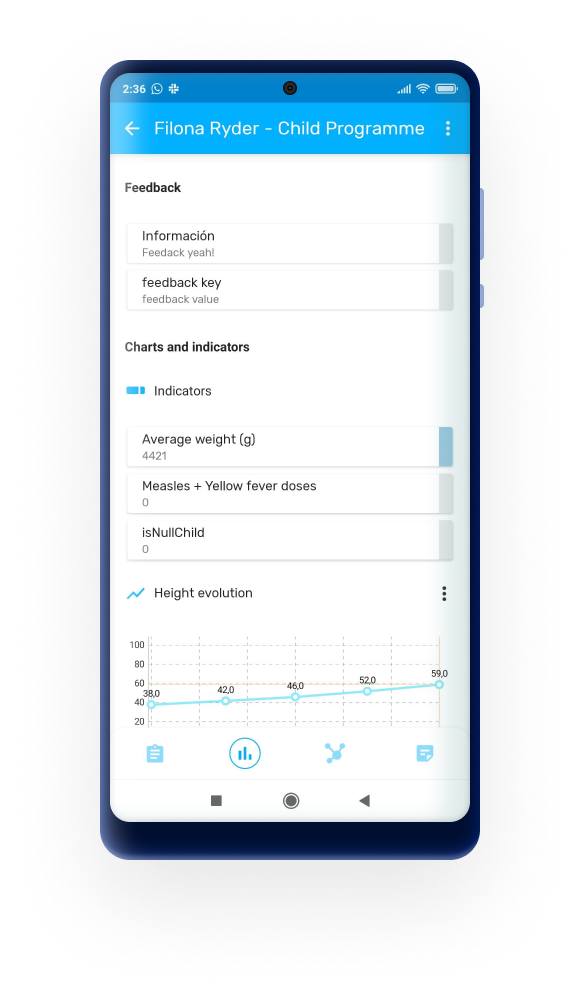
Legends can be assigned to Data Elements and they will be displayed next to value with the respective color and label.
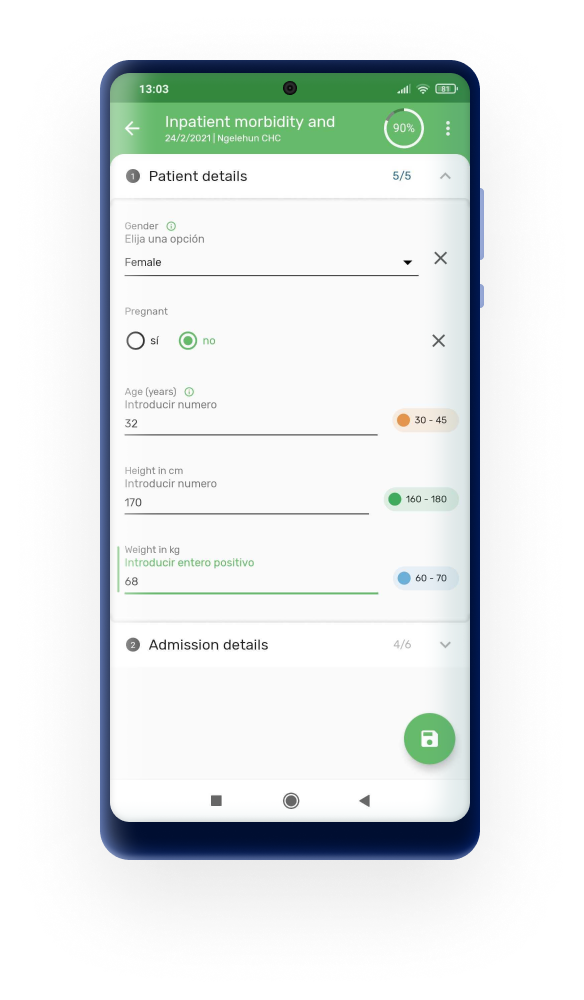
Feedback messages generated through Display Text and Display Key Value Pair program rule actions support Markdown formatting. This allows structured and more readable content to be displayed directly in the app, including headings, lists, tables, links, and emphasized text.
In addition, legend-based styling enables feedback values to be visually highlighted using predefined legend sets. When numeric values are present in the content, they are evaluated against the configured legend ranges and rendered with the corresponding color. This allows dynamic color coding of key values, helping users quickly interpret results and identify important conditions.
The following Markdown elements are supported in feedback content:
\n\n# to ######**bold text***italic text*-1., 2., etc.)[text](https://example.com) (public URLs only)|) notationSpacing and line breaks
Spacing within feedback content must be explicitly defined using line break characters.
\n\n to create a new paragraph or visual separation between sections.Example
The following example demonstrates how Markdown can be used within program rule actions to render structured feedback content, including formatted text and tables.
Action 1: Display text
Static text: ## Weight per visit
Expression:
d2:concatenate(
"\n\nFacility: ", V{orgunit_code},
"\n\nDate of birth: ", V{incident_date}
)
Action 2: Display text
Static text: ## Summary
Expression:
d2:concatenate(
"\n\n|Visit|Weight|\n|---|---|\n|Birth|", #{weightbirth},
"|\n|Second visit|", #{weight2}, "|"
)
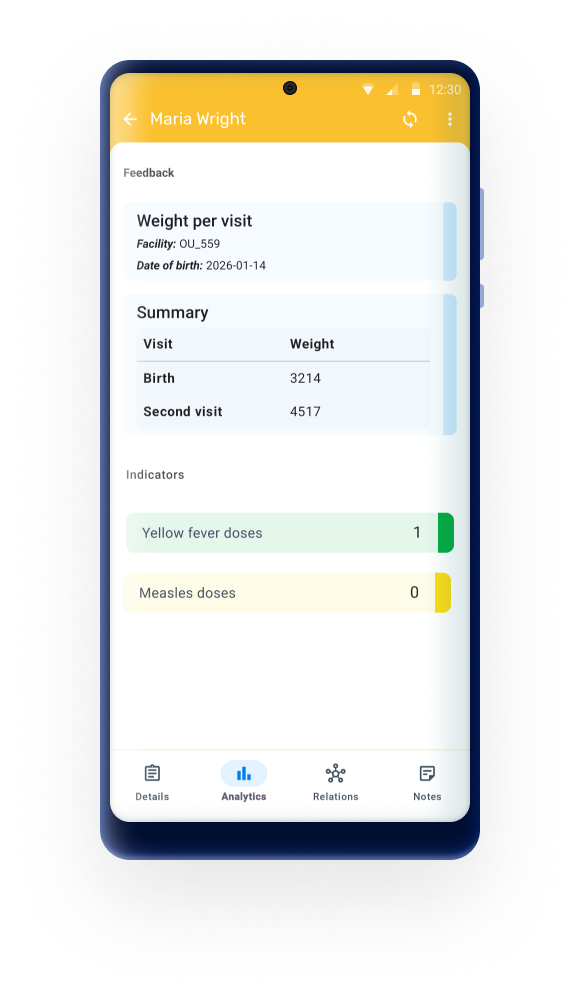
Notes
- Table columns are rendered with equal width
- Tables can be scrolled horizontally if they exceed screen size
- All text is left-aligned by default
- Markdown support is limited to the elements listed above
The input fields will display had a hint message saying "Insert value here" which will remain until a value is entered by the user.
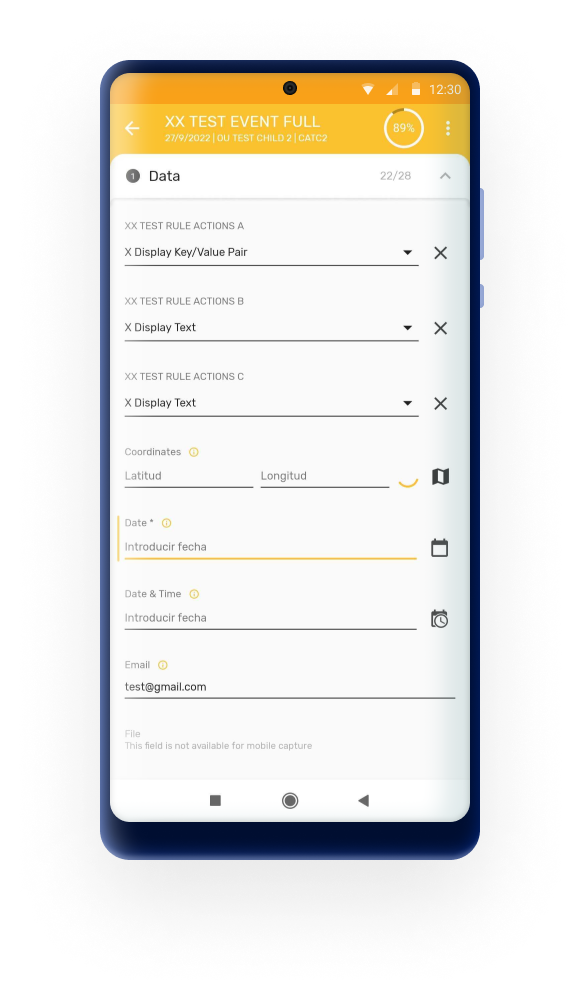
In forms with multiple sections, the App includes a "Next" button at the end of each section which calls the user to action. The funtion of the button is to close the current section and open the new one.
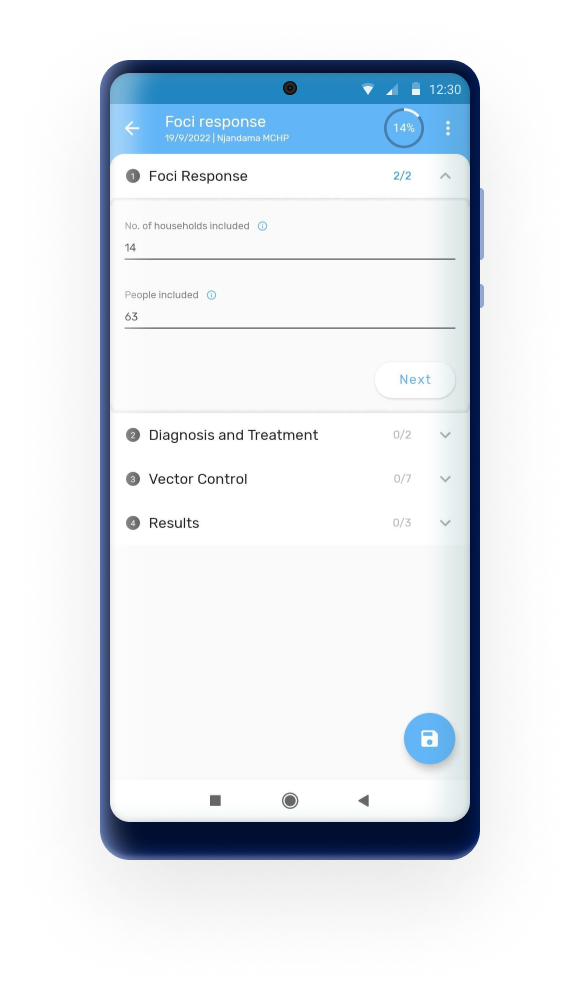
To provide more context and information at the moment of data collection the description has now been brought to the user interface and will be displayed below the section name. The description will always be visible but if the text is too long (more than 3 lines) the app will add an ellipsis and a show more/less button to expand or collapse.
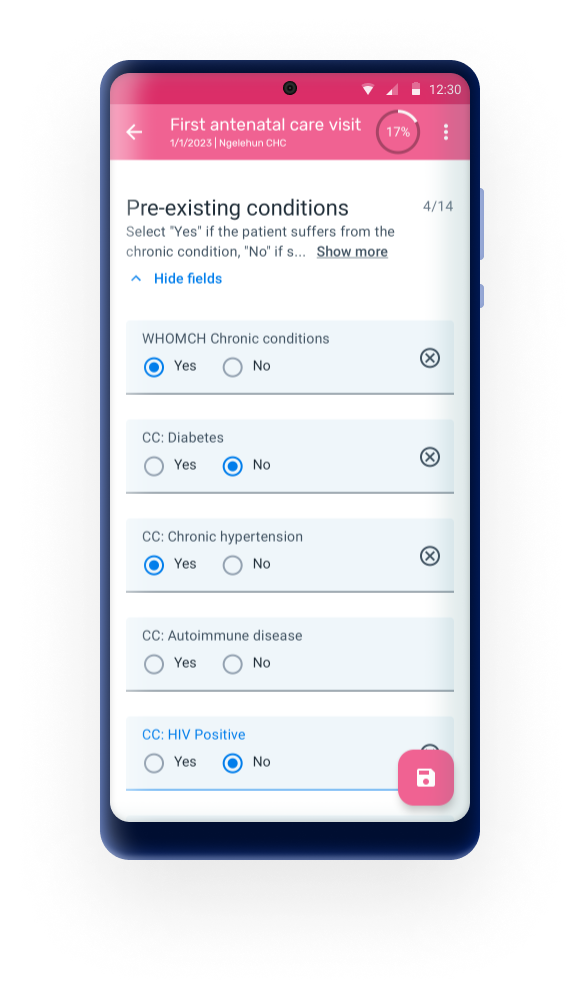
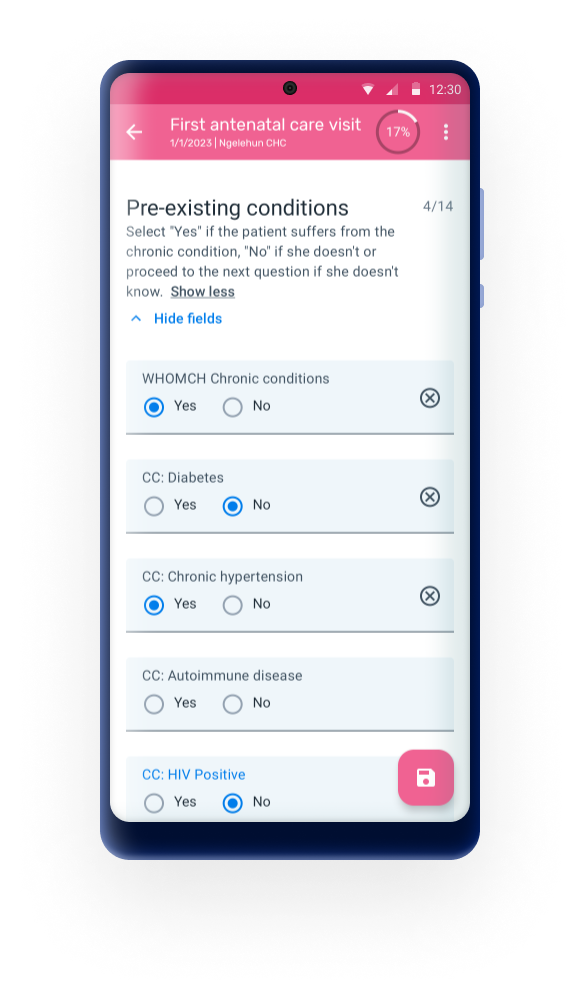
Stage sections in the Android App are displayed with collapsible menus that enable the user to open one section at a time. The purpose of this accordion-like implemementation is to help the user navigate very long forms, however some implementations would prefer to list the sections one after the other.
This new version of the application enables the admin use to decide if the sections should appear in extended mode. This configuration is made through the Android Settings Web App and will display the sections one after the other with the name the secion acting as a separator. In extended mode, the "next" button at the end of each section is removed.
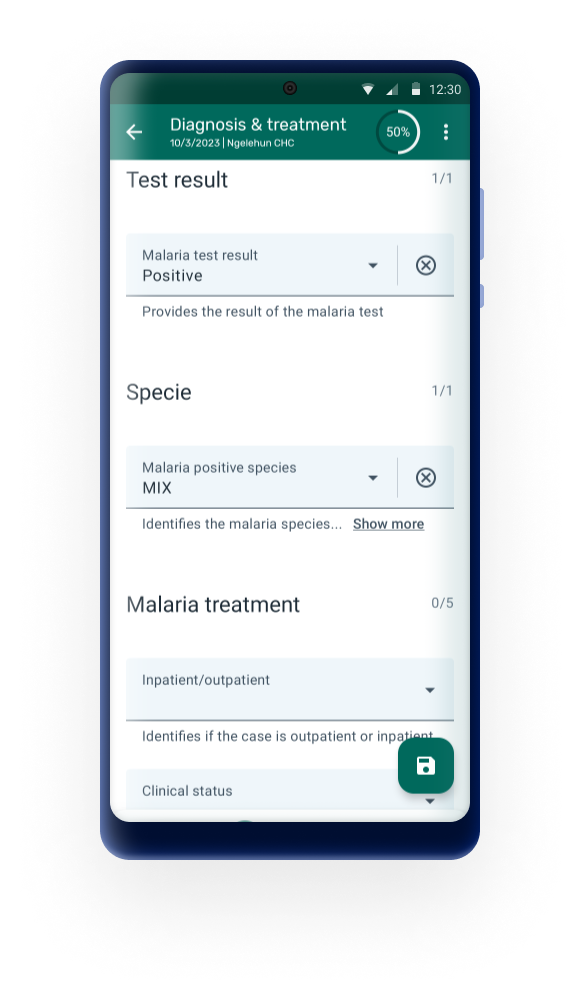
The inputs for all value types have been redesigned. Tappable areas and texts have been increased and selection modes are improved to offer cleaner and more intuitive user experience. By default the Android App will display the current forms. Admin users are able to opt-in to use the new forms through the Android Settings WebApp.
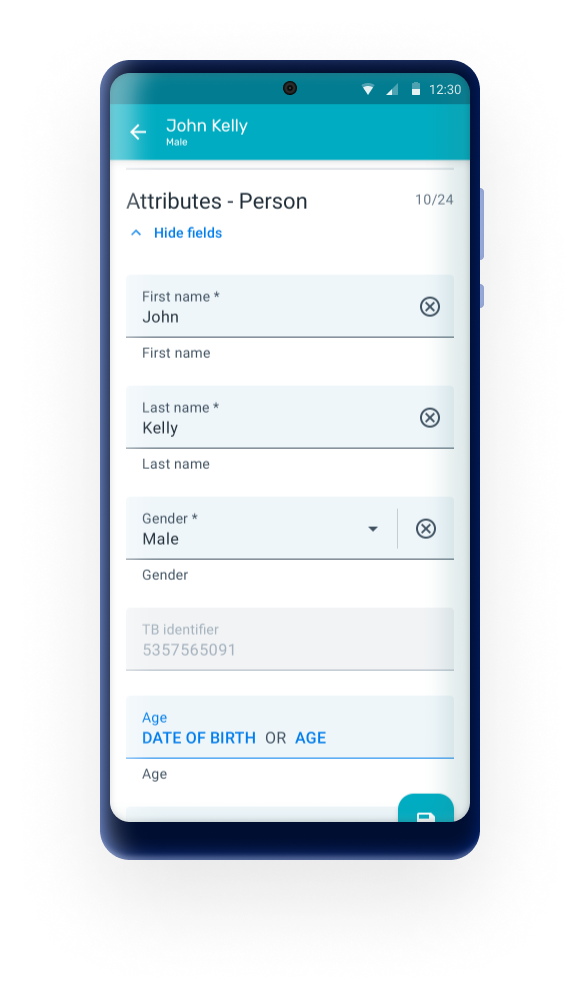
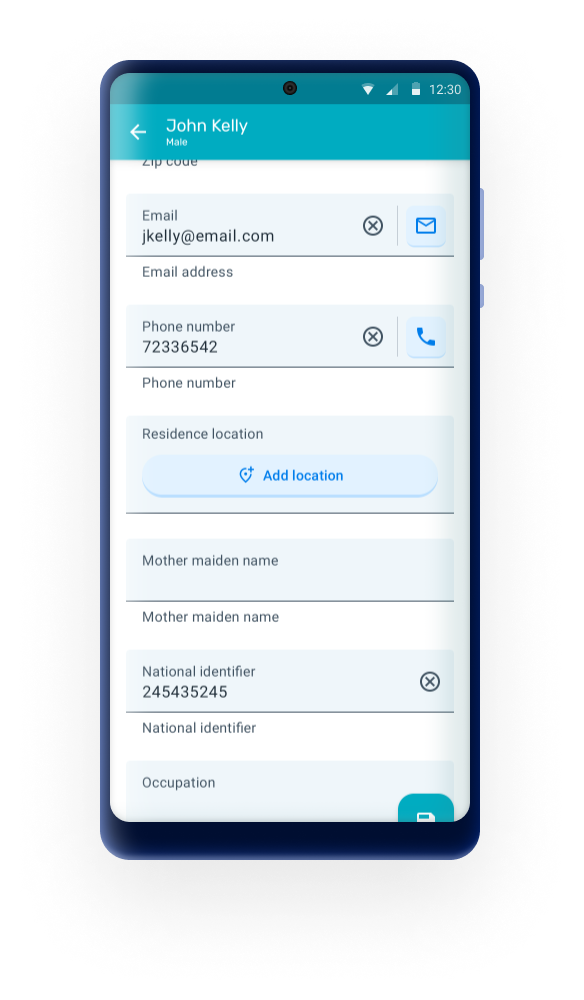
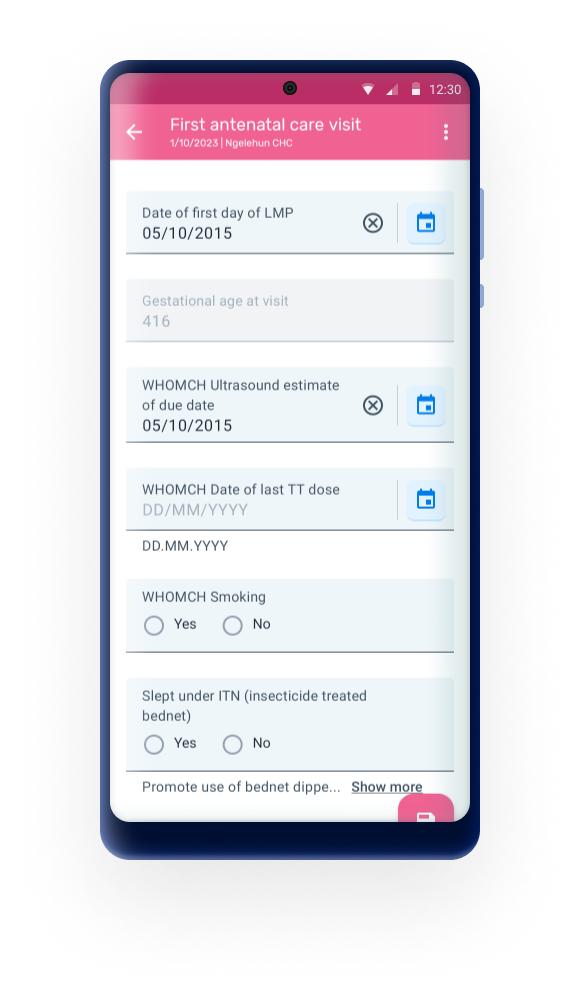
This feature enables users to take action on phone numbers and email addresses directly from the app. When tapping on the icons, the app will dial a phone number or open an email app copying the address from the event or enrollment data entry form.
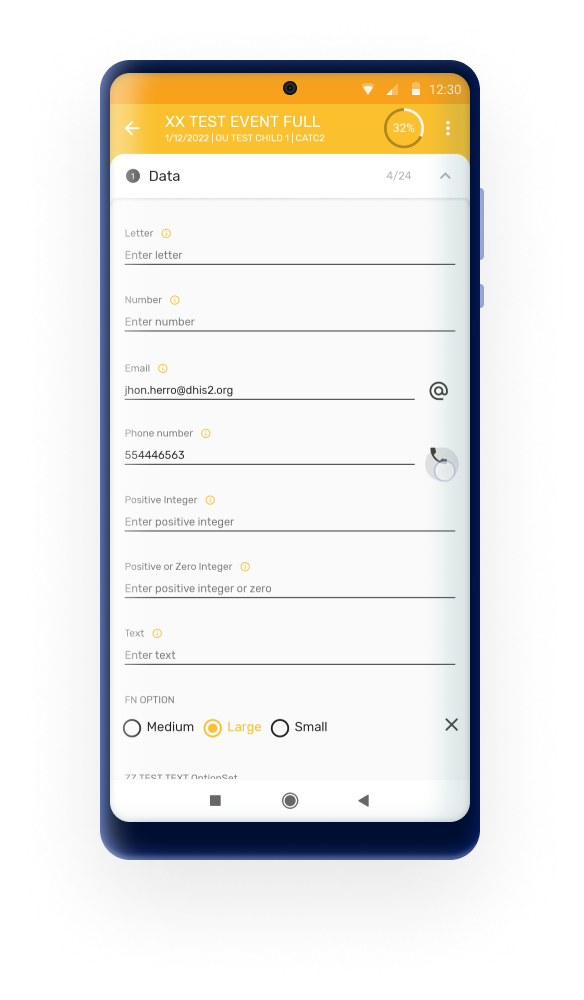
In order to facilitate the terminology used in DHIS2, it has been decided to gradually enable the possibility to customize certain terms to each particular use case. In 3.0, the terms "event" (used in a program stage context) and "enrollment" are customizable.
To customize the terms, the admin can go to the Maintenance and when creating or editing the program add a text to:
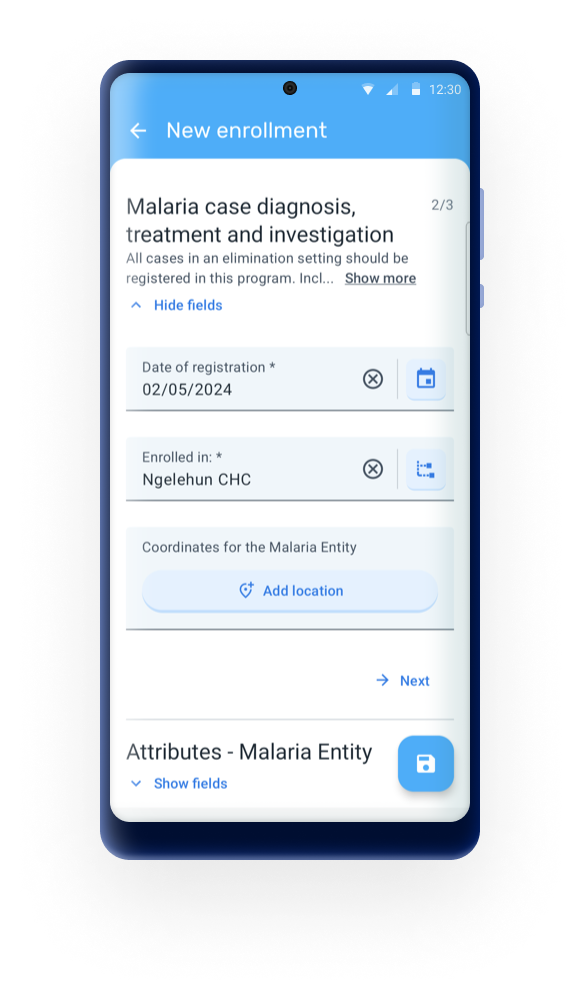
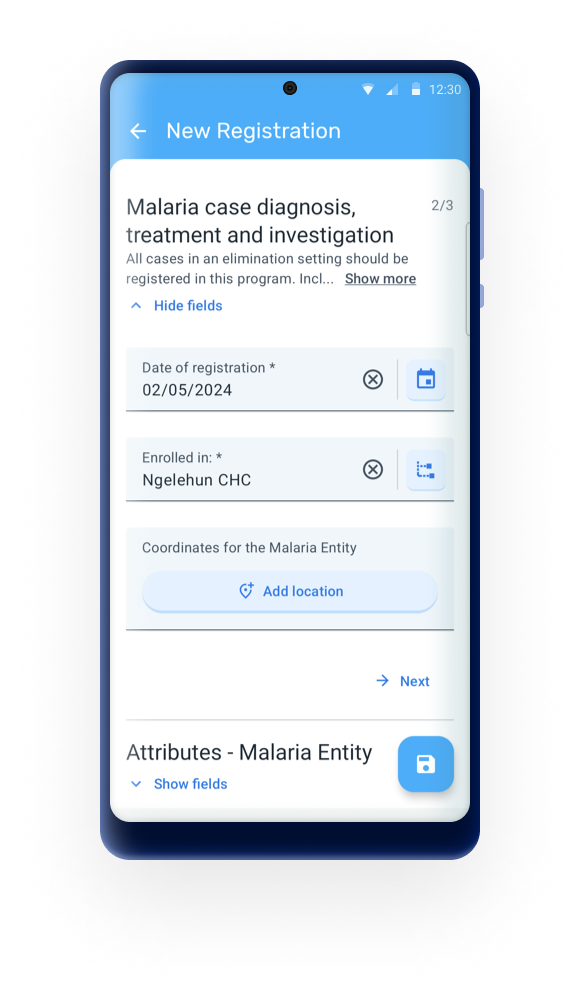
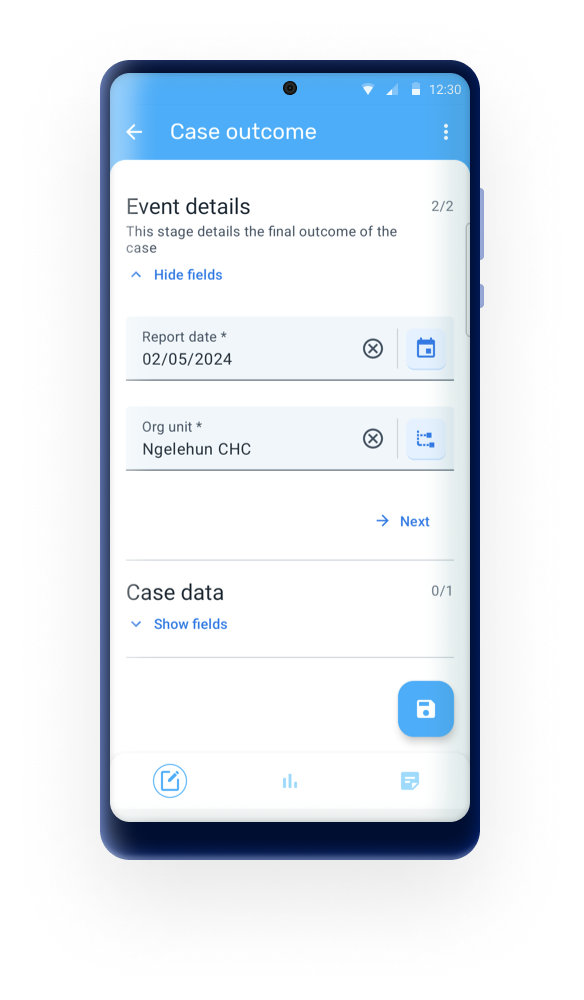
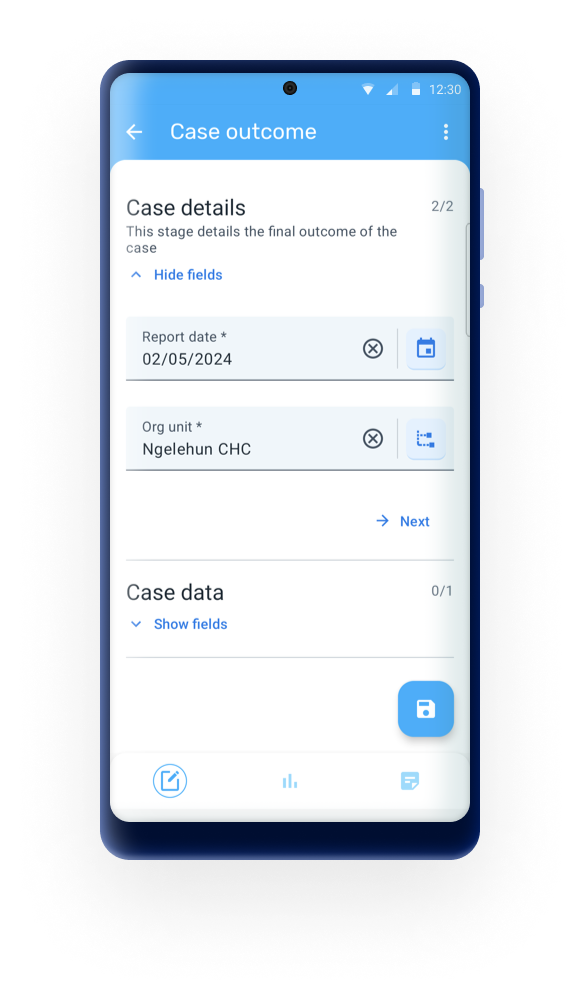
In 3.1, the term "event" (program context) is now customizable.
The relationship tab displays sections once the tab is open. Each section represents a different relationship type and the + icon will be available only if the user has capture access to the relationship type.
The name of the section will be the "relationship name seen from the initiating or receiving entity" depending on the configuration of the relationship.
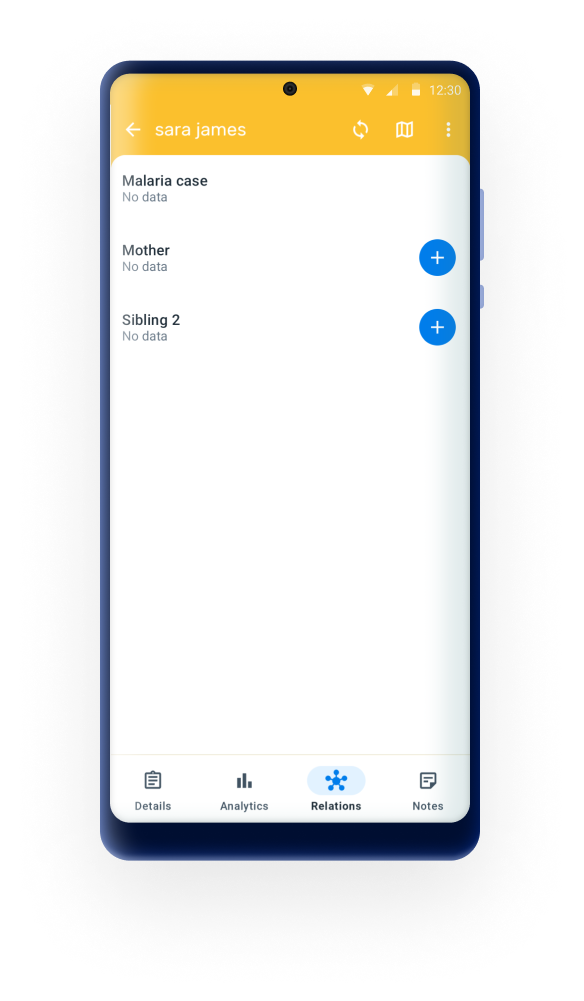
In 3.1.0, the relationship cards have also been updated with a new design to offer a more intuitive and visually appealing experience. The new design emphasizes clarity and usability, making it easier to view and manage relationships at a glance.
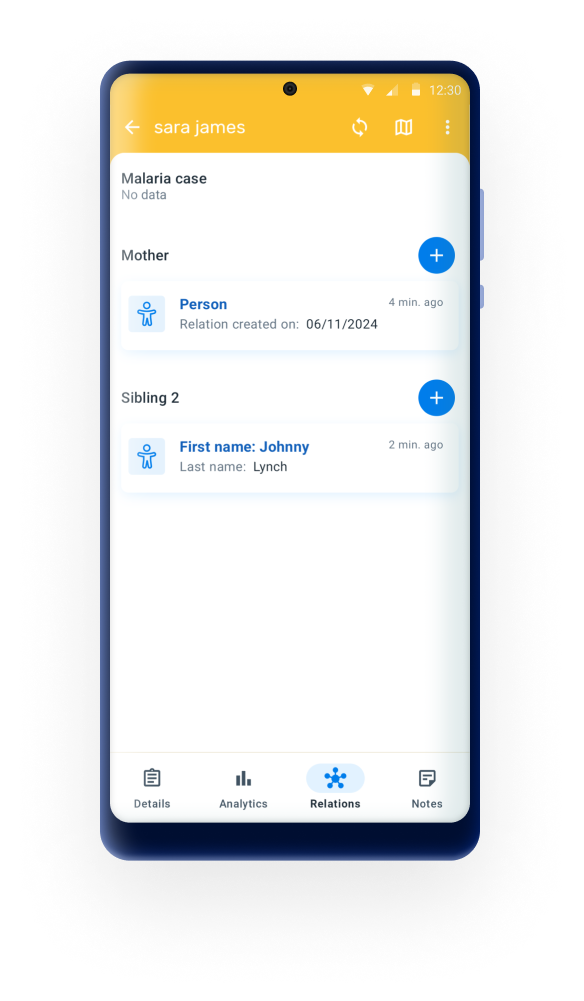
To delete a card, long press on it and select one or more. Then, tap on the remove icon to display the dialog. Finish the process by tapping on the "Remove" button.
To prevent accidental deletions and enhance user control, a new confirmation dialog also has been added when deleting a relationship. This dialog will prompt users to confirm their action, ensuring that relationships are only deleted intentionally.
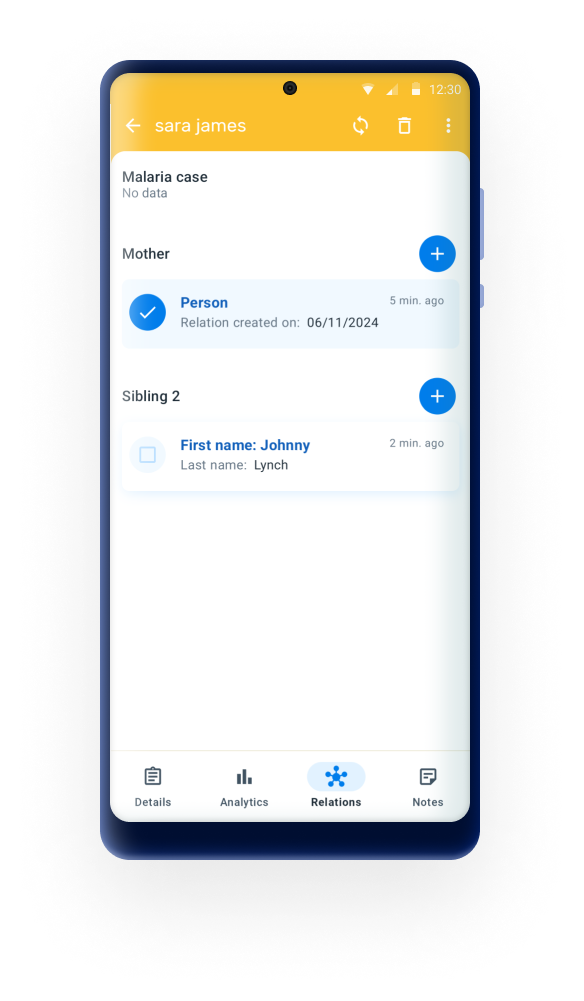
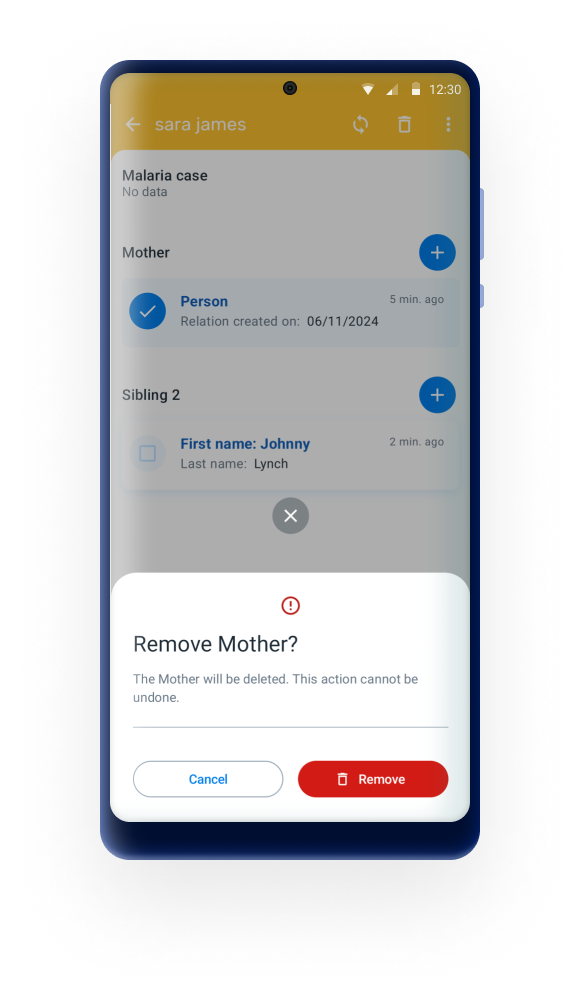
This feature is available from Android Capture App version 3.3.0.
Custom Intents is a powerful feature that allows the DHIS2 Android Capture App to integrate with third-party Android applications. By configuring custom intents, administrators can enable the Android app to launch external applications, send data to them, and receive data back to populate fields automatically.
This feature enables seamless integration with specialized apps such as: - Barcode and QR code scanners - GPS and mapping applications - Biometric identification systems - Custom data collection tools - Camera applications - Medical device applications - Any other Android application that supports intent-based communication
Custom Intents are configured using the Android Settings Web App and can be linked to Tracked Entity Attributes or Data Elements.
Note
Custom Intents leverage the Android Intent system, which is a fundamental component of Android's inter-app communication mechanism. Understanding basic Android Intent concepts can be helpful when configuring this feature.
When a custom intent is configured for a tracked entity attribute or data element, the field will only accept data from the configured third-party application. Manual data entry will not be available for that field.
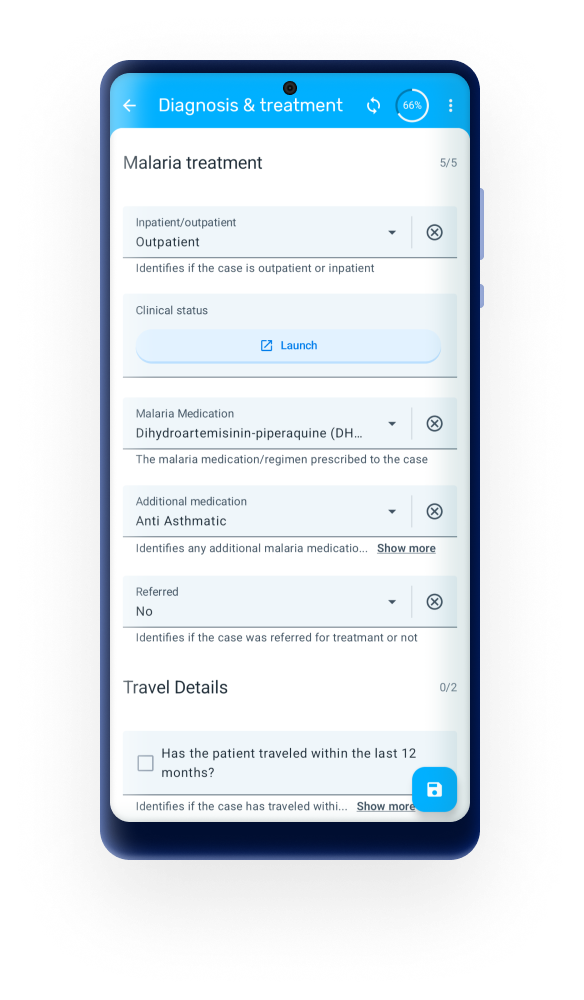
Note
When the Extra Type is List of JSON Objects, the returned values will be concatenated into a single string separated by commas (e.g.,
120,118,122). This allows storing multiple values from the list in a single field.
When configured for the SEARCH screen:
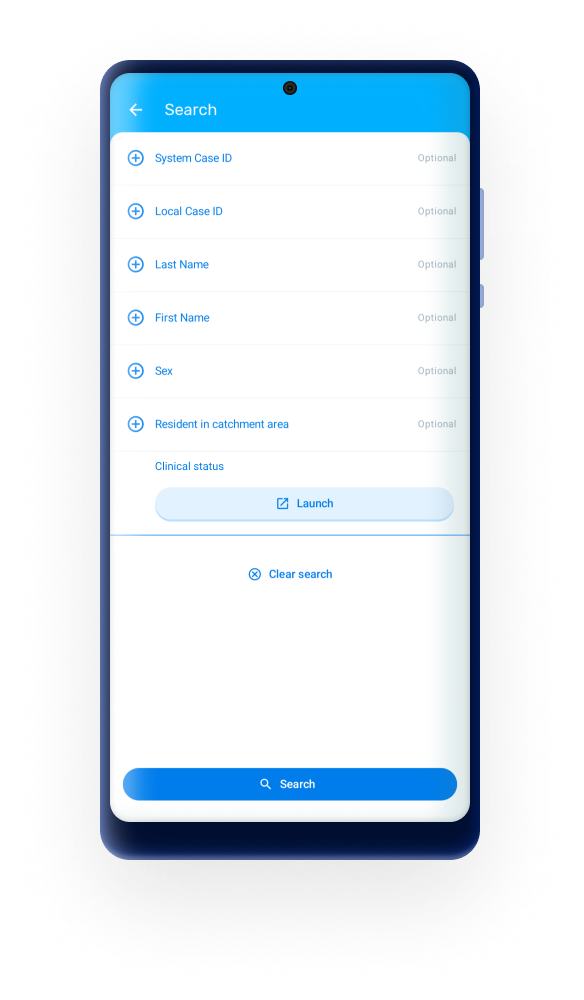
Note
When the Extra Type is List of JSON Objects, the search will match tracked entity instances that contain any of the values in the returned list. This allows searching for multiple entities at once.
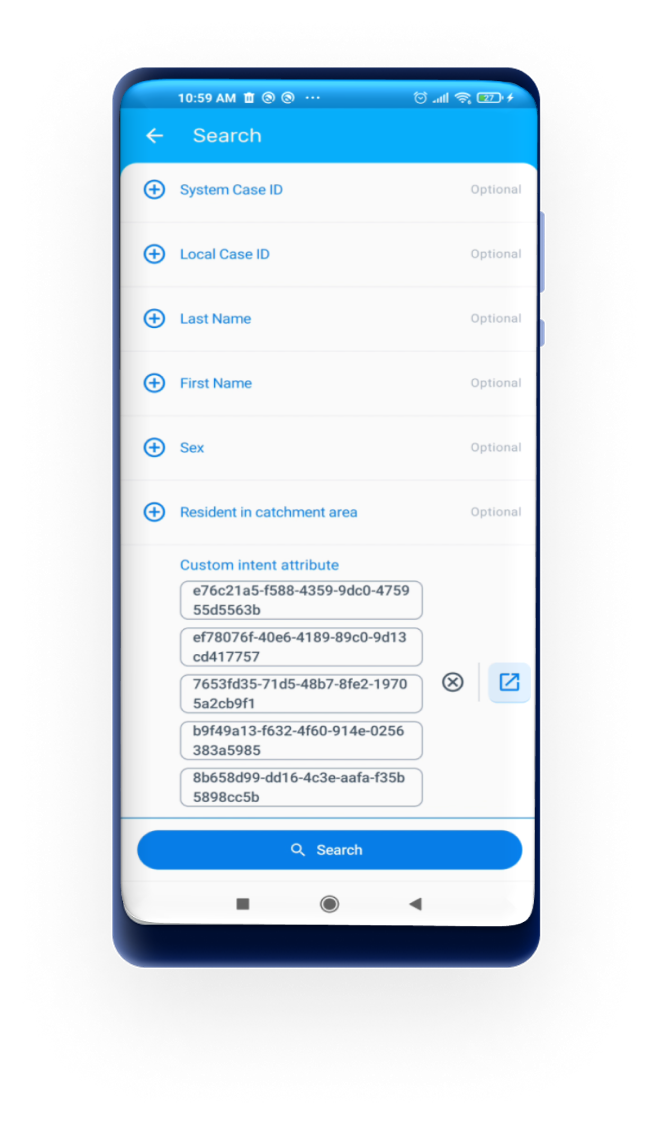
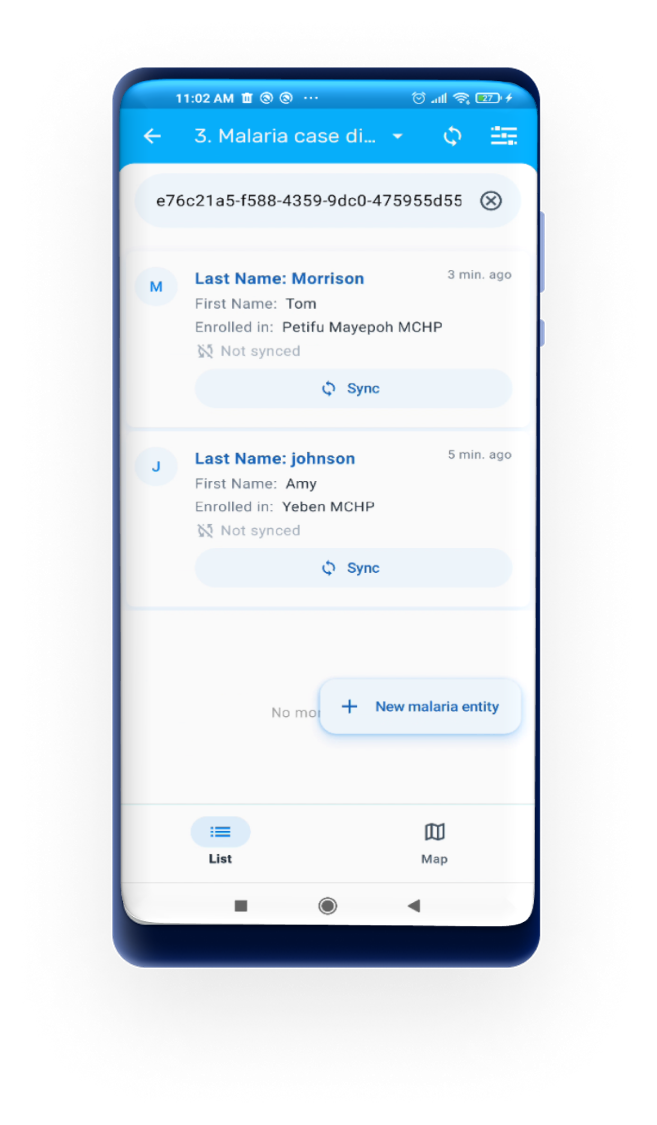
For configuration steps, see the Custom Intents section of the Android Settings Web App documentation.
The app allows adding relationships from single events (in event programs) to TEIs. There is a new tab in the event screen, named relationships, that will be displayed only when this type of relationships are configured in the server for the specific program.
Note
The current version does not allow TEIs to event relationships, or using events that belong to an enrollment.
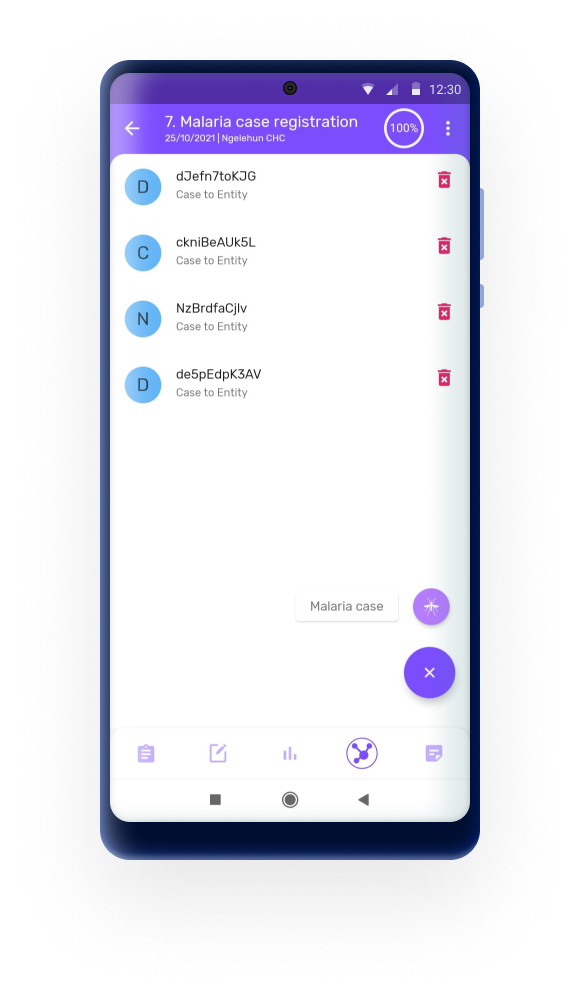
The new design of cards offers a cleaner and more intuitive layout replacing the use of coloured icons by explicit text when relevant.
Sync button: It now appears as a button at the bottom of the card and it is only displayed if there are unsynced data or an error or warning after a sync.
Event status: After an event program is completed, the app will add a label in each card to specify the status.
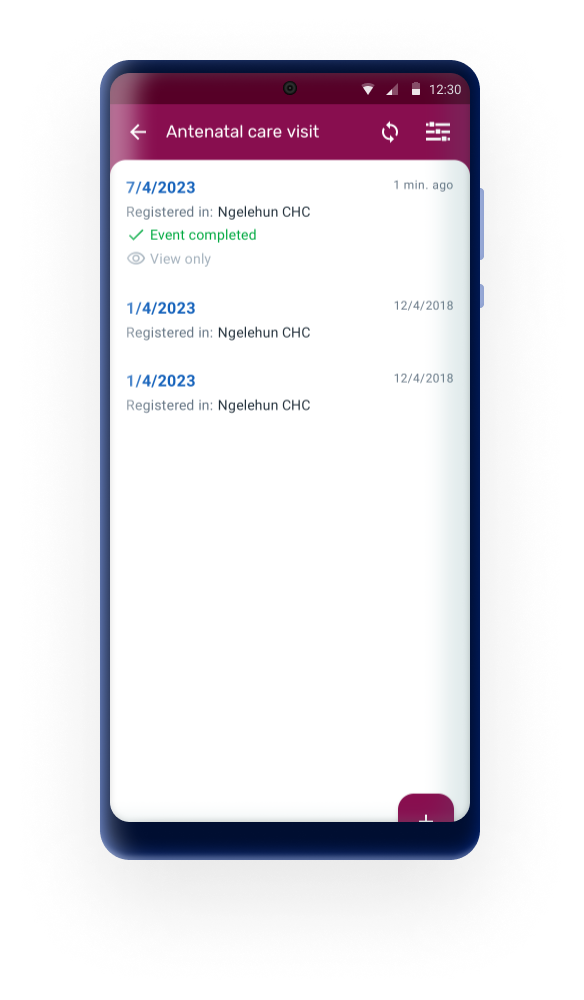
In tracker programs, the user can see relationships on a map by tapping the map icon on the relationships tab.
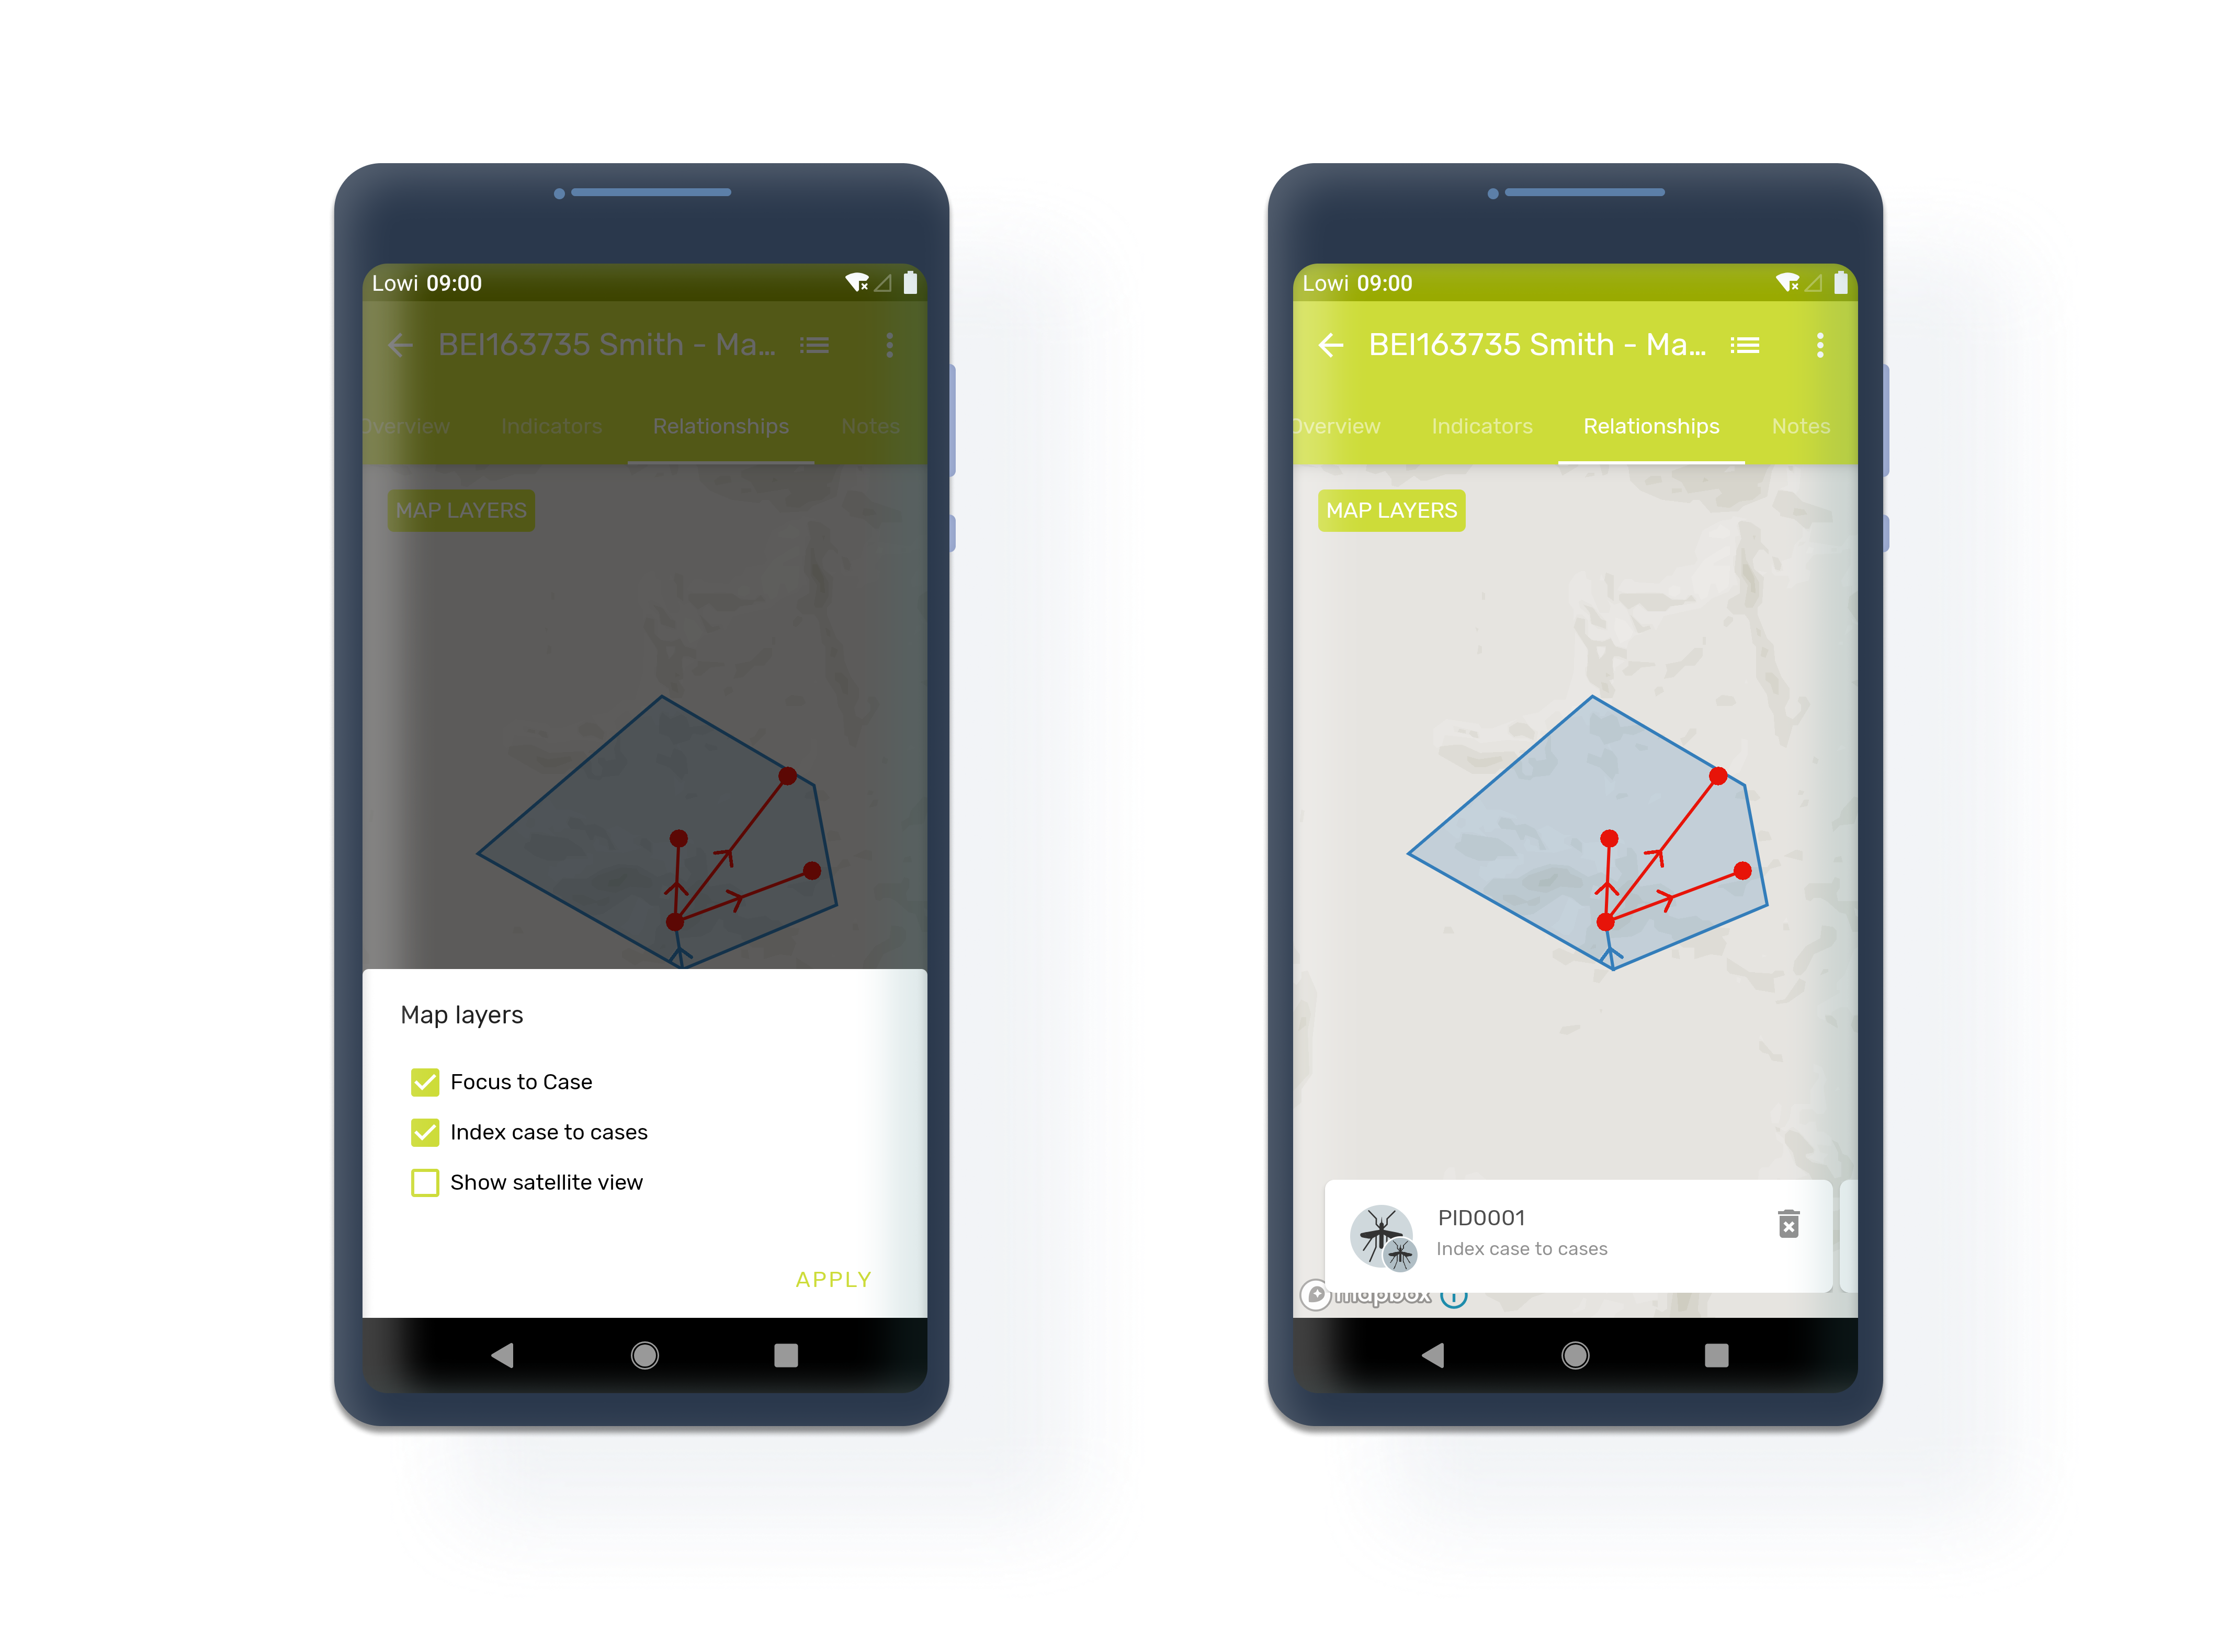
The TEI Dashboard has been redesigned for both portrait and landscape view. The new design offers a cleaner and more intuitive layout replacing the use of coloured icons by explicit text when relevant and moving some secondar actions to the hidden menus.
Main changes in 2.9:
Edit registration form: In previous versions, there was a button "Open TET details" at the bottom of the TEI dashboard card. Now, the button is located at the top bar of the screen with the label "Edit TET" (For example: Edit Patient)
Follow-up: In previous versions, there was an icon at the top right corner of the card to mark the TEI. Now, to mark for follow up, the user needs to tap the three dot menu and select the "Mark for follow-up" option.
Card title In previous versions, the title included the values of the first 3 tracked entity attributes marked as Display in List. Now, the tile of the card can bdisplay the first Tracked Entity Attribute marked as Display in list OR a customize text, called TEI header, using program indicators and the Android Settings web App.
More information here on how to configure the TEI header.
Tracked Entity Attributes: From 2.9, the complete list of tracked entity attributes marked as Display in List will be display in the dashboard card. The first three will always be visible and if there are more, a show "more" button will appear to expand the list.
Programs: From 2.9, if the TEI is enrolled to more than one program, a list of the programs will be display and will also allow the user to tap on the label and navigate to full list of enrollments.
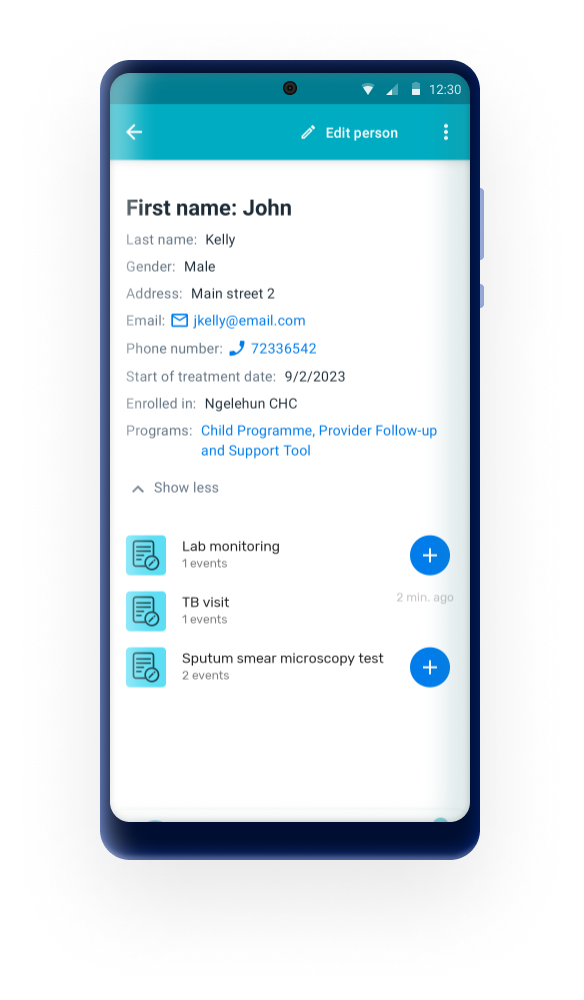
Main changes in 3.0:
Event list: fresh and more clean look of the list of events, with more space and less -not critical- information displayed.
Timeline view: the button for creating new events has been moved to the top.
To simplify and personalize the user experience, the user interface actions offered to the user at the TEI dashboard will be tailored to the specific configuration of each program.
To create a new event, the user needs to tap on the plus icon on the stage card. This icon is always visible unless the stage is non-repeatable and already created.
When the user taps on the button, that program stage will unfold showing to the user all the already existing events of that particular program stage
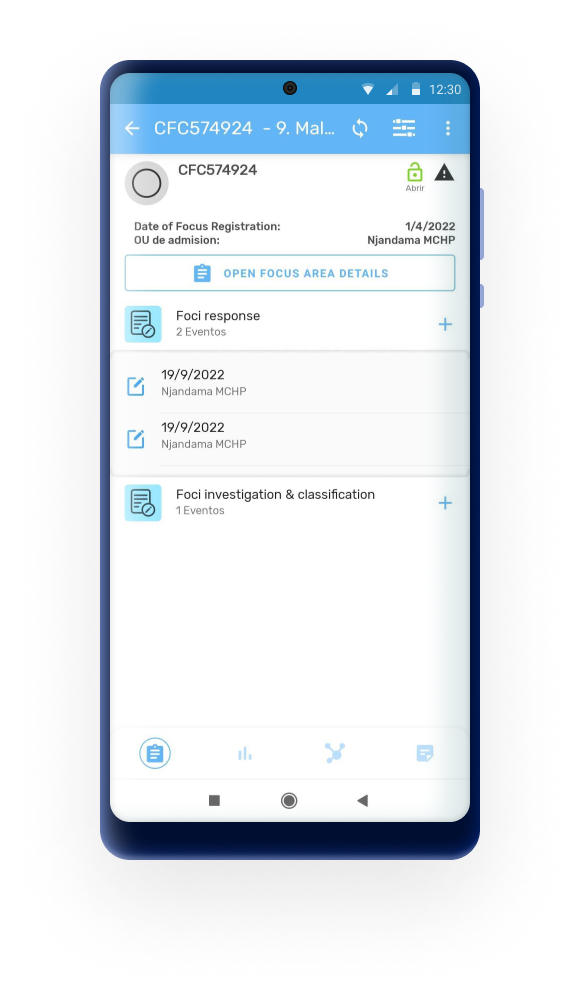
If the user is creating a new stage and there is only one option based on the program configuration, the available program stage is selected automatically and program stage selection step is skipped.
The "Share" button has been removed from the TEI dashboard and the functionality to share a TEI through QR code has been relocated on the three vertical dot menu, at the top right corner of the screen.
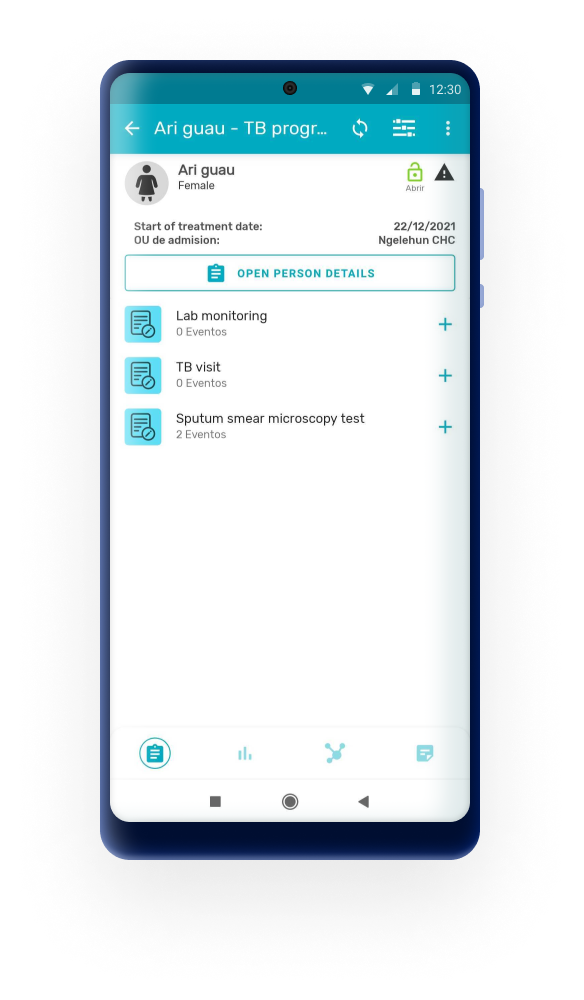
The TEI Card has been designed to display as much information as possible considering the constrains of screen size.
From 2.9 the card has been redesigned to offer a cleaner and more intuitive layout replacing the use of coloured icons by explicit text when relevant.
The main changes are:
Card title The tile of the card can be composed by the first Tracked Entity Attribute marked as Display in list or a customize text, called TEI header, using program indicators and the Android Settings web App. More information here on how to configure the TEI header.
Sync button: It now appears as a button at the bottom of the card and it is only displayed if there are unsynced data or an error or warning after a sync.
Enrollment status: After a program is completed or cancelled, the app will add a label in each card to specify the status.
Overdue events: Is now displayed as a red label with the text: "Overdue" + date of the event
Follow-up: After a TEI is marked for follow-up, an orange label with the text "Marked for follow-up" is added to the card
To complete or deactivate an enrollment, click on three dot menu in the uppper right corner and select "Complete" or "Deactivate".
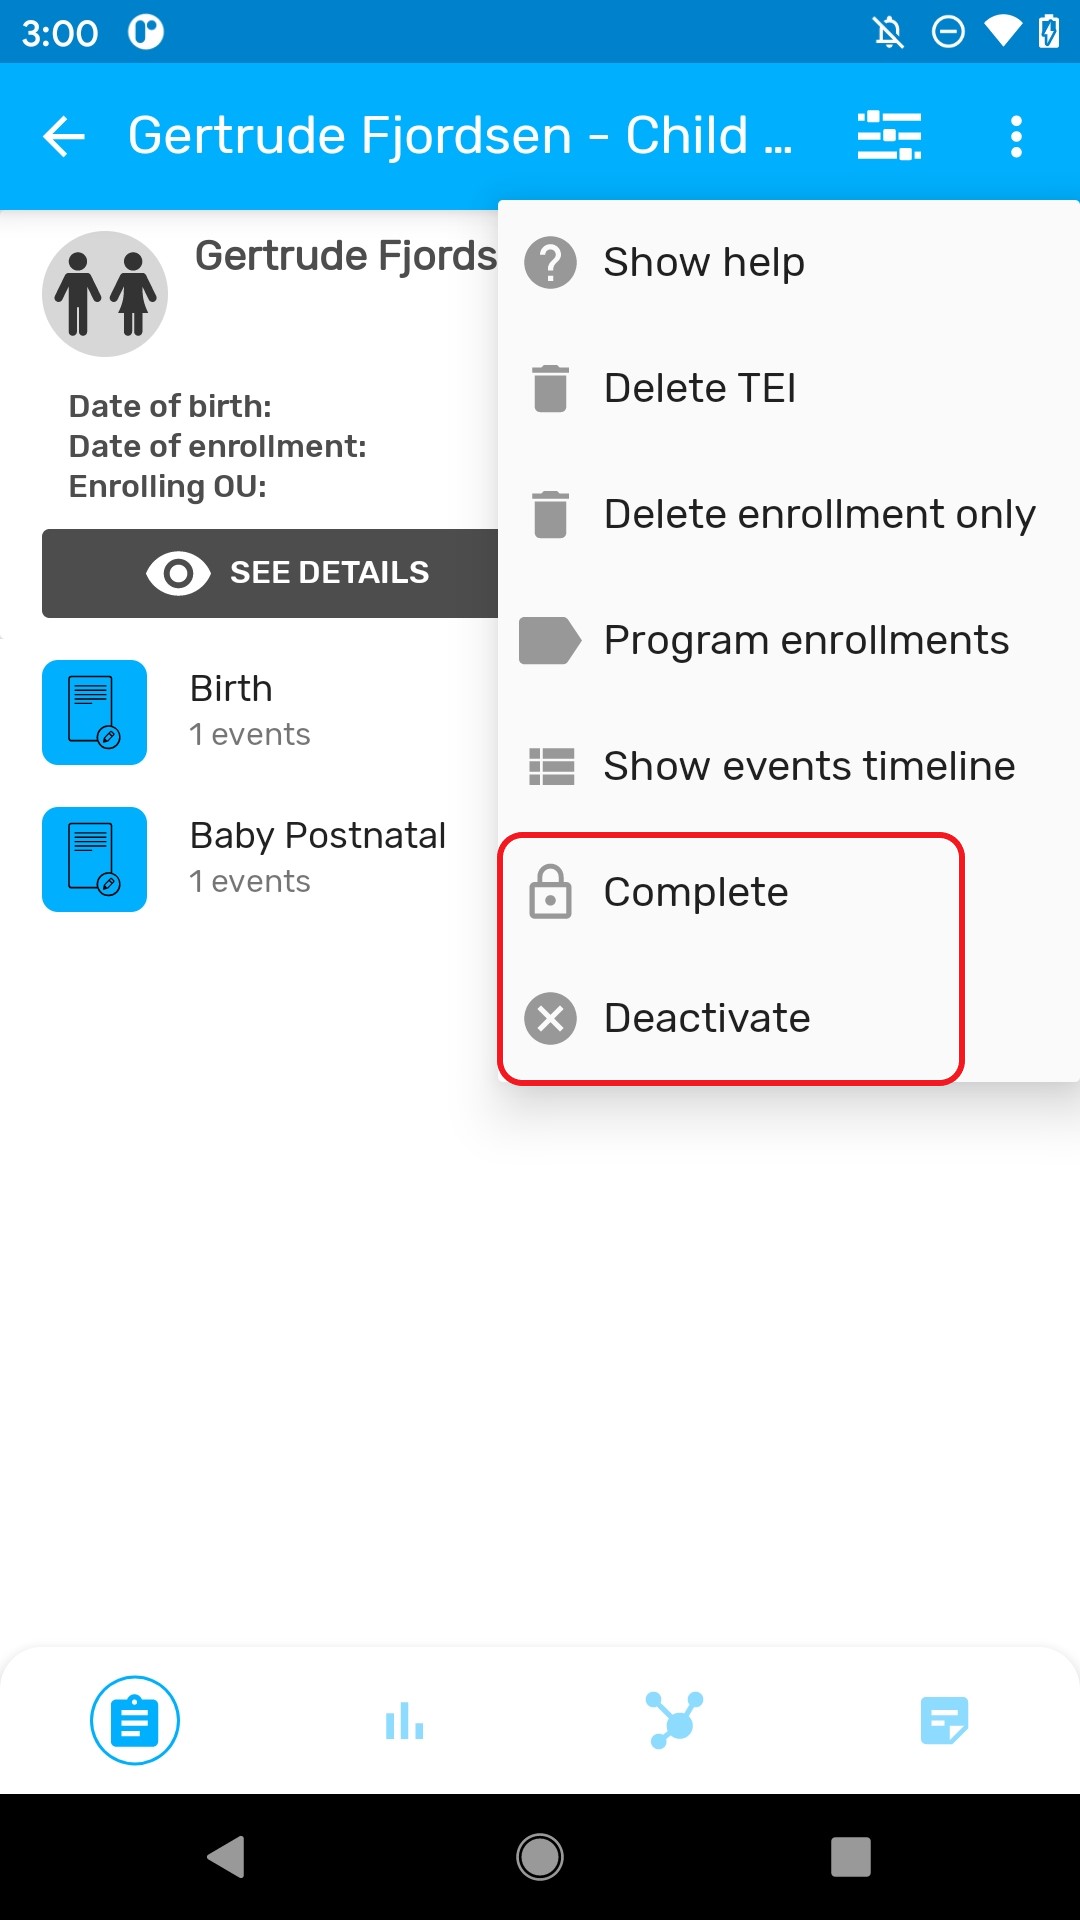
Searching TEIs before creating is not mandatory now. Using the Android Settings App (v2.2.0) it is possible to configure the mandatoriness of the TEI search before creating an enrollment. Follow the steps below to enable the creation of TEIs without searching:
If the feature is enabled, the Android App will display a "create new" button after opening a program and a search won't be required. If the feature is not enabled or the user is in a previous version of the app, a search must be performed to avoid possible duplicates. Once the search is performed the search button will become "Add" button for the user to create a new enrollment.
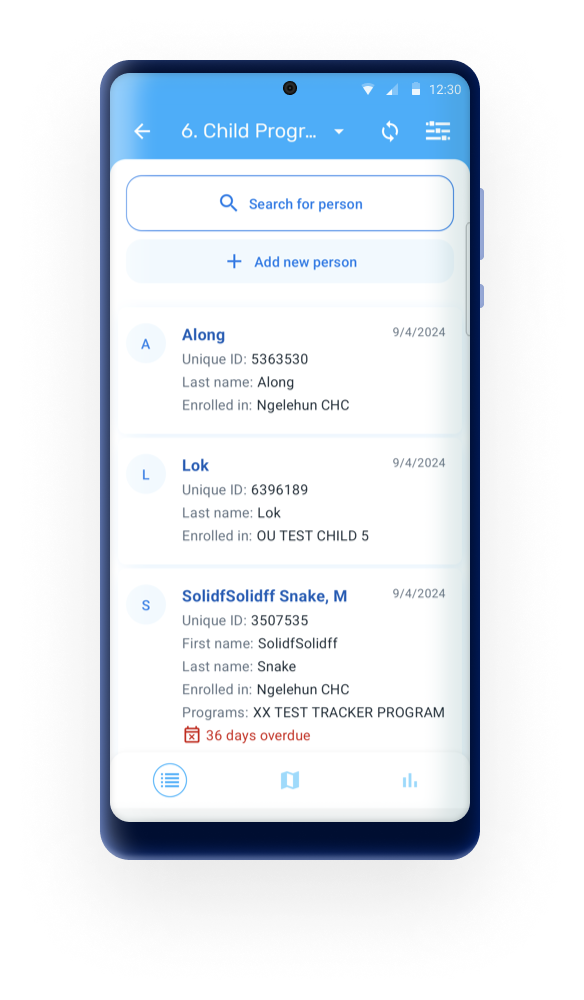
In 3.0, the search form has been improved to provide a cleaner look and a more intuitive user experience. The buttons have been made more explicit for differencing search from creation. In addition the flow for searching TEIs using attributes rendered as bar / QR codes has been made more agile. If there is only one result and the attribute is unique, the app will open the TEI Dashboard directly. If there are multiple results, the app will display all the cards on the TEI list (this is equal to the current workflow), and if there are no results, the app will display the create button and allow the user to “search outside the program” if the configuration allows it.
Aimed at aligning it with the web instance for a more consistent user experience, 3.1.0, by default, sorts the unique attributes (QR, barcode) at the top of the list of searchable attributes. Users can quickly and easily find the attributes for a more exact search.
The sort of the attributes will follow:
To improve the response time in the search results, the Android App now searches offline first and displays the results while making an online search as a second step, transparent to the user.
Searching outside the program is offered as a second step when the attributes used in the search contain at least one Tracked Entity Type (TET) attribute
The search fields are used to look up for a specific entity, and the circled arrow to reset the search. All fields will be blank for the user to do a new search.

User can search across all programs by specific tracked entity type (TET). In the Search screen there is a drop down which shows all the programs available for the active TET (active TET is defined by the selection of the program in the home screen). That drop down should also have an option with TET name, for example: All Person.
When the user selects that option, the search fields available will only be the TET attributes (no program specific attributes). Search restrictions do not apply, because they belong to the programs.
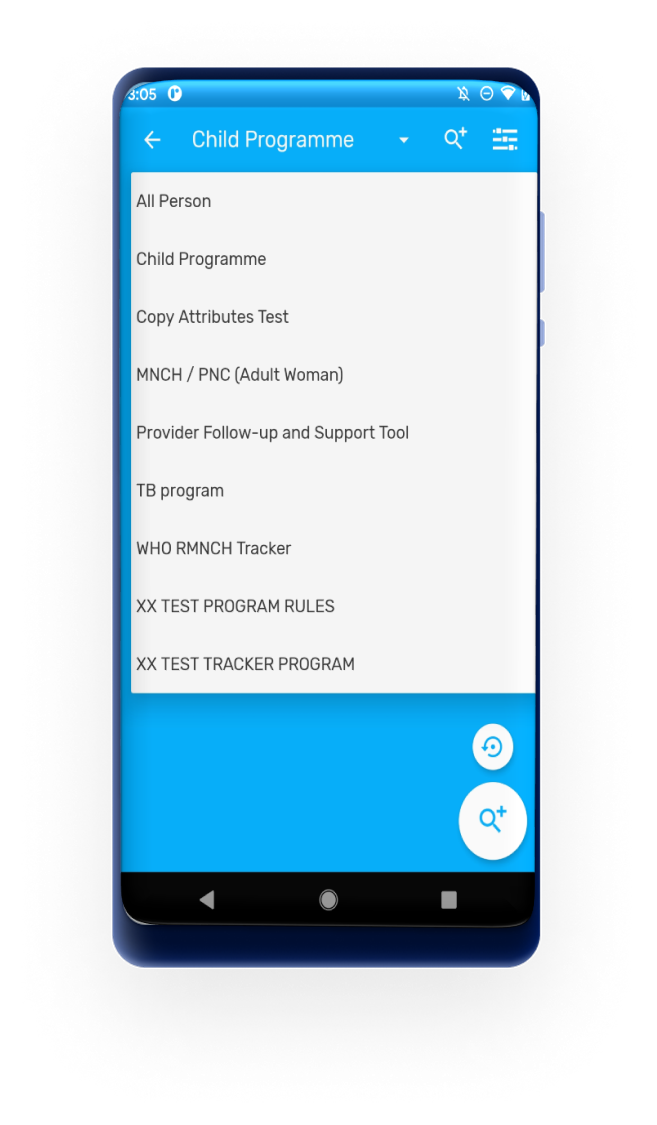
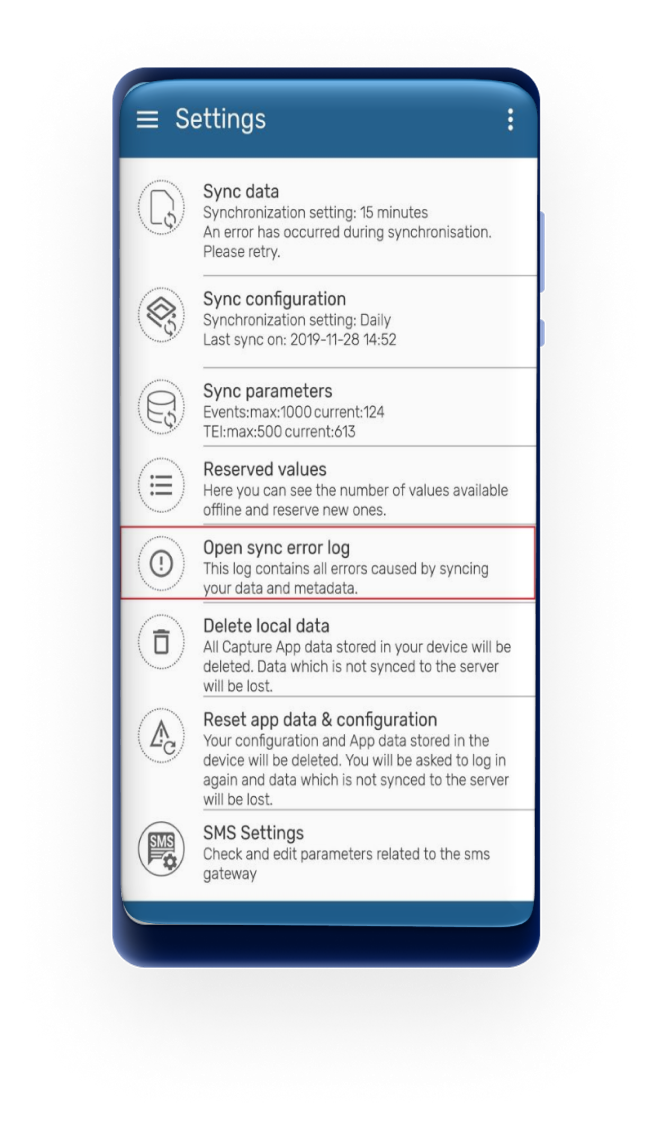
The search will return the found TEI's in the local database and also those in the Search OU of the user (when user is online). For those found online, the user will have to select them and the whole record will be downloaded.
Note
When configuring search org. units, make sure that your capture org. units are contained in your search org. units, to do that capture org. units have to be selected as well as search org. units.
User can see the TEI dashboard without any program by selecting the TEI in the list if the search was without program.
The dashboards will show the list of active enrollments.
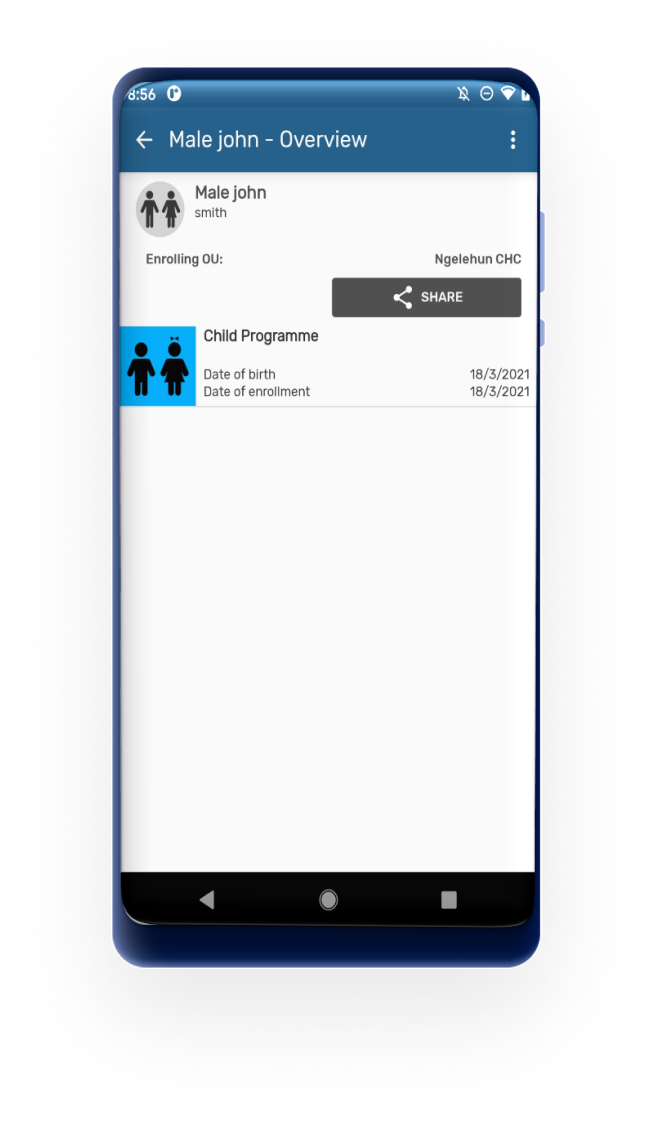
User can see the complete historical records of the TEI. Clicking on the upper right corner menu, select "Program Enrollments". A list of "Active enrollments" will be displayed, followed by a list of "Past enrollments" (completed or cancelled), followed by the programs in which the TEI could be enrolled. User can also return to the "TEI Dashboard" without any program' by selecting "All enrollments".
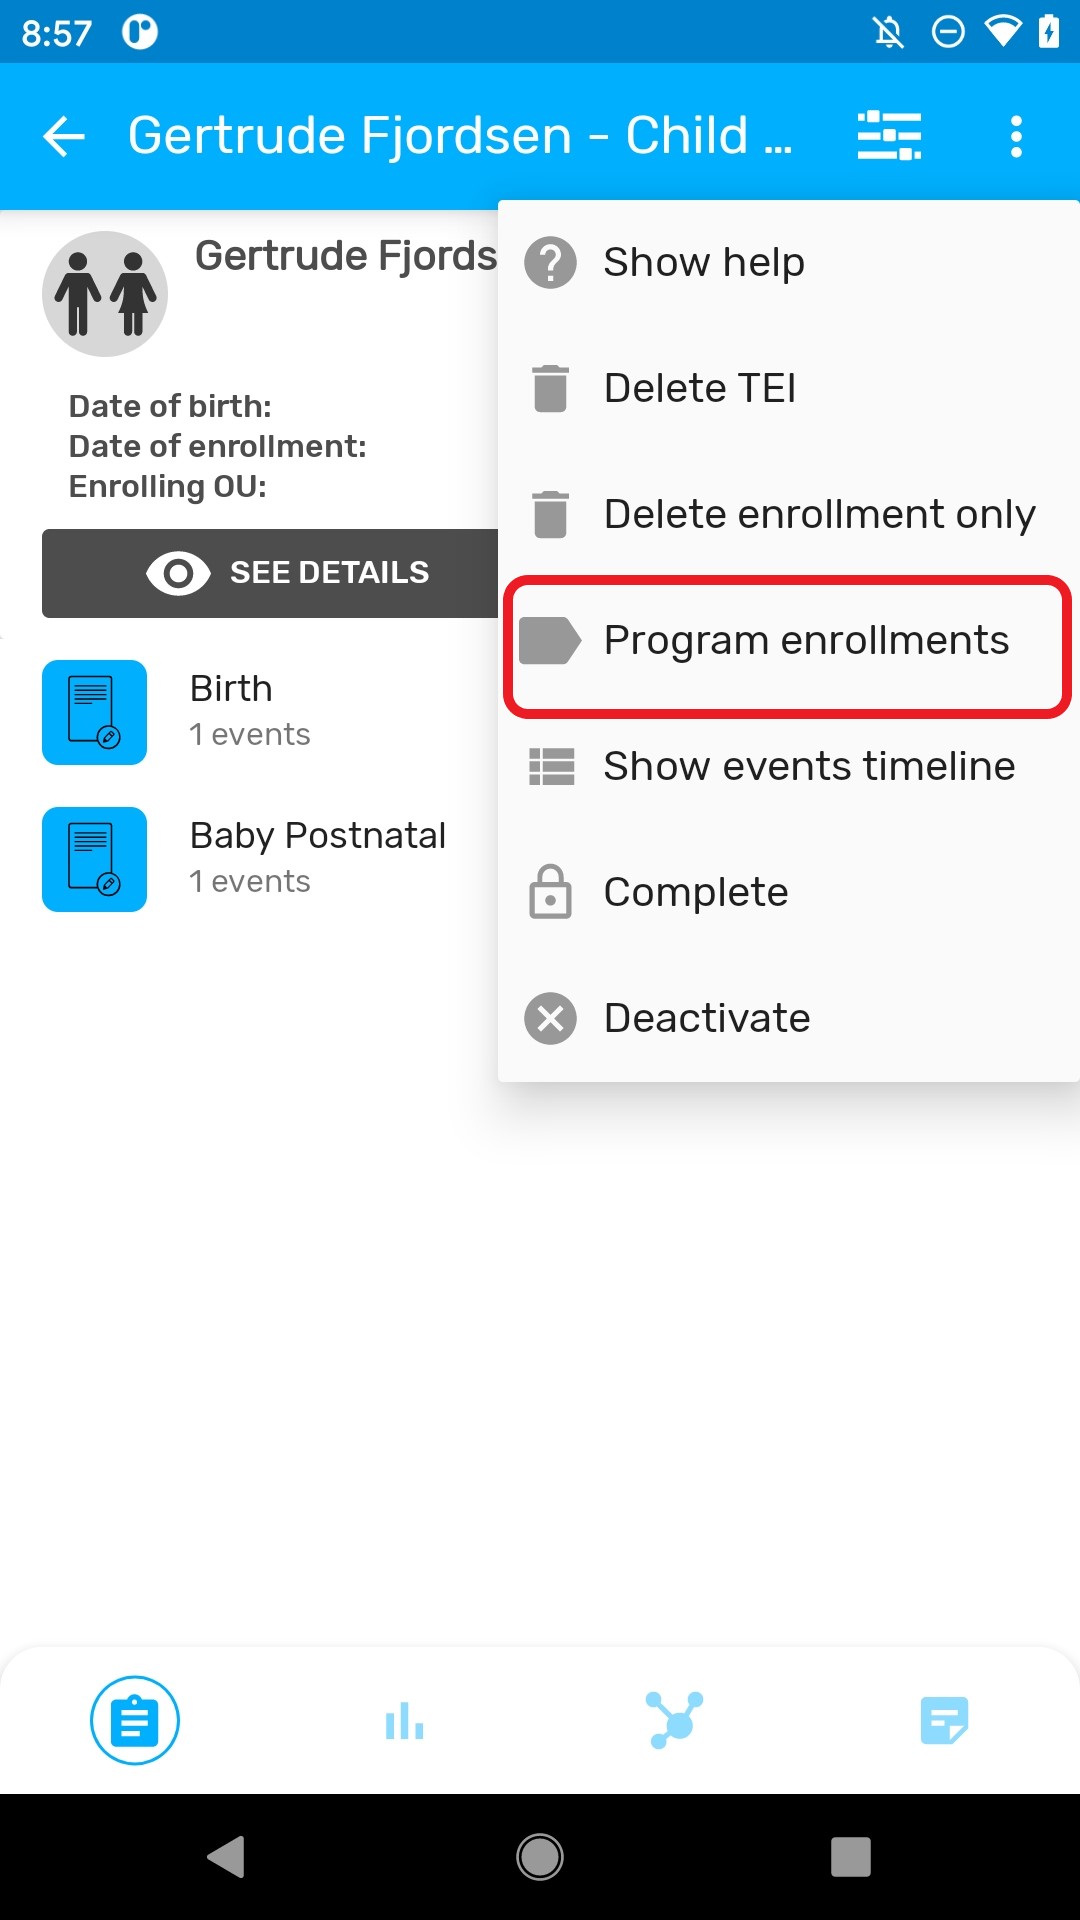
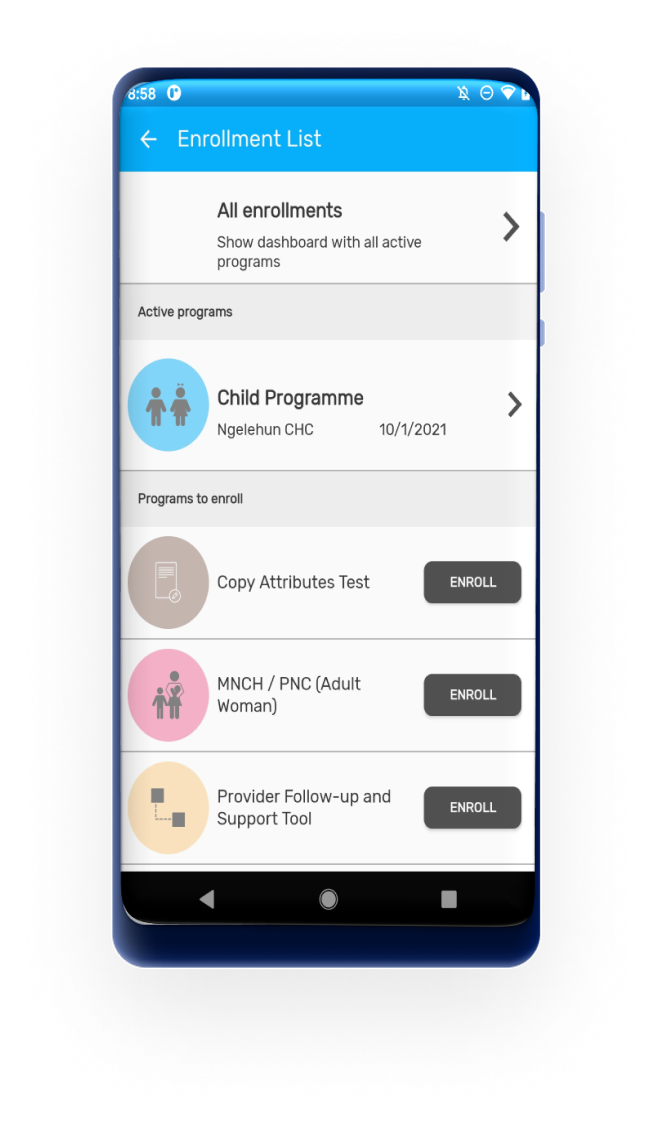
To delete a TEI or an enrollment, select the desired option in the three dots menu of TEI dashboard. Local TEI or Enrollment will be deleted from the database. Records that has been previously synced with the server will be marked for deletion if the user has the following authorities:
In this case they will be shown in the TEI search list, but will not be accessible.
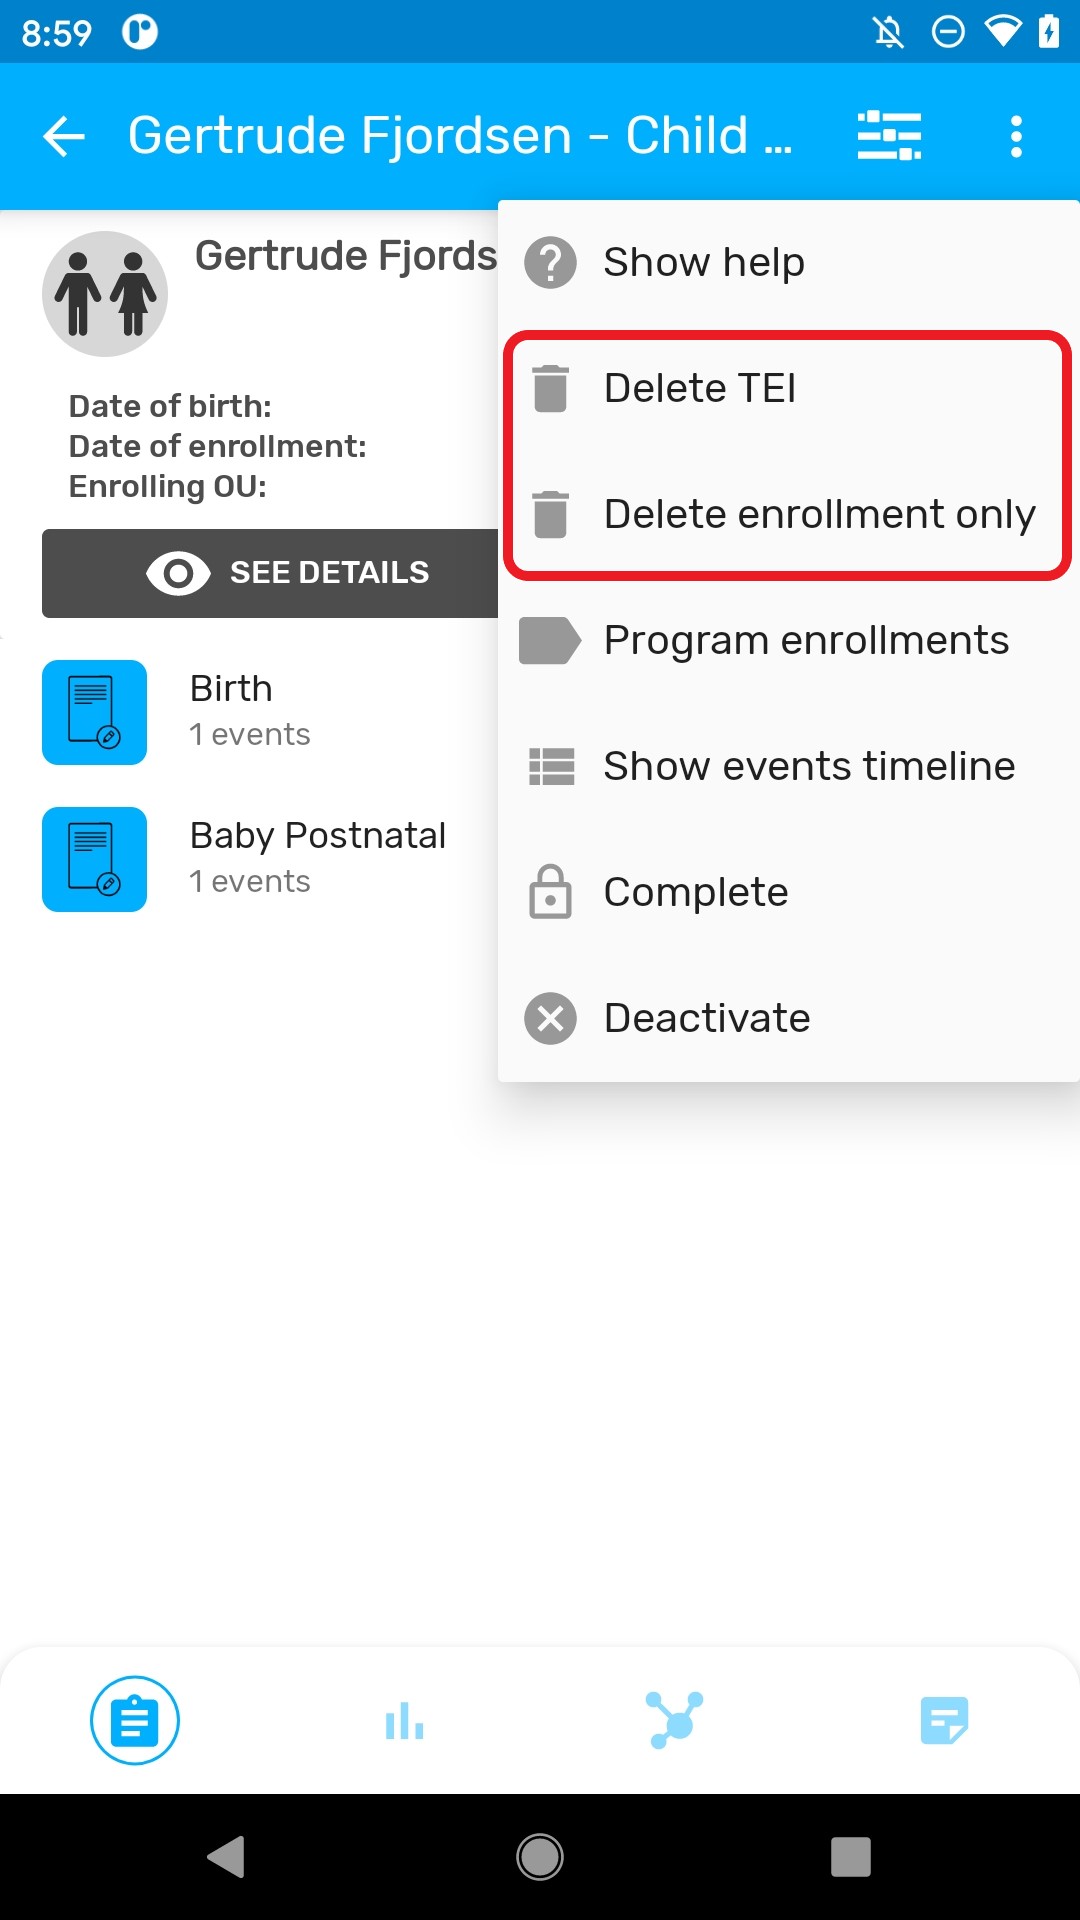
From 3.0, there is a confirmation message to reduce errors when tapping on the delete button.
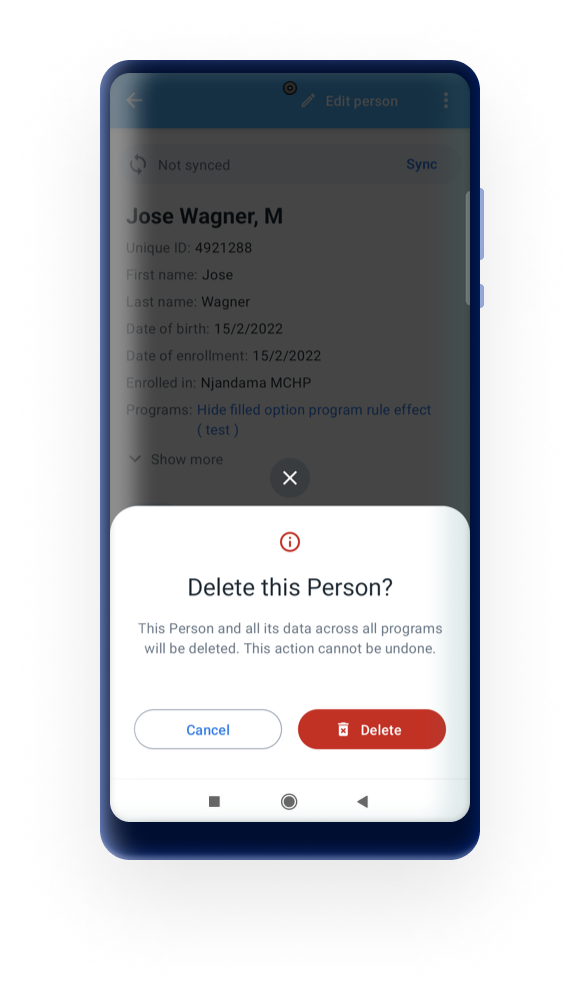
Warning
When users enter a TEI and while it is not synced to the server they will be able to delete the TEI and the enrollment even if they have not been asigned these authorities. This is by design and to allow users rolling back in case of having entered wrong data (TEI and/or enrollment) and thus preventing it reaching the server and requiring another user with higher privileges to fix the issue.
The TEI Dashboard offers the possibility to change the list of events from the chronological view to a stage grouping view. The stage grouping view will group and collapse the events per program stage. Each program stage group can be expanded by the user and the events will be displayed chronologically.
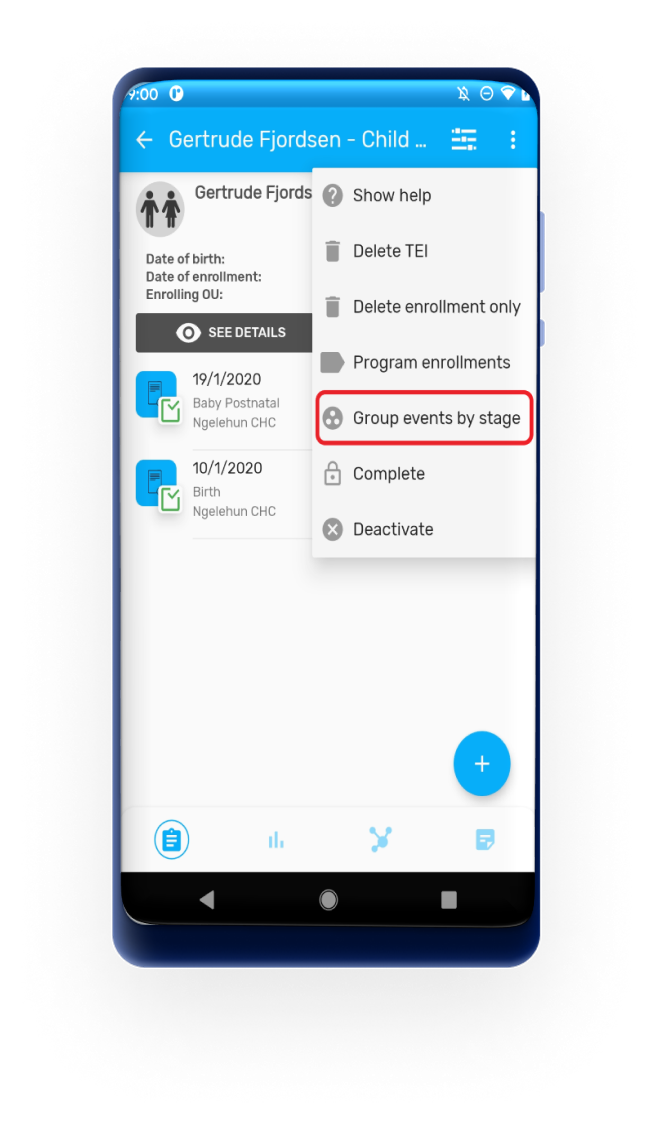
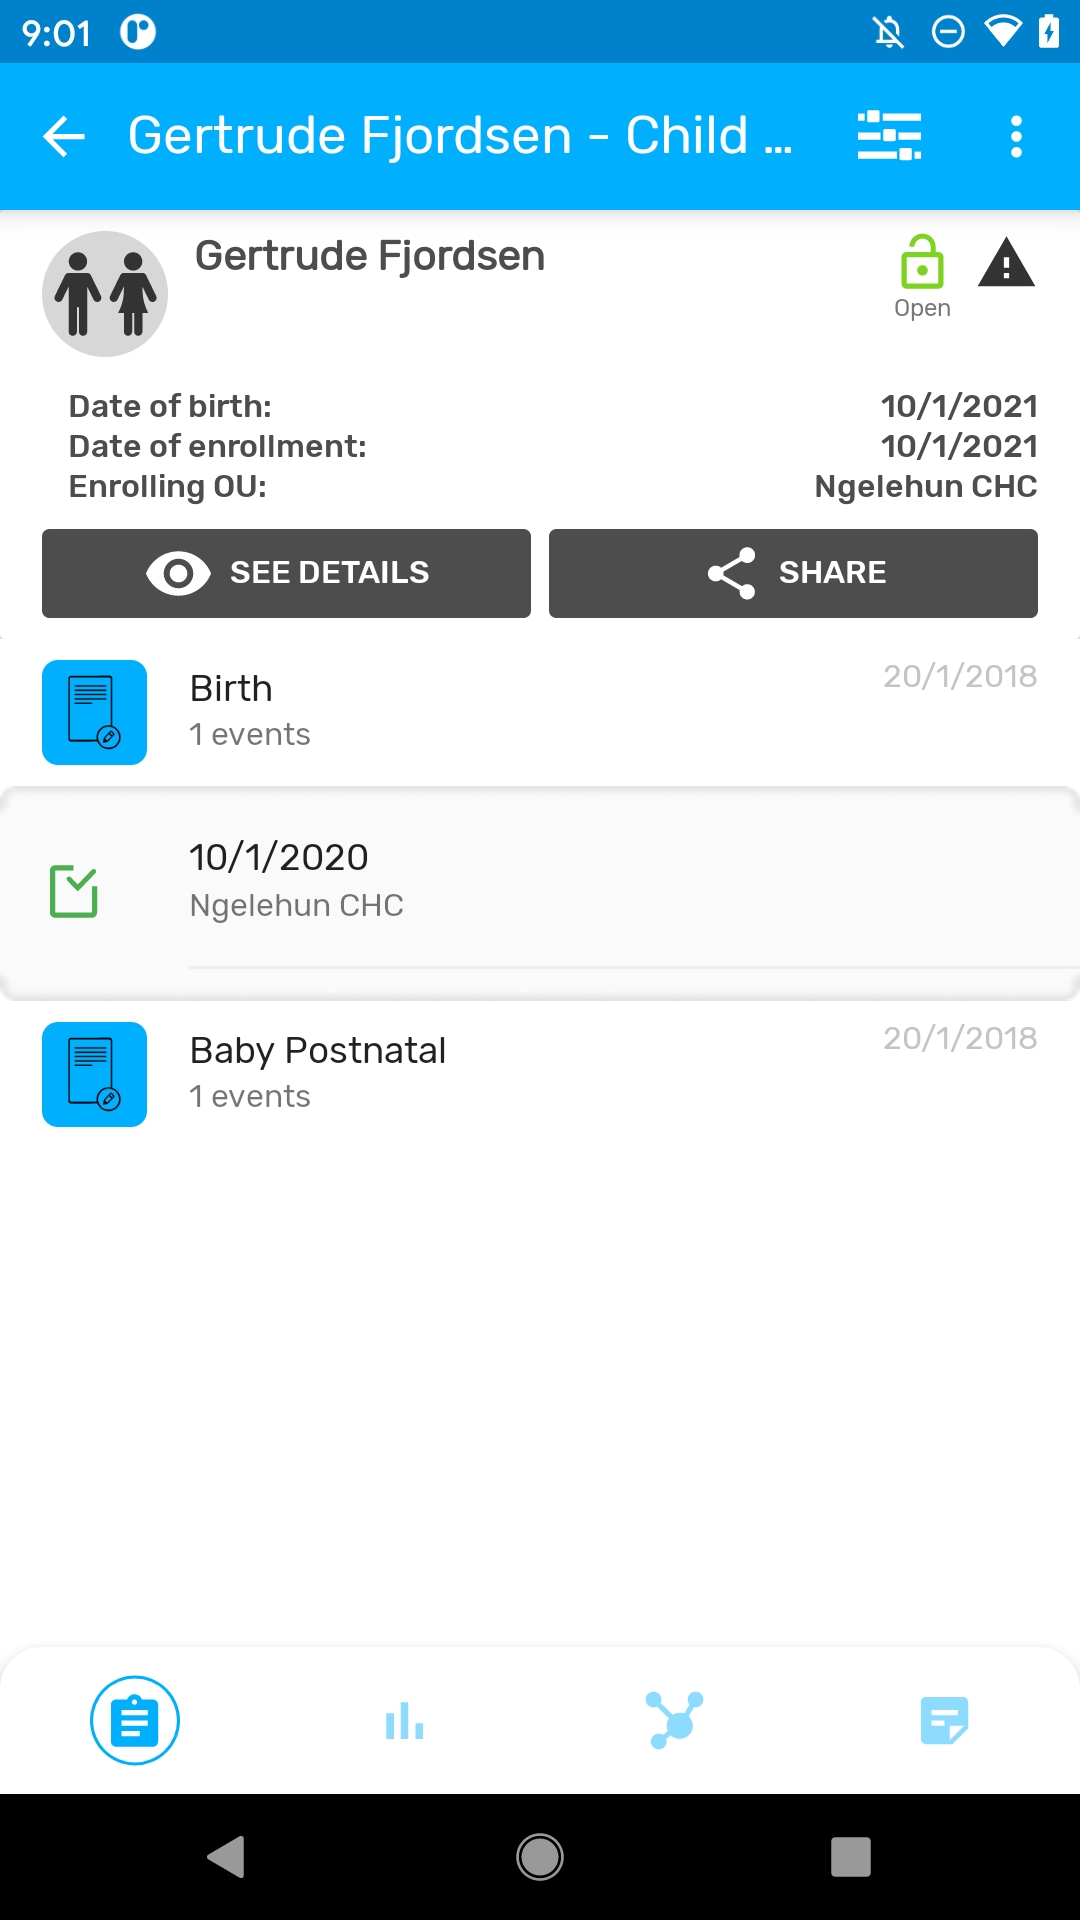
When creating a new TEI for a relationship, inherit any program attribute marked with the inherit check in web.
This means that any existing attributes in the first TEI should have pass to the new TEI and be shown in the registration form.
The "breaking the glass" feature is now supported in DHIS2 Android Capture App. If the program is configured with an access level of "Protected" and a search is done outside the user scope, a dialog requesting a reason for access will be displayed for the user to temporarily override the ownership privilege of the proram. This means, the user will gain access to the program related data.
After the reason is written, the app will download the TEI and the dashboard will open. If the TEI being downloaded doesn't have an enrollment in the current program, an enrollment date and organisation unit will be asked.
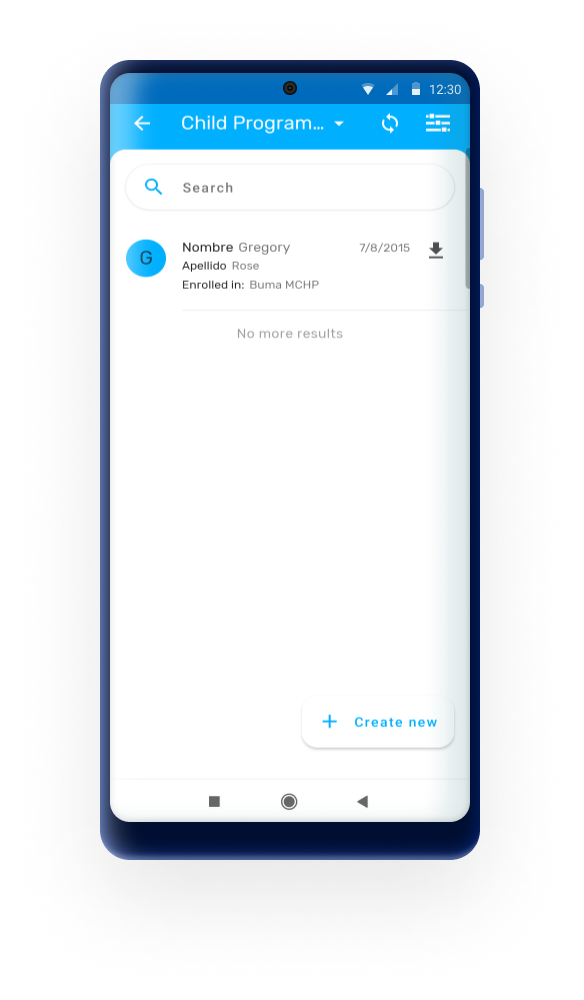
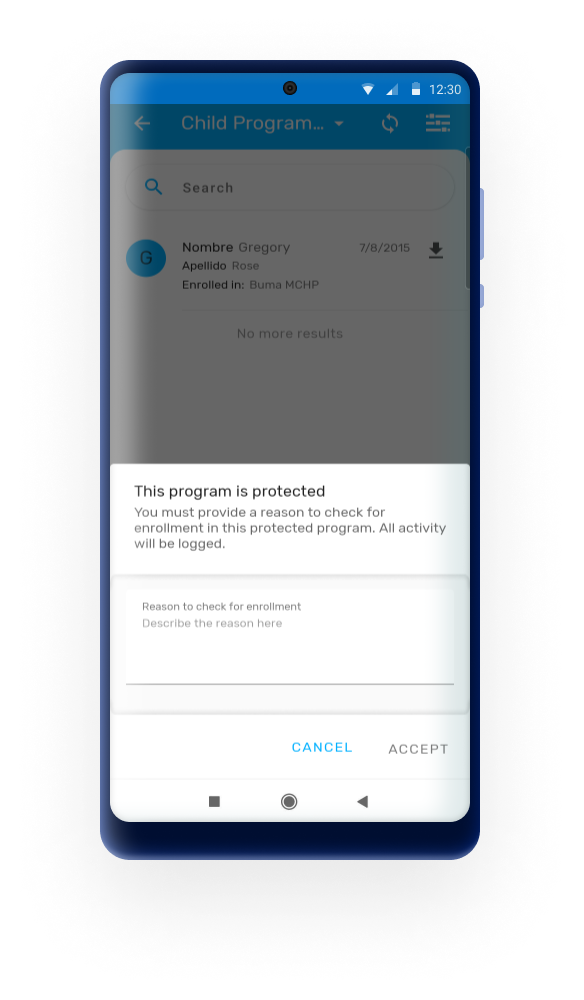
It is possible to display the evolution in data elements as charts, values or tables. These data elements must be a numeric value type and configured in a repeatable stage.
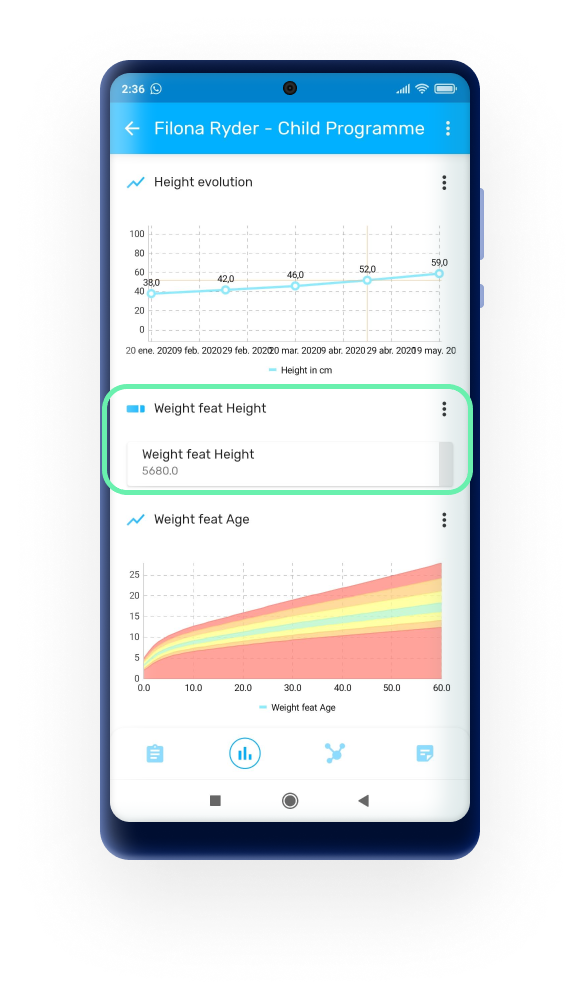
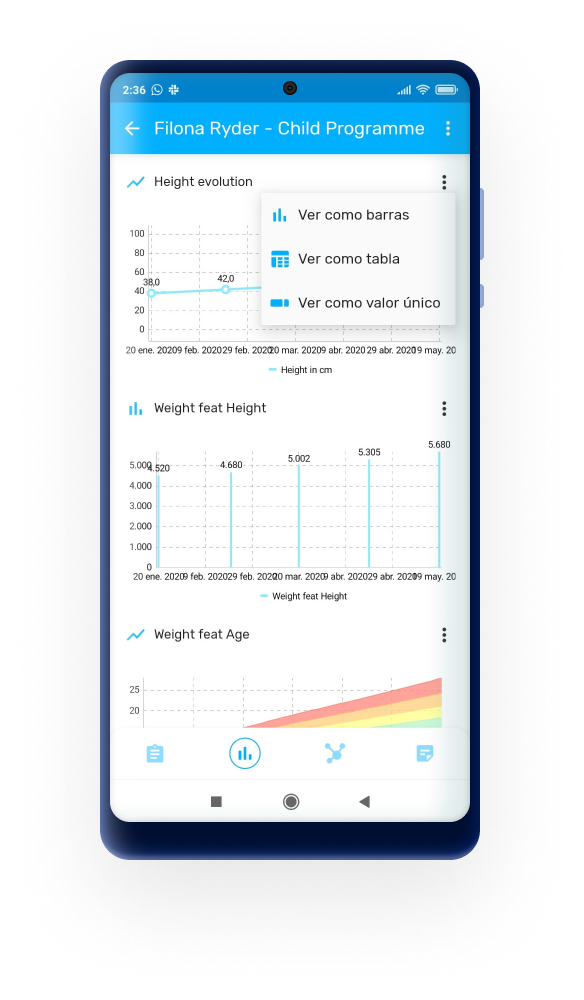
The Nutrition Growth charts are shown according to the WHO standards. This option will render a background image and apply the axis (0 to 5 monthly)according to the WHO model.
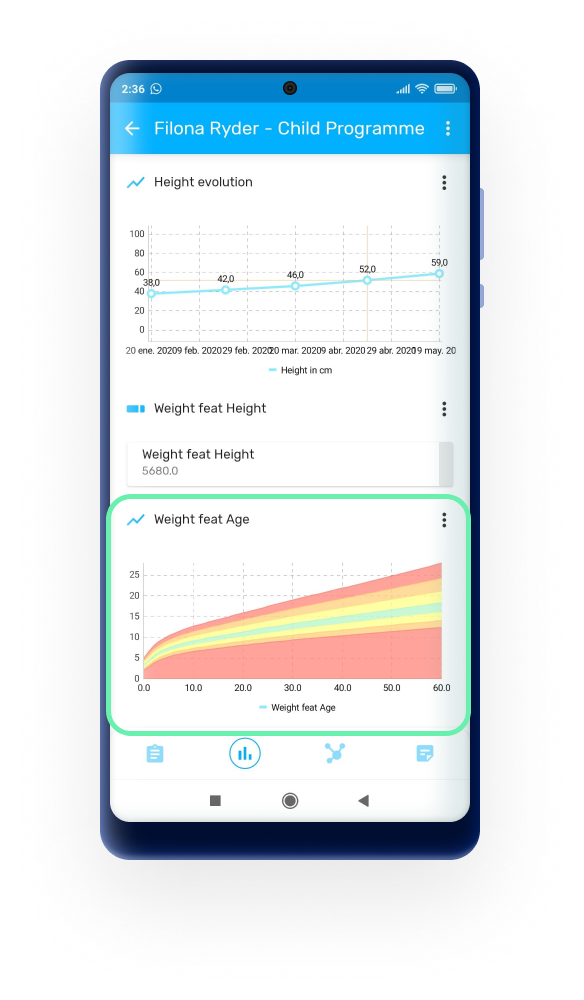
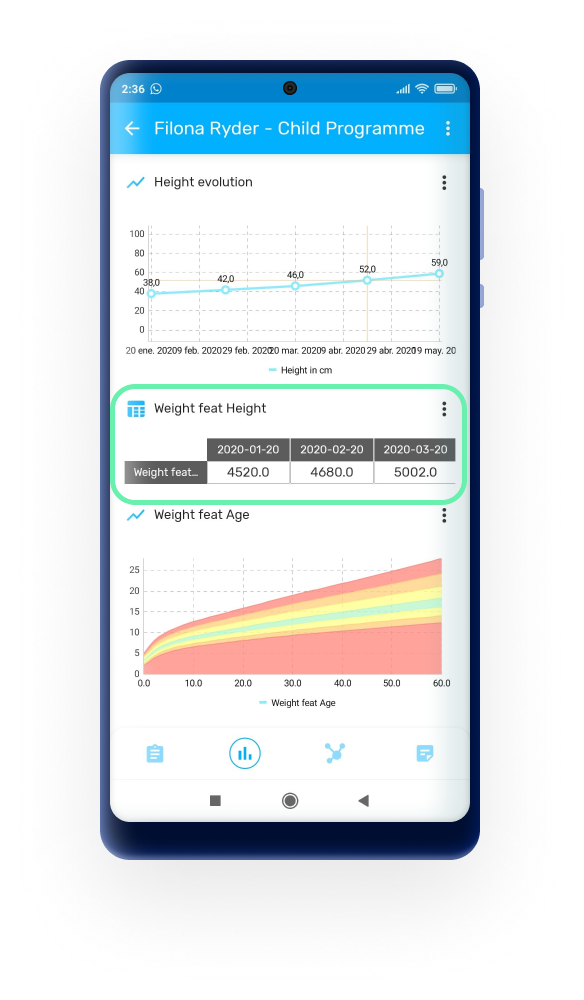
when a user makes a permanent referral of a TEI, the ownership will be updated accordingly on the server.
From 2.9, admin users can now enable or disable the referrals in the DHIS2 Android Capture App through the Android Settings WebApp.
When users add events (tapping on the + icon) in a tracker program, the DHIS2 Android Capture App offers three options: Add (for new events), Schedule (for planning future events) and Refer (for referrals or transfers). IF the referral option is not needed, then the admin user can remove the option from the menu to simplify the user experience. The removal can be general (for all the programs) or for specific programs.
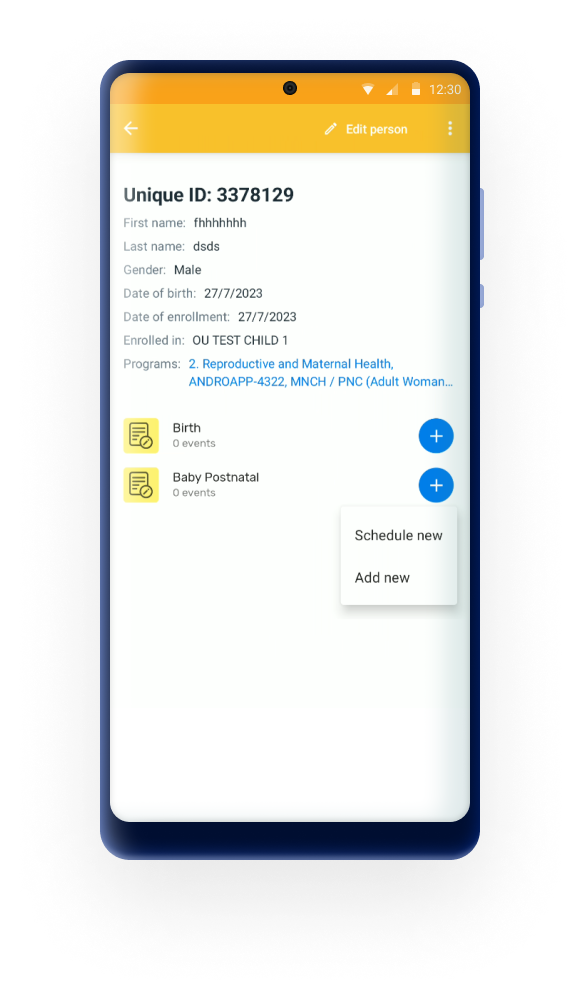
Significant enhancements to the transfer flow, aimed at making the process more user-friendly and transparent. The transfer button has been moved to a more accessible location within the three dot menu in the TEI Dashboard, ensuring that users can easily find and initiate transfers without unnecessary navigation.
Also, the ownership organisation unit has been added as a parameter in the TEI card. If the ownership org unit and enrollment org unit are the same, then the enrollment one will be hidden.
Once the transfer process has started, the user will see a dialog with all the org units available (search scope), once an org unit is selected, the transfer button will be activated. After tapping on the button, the ownership org unit will change to the new one. The user must sync data to reflect the changes in the instance.
The TEI Header is a title that can be added to the TEI cards and dashboards in the app. The title helps identify a TEI by displaying a summary of key information. It is formed by a concatenation of Tracked Entity Atributes and fixed text. The title is configured through a Program Indicator in the maintenance app and its assigned to the tracker program in the Android settings webapp. This feature is experimentan and depending on feedback and adoption it will be refined and incorporated in the Web Capture app.
Attention
In the Maintenace app, text expressions aren't valid. Even though the error is display in the dialog, save the program indicator and assign it in the Android Settings Web App, the DHIS2 Android capture app will read the expression accordingly.
For more information on how to configure the TEI header, click here.
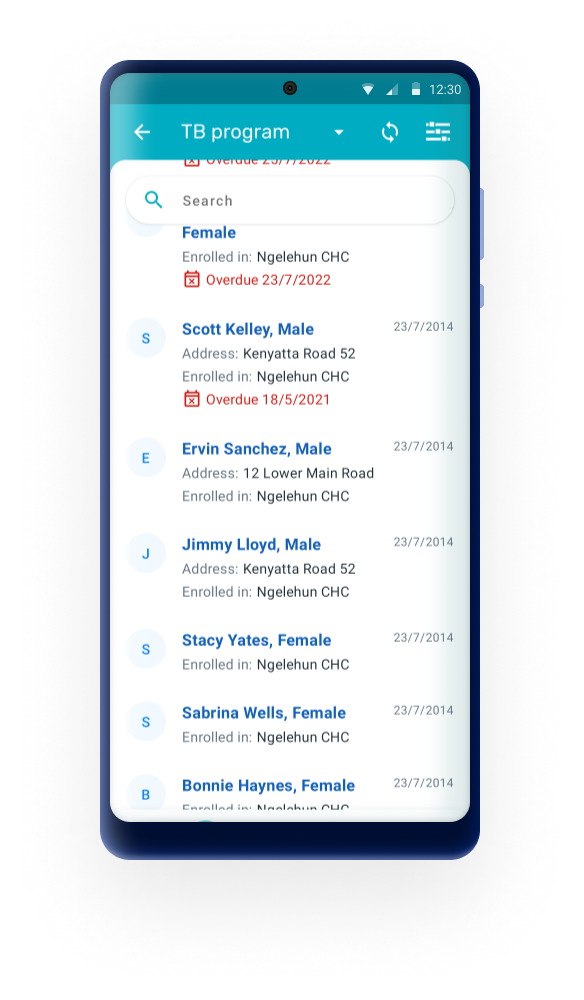
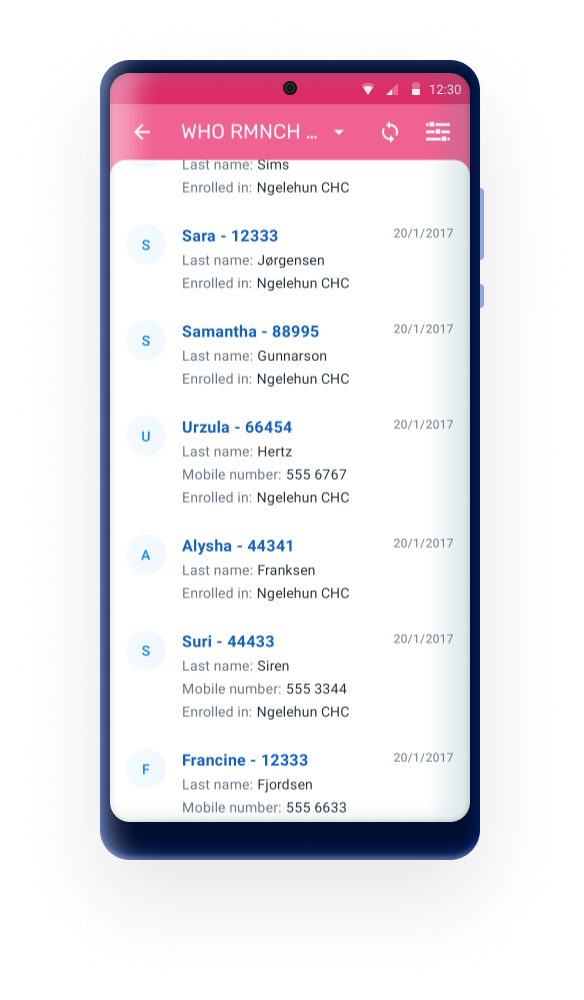
In 3.0, the schedule dialog after completion has been redisigned to facilitate the creation of the event.
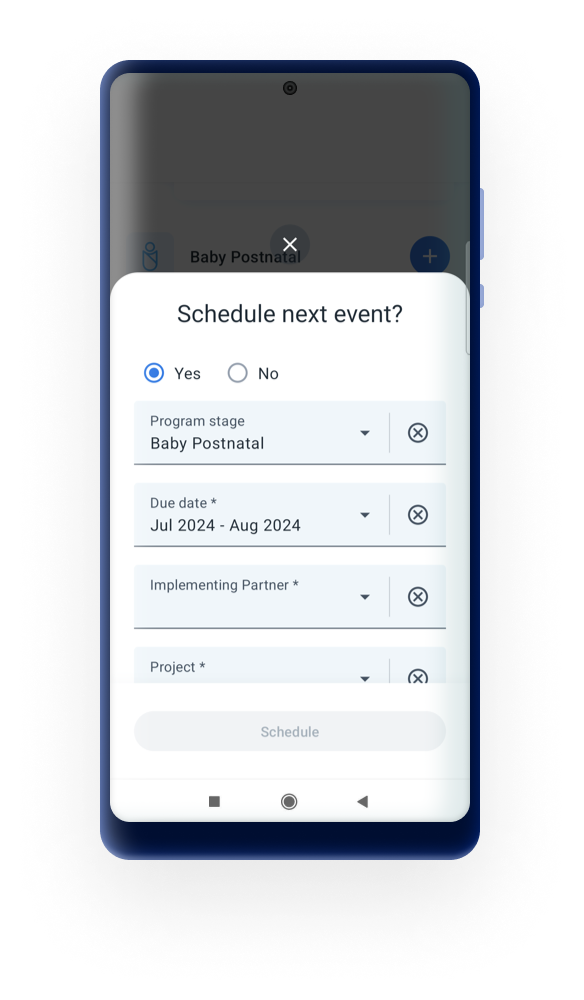
As a continuation of the new schedule dialog introduced in the version 3.0, a new intuitive and user-friendly schedule dialog has been implemented to enhance the overall user experience, making it easier to book, reschedule, or cancel events.
Once an event has been scheduled, when the user taps on it, the app will display a dialog with the following:
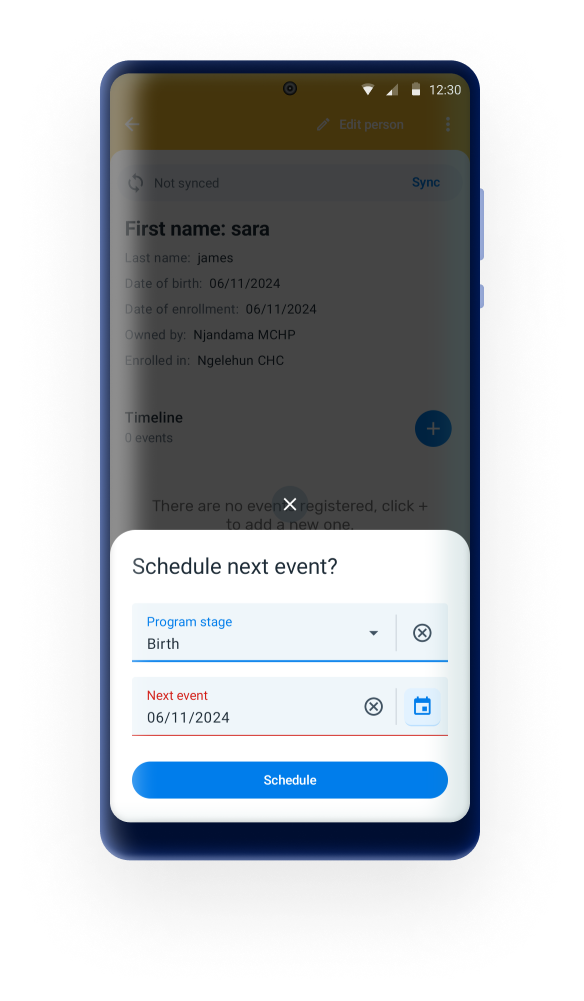
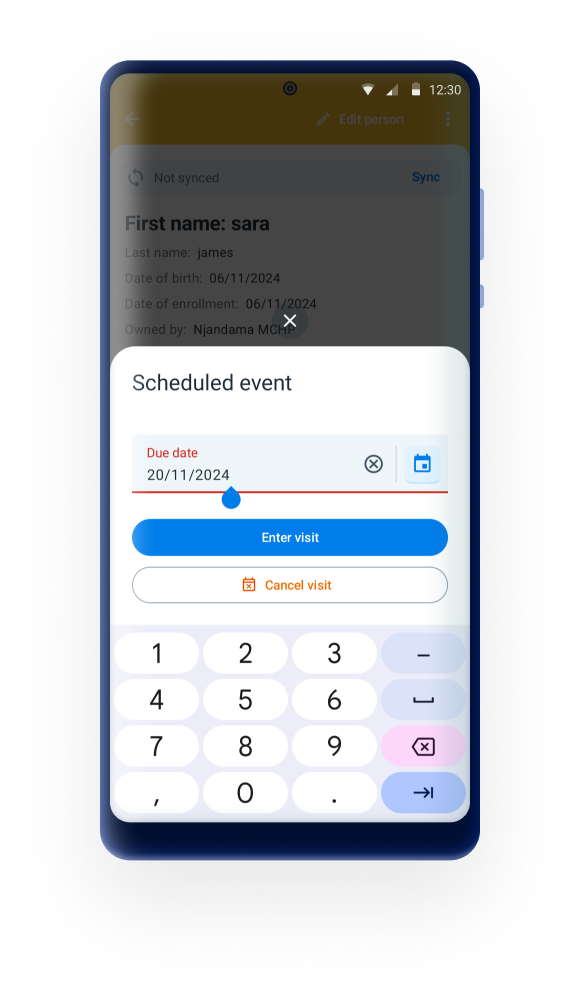
The Quick Actions bar is a new feature in the DHIS2 Android Capture App that enables users to access frequently used actions directly from the Tracked Entity Instance (TEI) Dashboard. These actions are displayed as customizable chips, streamlining workflows and reducing the number of taps needed to perform routine tasks.
Each action is displayed as a chip in the TEI Dashboard. By default, all chips are unselected, and the Quick Actions bar is not displayed in the app. When tapped, the chip performs a predefined function. The available actions include:
The chips cannot be reordered. The order of appearance is as the list above.
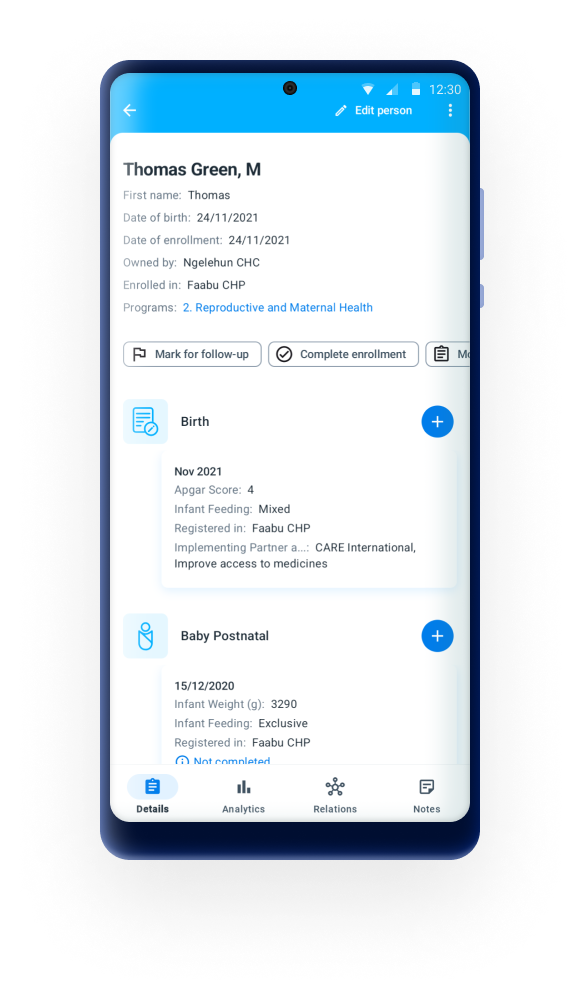
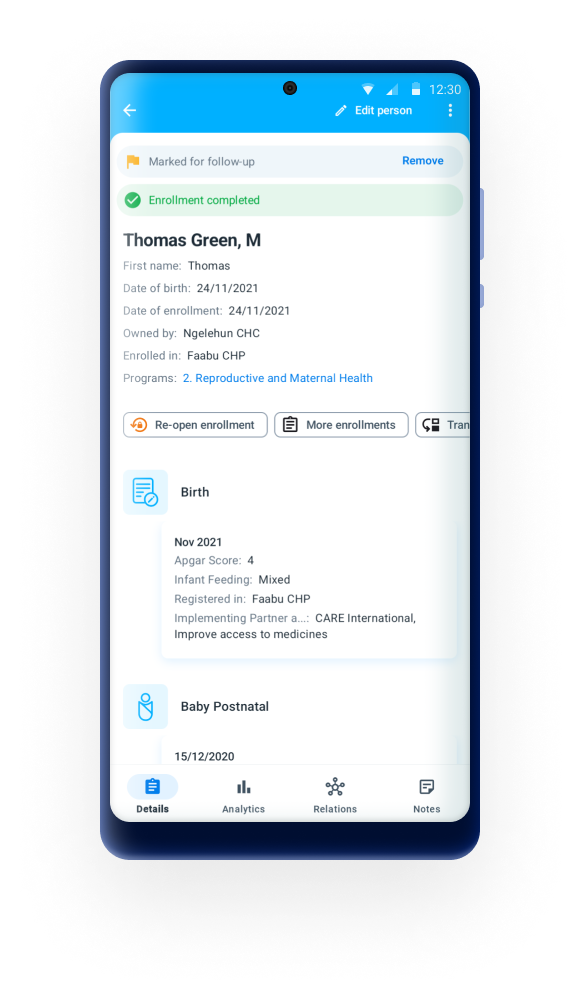
The following is a comprehensive list of all features available for Programs with and without registration in DHIS2, and notes on whether or not these have been implemented in the Android Capture app.
In the notes, ‘admin’ refers to someone who develops and configures a DHIS2 system, and ‘user’ refers to someone who uses apps to capture data, update it, and review reports.
| Legend | Description |
|---|---|
| Feature implemented |
| Feature not implemented (will be ignored) |
| Not applicable |
| Work in progress. Feature not completely implemented yet or with unexpected behaviour already reported. |
| Feature | Description of feature | Program with registration | Program without registration | Notes on implementation |
|---|---|---|---|---|
| Data entry method for option sets | Enables an admin to choose how options will be displayed on-screen across the entire program (ie either as drop-down lists or as radio buttons) | | | This will be replaced by the new rendering options. |
| Combination of categories (Attribute CatCombo) | Allows an admin to attach a Category (set of Options) to the Program, requiring users to categorize each enrolment. (This is called an Attribute Category Combination in DHIS 2.) | | | |
| Data approval workflow | If an admin selects a pre-configured Data Approval Workflow, this will be used to enforce an "approval" or "acceptance and approval" cascade, enabling users to sign-off and lock data. | | | |
| Display front page list | If this option is ticked, the landing page displays a list of active enrolments once an Org Unit and Program have been chosen. (Attributes shown are those ticked as "display in list".) | | | |
| First stage appears on registration page | When this option is chosen, then during Program enrolment, the screen for the first Program Stage is also shown (enrolment and the first event are captured together on one screen). | | | In Android, this is implemented by opening automatically the event after enrollment is completed, instead of adding the form to the same screen. |
| Completed events expiry days | Enables admins to lock data-entry a certain number of days after an event has been completed. | | | |
| Expiry period type + expiry days | Enables admins to set a period (eg weekly, monthly), and to lock data-entry a certain number of days after the end of the period. | | | |
| Allow future enrolment dates | If ticked, this enables a user to enter future Enrolment dates during enrolment in a Program; otherwise users are restricted to today or past dates. | | | |
| Allow future incident dates | If ticked, this enables a user to enter future Incident dates during enrolment in a Program; otherwise users are restricted to today or past dates. | | | |
| Only enrol once (per tracked entity instance lifetime) | If ticked, prevents a TEI (eg person) from being enrolled in this Program more than once. | | | |
| Show incident date | If ticked, both Enrolment and Incident dates are shown to the user for data capture; otherwise, only the Enrolment date is shown/captured. | | | |
| Description of incident date | Allows an admin to customize the label that is used for the incident date. | | | |
| Description of enrolment date | Allows an admin to customize the label that is used for the enrollment date. | | | |
| Capture coordinates (enrolment) | Enables users to capture geographical coordinates during enrolment in the program. | | | |
| Capture Polygon (enrolment) | Enables users to capture locations (enclosed areas) during enrolment in the program. | | | |
| TEI Coordinates | Enables users to capture geographical coordinates for the TEI during the enrolment in the program. | | | |
| Relationships: create and update | Enables users to create and update relationships. | | | |
| Relationships - shortcut link to add a relative | This enables admins to add a link for one specific relationship to the Dashboard, enabling users to directly create a linked TEI (eg "child" patient). | | | |
| Attributes: display in list | This setting determines whether an Attribute can be viewed in lists such as search results, and whether it can be seen in the shortlist of Attributes shown under "Profile" in the Dashboard. | | | The first three attributes will be shown |
| Attributes: mandatory | This enables an admin to mark an Attribute as "mandatory";, meaning the enrolment can"t be saved until a value is captured. | | | |
| Attributes: date in future | For date Attributes, this enables an admin to either prevent or allow future dates to be captured. | | | |
| Registration form - default | The default data entry form simply lists all attributes defined for the TEI. | | | |
| Registration form - custom | This enables an admin to define a custom layout (using HTML) for the registration form. | - | | Custom layouts are not supported in the Android App |
| Program notifications | You can set up automated notifications for when program enrolments or completions occur, or at a set interval before/after incident or enrolment dates. These can be sent as internal DHIS 2 messages, emails or SMSs. | | | This functionality is executed on the server side, once data is received. Will not work when the app is working offline. |
| Activate/deactivate enrolment | Deactivating a TEI dashboard will cause the TEI to become “read-only”. This means you cannot enter data, enrol the TEI or edit the TEI profile. | | | |
| Complete allowed only if validation passes | Select check box to enforce that an event created by this program is only completed when all validation rules have passed. | | | |
| Org unit opening/closing dates | Enables an admin to set opening and closing dates for an Org Unit, which blocks users from adding or editing events outside of these dates. | | | |
| Data sharing levels/Can capture data | Enables the user to add new event, edit data and delete events in the program. | | | |
| Data sharing levels/Can view data | Enables the user to see list of events within the program. | | | |
| Data sharing levels/No access | The user will not be able to see the program | | |
| Feature | Description of feature | Program with registration | Program without registration | Notes on implementation |
|---|---|---|---|---|
| Event form - default | The default data entry form simply lists all attributes belonging to a program registration | | | |
| Event form - section forms | Sections forms allow you to split existing forms into segments | | | |
| Event form - custom | Define a custom event form as a HTML page. | | | Custom layouts are not supported in the Android App. |
| Program stage notifications | You can set up automated notifications for when the program stage is completed, or at a set interval before/after scheduled event dates. These can be sent as internal DHIS 2 messages, emails or SMS messages. | | | This functionality is executed on the server side, once data is received. Will not work when the app is working offline. |
| Repeatable | If Repeatable Is ticked, this stage can be repeated during one program enrollment. If t is not, then the stage can only happen once during a program enrollment. | | | |
| Repeatable | If Repeatable Is ticked, this stage can be repeated during one program enrollment. If t is not, then the stage can only happen once during a program enrollment. | | | |
| Repeatable + Standard interval days | The system will suggest the due date as the calculation of the last event + standard interval dates. | | | |
| Period type | Enables an admin to configure a set of periods (e.g. weeks or months) for each event in the program stage, instead of just a date. When creating events, users are then asked to choose a period (instead of a date) for each new event they create within that program stage. | | | |
| Auto-generate event | If ticked, a "booking" is generated for this Program Stage upon enrolment, based on the "Scheduled days from start". | | | |
| Generate events based on enrolment date (not incident date) | Check on it for auto-generating due dates of events from program-stages of this program based on the enrollment date. If it is not checked, the due dates are generated based on incident date. | | | |
| Open data entry form after enrolment + report date to use | If selected, once an enrolment is complete, an event's data entry form should open directly afterwards. | | | |
| Ask user to complete program when stage is complete | If selected, upon completing the program stage the user should be asked to complete the program. (This setting is ignored if "Ask user to create new event" is also ticked.) | | | |
| Ask user to create new event when stage is complete | If selected, when the Program Stage is completed the user is prompted to book. | | | |
| Hide due date | Only shows the actual date for events, hiding the due date. | | | |
| Capture coordinates (event)/Feature Type-Point | Enables the user to capture geographical coordinates when each event is created particularly useful in devices that have GPS (eg Android), as instead of having to type in coordinates, the user can automatically populate them with the press of a button. | | | |
| Capture Polygon (event)/Feature Type-Polygon | Enables users to capture locations (enclosed areas) when each event is created. A Polygon must contain at least 4 points. | | | |
| Description of report date | Allows an admin to customize the label that is used for the event's date. | | | |
| Data elements-compulsory | This enables an admin to mark a data element as "compulsory", meaning an event can not be saved until a value is captured. | | | |
| Data elements-allow provided elsewhere | On the form, this places a tick-box next to the selected data element, and enables previous data to be pulled into the data element. | | | |
| Data elements-display in reports | Displays the value of this data element into the single event without registration data entry function. | | | |
| Data elements-date in future | For date Data Elements, this enables an admin to either prevent or allow future dates to be captured. | | | |
| Data elements-render options as radio | Enables an admin to choose how options will be displayed on-screen for each Data Element (i.e. either as drop-down list or as radio buttons). | | | |
| Block entry form after completed | Prevents all edits to events after they have been completed. | | | |
| Event comments | Enables the user to add overall comments to an event. These comments are cumulative (new comments are added below existing comments). | | |
| Feature | Description of feature | Status | Notes on implementation |
|---|---|---|---|
| Messaging | Enables users to send ad-hoc free-text messages to TEIs (e.g. patients) via SMS or email. | | |
| Mark for follow-up (button with exclamation triangle) | Enables a user to mark a TEI (e.g. patient) as requiring follow-up. | | |
| Display TEI audit history | Enables a user to see a history of all edits to Attributes for this TEI (e.g. patient). | - | |
| Inline Program Indicators | If a program indicator "display in form" box is ticked, the indicator appears on the Tracker Capture dashboard, and is updated live as data capture occurs. | | |
| Delete events | Enables the user to delete an event. | | |
| Schedule events | In the event generation dialogue, the user should also see the option to schedule an event. The process is like creating an event, but the user will be sent back to the TEI dashboard after the event is scheduled. | | |
| Referral of patients | In the event generation dialogue, the user should also see the option to refer a patient. The process is like creating/scheduling an event, but the user can change the org unit and has to specify if is a one-time or permanent referral. One time will just create the event in the specified OU. | | |
| Reset search fields | User is able to clean up the search fields by pressing on the rounded arrow icon on the top right corner of the search screen. | | |
| Search screen for all TE Type | User is able to search across all program of one tracked entity type (TET). In the Search screen there is a drop down which shows all the programs available for the active TET (active TET is defined by the selection of the program in the home screen). That drop down should also have an option with TET name. (Person in our server). When the user selects that option, the search fields available will only be the TET attributes (no program specific attributes). All search restrictions do not apply, because they belong to the programs. | | |
| TEI Dashboard without program | User can see the TEI dashboard without any program by selecting the TEI in the list if the search was without program. The dashboards will show the TET attributes in the details card followed by a list of active enrollments. | | |
| TEI enrollment history and new enrollment | User is able to see the complete historical record of the TEI. By clicking on the top right corner icon they will see a list of Active enrolments, followed by a list of past enrolments (completed or cancelled), followed by the programs in which the TEI could be enrolled. Users should be able to navigate to the different enrolments from the list. | | |
| Access level-Breaking the glass | If the program is configured with access level protected, and the user searches and finds tracked entity instances that is owned by organisation unit that the user does not have data capture authority for, the user is presented with the option of breaking the glass. The user will gove a reason for breaking the glass, then gain temporary ownership of the tracked entity instance. | |
| Feature | Description of feature | Status | Notes on implementation |
|---|---|---|---|
| Events listing (grid) | A listing of existing events that is displayed once a program is selected. | | |
| Sort and filter events in grid | Allows the user to sort listed events, or to filter events based on keywords or specific ranges of dates/numbers. | | Events are sorted chronologically. The user can filter by period and organisation unit. |
| Edit events in grid | Allows the user to directly edit the data elements shown in the events listing/grid. | | |
| View event audit history | Enables the user to see a history of all changes to the event's data elements. | | |
| Show/hide columns (in event list/grid) | Enables the user to modify the data elements shown in the event listing/grid (applies to that user only). | | |
| Field completion percentage | The percentage of data completed in each event is shown in the top right corner of an event when it is opened after first registration. The percentages should be adapted to the effects of the program rules in the forms. | | The percentage of completion does not take into account the not-supported value types in the forms. |
| Delete events | Enables the user to delete an event. | |
The following is a comprehensive list of all Program Rule components (variable types and actions) available in DHIS2, and notes on whether or not these have been implemented in the DHIS2 Android App.
Note
Any issues around using a particular feature with Android are highlighted with an exclamation mark !.
| legend | description |
|---|---|
| Value type implemented |
| Value type not implemented, but will be safely ignored (if not compulsory) |
| Not applicable |
| Work in progress. Feature not completely implemented yet or with unexpected behavior already reported |
| Variable type | Description of variable type | Program with registration | Program without registration | Notes on implementation |
|---|---|---|---|---|
| Data Element from the newest event for a program stage | This source type works the same way as "Data element from the newest event in the current program", except that it only evaluates values from a specific program stage. | | | |
| Data element from the newest event in the current program (with registration) | This source type is populated with the newest data value collected for the specified data element within the enrolment. | | | |
| Data Element from the newest event in the current program (without registration) | This program rule variable will be populated with the newest data value found within the 10 newest events in the same organization unit. | | | |
| Data Element in current event (with registration) | Variable takes the data element’s value from the current event. | | | |
| Data Element in current event (without registration) | Contains the data value from the same event that the user currently has open. | | | |
| Data Element from previous event (with registration) | Program rule variables with this source type will contain the newest value from all previous events for the specified data element. The event currently open is not evaluated. | | | |
| Data Element from previous event (without registration) | This program rule variable will be populated with the newest data value found within the 10 events preceding the current event date (i.e. not including the current event). | | | |
| Tracked Entity Attribute | Populates the program rule variable with a specified tracked entity attribute for the current TEI (e.g. current patient). | | | |
| Calculated value | Calculated value. | | |
| Action | Description of action | Program with registration | Program without registration | Notes on implementation |
|---|---|---|---|---|
| Hide Field | Hides an individual data element if the rule is true. | | | ! If you change the value after the field is hidden, it will revert the action depending on the value type rule engine default value. We recommend its use combined with the hasvalue function. |
| Hide Section | Hides a whole section and its data elements if the rule is true. | | | |
| Hide Option | Hide a single option for an option set in a given data element/tracked entity attribute. When combined with show option group the hide option takes precedence | | | |
| Hide Option Group | Hide all options in a given option group and data element/tracked entity attribute. When combined with show option group the hide option takes precedence | | | |
| Show option group | Used to show only options from a given option group in a given data element/tracked entity attribute. To show an option group implicitly hides all options that is not part of the group(s) that is shown. | | | |
| Assign Value | Assigns a value to a specified data element or attribute if the rule is true. | | | To assing text, it must be in single quotes. For example: '2+2' will show the text 2+2 and 2+2, without the single quotes will show 4. |
| Show Warning | Shows pop-up warning to the user if rule is true; does not prevent the user from continuing. | | | |
| Warning on Complete | Shows a pop-up warning to the user if, at the point ‘complete’ is clicked, a rule is true; this does not prevent the user from continuing. | | | |
| Show Error | Shows a pop-up error message to the user as soon as a rule is true, and prevents user from continuing until rule is no longer true. | | | The value is not saved, but the text is not cleared so that the user can fix it easily. |
| Error on Complete | Shows a pop-up warning to the user if, when "complete"; is clicked, a rule is true, and prevents user from continuing until rule is no longer true. | | | |
| Make Field Mandatory | Sets a data element as "mandatory"; if rule is true. | | | |
| Display Text (Event Programs) | Used to display information that is not an error or a warning, for example feedback. | | | Independently from the source variable type, text will be displayed in the form as the last element of the last section. Text will be displayed as the messages in the indicators tab. |
| Display Text (Tracker Programs) | Used to display information that is not an error or a warning, for example feedback. | | | 1. Program rule configured as "Trigger rule only for program stage". Text will be displayed ONLY in the form as the last element of the last section. Text will be displayed as the messages in the indicators tab. -> If the program rule uses any variable type which is not from the current stage, the rule will not be able to evaluate and the message will not be shown.2. Program rule NOT configured as "Trigger rule only for program stage". Text will be displayed ONLY in the indicators tab and NOT in the form.→ If the program rule uses any variable of type Current event, the rule will not be able to evaluate and the message will not be shown. |
| Display Key Value/Pair (Event Programs) | Used to display information drawn from a data element. | | | Variable Type: * Data element from the newest event in the current program* Data element from previous event* Data element in current event* Built-in variableKey/Value Pair will be displayed in the form ONLY in the specified section. |
| Display Key Value/Pair (Traker Programs) | Used to display information drawn from a data element. | | | 1. Variable Type:* Data element in current eventKey/Value Pair will be displayed in the form ONLY in the specified section.2. Variable Type:* Data element from the newest event in the current program* Data element from previous event* Data element from the newest event for a program stage* Tracked entity attribute* Built-in variableKey/Value Pair will be displayed ONLY in the indicators tab and NOT in the form. |
| Hide Program Stage | Hides a whole program stage from the user if the rule is true. | | | Action rule only supported for Data element from the newest event in the current program type and tracked entity attribute variables. |
| Send Message | Send Message triggers a notification based on provided message template.This action will be taken whenever there is a change in data value. However this behaviour can be controlled by providing event-enrollment status in program rule expression | | | This feature is executed on the server side. |
| Schedule Message | Schedule Message will schedule notification at date provided by Expression in the data field. | | | This feature is executed on the server side. |
| Action | Description of Action | Data Element from the Newest Event in the Current Program (with registration) | Data Element from the Newest Event in the Current Program (without registration) | Data Element from Previous Event (with registration) | Data Element from Previous Event (without registration) | Data Element from the Newest Event for a Program Stage (with registration) | Tracked Entity Atribute (with registration) | Notes on implementation |
|---|---|---|---|---|---|---|---|---|
| Hide Field | Hides an individual data element if the rule is true. | | | | | | | |
| Hide Section | Hides a whole section and its data elements if the rule is true. | | | | | | | |
| Hide Option | Hide a single option for an option set in a given data element/tracked entity attribute. When combined with show option group the hide option takes precedence. | | | | | | | |
| Hide Option Group | Hide all options in a given option group and data element/tracked entity attribute.When combined with show option group the hide option takes precedence. | | | | | | | |
| Assign Value | Assigns a value to a specified data element or attribute if the rule is true. | | | | | | | To assing text, it must be in single quotes. For example: '2+2' will show the text 2+2 and 2+2, without the single quotes will show 4. |
| Show Warning | Shows pop-up warning to the user if rule is true; does not prevent the user from continuing. | | | | | | | |
| Warning on Complete | Shows a pop-up warning to the user if, at the point "complete" is clicked, a rule is true; this does not prevent the user from continuing. | | | | | | | |
| Show Error | Shows a pop-up error message to the user as soon as a rule is true, and prevents user from continuing until rule is no longer true. | | | | | | | The rule will let the user to finish the enrollment but will prevent from completing the events until rule is no longer true. The value is not saved, but the text is not cleared so that the user can fix it easily. |
| Error on Complete | Shows a pop-up warning to the user if, at the point "complete" is clicked, a rule is true; this does not prevent the user from continuing. | | | | | | | |
| Make Field Mandatory | Sets a data element as "mandatory" if rule is true. | | | | | | | |
| Display Text (Event Programs) | Used to display information that is not an error or a warning, for example feedback. | | | | | | | Independently from the source variable type, text will be displayed in the form as the last element of the last section. Text will be displayed as the messages in the indicators tab. |
| Display Text (Tracker Programs) | Used to display information that is not an error or a warning, for example feedback. | | | | | | | 1. Program rule configured as "Trigger rule only for program stage". Text will be displayed ONLY in the form as the last element of the last section. Text will be displayed as the messages in the indicators tab. -> If the program rule uses any variable type which is not from the current stage, the rule will not be able to evaluate and the message will not be shown.2. Program rule NOT configured as "Trigger rule only for program stage". Text will be displayed ONLY in the indicators tab and NOT in the form.→ If the program rule uses any variable of type Current event, the rule will not be able to evaluate and the message will not be shown. |
| Display Key Value/Pair (Event Programs) | Used to display information drawn from a data element. | | | | | | Variable Type: * Data element from the newest event in the current program* Data element from previous event* Data element in current event* Built-in variableKey/Value Pair will be displayed in the form ONLY in the specified section. | |
| Display Key Value/Pair (Traker Programs) | Used to display information drawn from a data element. | | | | | | | 1. Variable Type:* Data element in current eventKey/Value Pair will be displayed in the form ONLY in the specified section.2. Variable Type:* Data element from the newest event in the current program* Data element from previous event* Data element from the newest event for a program stage* Tracked entity attribute* Built-in variableKey/Value Pair will be displayed ONLY in the indicators tab and NOT in the form. |
| Hide Program Stage | Hides a whole program stage from the user if the rule is true. | | | | | | | Action rule only supported for Data element from the newest event in the current program variable type. If the event is auto-generated, the rule will not apply. |
| Send Message | Send Message triggers a notification based on provided message template.This action will be taken whenever there is a change in data value. However this behaviour can be controlled by providing event-enrollment status in program rule expression | | | | | | | This feature is executed on the server side. |
| Schedule Message | Schedule Message will schedule notification at date provided by Expression in the data field. | | | | | | | This feature is executed on the server side. |
| Function | Description of function | Status | Notes on implementation |
|---|---|---|---|
| d2:ceil | Rounds the input argument up to the nearest whole number. | | |
| d2:floor | Rounds the input argument down to the nearest whole number. | | |
| d2:round | Rounds the input argument to the nearest whole number. | | |
| d2:modulus | Produces the modulus when dividing the first with the second argument. | | |
| d2:zing | Evaluates the argument of type number to zero if the value is negative, otherwise to the value itself. | | |
| d2:oizp | Evaluates the argument of type number to one if the value is zero or positive, otherwise to zero. | | |
| d2:concatenate | Produces a string concatenated string from the input parameters. Supports any number of parameters. | | Use d2:concatenate function instead of using "+" as the expression evaluator in the app will be adding numbers if it can. |
| d2:daysBetween | Produces the number of days between the first and second argument. If the second argument date is before the first argument, the return value will be the negative number of days between the two dates. The static date format is 'yyyy-MM-dd'. | | |
| d2:weeksBetween | Produces the number of full weeks between the first and second argument. If the second argument date is before the first argument, the return value will be the negative number of weeks between the two dates. The static date format is 'yyyy-MM-dd'. | | |
| d2:monthsBetween | Produces the number of full months between the first and second argument. If the second argument date is before the first argument the return value will be the negative number of months between the two dates. The static date format is 'yyyy-MM-dd'. | | |
| d2:yearsBetween | Produces the number of years between the first and second argument. If the second argument date is before the first argument, the return value will be the negative number of years between the two dates. The static date format is 'yyyy-MM-dd'. | | |
| d2:addDays | Produces a date based on the first argument date, adding the second argument number of days. | | |
| d2:count | Counts the number of values that is entered for the source field in the argument. | | |
| d2:countIfValue | Counts the number of matching values that is entered for the source field in the first argument. Only occurrences that matches the second argument is counted. | | |
| d2:countIfZeroPos | Counts the number of values that is zero or positive entered for the source field in the argument. The source field parameter is the name of one of the defined source fields in the program. | | |
| d2:hasValue | Evaluates to true of the argument source field contains a value, false if no value is entered. | | |
| d2:validatePattern | Evaluates to true if the input text is an exact match with the supplied regular expression pattern. The regular expression needs to be escaped. | | |
| d2:left | Evaluates to the left part of a text, num-chars from the first character. | | |
| d2:right | Evaluates to the right part of a text, num-chars from the last character. | | |
| d2:substring | Evaluates to the part of a string specified by the start and end character number. | | |
| d2:split | Split the text by delimiter, and keep the nth element (0 is the first). | | |
| d2:length | Find the length of a string. | | |
| d2:zpvc | Returns the number of numeric zero and positive values among the given object arguments. Can be provided with any number of arguments. | | |
| d2:inOrgUnitGroup* | Evaluates whether the current organization unit is in the argument group. The argument can be defined with either ID or organization unit group code. | | |
| d2:hasUserRole** | Returns true if the current user has this role otherwise false. | | |
| d2:zScoreWFA*** | Function calculates z-score based on data provided by WHO weight-for-age indicator. Its value varies between -3.5 to 3.5 depending upon the value of weight. | | Providing an age less than 0 or greater than 60 will result in the program rule to not be calculated. Also, WFA tables have the age parameter increment in steps of 1, providing a fraction age will floor the value (2.3 months → 2 months). |
| d2:zScoreHFA*** | Function calculates z-score based on data provided by WHO height-for-age indicator. Its value varies between -3.5 to 3.5 depending upon the value of weight. | | Providing an age less than 0 or greater than 60 will result in the program rule to not be calculated. Also, HFA tables have the age parameter increment in steps of 1, providing a fraction age will floor the value (2.3 months → 2 months). |
| d2:zScoreWFH*** | Function calculates z-score based on data provided by WHO weight-for-height indicator. Its value varies between -3.5 to 3.5 depending upon the value of weight. | | Providing a height less than 45 or greater than 120 will result in the program rule to not be calculated. Also, WFH tables have the height parameter increment in steps of 0.5, providing a fraction height will floor the value (45.3 → 45 |
Note
- Available in DHIS2 v2.30 ** Available in DHIS2 v2.31 and greater *** Available in DHIS2 v2.32 and greater
Available in DHIS2 v2.30
| Variable | Description of function | Status | Notes on implementation |
|---|---|---|---|
| V{current_date} | Contains the current date whenever the rule is executed. | | |
| V{event_date} | Contains the event date of the current event execution. Will not have a value at the moment the rule is executed as part of the registration form. | | |
| V{event_status} | Contains status of the current event or enrollment. | | |
| V{due_date} * | This variable will contain the current date when the rule is executed. Note: This means that the rule might produce different results at different times, even if nothing else has changed. | | |
| V{event_count} | Contains the total number of events in the enrollment. | | |
| V{enrollment_date} * | Contains the enrollment date of the current enrollment. Will not have a value for single event programs. | | |
| V{incident_date} * | Contains the incident date of the current enrollment. Will not have a value for single event programs. | | |
| V{enrollment_id} * | Universal identifier string(UID) of the current enrollment. Will not have a value for single event programs. | | |
| V{event_id} | Universal identifier string(UID) of the current event context. Will not have a value at the moment the rule is executed as part of the registration form. | | |
| V{orgunit_code} | Contains the code of the orgunit that is linked to the current enrollment. For single event programs the code from the current event Org Unit will be used instead. | | |
| V{environment} | Contains a code representing the current runtime environment for the rules. The possible values is "WebClient", "AndroidClient" and "Server". Can be used when a program rule is only supposed to run in one or more of the client types. | | |
| V{program_stage_id} | Contains the ID of the current program stage that triggered the rules. This can be used to run rules in specific program stages, or avoid execution in certain stages. When executing the rules in the context of a TEI registration form the variable will be empty. | | |
| V{program_stage_name} | Contains the name of the current program stage that triggered the rules. This can be used to run rules in specific program stages, or avoid execution in certain stages. When executing the rules in the context of a TEI registration form the variable will be empty. | |
Notes
* Only applies to tracker
As the web and the Android application are currently using a different program rule engine there might be programs rule that work in one system and not in the other. In general terms it can be said that the Android program rule engine is more strict and so, some Program Rules that work in the web version of DHIS2 will fail in Android. This subsection describes the main differences and how to adapt the rules in order to have them working in both systems.
DHIS2 web version considers the type boolean as 0 or 1 (which can be evaluated to true or false), however Android evaluates them only as true or false. While this makes possible the addition of booleans in web, it will fail in Android; in order to fix this an additional program rule variable is needed to transform the boolean into an number that can be operated. Check the table below for examples and possible solutions.
For the examples belows consider the following:
| Program Rule Condition(s) | Program Rule Action(s) | Web version | Android version | Comment |
|---|---|---|---|---|
| d2:hasValue('yn_prv1') || d2:hasValue('yn_prv2') | Assign fixed value to DE | | | |
| #{yn_prv1} || #{yn_prv2} | Assign fixed value to DE | | | |
| d2:hasValue('yn_prv1') || d2:hasValue('yn_prv2') | Assign value to DE: #{yn_prv1} + #{yn_prv2} + 1 | |  | Crashes in Android whenver a boolean is marked as the expression would result in true+false+1 |
| PR1: #{prv_boolean_one} PR2: #{prv_boolean_two} PR3: #{prv_boolean_one} || #{prv_boolean_two} | PRA1. Assign value "1" to PRV "#{prv_bool_one_to_number}" PRA2. Assign value: "1" to PRV "#{prv_bool_two_to_number}" PRA3. Assign value to DE: "#{prv_bool_one_to_number} + #{prv_bool_two_to_number} + 1" | | | There are 2 variables for boolean, one gets the value via a PRV definition “value form DE” and the other one via a PRA. If a boolean is not marked it is counted as string instead of a number |
| Four PR to assign 1 or 0 to the booleans and an additional for the addition. Priorities go from top to bottom PRC1: !d2:hasValue('prv_boolean_one') || !#{prv_boolean_one} PRC2: d2:hasValue('prv_boolean_one') && #{prv_boolean_one} PRC3: !d2:hasValue('prv_boolean_two') || !#{prv_boolean_two} PRC4: d2:hasValue('prv_boolean_two') && #{prv_boolean_two} PRC5: true | PRA1: Assign value: "0" to PRV "#{prv_bool_one_to_number}" PRA2: Assign value: "1" to PRV "#{prv_bool_one_to_number}" PRA3: Assign value: "0" to PRV "#{prv_bool_two_to_number}" PRA4: Assign value: "1" to PRV "#{prv_bool_two_to_number}" PRA5: Assign value: "#{prv_bool_one_to_number} + #{prv_bool_two_to_number} + 1" to DE | | | There are 2 variables for boolean, one gets the value via a PRV definition “value form DE” and the other one via a PRA. |
DHIS2 web version evaluate numbers in a more flexible way casting values from integer to floats and viceversa. This can lead to some issues as explained in the examples below.
If required for a division web will cast from integer to float, however, Android take numbers as such (literally and without casting) which my end up giving unexpected results. Check the table below for examples and possible solutions.
| Program Rule Condition(s) | Program Rule Action(s) | Web version | Android version | Comment |
|---|---|---|---|---|
| true | Assign value to DE: d2:daysBetween('2020-05-13', '2020-05-17') / 3 | | | The user would expect the division to be calculated as 4/3 with a result of 1.3333. However, Android does not cast 4 to a float (4.0 as the web version does) so the result in Android is a pure 1 as the result of the integer division 4/3 |
| true | Assign value to DE: d2:daysBetween('2020-05-13', '2020-05-17') / 3.0 | | | Division results in 1.33333 in both web and Android |
In the same way, if a DataElement of the type number is used, Android will use that value as float (including decimals) which might lead to validatePattern function not working as expected.
Consider the following:
| Program Rule Condition(s) | Program Rule Action(s) | Web version | Android version | Comment |
|---|---|---|---|---|
| !d2:validatePattern(#{temperature_prv},'\\{d}') | Display error if value is not 2 digits | | | The user would expect the program rule to NOT show an error as 38 does match the pattern. However, Android attempts to validate the pattern \{d} against 38.0 resulting in Android displaying the error. |
| !d2:validatePattern(#{temperature_prv},'(\\d{2}|\\d{2}\\.\\d|\\d{2}\\.\\d{2})$') | Display error if value is not 2 digits | | | The regular expression used here will match both integeres and floats resulting in being properly evaluated in web and Android and not displaying an error. |
In the version 2.2 of the application (released on August, 2020) a new rule-engine was included. This rule-engine requires some optional and some mandatory changes to be performed on the program rules expressions in order to make it work in the new application. A list of those changes, how to detect them and how to fix them is included in the following subsections.
This is an optional change. d2:hasValue now works with both single quotes or full variable expression. The following expressions is valid: (d2:hasValue('variable_name') and d2:hasValue(#{variable_name}))
Get programRules where either the condition or the program rule action uses the d2:hasValue function.
https://example.org/api/programRules?fields=program[name],name,programRuleActions[data],condition&filter=programRuleActions.data:like:hasValue&filter=condition:like:hasValue&rootJunction=OR
<programRule name="PR01 - Check variable with hasValue(#{variable})">
<condition>d2:hasValue(#{Age in years})</condition>
<program name="JB_Testing_2.2"/>
<programRuleActions>
<programRuleAction/>
</programRuleActions>
</programRule>
<programRule name="PR01 - Check variable with hasValue('variable')">
<condition>d2:hasValue('Age in years')</condition>
<program name="JB_Testing_2.2"/>
<programRuleActions>
<programRuleAction/>
</programRuleActions>
</programRule>
The example above shows how different ways of using the hasValue function will have the same effect as from version 2.2. There are no mandatory changes but have in mind that while writing new program rules being consistent might help avoiding problems.
This is a mandatory change. !#{variable_name} can only be used boolean type variables (BOOLEAN and TRUE_ONLY).
Get programRulesVariables with dataElements of the type NOT BOOLEAN or TRUE_ONLY
https://example.org/api/programRuleVariables?fields=name&filter=dataElement.valueType:!in:[TRUE_ONLY,BOOLEAN]&paging=False
Get all programRule.conditions
https://example.org/api/programRules?fields=displayName,condition&paging=False
Check manually (or programmatically via a script) if in the list of programRule.conditions (obtained via the second API call) any of the program rules variables (obtained via the first API call) is being used.
For example, from the first list we get:
<programRuleVariable name="AdditionalMedication"/>
<programRuleVariable name="age"/>
<programRuleVariable name="Age in years"/>
<programRuleVariable name="AgeYears"/>
<programRuleVariable name="allergies"/>
<programRuleVariable name="apgarcomment"/>
And we can compare with the second list:
<programRule>
<condition>!#{Pregant}</condition>
<displayName>PR03- !#{varible_name} - BOOLEAN</displayName>
</programRule>
<programRule>
<condition>!#{Age in years}</condition>
<displayName>PR03- !#{varible_name} - NOT BOOLEAN</displayName>
</programRule>
<programRule>
<condition>#{PregnancyStatus} != 'YES'</condition>
<displayName>Pregnancy status : false</displayName>
</programRule>
This shows that a NON BOOLEAN variable is being used wrongly.
Make sure that you are evaluating BOOLEAN or TRUE_ONLY variables in your conditions. In case the program rule variable is not of that type update your program rule condition with d2:hasValue(#{variable_name}) or d2:hasValue(‘variable_name’)
In the example above the condition should change from:
<condition>!#{Age in years}</condition>
<condition>d2:hasValue(‘Age in years’)</condition>
This is a mdantory change. In program rule actions of the type ASSIGN, DISPLAY TEXT, DISPLAY KEY/VALUE PAIR, SHOW WARNING, SHOW ERROR, WARNING ON COMPLETE or ERROR ON COMPLETE if the Expression to evaluate and assign/display is a text, it must be enclosed with single quotes.
Get the Program Rules which actions are of type text, with something on the field data and verify their data content to find strings without quotes.
https://example.org/api/programRules?fields=program[name],name,programRuleActions[programRuleActionType,content,data]&filter=programRuleActions.programRuleActionType:in:[ASSIGN,DISPLAYTEXT,DISPLAYKEYVALUEPAIR,SHOWWARNING,SHOWERROR]&filter=programRuleActions.data:!null&paging=false
For example we can detect here an error of a text field without quotes in the first Program Rule Action while the second one is correct.
<programRule name="PR04- !#{varible_name} - BOOLEAN - Assign text without quotes">
<program name="JB_Testing_2.2"/>
<programRuleActions>
<programRuleAction>
<programRuleActionType>SHOWWARNING</programRuleActionType>
<data>embarazada</data>
<content>PR04 text with quotes is: </content>
</programRuleAction>
</programRuleActions>
</programRule>
<programRule name="PR04- !#{varible_name} - BOOLEAN - Assign text with quotes">
<program name="JB_Testing_2.2"/>
<programRuleActions>
<programRuleAction>
<programRuleActionType>SHOWWARNING</programRuleActionType>
<data>'embarazada'</data>
<content>PR04 text with quotes is: </content>
</programRuleAction>
</programRuleActions>
</programRule>
Scan the generated list (via the suggested API calls) to find data components of the Program Rule Action where text is not quoted, then go to each of the identified Program Rules and update them.
This is a mdantory change. In program rule actions of the type ASSIGN, DISPLAY TEXT, DISPLAY KEY/VALUE PAIR, SHOW WARNING, SHOW ERROR, WARNING ON COMPLETE or ERROR ON COMPLETE if the Expression to evaluate and assign/display is a text, it must be enclosed with single quotes (same as previous change); but, on top of that, if it requires to concatenate two strings or a combination of functions it is mandatory to use the d2:concatenate function.
Get the Program Rules which actions are of type text, with any content on the field data and verify their data content to check if in case of two or more strings (or other objects) are being joined the d2:concatenate function is used
Get the Program Rules which actions are of type text and verify their data content to find strings without quotes.
http://localhost:8034/api/programRules?fields=program[name],name,programRuleActions[programRuleActionType,content,data]&filter=programRuleActions.programRuleActionType:in:[ASSIGN,DISPLAYTEXT,DISPLAYKEYVALUEPAIR,SHOWWARNING,SHOWERROR]&filter=programRuleActions.data:!null&paging=false
For example we can detect here an error of two strings in an action without the use of d2:concatenate.
<programRule name="PR08- Assign text and variable without concatenate">
<program name="JB_Testing_2.2"/>
<programRuleActions>
<programRuleAction>
<programRuleActionType>SHOWWARNING</programRuleActionType>
<data>'Age is 10 and modulus' 'another string'</data>
<content>PR05 text without concat is: </content>
</programRuleAction>
</programRuleActions>
</programRule>
Scan the generated list (via the suggested API calls) to find data components of the Program Rule Action where two or more objects are being concatenated and update them to use the d2:concatenate function.
In the example above the data should change from:
<data>'Age is 10 and modulus' 'another string'</data>
<data>d2:concatenate('Age is 10 and modulus','another string')</data>
The following is a comprehensive list of all Program indicator variables available in DHIS2, and notes on whether or not these have been implemented in the Android Capture app.
Any issues around using a particular feature with Android are highlighted with an exclamation mark.
| legend | description |
|---|---|
| Component implemented |
| Component not implemented (rule fails) |
| Not applicable |
| Work in progress. Feature not completely implemented yet or with unexpected behaviour already reported. |
| Function | Description | Status | Notes on implementation |
|---|---|---|---|
| if | Evaluates the boolean expression and if true returns the true expression value, if false returns the false expression value. The arguments must follow the rules for any indicator expression. | | |
| isNull | Returns true if the element value is missing (null), otherwise false. | | |
| isNotNull | Returns true if the element value is not missing (not null), otherwise false. | | |
| firstNonNull | Returns the value of the first element that is not missing (not null). Can be provided any number of arguments. Any argument may also be a numeric or string literal, which will be returned if all the previous objects have missing values. | | |
| greatest | Returns the greatest (highest) value of the expressions given. Can be provided any number of arguments. | | |
| least | Returns the least (lowest) value of the expressions given. Can be provided any number of arguments. | |
| Function | Description | Status | Notes on implementation |
|---|---|---|---|
| addDays | Produces a date based on the first argument date, adding the second argument number of days. | | |
| ceil | Rounds the input argument up to the nearest whole number. | | |
| condition | Evaluates the boolean expression and if true returns the true expression value, if false returns the false expression value. The conditional expression must be quoted. The true-expr and false-expr arguments must follow the rules of any program indicator expression (including functions). | | |
| count | Counts the number of data values that has been collected for the given program stage and data element in the course of the enrollment. The argument data element is supplied with the #{programStage.dataElement} syntax. | | |
| countIfCondition | Counts the number of data values that matches the given condition criteria for the given program stage and data element in the course of the enrollment. The argument data element is supplied with the #{programStage.dataElement} syntax. The condition is supplied as a expression in single quotes. | | |
| countIfValue | Counts the number of data values that matches the given literal value for the given program stage and data element in the course of the enrollment. The argument data element is supplied with the #{programStage.dataElement} syntax. The value can be a hard coded text or number. | | |
| countIfZeroPos | Counts the number of values that is zero or positive entered for the source field in the argument. | | |
| daysBetween | Produces the number of days between two data elements/attributes of type date. | | |
| floor | Rounds the input argument down to the nearest whole number. | | |
| hasUserRole | Returns true if current user has this role otherwise false. | | |
| hasValue | Returns true if the data element/attribute has a value. | | |
| inOrgUnitGroup | Evaluates whether the current organisation unit is in the argument group. The argument can be defined with either ID or organisation unit group code. | | |
| left | Evaluates to the left part of a text, num-chars from the first character. | | |
| length | Find the length of a string. | | |
| minutesBetween | Produces the number of minutes between two data elements/attributes of type “date and time”. | | |
| modulus | Produces the modulus when dividing the first with the second argument. | | |
| monthsBetween | Produces the number of full months between the first and second argument. | | |
| oizp | Returns one if the expression is zero or positive, otherwise returns zero. | | |
| relationshipCount | Produces the number of relationships of the given type that is connected to the enrollment or event. When no type is given, all types are counted. | | |
| right | Evaluates to the right part of a text, num-chars from the last character. | | |
| round | Rounds the input argument to the nearest whole number. | | |
| split | RSplit the text by delimiter, and keep the nth element(0 is the first). | | |
| substring | Evaluates to the part of a string specified by the start and end character number. | | |
| validatePatten | Evaluates to true if the input text is an exact match with the supplied regular expression pattern. | | |
| weeksBetween | Produces the number of full weeks between two data elements/attributes of type date. | | |
| yearsBetween | Produces the number of years between the first and second argument. | | |
| zing | Returns zero if the expression is negative, otherwise returns the expression value. | | |
| zpvc | Returns the number of numeric zero and positive values among the given object arguments. | |
| Variable type | Description of variable type | Status | Notes on implementation |
|---|---|---|---|
| Event Date event_date | The date of when the event took place. | | |
| Creation Date* creation_date | The date of when an event or enrollment was created in the system. | | |
| Due Date due_date | The date of when an event is due. | | |
| Sync Date* sync_date | The date of when the event or enrollment was last synchronized with the Android app. | | |
| Incident Date incident_date | The date of the incidence of the event. | | |
| Enrollment Date (not visible on UI) enrollment_date | The date of when the tracked entity instance was enrolled in the program. | | |
| Enrollment Status enrollment_status | Can be used to include or exclude enrollments in certain statuses. | | |
| Current Date current_date | The current date. | | |
| Completed Date | The date the event is completed. | | |
| Value Count value_count | The number of non-null values in the expression part of the event. | | |
| Zero or positive value count zero_pos_value_count | The number of numeric positive values in the expression part of the event. | | |
| Event Count event_count | The count of events (useful in combination with filters). | | |
| Enrollment Count enrollment_count | The count of enrollments (useful in combination with filters). | | Indicators in the Android App are calculated in the domain of one TEI enrollment. Value always 1. |
| TEI Count tei_count | The count of tracked entity instances (useful in combination with filters). | | Indicators in the Android App are calculated in the domain of one TEI enrollment. Value always 1. |
| Program Stage Name program_stage_name | Can be used in filters for including only certain program stages in a filter for tracker programs. | | |
| Program Stage ID program_stage_id | Can be used in filters for including only certain program stages in a filter for tracker programs. | | |
| Reporting Period Start reporting_period_start | Can be used in filters or expressions for comparing any date to the first date in each reporting period. | | Indicators in the Android App are calculated in the domain of one TEI enrollment. |
| Reporting Period End reporting_period_end | Can be used in filters or expressions for comparing any date to the last inclusive date in each reporting period. | | Indicators in the Android App are calculated in the domain of one TEI enrollment. |
| Organisation Unit Count organisationunit_count | . | |
The following is a comprehensive list of all value types available in DHIS 2, and notes on whether or not these have been implemented in the Android Capture app.
Any issues around using a particular feature with Android are highlighted with an exclamation mark !.
| Legend | Description |
|---|---|
| Value type implemented |
| Value type not implemented, but will be safely ignored (if not compulsory) |
| Work in progress. Feature not completely implemented yet or with unexpected behaviour already reported |
| Value type | Description of value type | Program with registration | Program with registration | Program without registration | Data Set | Notes on implementation |
|---|---|---|---|---|---|---|
| Attributes | Data Elements | Data Elements | Data Elements | |||
| Time | Time only | | | | | |
| Date & Time | Date plus time | | | | | |
| Date | Date only | | | | | |
| Age | Enables entry of either an age in years/months/days or a date-of-birth (both are stored as date-of-birth) | | | | | |
| Phone number | A valid phone number | | | | | |
| An email address in a valid format | | | | | ||
| Yes/no | Boolean yes/no (or no response) | | | | | |
| Yes only | Yes or no response | | | | | |
| Number | Any valid number, including decimals | | | | | |
| Integer | Any integer (whole numbers, no decimals) | | | | | |
| Positive Integer | Only positive integers (no zero or negative values) | | | | | |
| Positive or Zero Integer | Only zero or positive integers (no negative values) | | | | | |
| Negative Integer | Only negative integers (no zero or positive values) | | | | | |
| Percentage | Any decimal value between 0 and 100 | | | | | |
| Unit interval | Any decimal value between 0 and 1 | | | | | |
| Text | Text (length of text up to 50,000 characters) | | | | | |
| Multi_Text (From 3.0) | Option set for multiple choice | | | | | |
| Long text | Text (no constraints on length) | | | | | |
| Letter | A single letter | | | | | |
| File | Enables upload of files in various formats (requires appropriate storage to be configured) | | | | | |
| Organisation unit | Enables selection of a DHIS2 organisation unit as the chosen value | | | | | |
| Tracker Associate | Enables selection of an existing Tracker 'tracked entity instance' (e.g. a person) as the value | | | | | |
| Username | Enables selection of a valid DHIS2 username as the value | | | | | |
| Coordinate | Enables manual entry of geographical coordinates (doesn't enable automatic capture of coordinates) | | | | | |
| URL | Enables manual entry of a URL. | | | | | |
| Image | Enables upload of images. | | | | |
This section focuses on the Android Settings Web App implementation.
The Android Settings Web App allows admins to configure synchronization parameters for the DHIS2 Android App, encrypt the local database of the Android devices, customize the appearance of Programs, Data sets, and Home screen, and add TEI Analytics items. The configuration parameters defined within this web app will overwrite the settings of all Android devices using the DHIS2 Android Capture App.
Please note that in this version of the Web App (2.3), if the DHIS2 version is equal to or higher than 2.40, only users with "M_androidsettingsapp" or "ALL" authority can define those parameters in the configuration. Other users accessing the web app can see the value of the parameters but cannot edit them.
Warning
If the DHIS2 version is not above 2.40, only users with 'ALL' authority can define those parameters in the configuration.
Includes configurations such as the Matomo URL and project ID, the number of reserved values to download per TEI, and encrypt the device database.
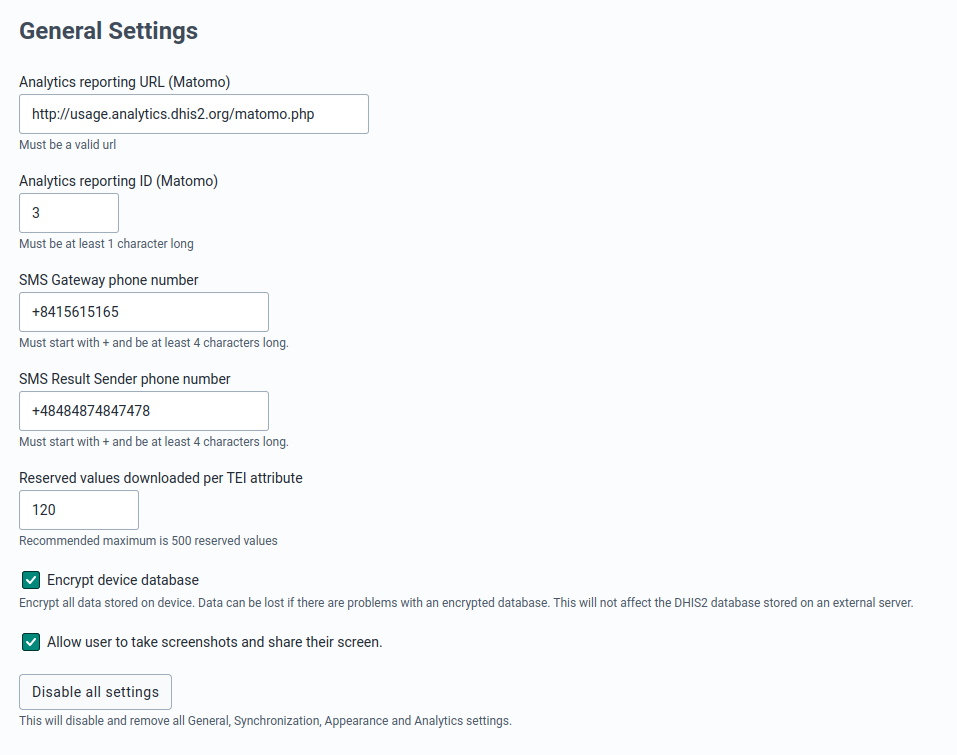
The DHIS2 Android App sends anonymize analytics that can be used to evaluate performance and/or detect problems at an early stage. Matomo is the tool used for this and running in a specific server not accessible to the general public. However, implementations can set up their own Matomo instance (or using the cloud version) in order to collect and analyse the statistics.
Once you have your Matomo instance ready you should get the URLs and the project ID like shown in the picture below (left). The ID can be introduced directly but the URL needs to be followed with /matomo.php and start with https or http as shown below (right).
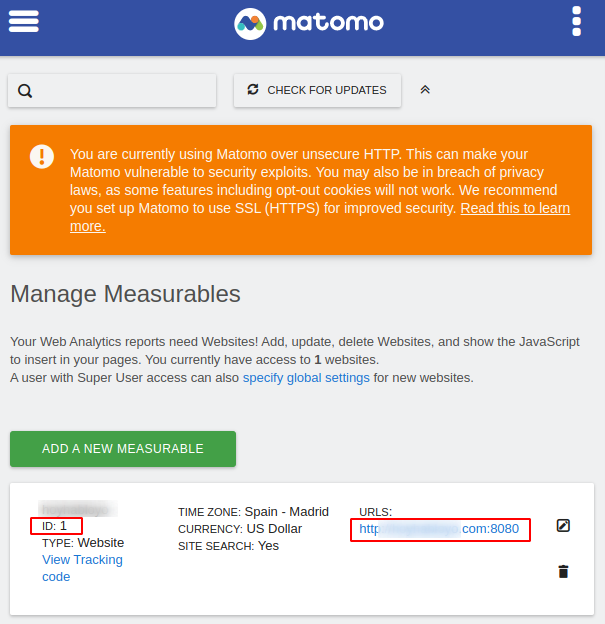
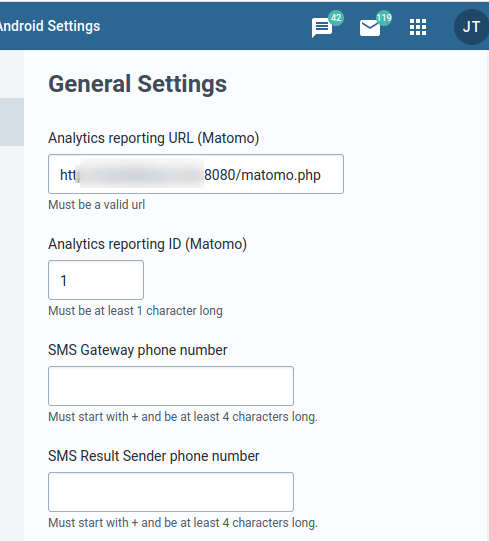
This section allows admin users to edit the SMS gateway ad result sender phone number. This configuration can be found in the Android app. - Click on Settings - Click on SMS Settings
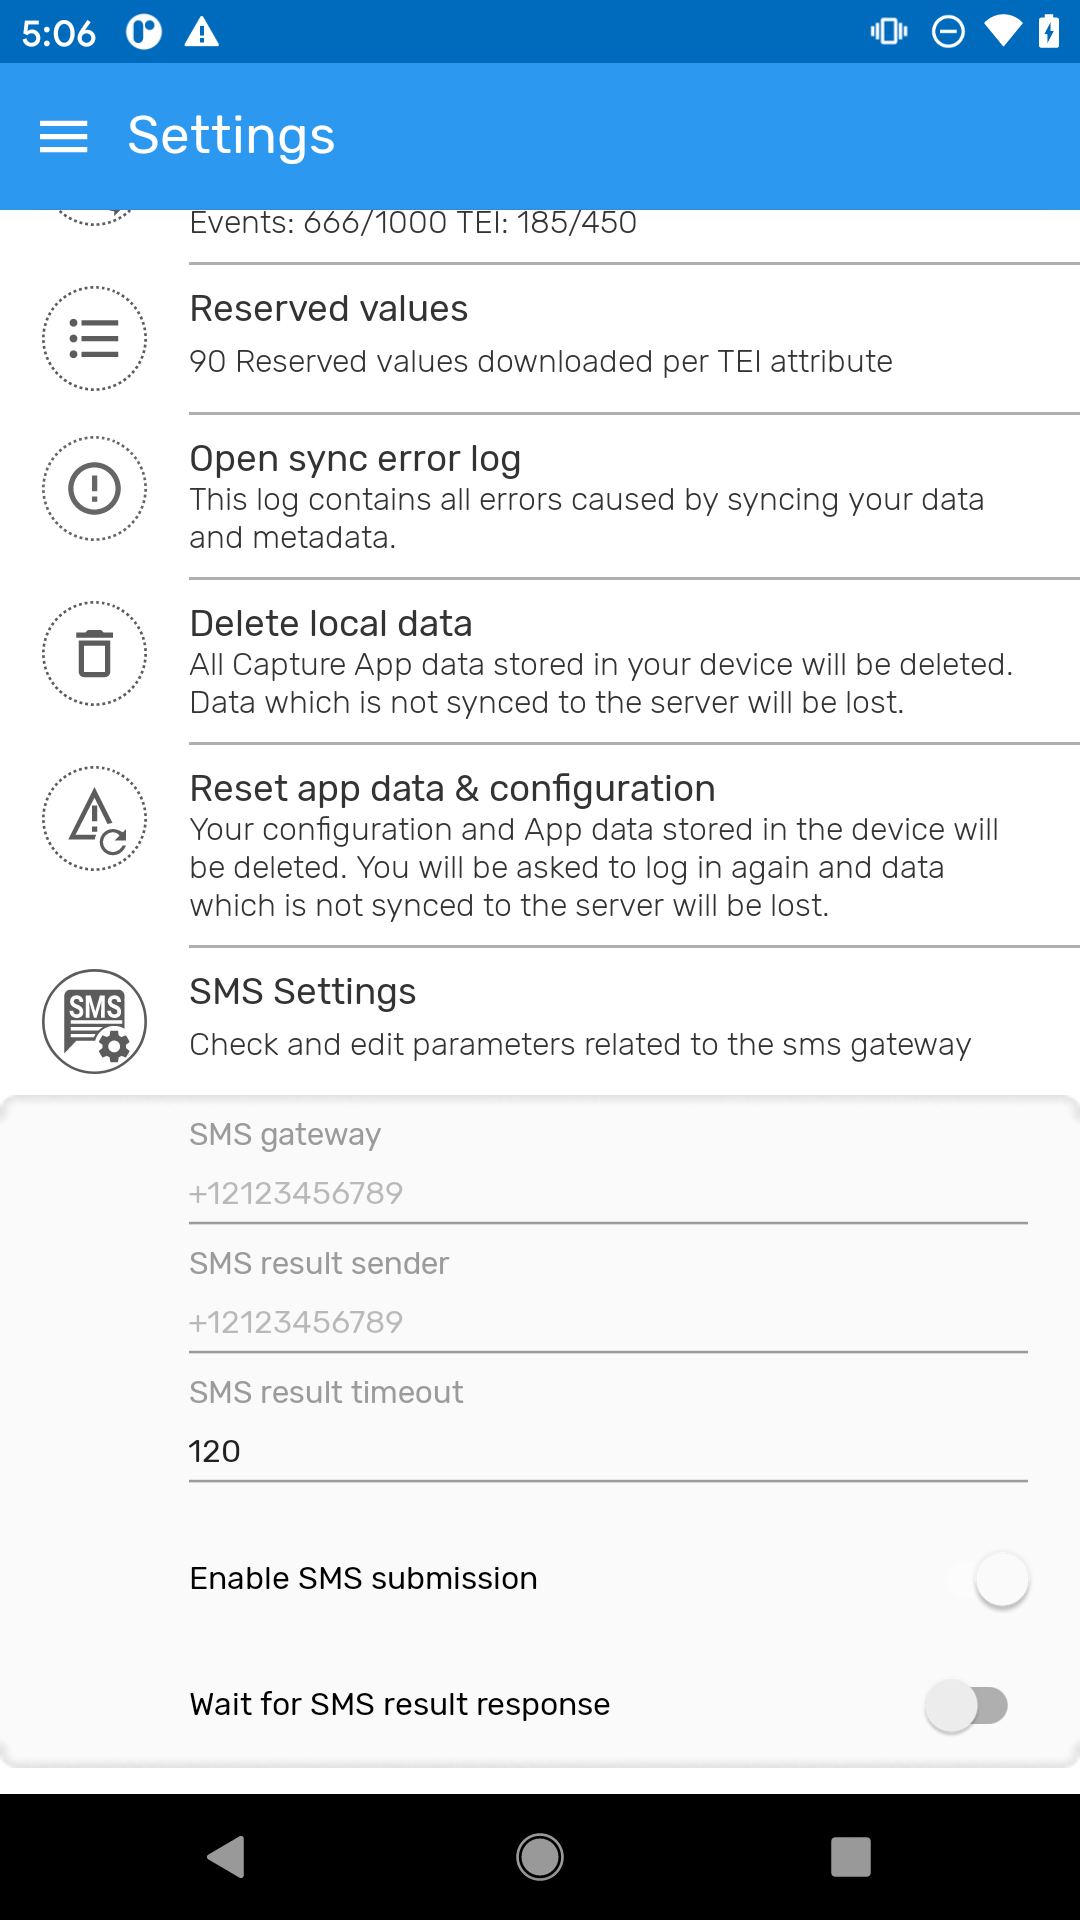
This will specify the number of values per TEI attribute reserved to download in the devices. By default, the Android App reserves 100 Ids, but it is possible to add or reduce this number.
To find this configuration in the Android app: - Click on Settings - Click on Reserved Values - To refill them click on Manage Reserved Values
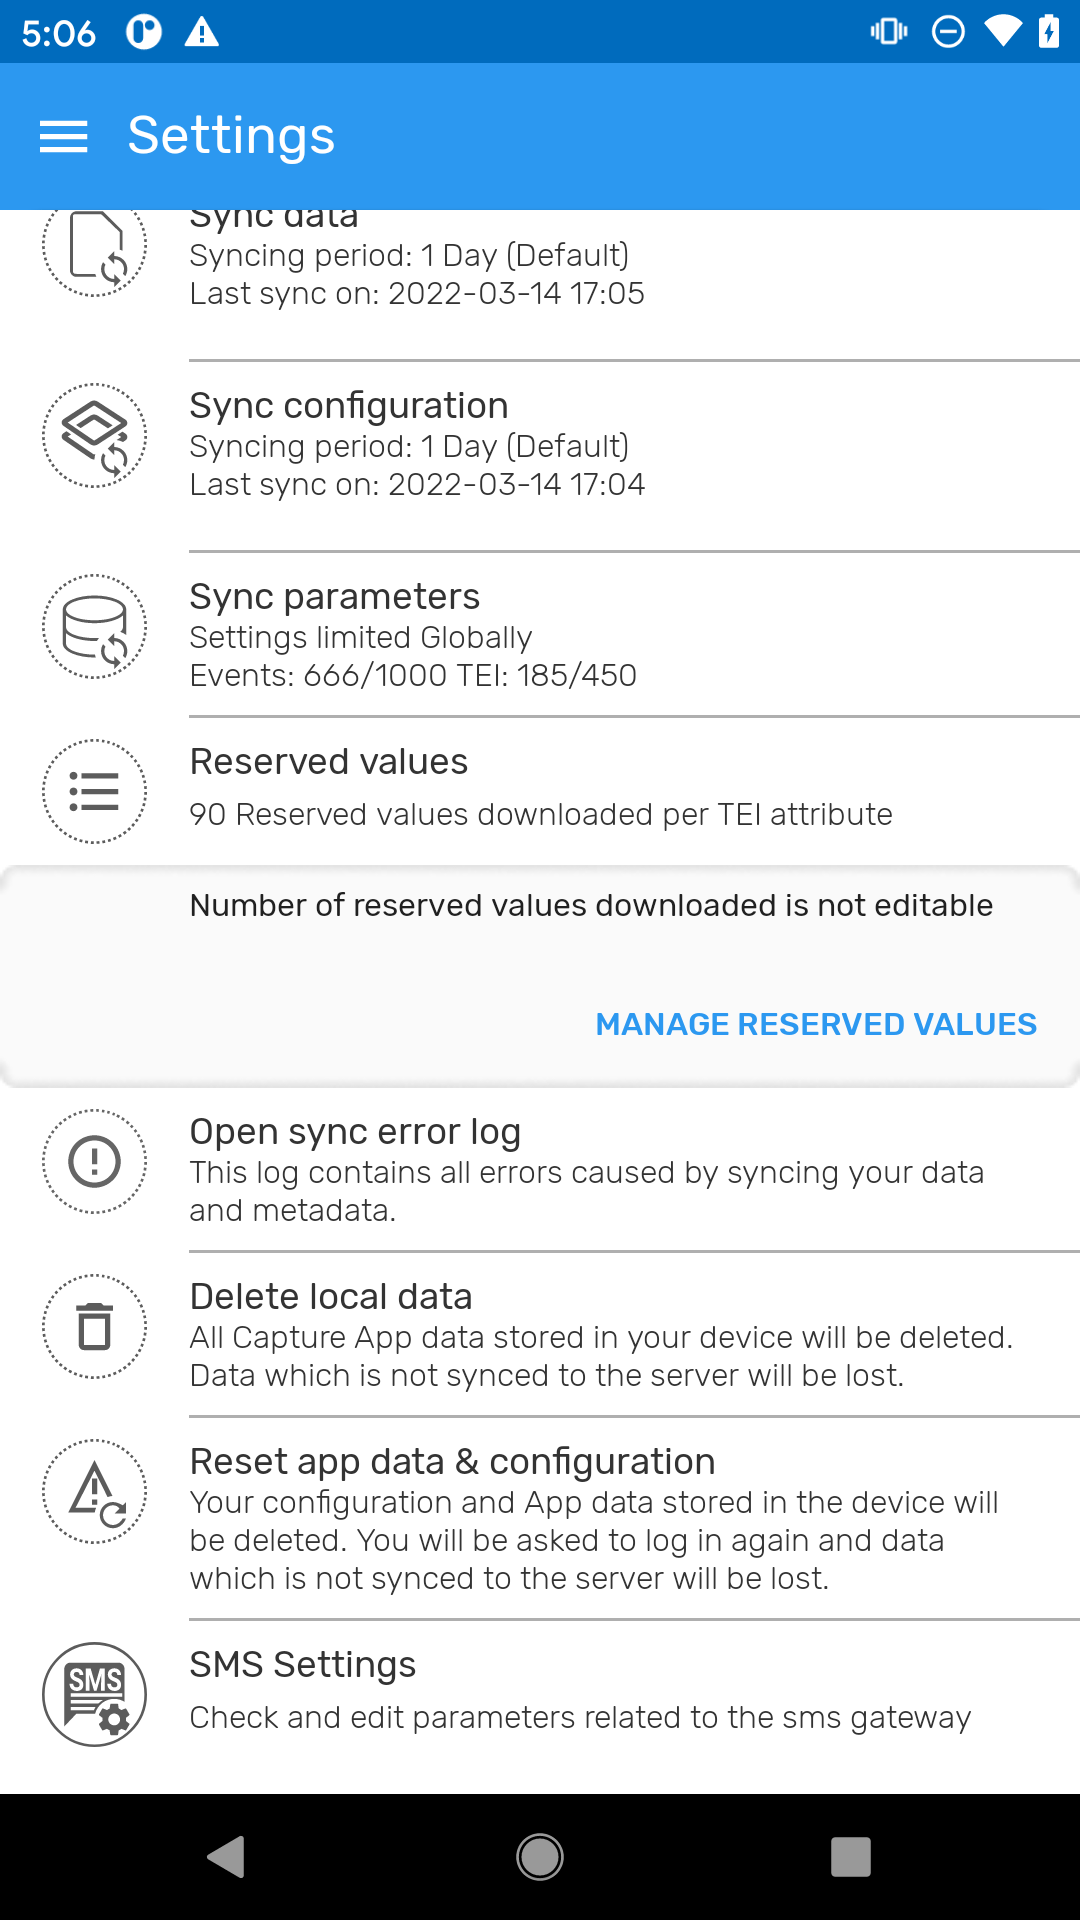
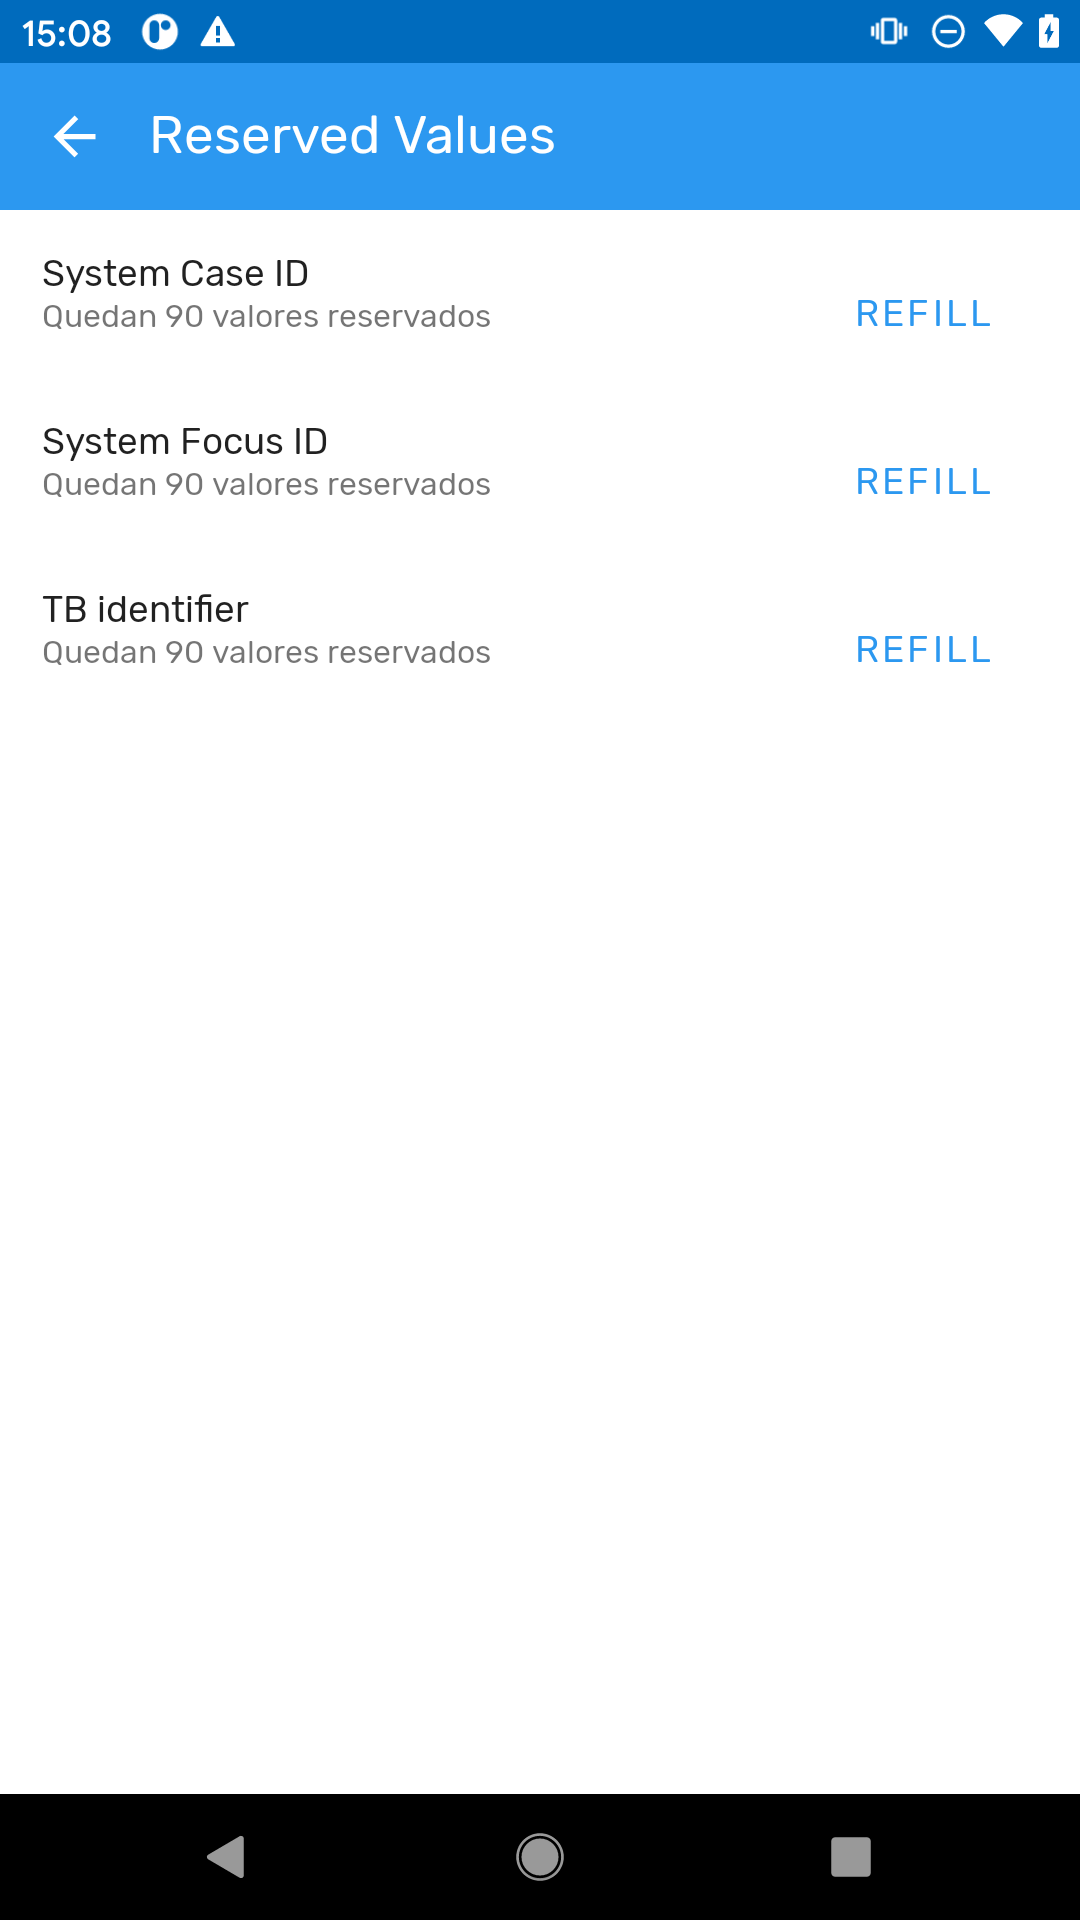
This will force all the devices to store the database encrypted increasing the security level against data theft attacks.
By default, the DHIS2 Android App database is not encrypted, but an admin can check the Encrypt device database to encrypt the metadata and data stored in every device. Encrypting the database will have an impact on the database volume and performance (degradation between 10-15%) of the Android app. Note that at the moment of selecting or unselecting this option, no data is lost (even if it hasn't been previously synchronized with the server)
Warning
This is a critical action and will affect the local database of all Android devices synchronizing with the server (it won't affect the server DHIS2 database).
By default, the Android app database is not encrypted, but an admin can check the Encrypt device database to encrypt the metadata and data stored in every device. Encrypting the database will have an impact on the database volume and performance of the Android app. Note that at the moment of selecting or unselecting this option, no data is lost (even if it hasn't been previously synchronized with the server)
This section allows to configure the possibility to take screenshots or screen sharing using the Android Capture App (which is required to remote support with applications like Teamviewer, Teams, etc.). Please note that the default behavior is deactivated screenshots.
Warning
The DHIS2 Android App disables the possibility of taking screenshots (and capturing the screen from other apps) by default following security and privacy recommendations. Allowing screenshots might be useful for support and/or sharing purposes in same cases but make sure you understand the security and privacy implications of this setting before enabling it.
When connecting to DHIS2 instances, the app typically verifies compatibility with supported versions. However, in some cases, connecting to unsupported instances may be necessary or useful. Please note that the default behavior is to enforce strict version validation. To skip the validation process for DHIS2 version compatibility, select the checkbox.

Warning
This option is only applicable when using Android Capture app version 3.0 or later.
Opt-in features are additional functionalities or settings within the application that the user can choose to enable based on preferences. Unlike default settings, these features require an explicit consent or action ('opting in') to activate. Opting in allows the user to customize the experience by adding extra capabilities to the app. Keep in mind that these features might come with specific considerations, so it is recommended to review any associated information before opting in.
To enable a feature:
Data entry Form (**v2.4):** The inputs for all value types have been redesigned in the Android Capture App with an improved selection mode and increased tappable areas and texts to offer a cleaner and more intuitive user experience. By default, the Android Capture App will display the new forms. Admin users can opt out of using the new version of forms by clicking the checkbox option.
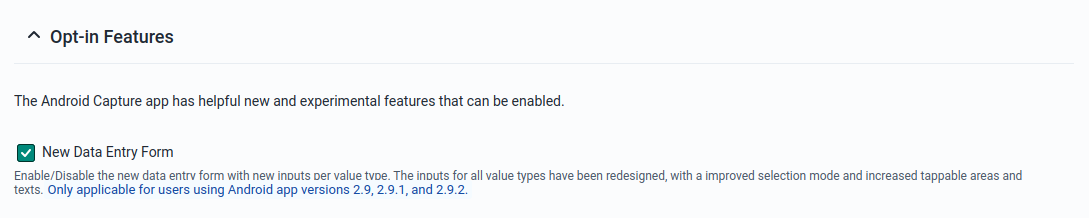
By clicking this button, the user will remove all Android configuration settings. No configuration will be applied to the Android App (if this is the case, the sync parameters applied are the ones defined in the Android Capture app).
It offers additional parameters to control metadata/data synchronization.
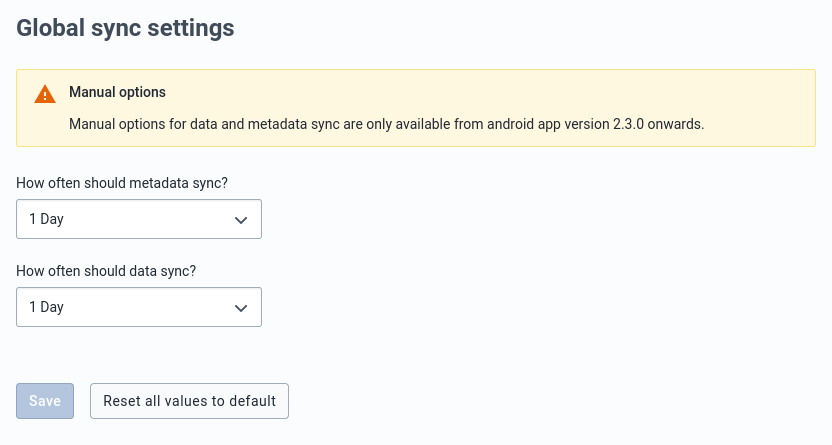
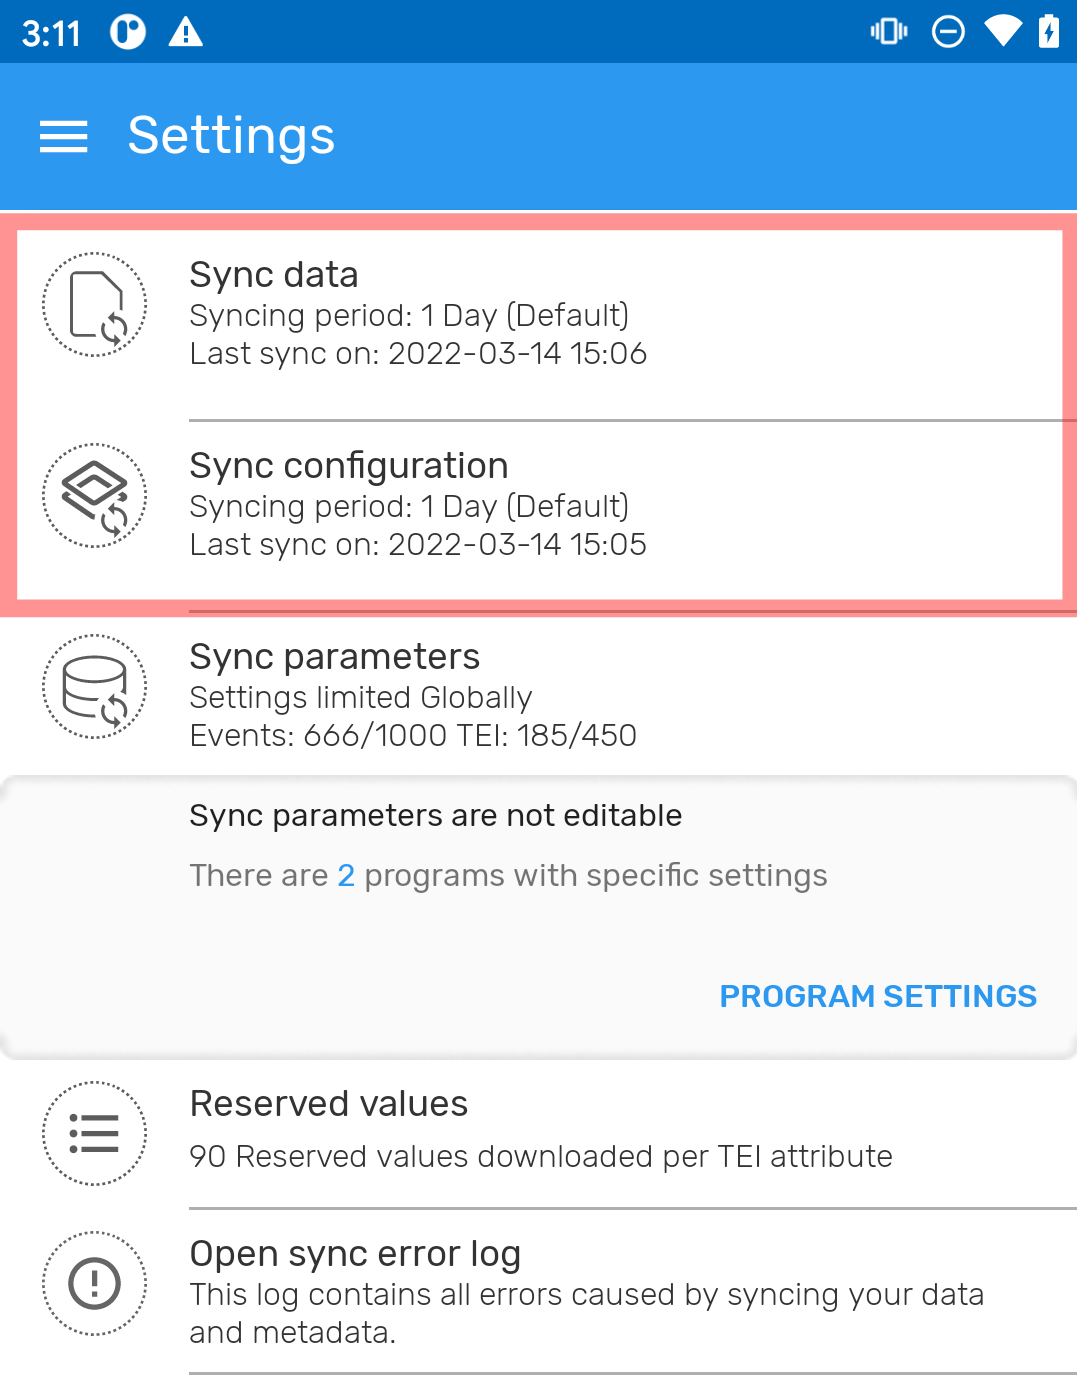
Warning
This option is only available if the Android Settings Webapp is used from version 2.38 DHIS2 API onwards.
By default, if the DHIS2 API version is 2.38 or higher, the Android app will use the importer introduced in 2.37 /api/tracker endpoint but an admin can deselect this option and the legacy tracker importer /api/trackedEntityInstances will be used.

Warning
This option is only available if the Android Settings Webapp is used from version 2.40 DHIS2 API onwards.
By default, if the DHIS2 API version is 2.40 or higher, the Android app will use the exporter introduced in the 2.37 /api/tracker endpoint, but an admin can deselect this option, and the legacy tracker importer /api/trackedEntityInstances will be used.

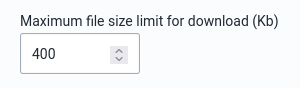
Note
Admin users have the ability to set the maximum file resource size for downloads. Admins can now leave the field with no value to indicate no limit on the maximum file size. (v2.4.1) - no value: Allows unlimited file resource size for downloads. By default, this is the initial value. - 0: Restricts downloads to 0 KB. - Any positive value: Restricts downloads to files within the specified maximum size limit (in megabytes or another unit).
This provides flexibility for admins to either enforce a file size limit or allow unrestricted downloads depending on their needs.
This section controls the program data synchronization parameters. It has a section to define global or default parameters to be used in the synchronization of all programs.
Global settings apply to all programs that an Android user has access to. The settings can be enabled globally, per Org Unit, per program or per OU and program.
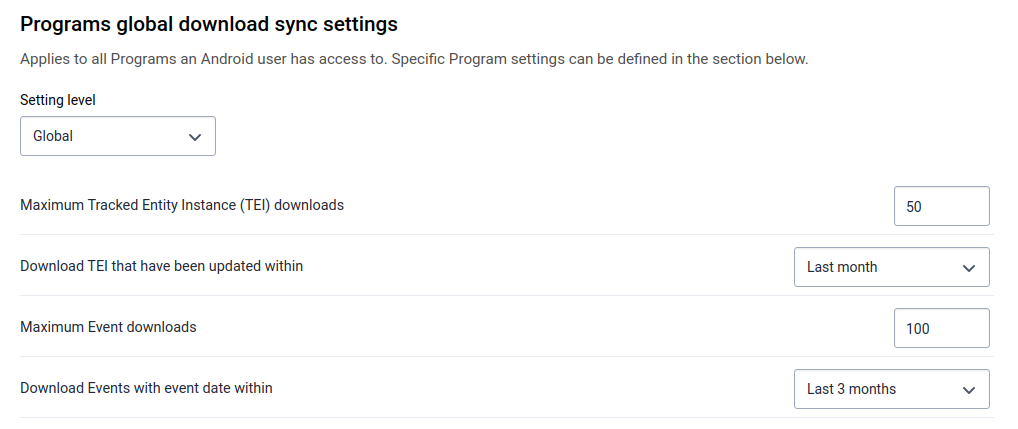
TEI to download: Maximum number of TEIs to download from the server.
TEI download period: It downloads the TEIs that have been updated within a period. e.g. TEIs that have been updated within last month
Event to download: Maximum number of Events to download (from events programs, see note below).
Event download period: It downloads Events which event date belongs to a specific period.
Note
Administrators may notice that the total number of downloaded events appears higher than expected when configuring limits for both TEIs and Events. This is due to how the Android app applies these limits:
Example:
A tracker program contains TEIs with an average of 5 events each. If the TEI download limit is set to 100, the app will download those 100 TEIs and all their related events (100 × 5 = 500 events). Additionally, an event program contains 1,000 standalone events, and the Event download limit is set to 200. In total, the Android app will download:
Resulting in 700 events downloaded overall.
Program specific settings allow administrators to override the global synchronization rules for selected programs. This is useful when different programs require different limits or filtering criteria.
To configure program-specific settings:
Click Add a Program-specific setting.
Select a program under Values per Program.
Configure the available parameters (varies depending on program type).
Available Parameters
Program specific settings differ depending on whether the program has registration (Tracker) or does not have registration (Event programs). Each setting appears only when applicable.
Parameters may include:
Download events with event date within (configurable time range)
Programs With Registration (Tracker programs)
Parameters may include:
Download based on List views
When a program is linked to one or more working lists, the corresponding filtering fields will behave as follows:
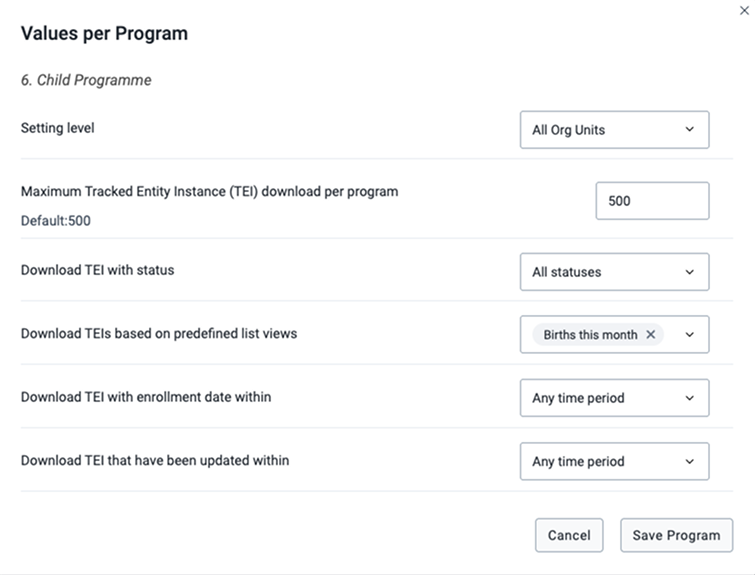
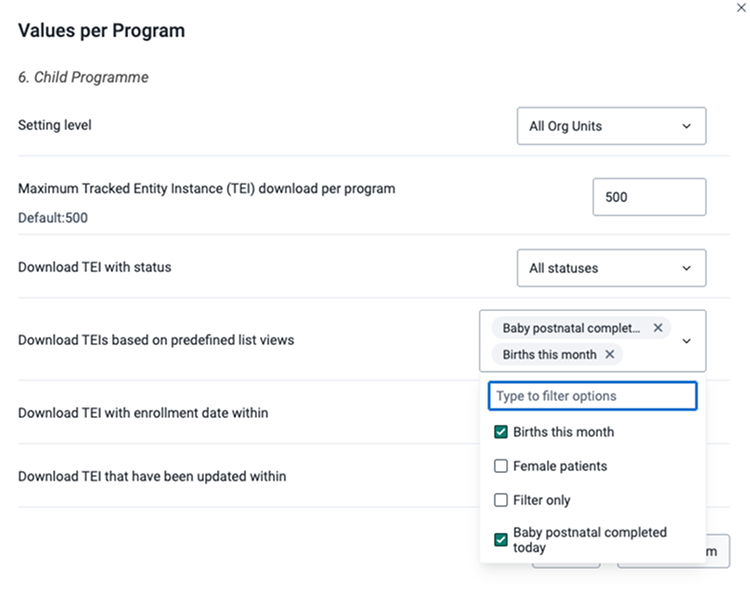
When one or more program-specific configurations have been saved, they will appear in a summary table. From this table, administrators can:
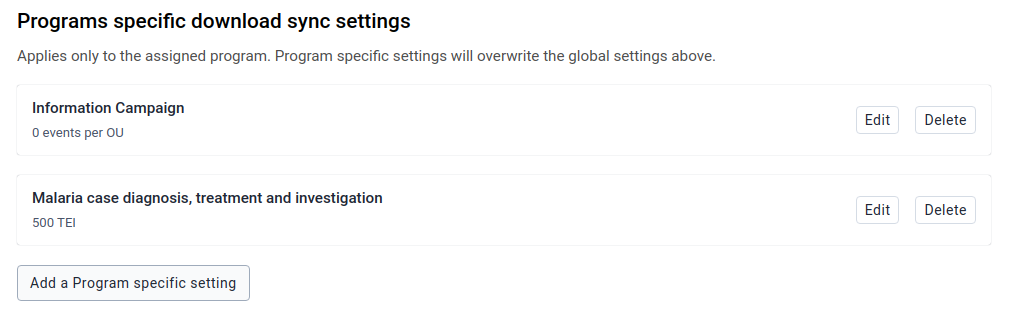
Caution Program-specific settings can lead to a larger number of TEIs being downloaded than expected based on the global synchronization limit. This happens because the Android client performs synchronization in two steps:
- Global sync: Downloads up to X TEIs based on the user’s organisation units and the lastUpdated field.
- Program-specific sync: Downloads up to Y additional TEIs for each program that has specific settings configured.
If the TEIs included in the global sync were updated more recently than those in a specific program, both sets will be downloaded.
For example: * Global TEI limit = 500 * Program-specific TEI limit for Malaria Case Diagnosis = 500 * Global set contains more recent TEIs than the program-specific set
The device may download up to 1000 TEIs in total — 500 from the global step and 500 from the program-specific step. Although this may seem unexpected at first, it can be used strategically to guarantee minimum TEI numbers for critical programs.
Example
Imagine a program called Community Care with 17 TEIs, all updated a long time ago. The same user also has access to other organisation units with many recently updated TEIs from other programs.
To ensure that all 17 TEIs from Community Care are always downloaded:
Set a low number (e.g., 20) in Global Settings.
Set 17 as the program-specific limit for Community Care.
Initial sync will download:
20 recently updated TEIs (not from Community Care)
17 TEIs from Community Care
Total downloaded = 37 TEIs
By clicking on Reset all values, the admin user will restore the default settings values of the program section. Please note that in this case it means no specific settings per program.
To save any configuration, the admin user needs to click on the Save button (this button is disabled for the users who don't have "ALL" or "M_androidsettingsapp" authority)
This section controls the aggregated data synchronization parameters.
The first part is for global settings that apply to all data sets an Android user has access to.

The maximum number of periods defines the amount of past periods the app will download in the data synchronization process.
If a data set has future periods ("open future periods" configuration) the app won't take them into consideration in the restriction of the amounts of periods to download.
For example, in a data set with "open future periods" = 2 and a "maximum number of periods to download" = 1, the app will download 3 periods.
To add a specific setting:
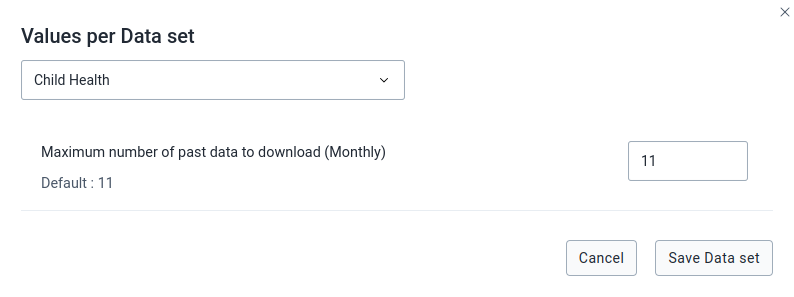
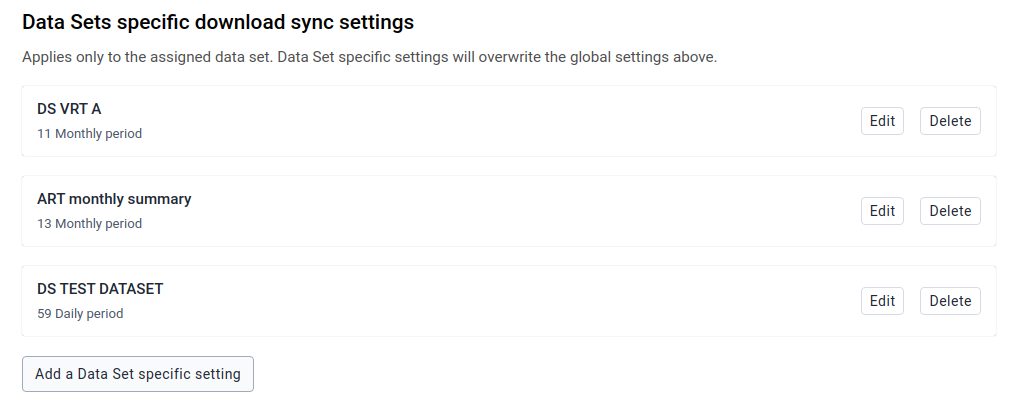
This section checks the amount of data and metadata a user would sync to his/her device. You can run this test on any user that you have access to. This test shows up the number of organisation units, data sets, program rules, programs, etc., that an android user has access to (so the resources that the android app will download), and the metadata and data download size (approx estimation). Please note that a user doesn't need to have the "ALL" or "M_androidsettingsapp" authority to run this test.
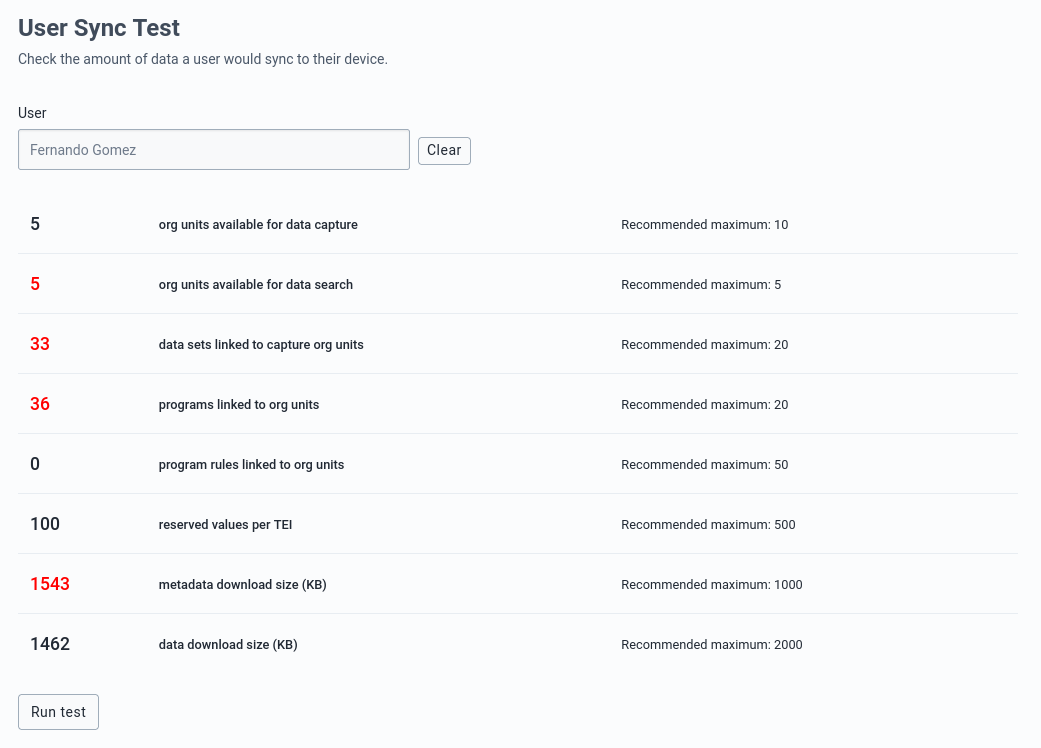
Note:
The values that are highlighted in red are because the value is considered greater than the maximum recommended value.
These settings give control over the appearance of the data entry and list forms.
These settings refer to visual components, so they must be consumed by the app. For more information about filters feel free to review filters documentation.
It allows the admin user to enable or disable the option to show the filters related to Date, Organisation Unit, Sync Status, and Assigned to me on the Home screen.
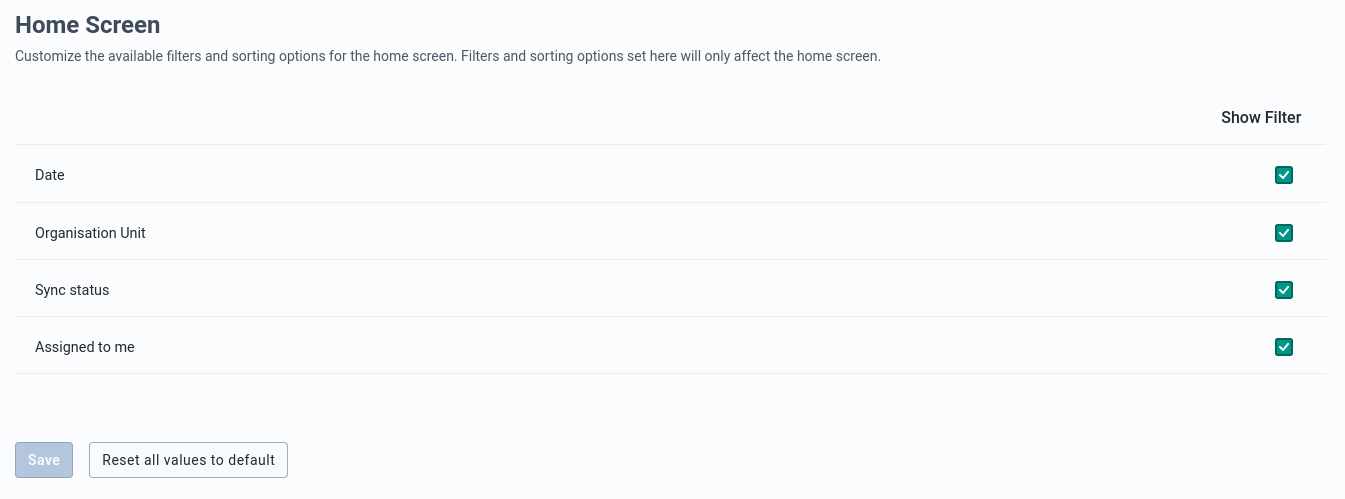
Program appearance allows to hide/show features within the program according to the configuration needs. These changes can happen globally, applying to ALL the programs, or specifically to a single one.
Global settings apply to all programs that an android user has access to.
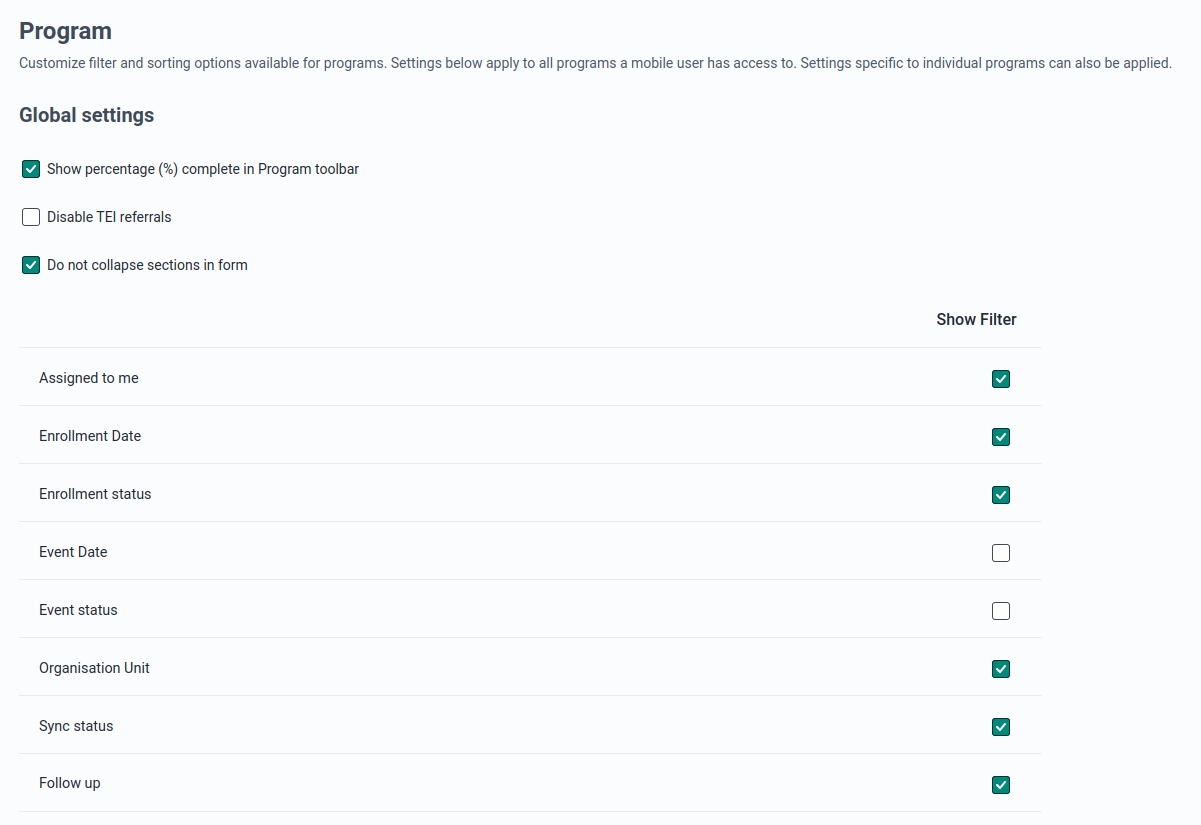
Percentage (%) complete in Program: Enable or disable the option to show the completion percentage of the data entry form.
TEI referrals (v2.3.1): It allows to switch off/on the TEI referral option.
Collapse sections in form (v2.3.1):
Current behavior lets the sections collapse and expand in an accordion style. This option overrides the behavior by keeping all the sections of the form (registration and events) open and removing the "next" button in each section.
This section allows the admin user to customize features such as filter, completion percentage, mandatory search, referrals, TEI headers, referral options and collapse sections in form. Each explained in the section below.
To add a specific setting:
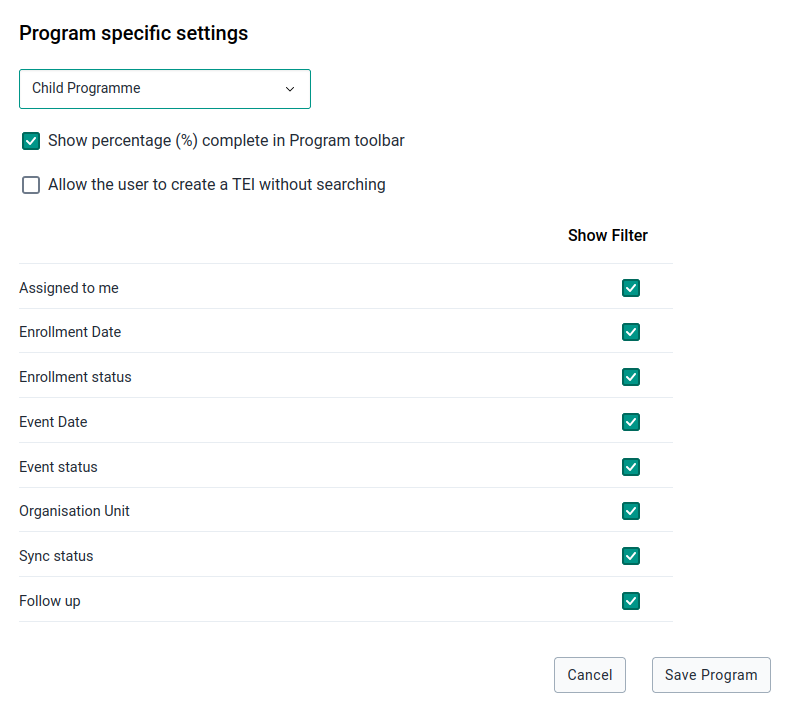
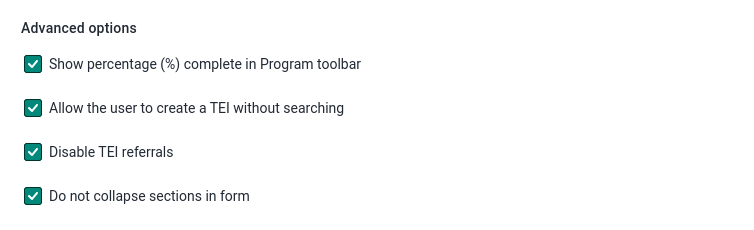
TEI without searching: Offer online and offline search, as well as allow the user to create a TEI without a prior search.
TEI Header (v2.3.1): Assign a specific attribute or expression that will be displayed as a header in TEI cards.
To add a TEI Header:
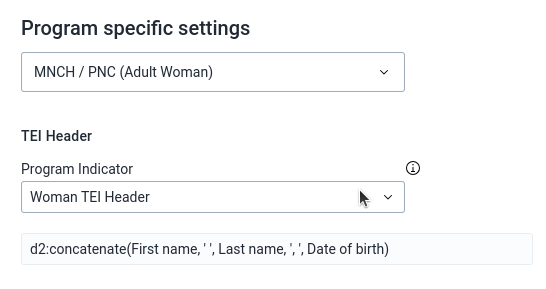
Note:
A notice box will be displayed if the selected program lacks expressions related to program indicators that are valid for Android.
An expression is considered valid for Android only if it is composed exclusively of attributes and/or functions.
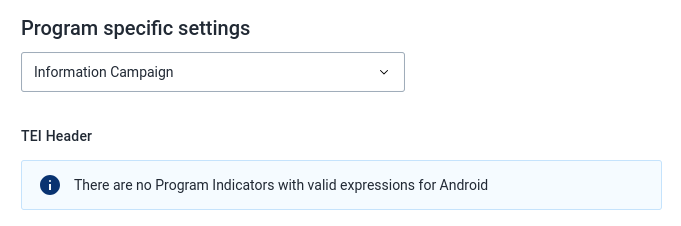
If any specific settings have been saved, a table will summarize the particular configuration per program, and the options to edit or delete these settings.
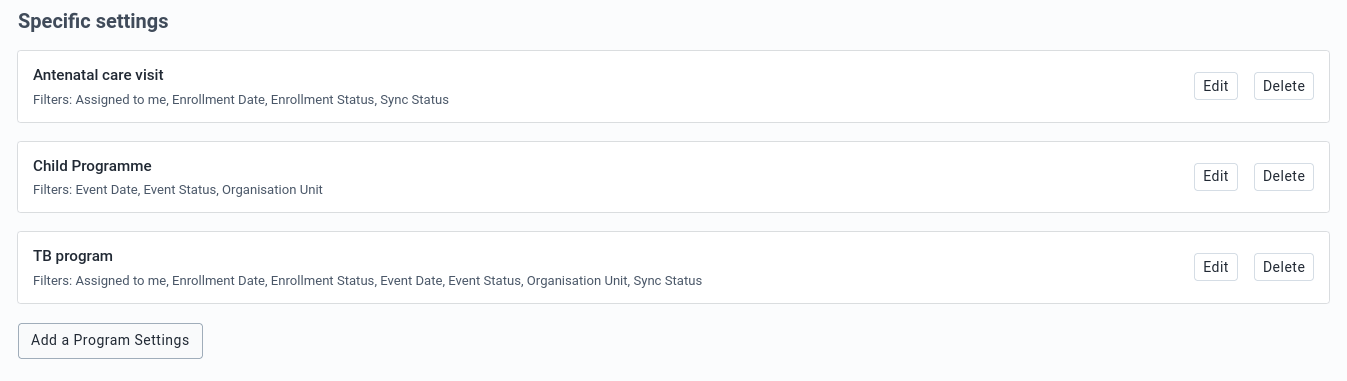
The option "Show percentage (%) complete in Program toolbar" refers to: 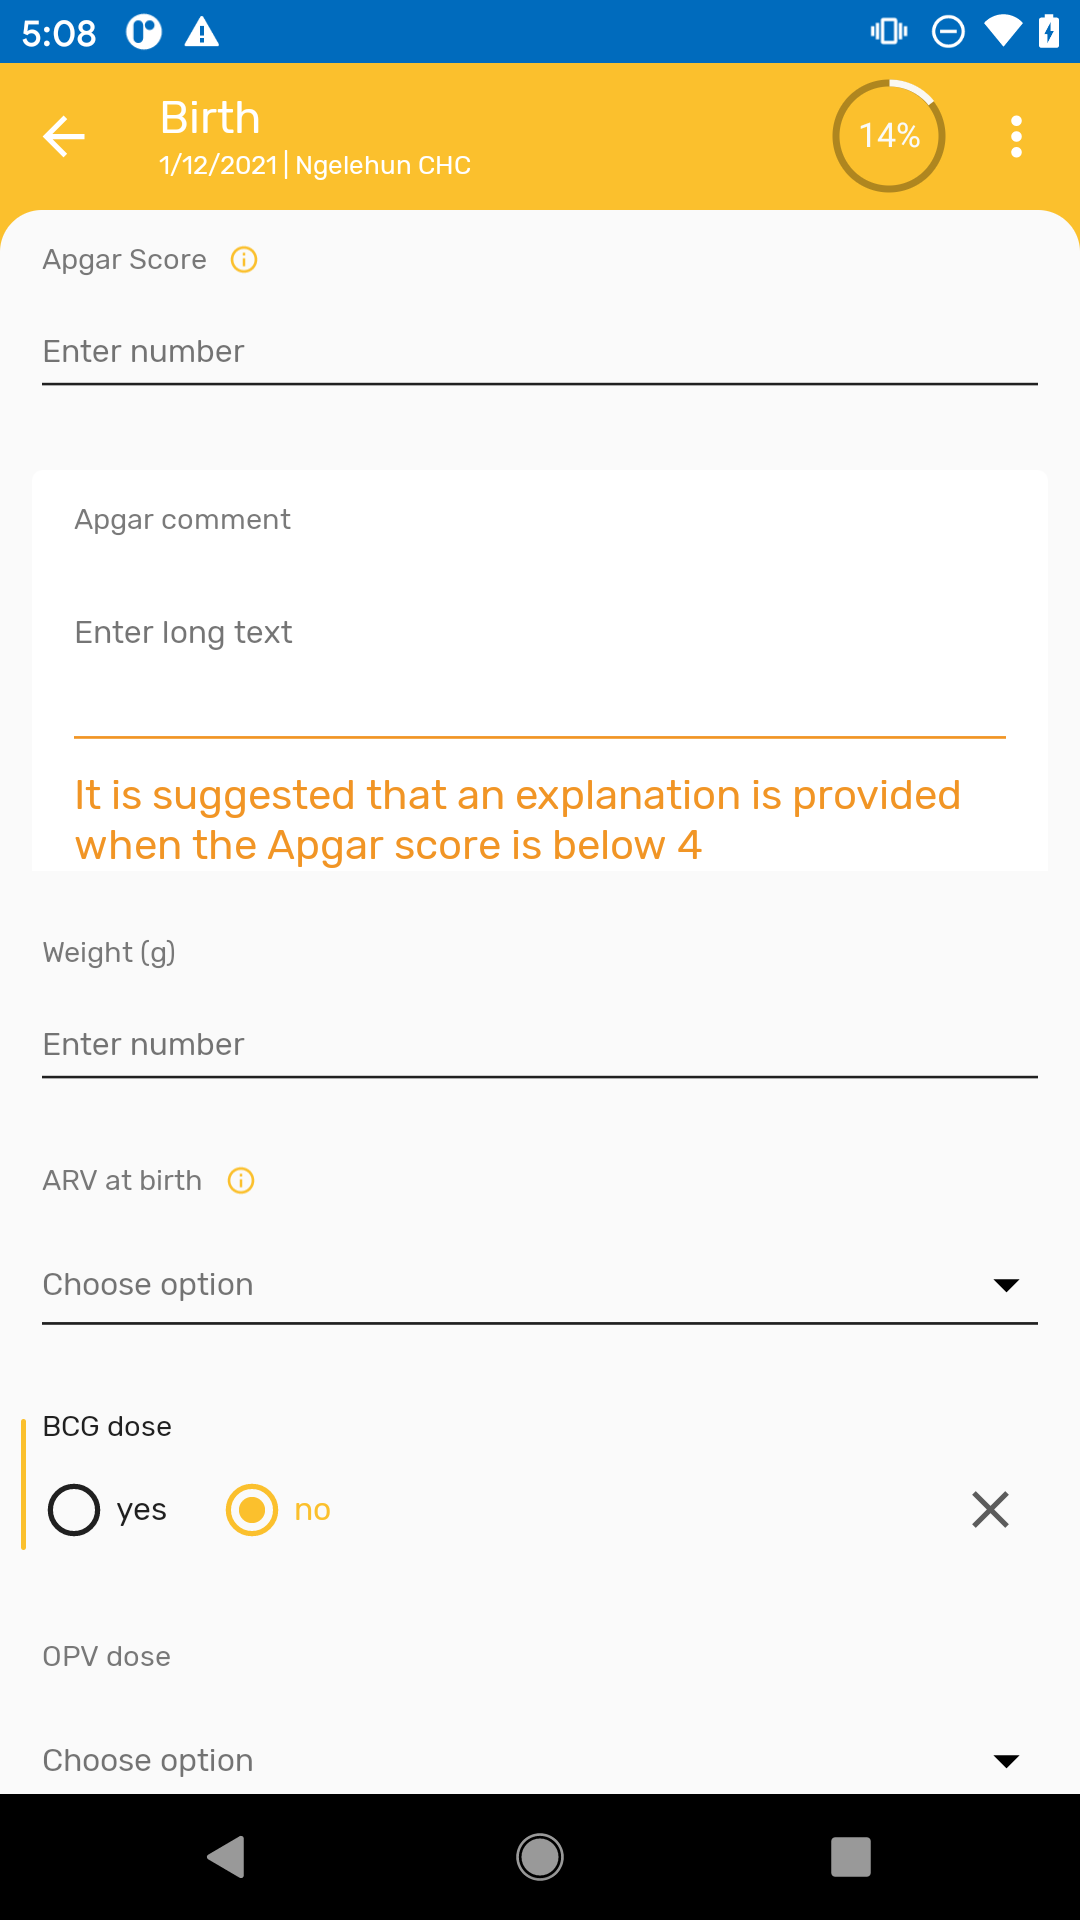
Search Tracked Entity (v2.2)
Searching before entering a new TEI is mandatory to avoid possible duplicates, and the DHIS2 Android App has been designed as such. This new version gives the possibility to choose to keep this process or allow the user to create a TEI without searching first. By default, allowing the user to create a TEI without searching is disabled.
Capture Coordinates (v2.4.1)
This section provides admin users with two configurable options for managing location capture on mobile devices:
Disable Manual Location Capture: By enabling this option, manual location entry on mobile devices is disabled. This ensures that location data is captured automatically, preventing manual errors or alterations.
Minimum Location Accuracy: This field allows admins to define the minimum precision level (in meters) required for capturing location data. The lower the value, the higher the accuracy required. The minimum recommended value is 5 meters, ensuring reliable and precise location capture.
These options provide admins with greater control over how location data is captured and ensure consistency in the accuracy of recorded positions.
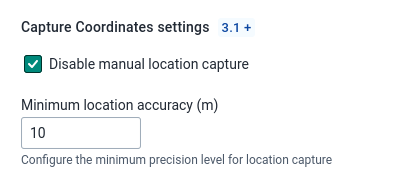
Quick Actions (New 2.4.2)
The Quick Actions Bar is a new feature in the Android App that allows users to configure and add "chips" representing different actions for easy access in the TEI Dashboard. This section aims to enhance user productivity by providing a streamlined and customizable interface for frequently used functions.
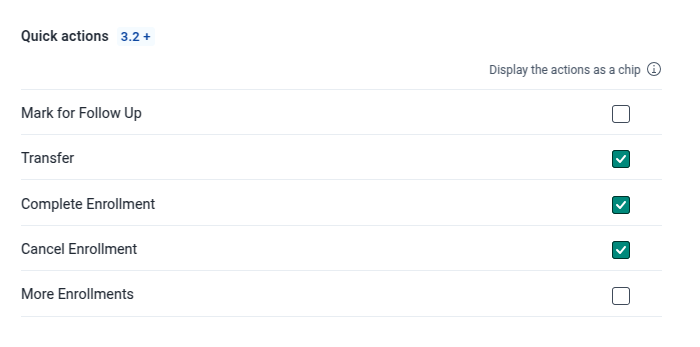
Note:
Checking the box will display the action as a "quick-access" chip instead of just listing it in the menu.
Chips can’t be reordered. The order of appearance will be: - Mark for follow-up - Transfer TEI - Complete Enrollment - Cancel Enrollment - More enrollments
By default, all the chips are unselected and the Quick actions bar is not available in the Android app.
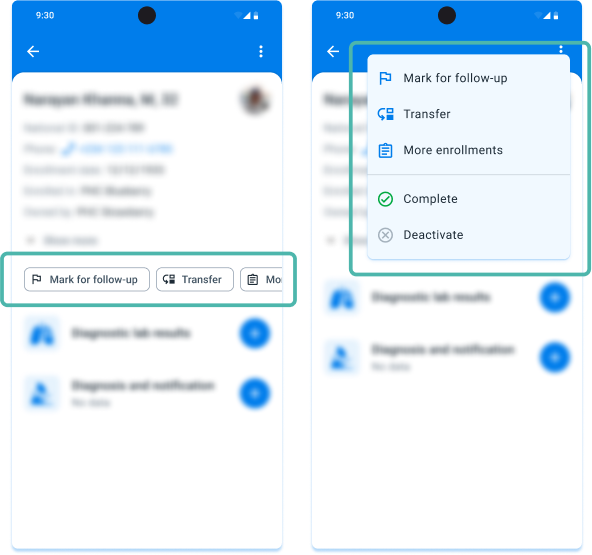
It allows admins to enable/disable filters for the Data set section
The first part is for global settings that apply to all data sets an android user has access to.
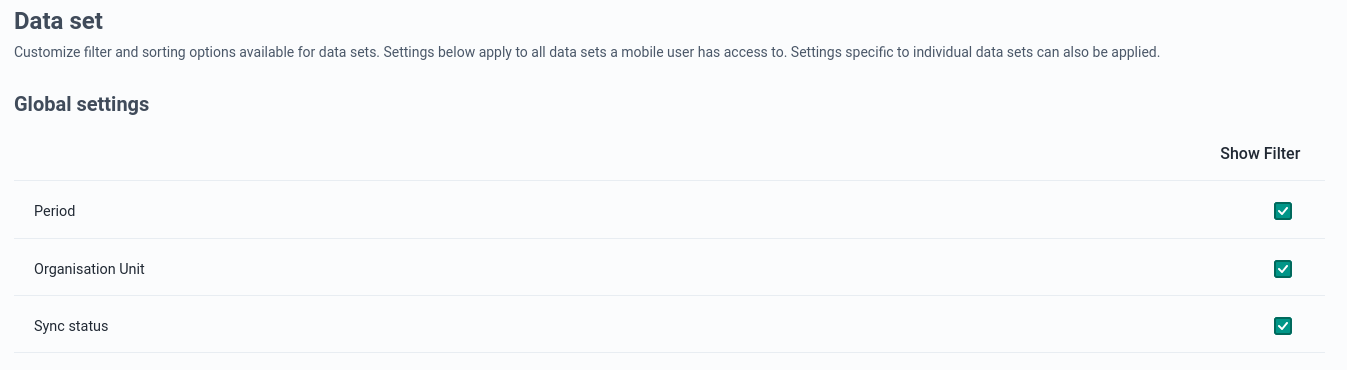
To add a specific setting:
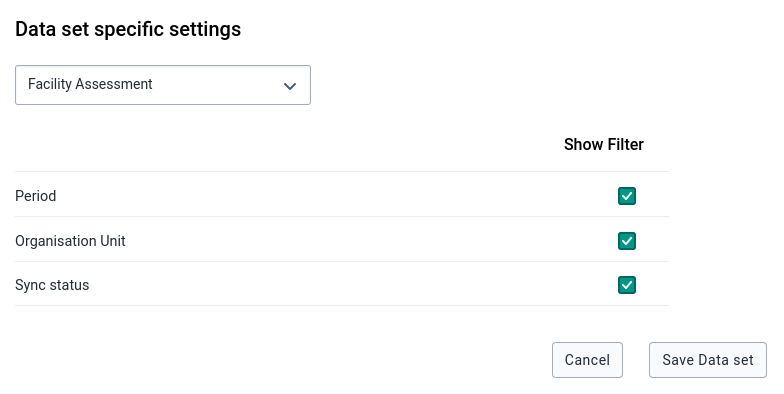
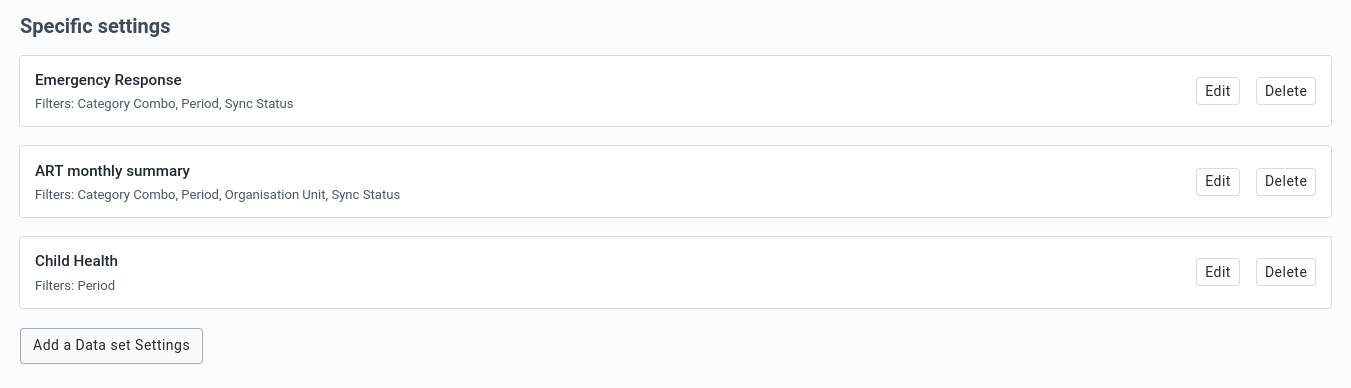
Capture Coordinates (New 2.4.2)
This section provides admin users with two configurable options for managing location capture on mobile devices:
Disable Manual Location Capture: By enabling this option, manual location entry on mobile devices is disabled. This ensures that location data is captured automatically, preventing manual errors or alterations.
Minimum Location Accuracy: This field allows admins to define the minimum precision level (in meters) required for capturing location data. The lower the value, the higher the accuracy required. The minimum recommended value is 5 meters, ensuring reliable and precise location capture.
These options provide admins with greater control over how location data is captured and ensure consistency in the accuracy of recorded positions.
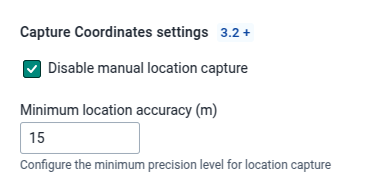
Analytics settings define TEI, Home, Program and Data Set analytics items (charts, tables) that will be displayed to the user. Any item defined in the settings app will overwrite the default behaviour of the android app, only showing the items defined in the settings app.
Also, even though these analytics are created using the android settings web app, the data aggregation happens offline using only data stored in the device.
The scope of the analysis is the TEI, so the visualizations will be displayed in the TEI dashboard of the android app.
The purpose of this section is to define visualizations to show evolution of data elements and program indicators over time. Based on that, it will only take into consideration data elements that belongs to a repeatable program stage, or program indicators which formula contains at least one data element that belongs to a repeatable program stage.
To create a TEI Analytics item:
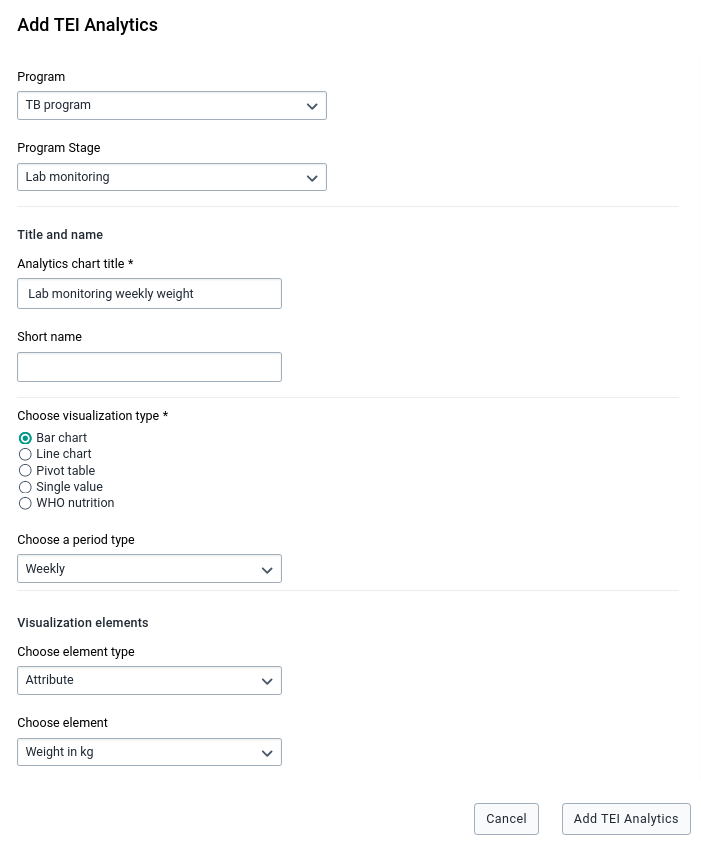
To create a WHO Nutrition Analytics item:
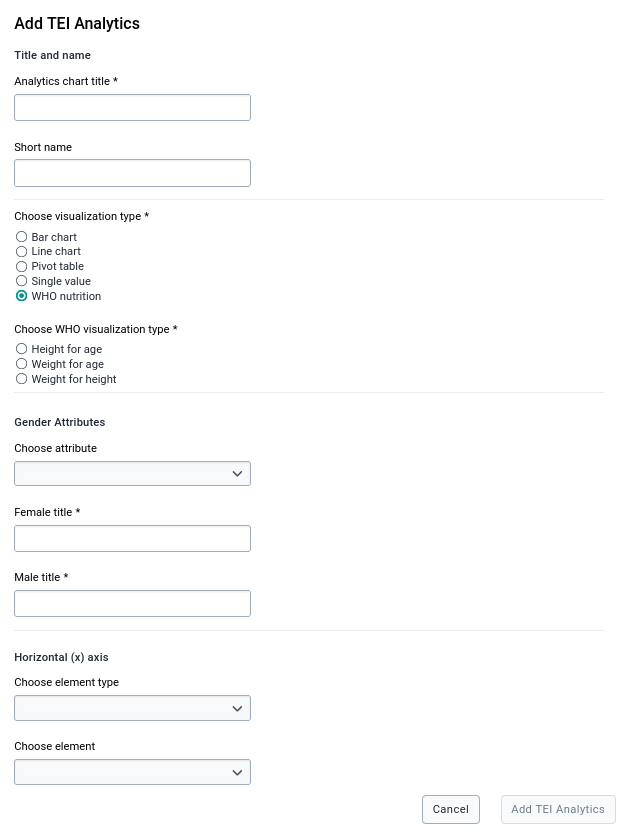
If any TEI Analytics item has been created, a table will show the item's title and program name, and action buttons to delete or edit that item.
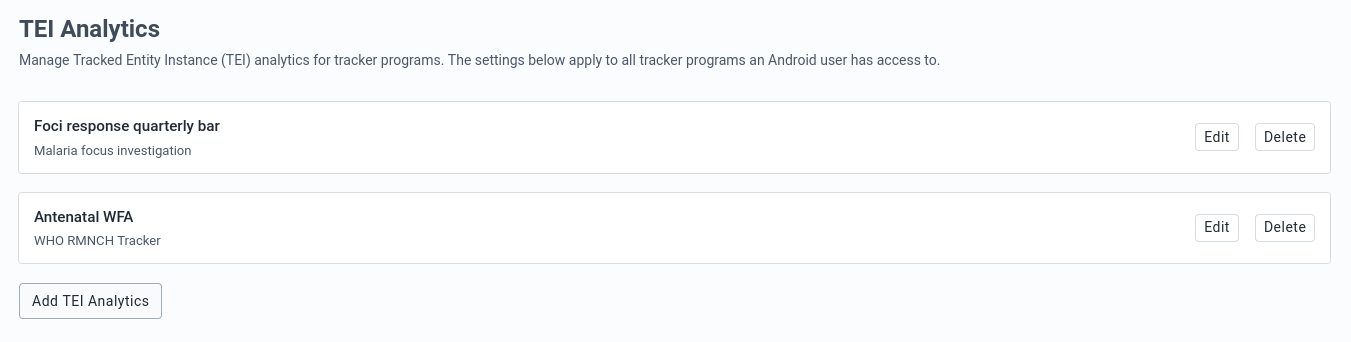
Home visualizations are displayed in the home screen (Analytics tab) of the android app.
All items available are first created in the Data visualizer or Line Listing app in DHIS2 and configured in the Android Settings app.
Note:
Visualization items can be sourced either from the Data Visualizer or the Line Listing app.
When choosing a visualization type, the items shown automatically change; if "Data Visualization" is selected, only visualizations created in the Data Visualization app will be displayed.
When selecting "Event Visualization" (v2.4), only elements created in the Line Listing app will appear in the Visualization search box.
To create a Home item:
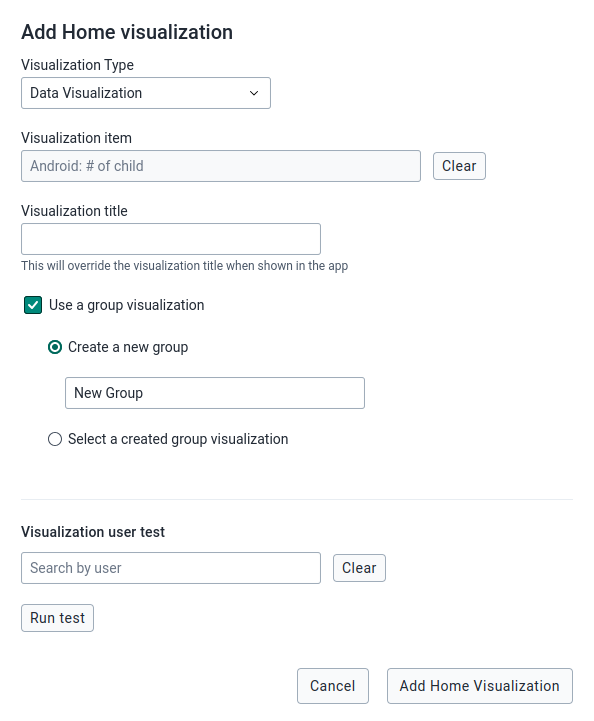
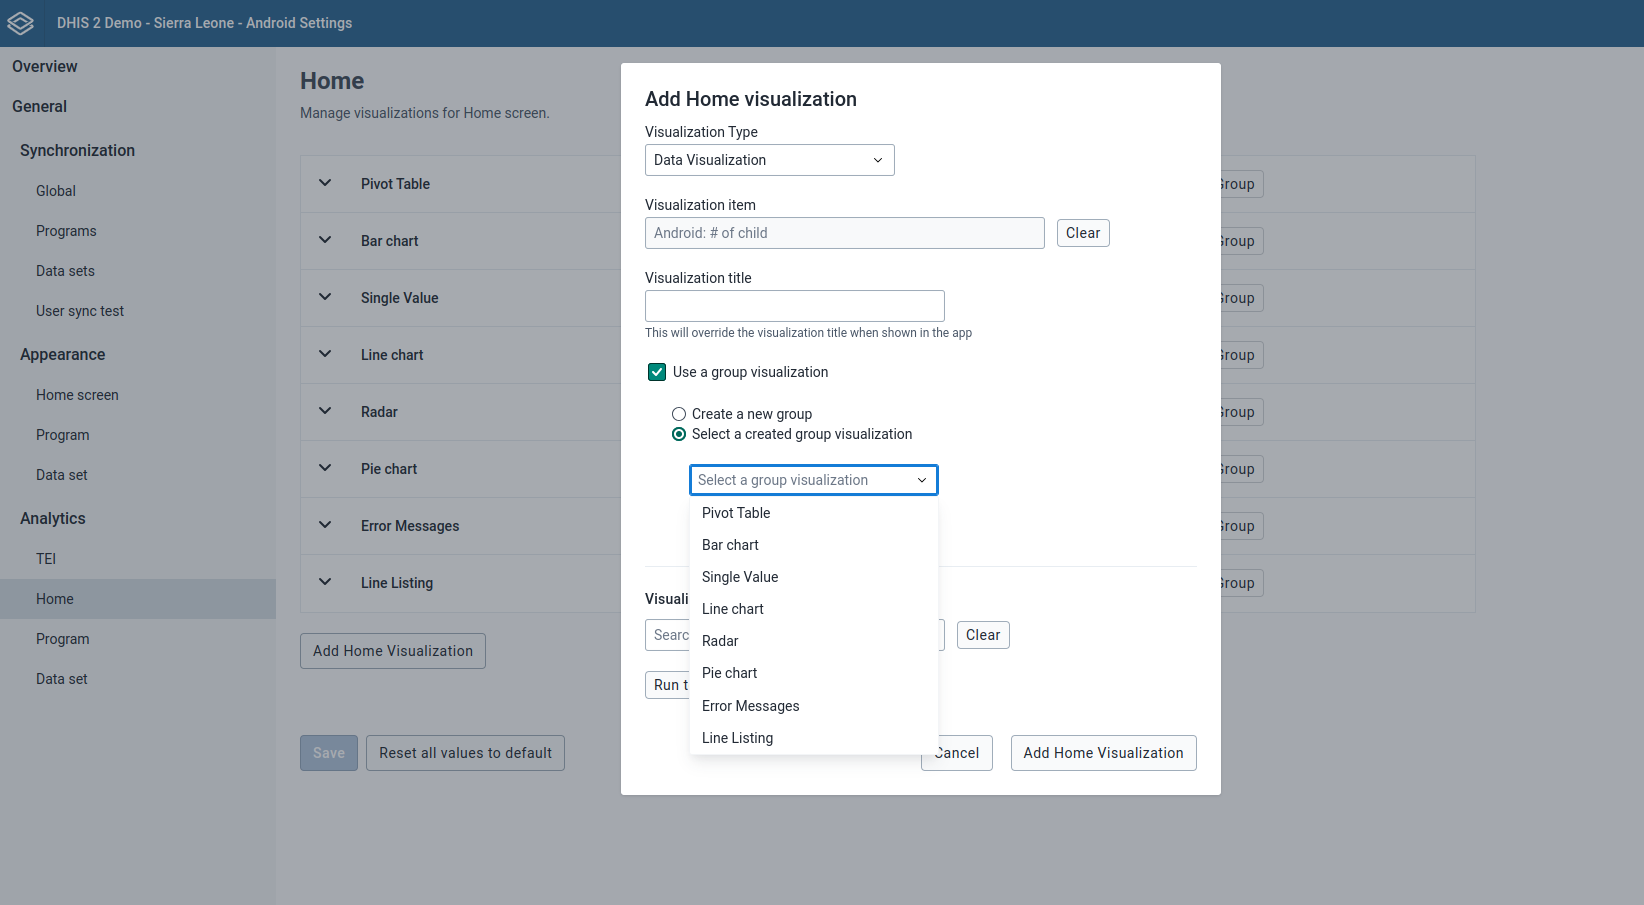
Note:
Visualizations that are added with no group selected, will be displayed in a common "group"
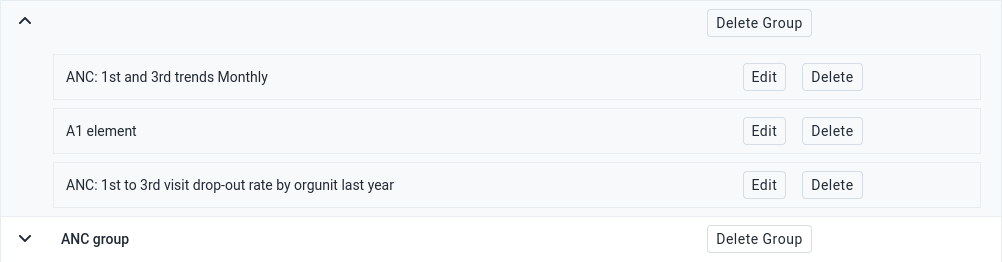
To edit the title of a Home item (v2.2.1):
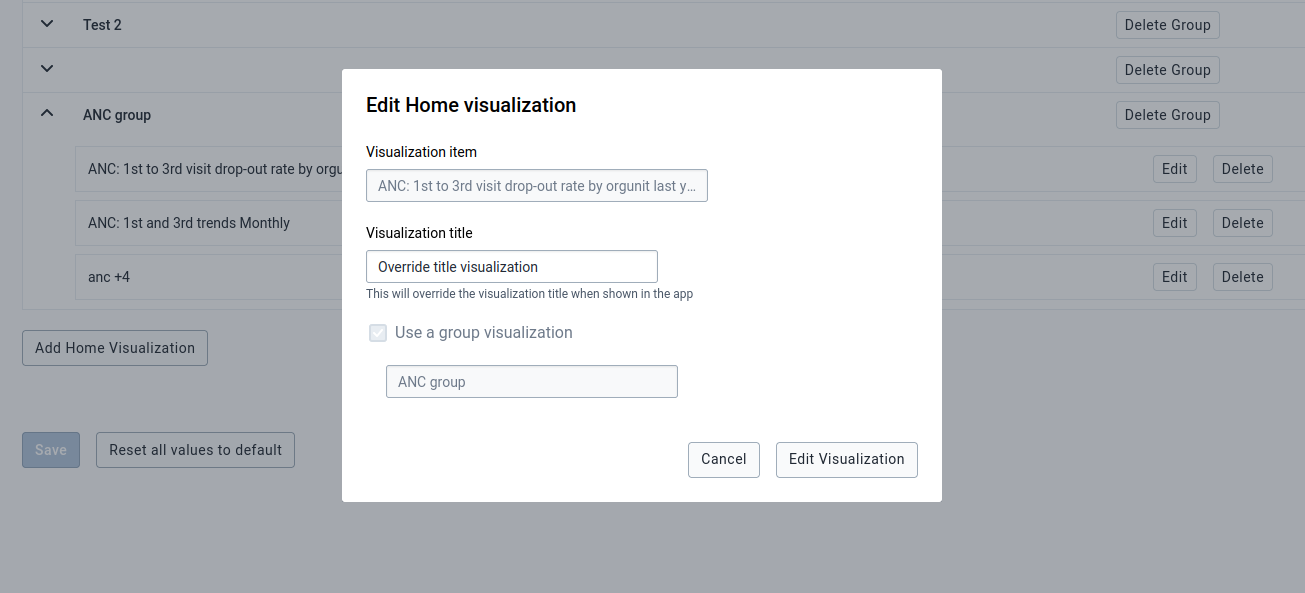
To remove a Home item:
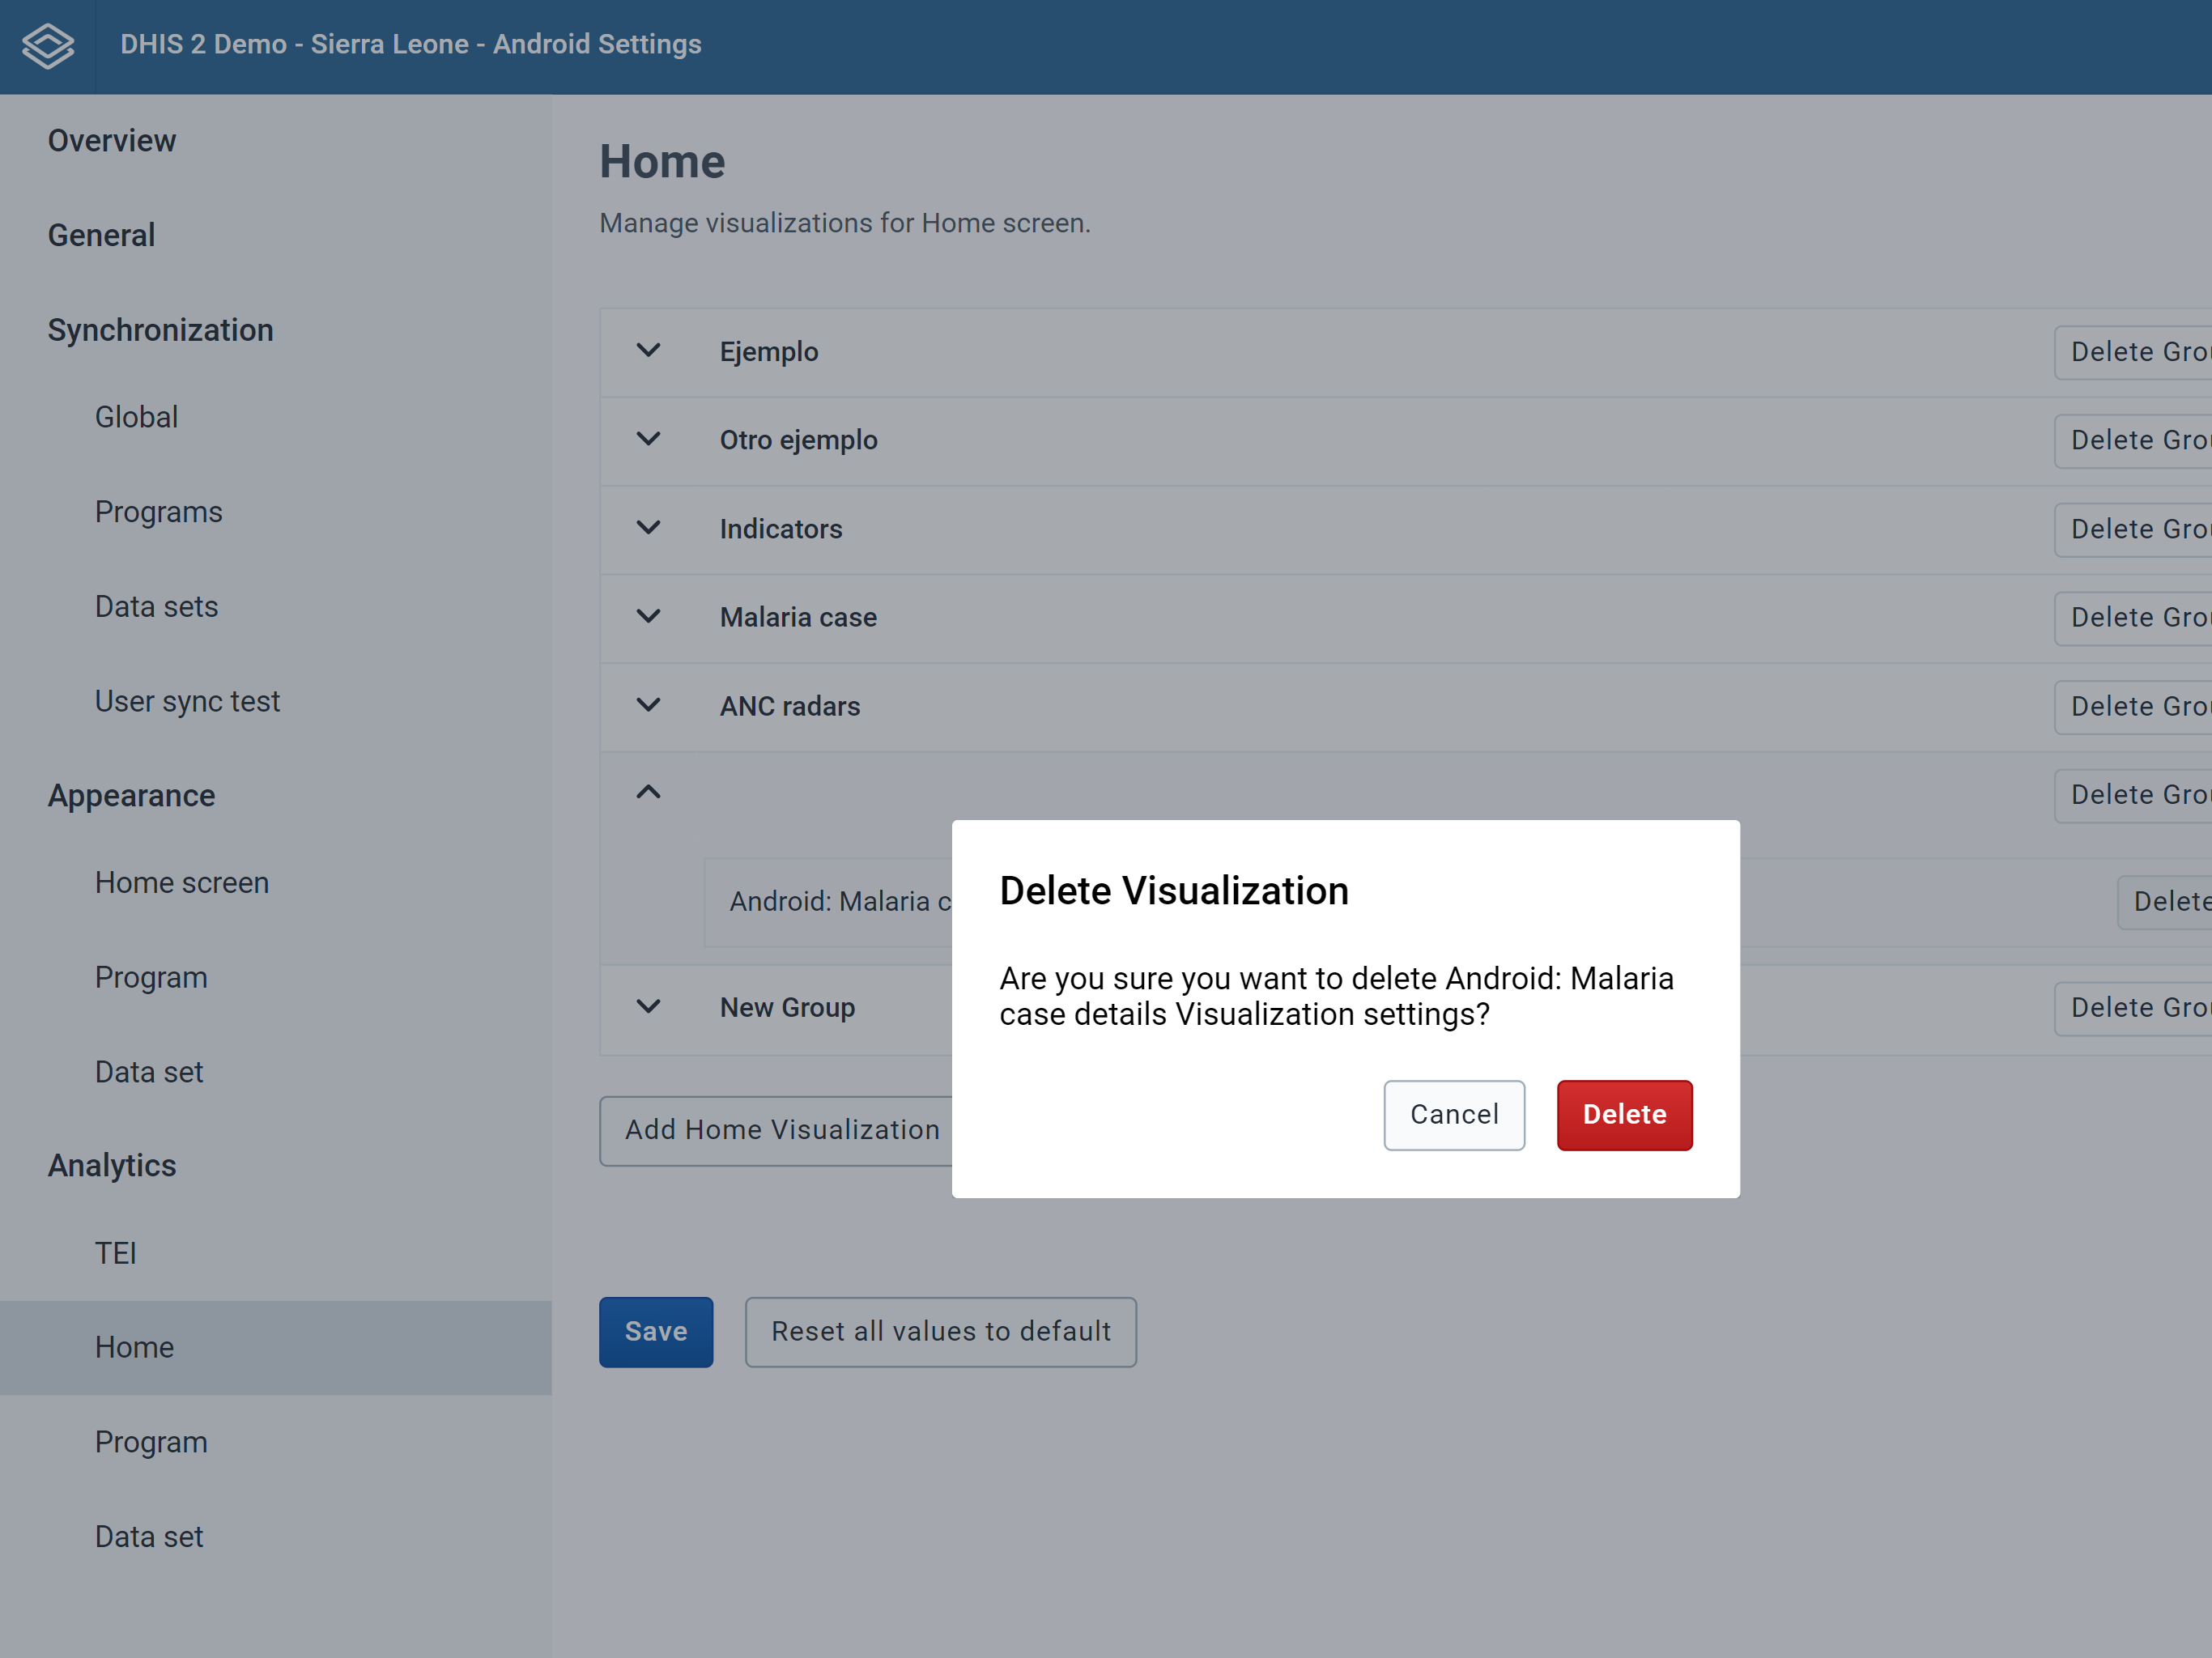
To reorganize a Home item inside a group (New 2.4.2):
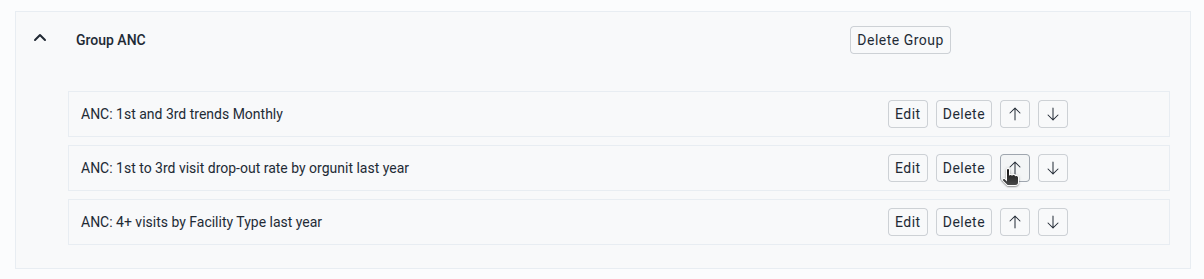
To remove a Home group:
All the items associated to that group will be deleted
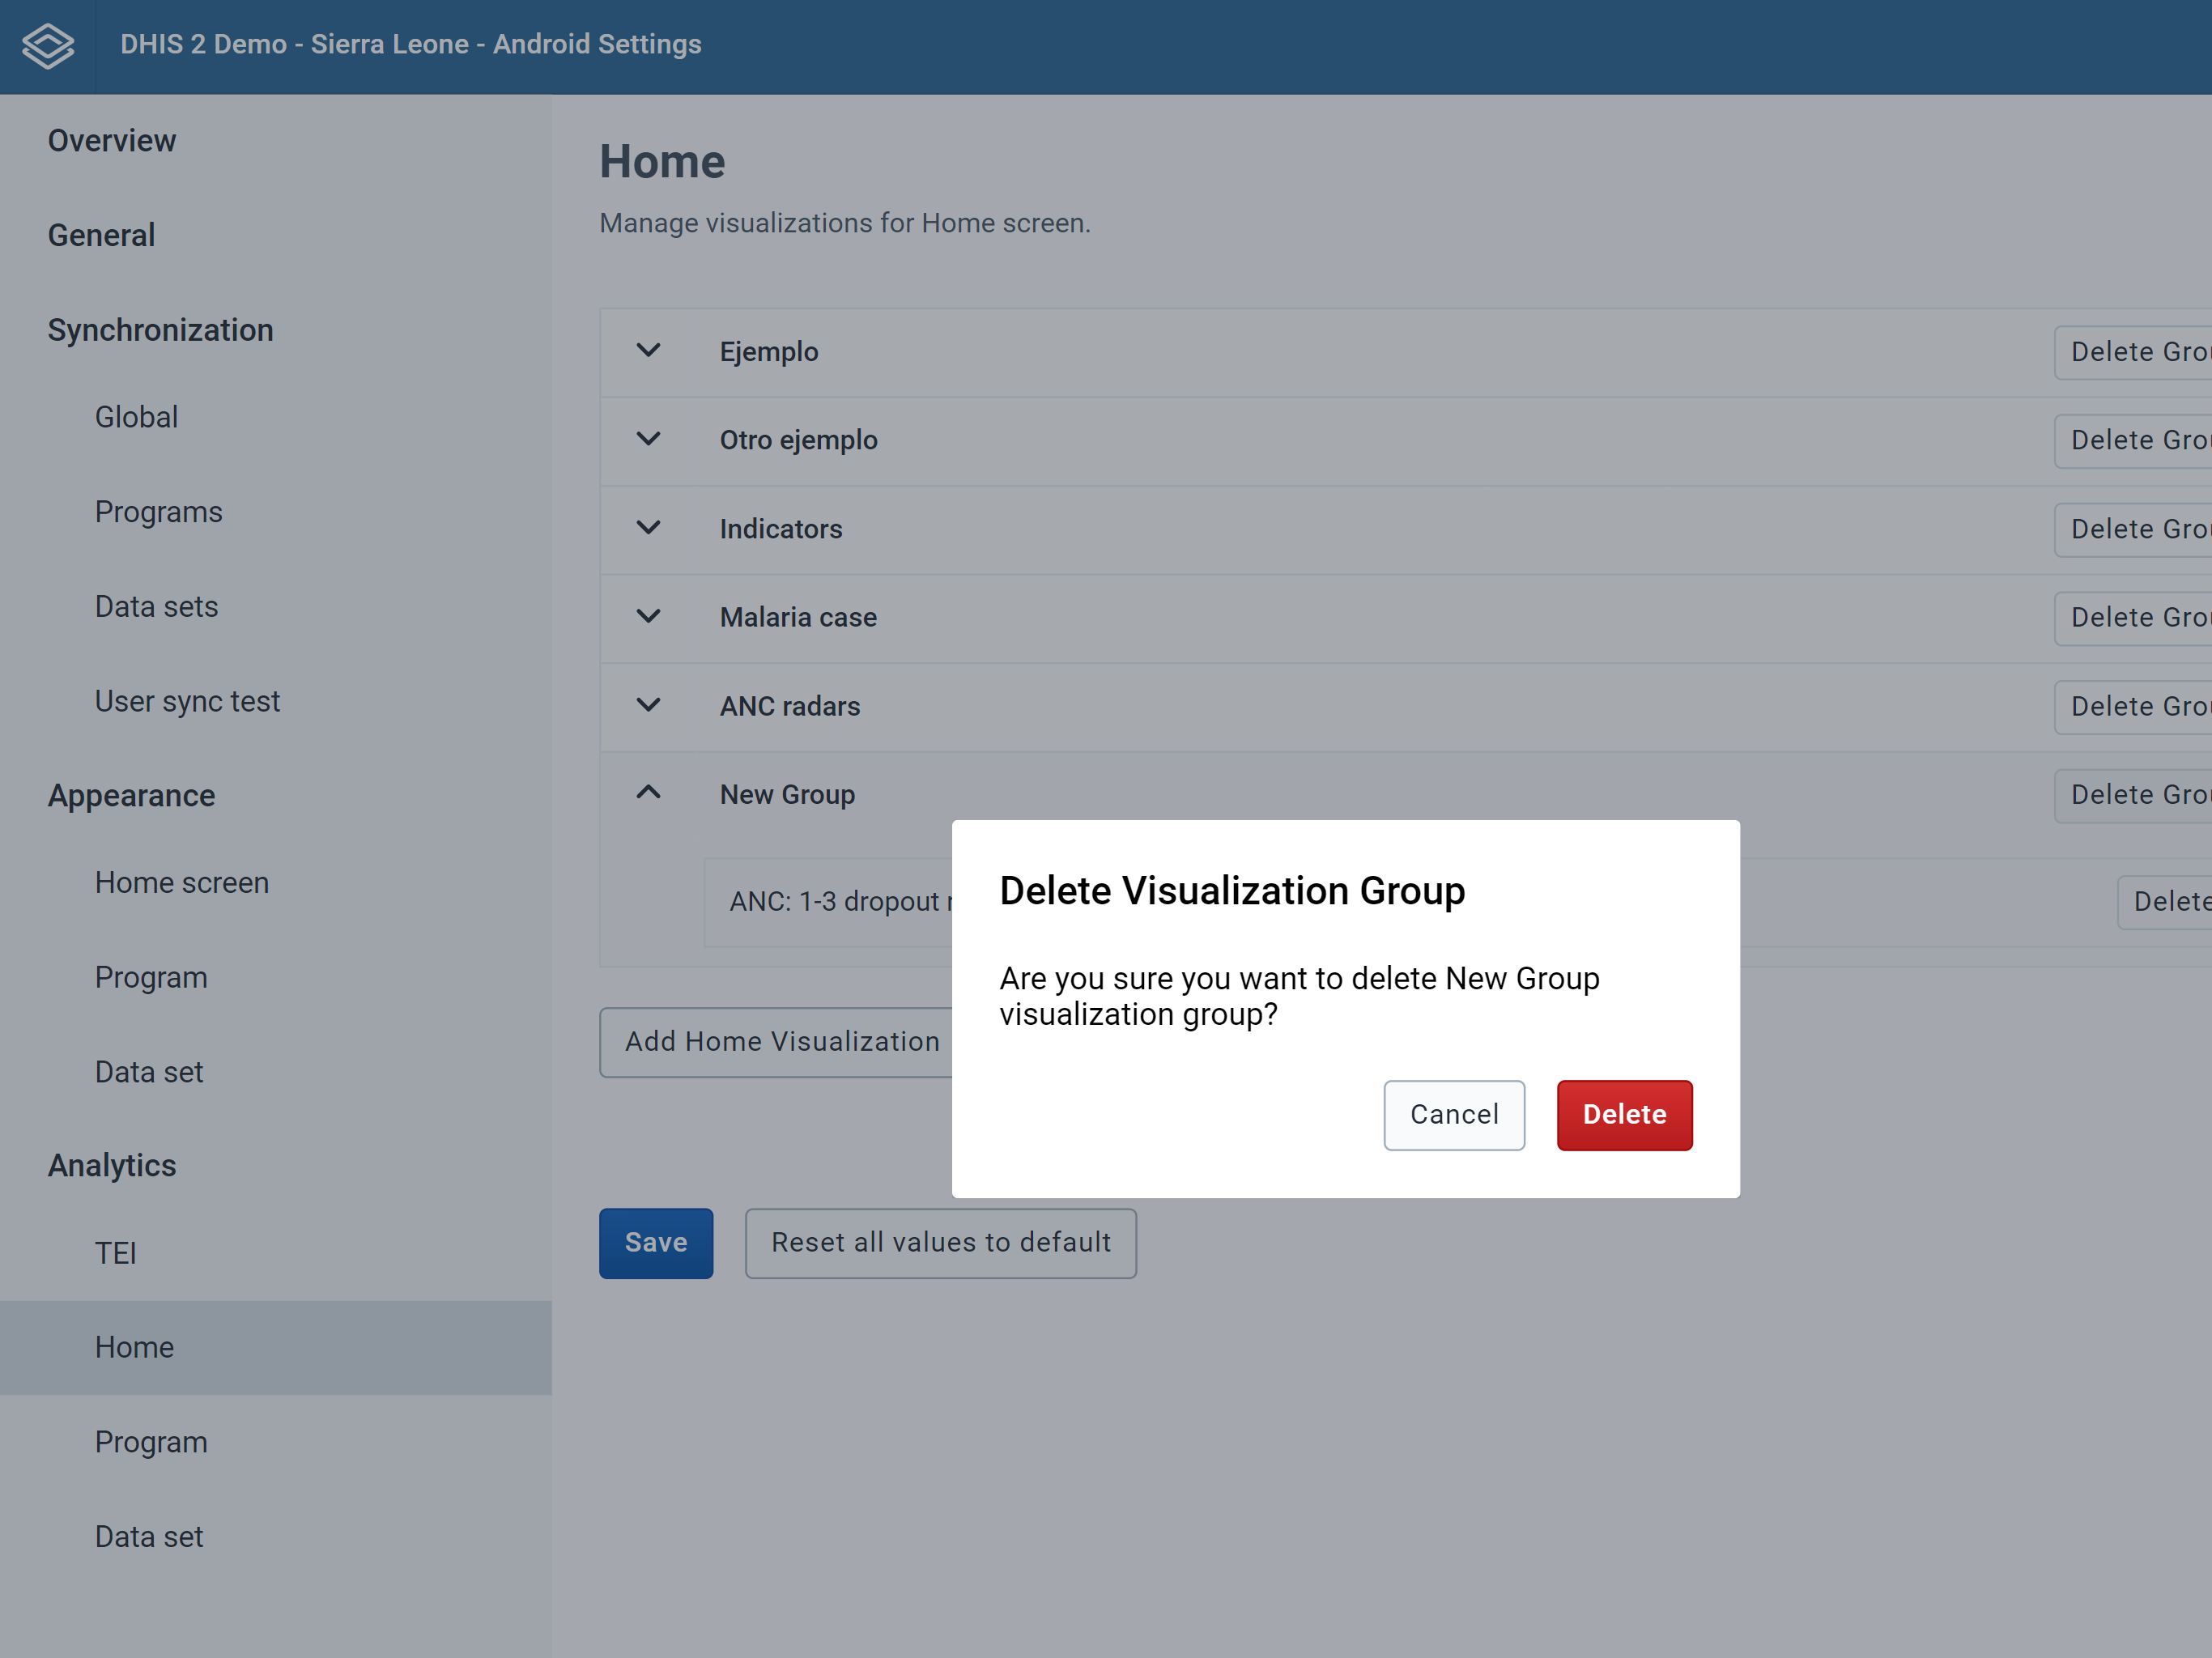
To reset all values:
Program visualizations are displayed in the search screen (Analytics tab) in tracker programs or in the list screen (Analytics tab) in event programs of the android app.
All items available are first created in the Data visualizer or Line Listing (v2.4) app in DHIS2 and configured in the Android Settings app.
Note:
Visualization items can be sourced either from the Data Visualizer or the Line Listing app.
When choosing a visualization type, the items shown automatically change; if "Data Visualization" is selected, only visualizations created in the Data Visualization app will be displayed.
When selecting "Event Visualization" (v2.4), only elements created in the Line Listing app will appear in the Visualization search box.
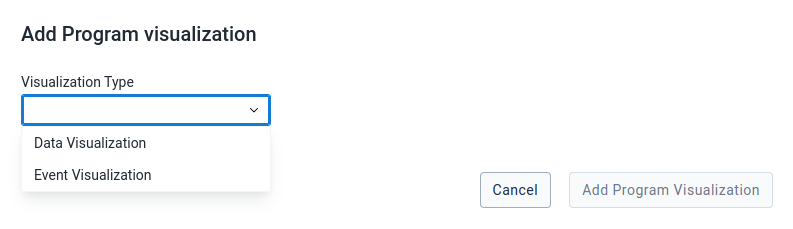
To create a Program item:
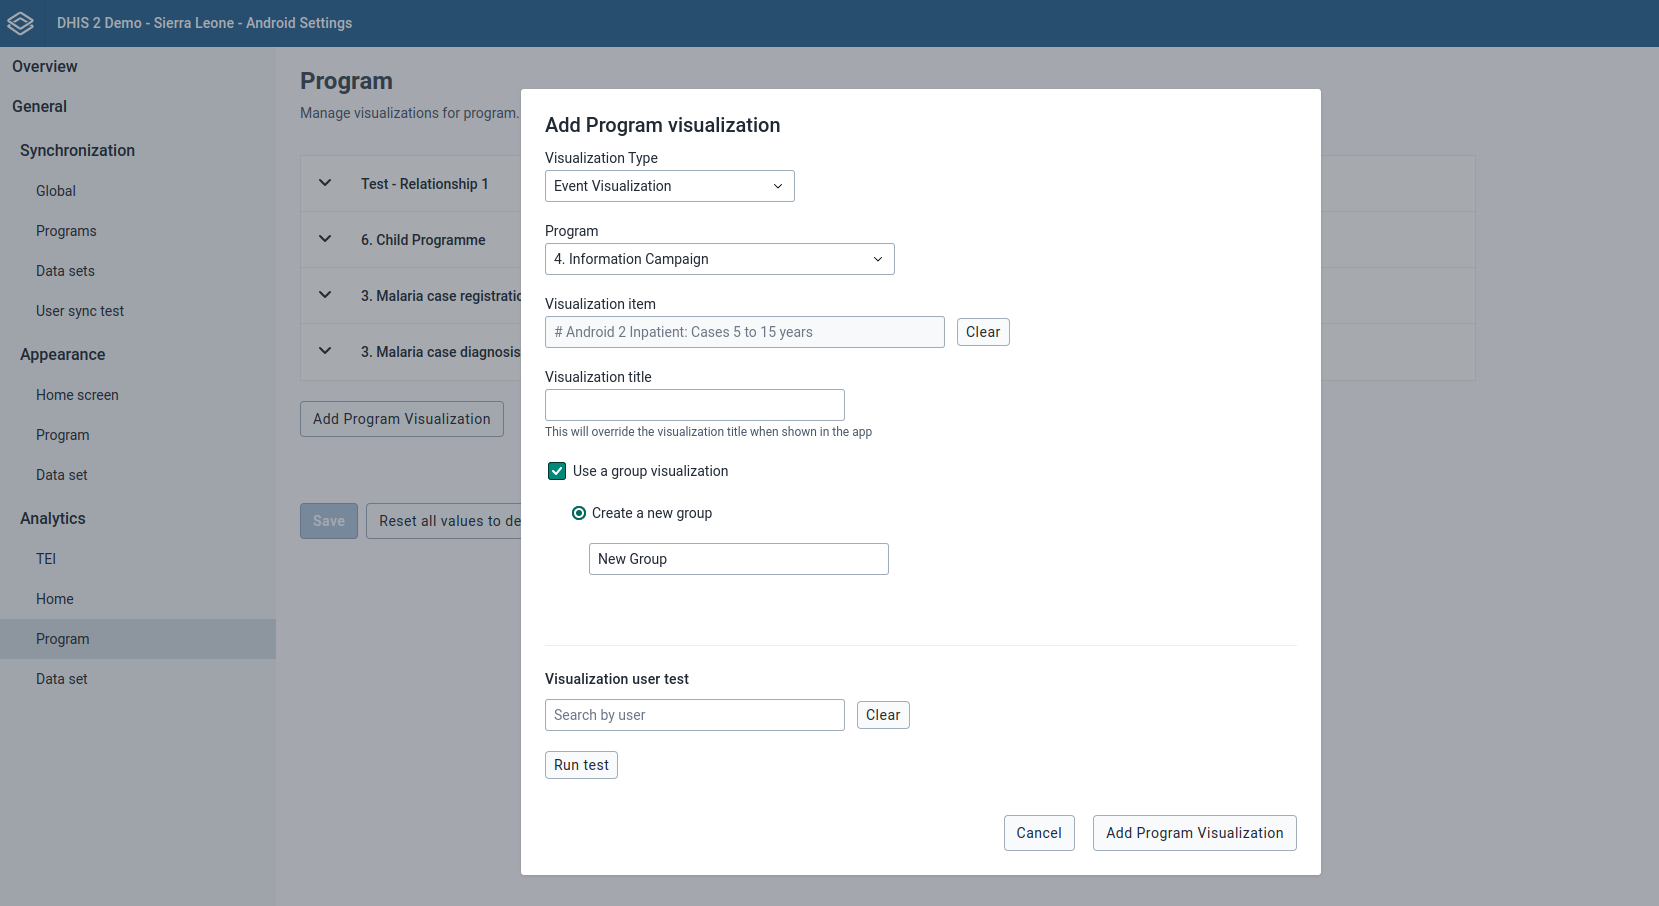
To edit the title of a Program item (v2.2.1):
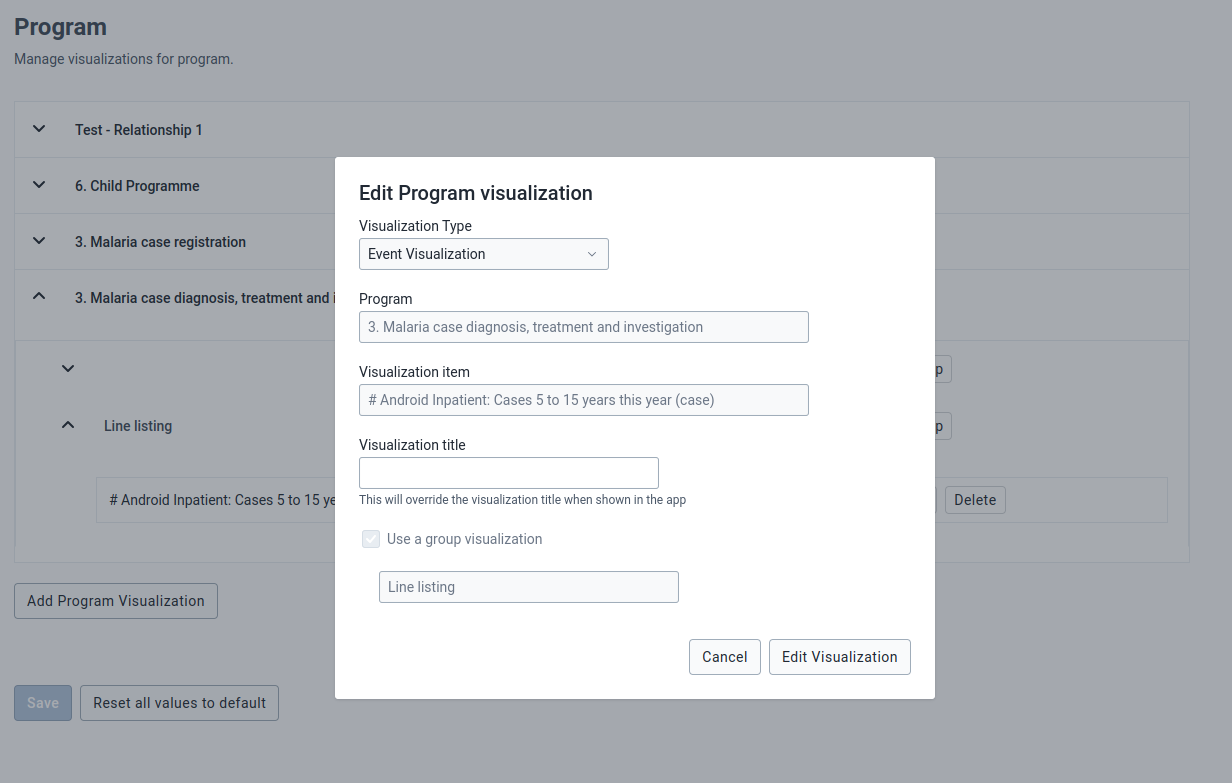
To remove a Program item:
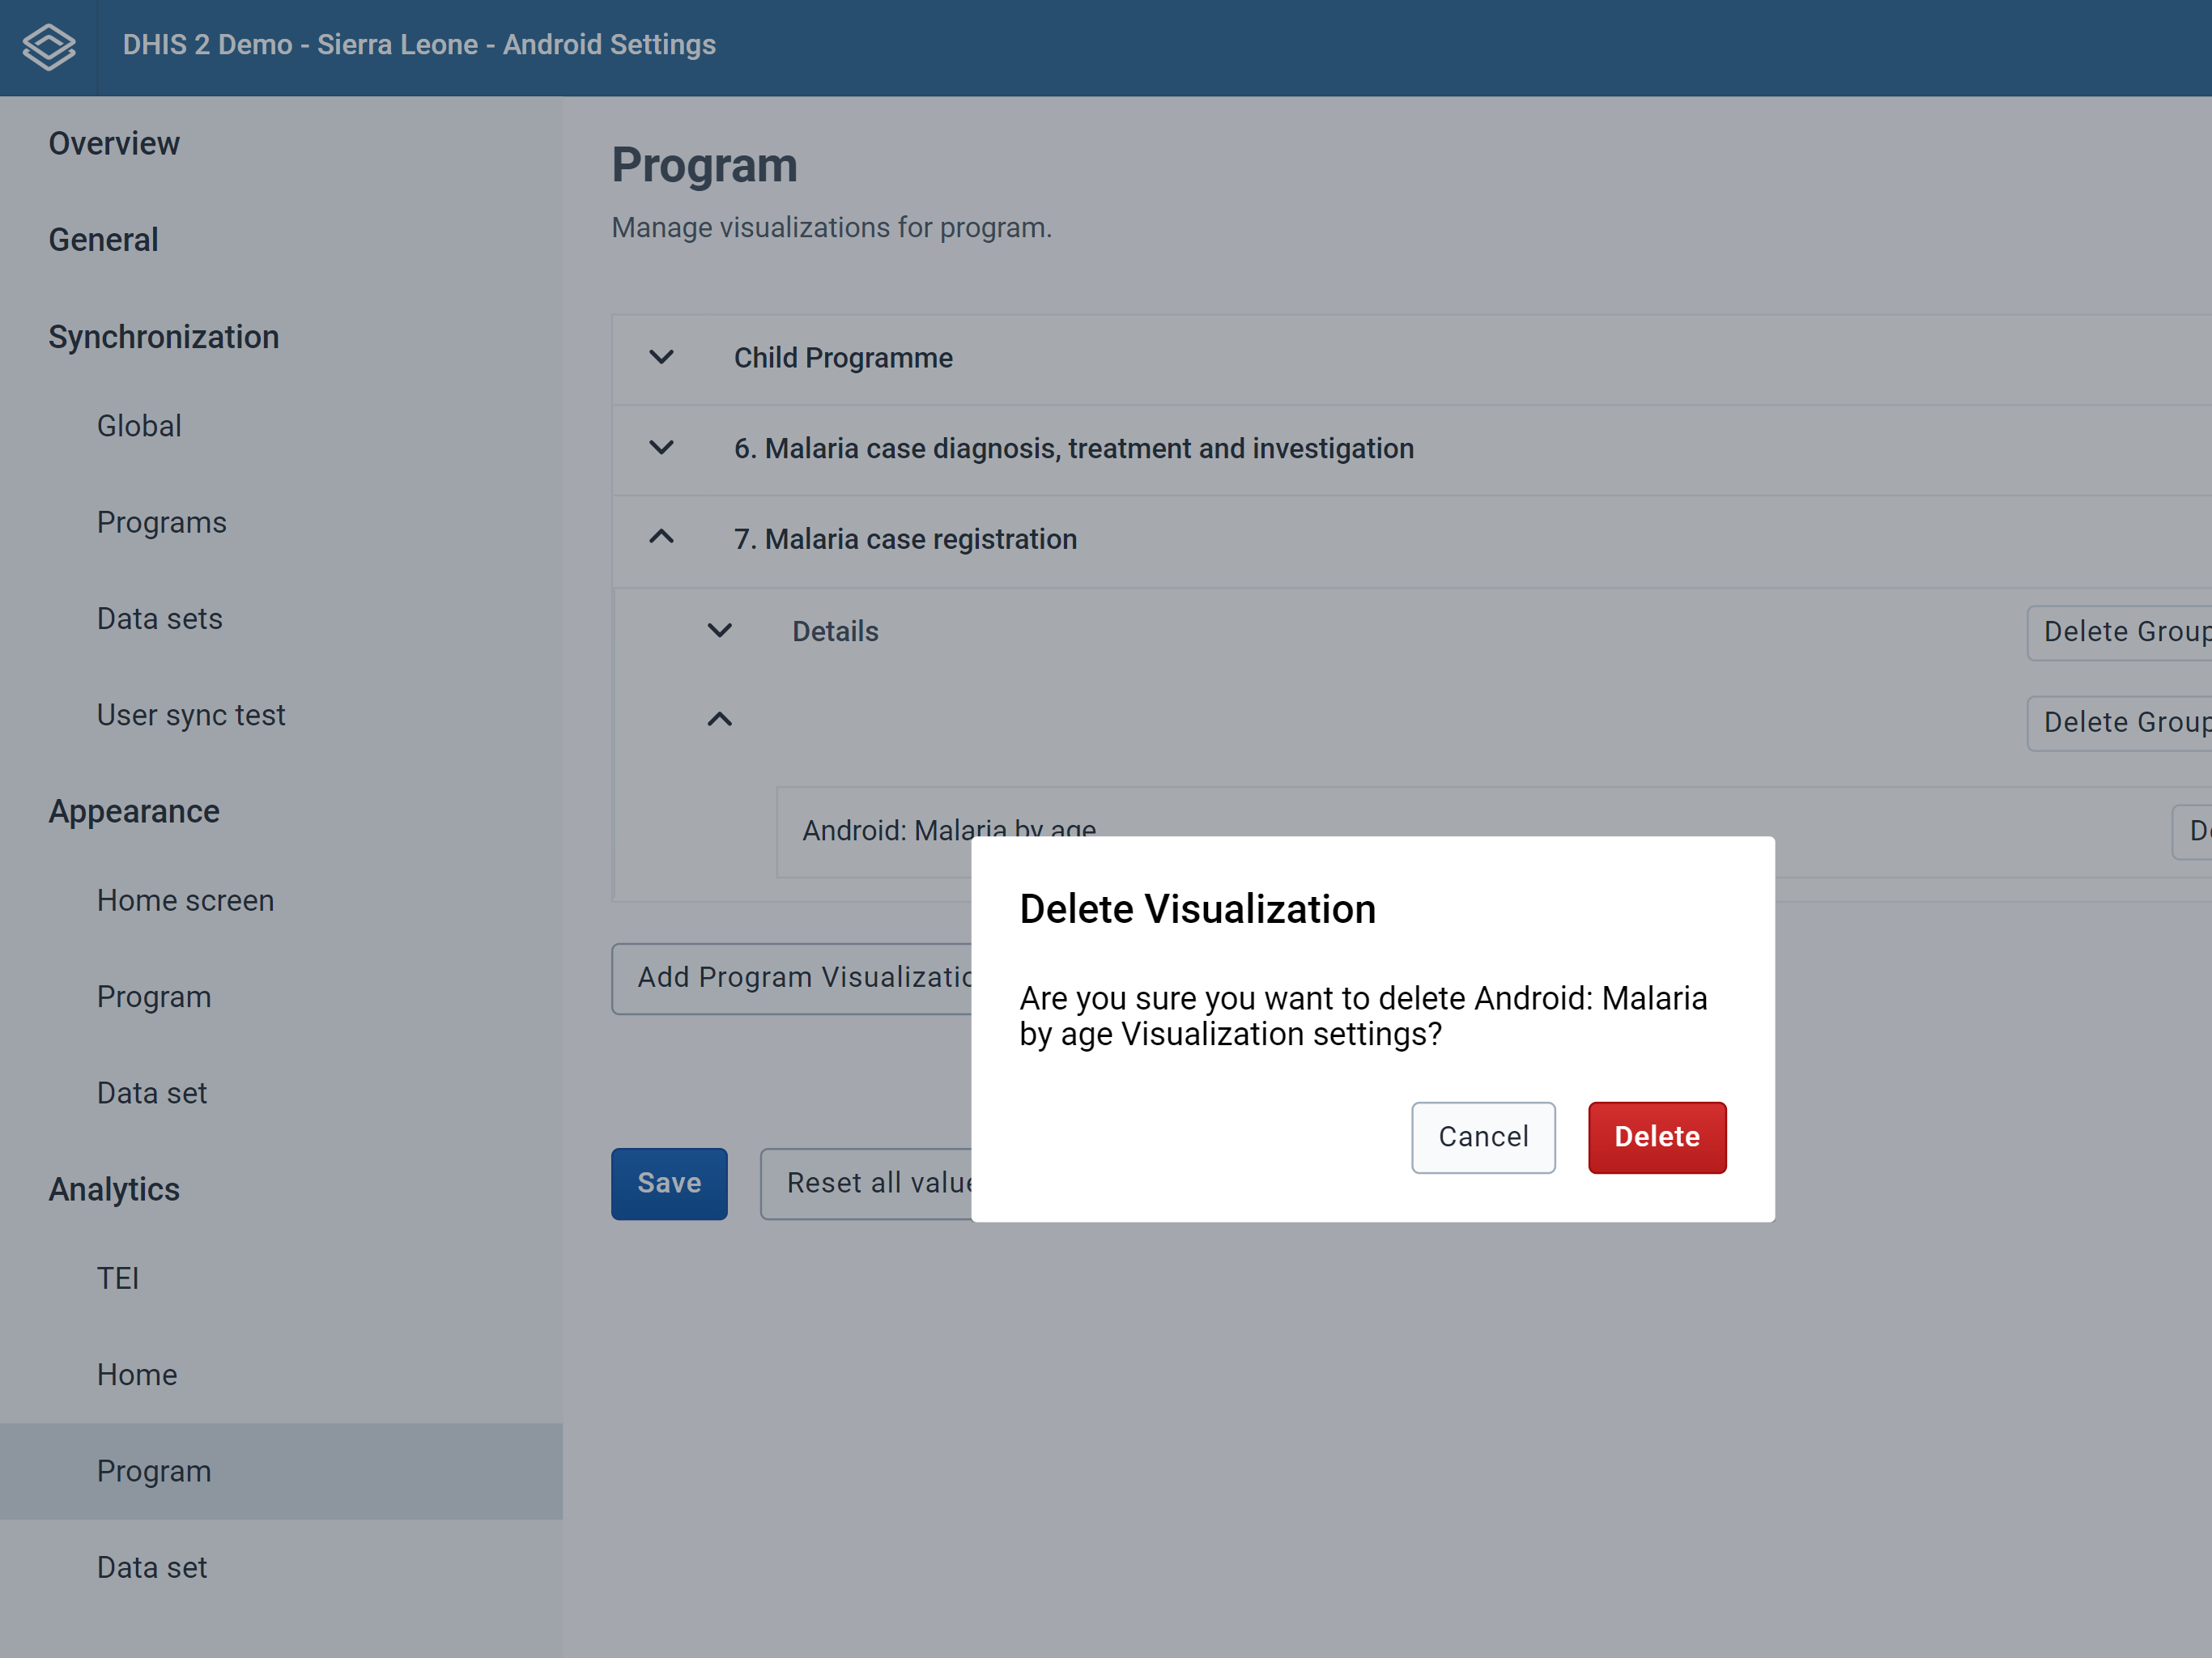
To reorganize a Program item inside a group (New 2.4.2):
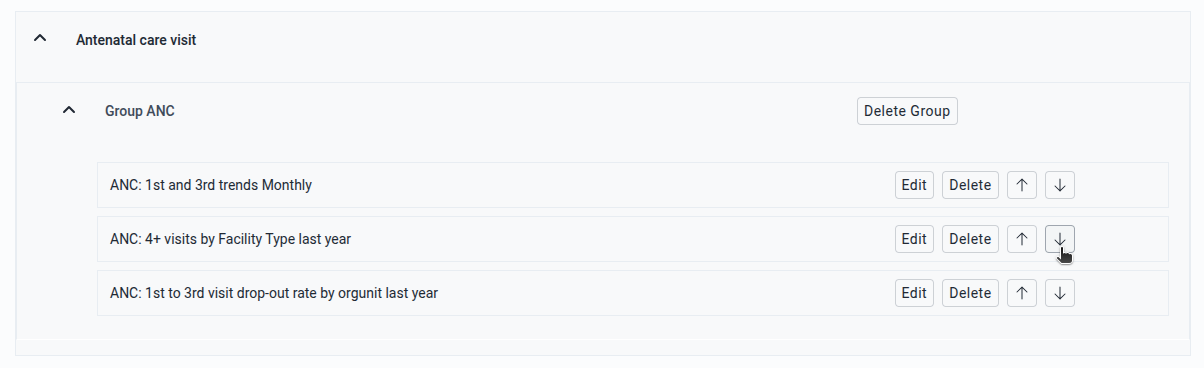
To remove a Program group:
All the items associated to that group will be deleted
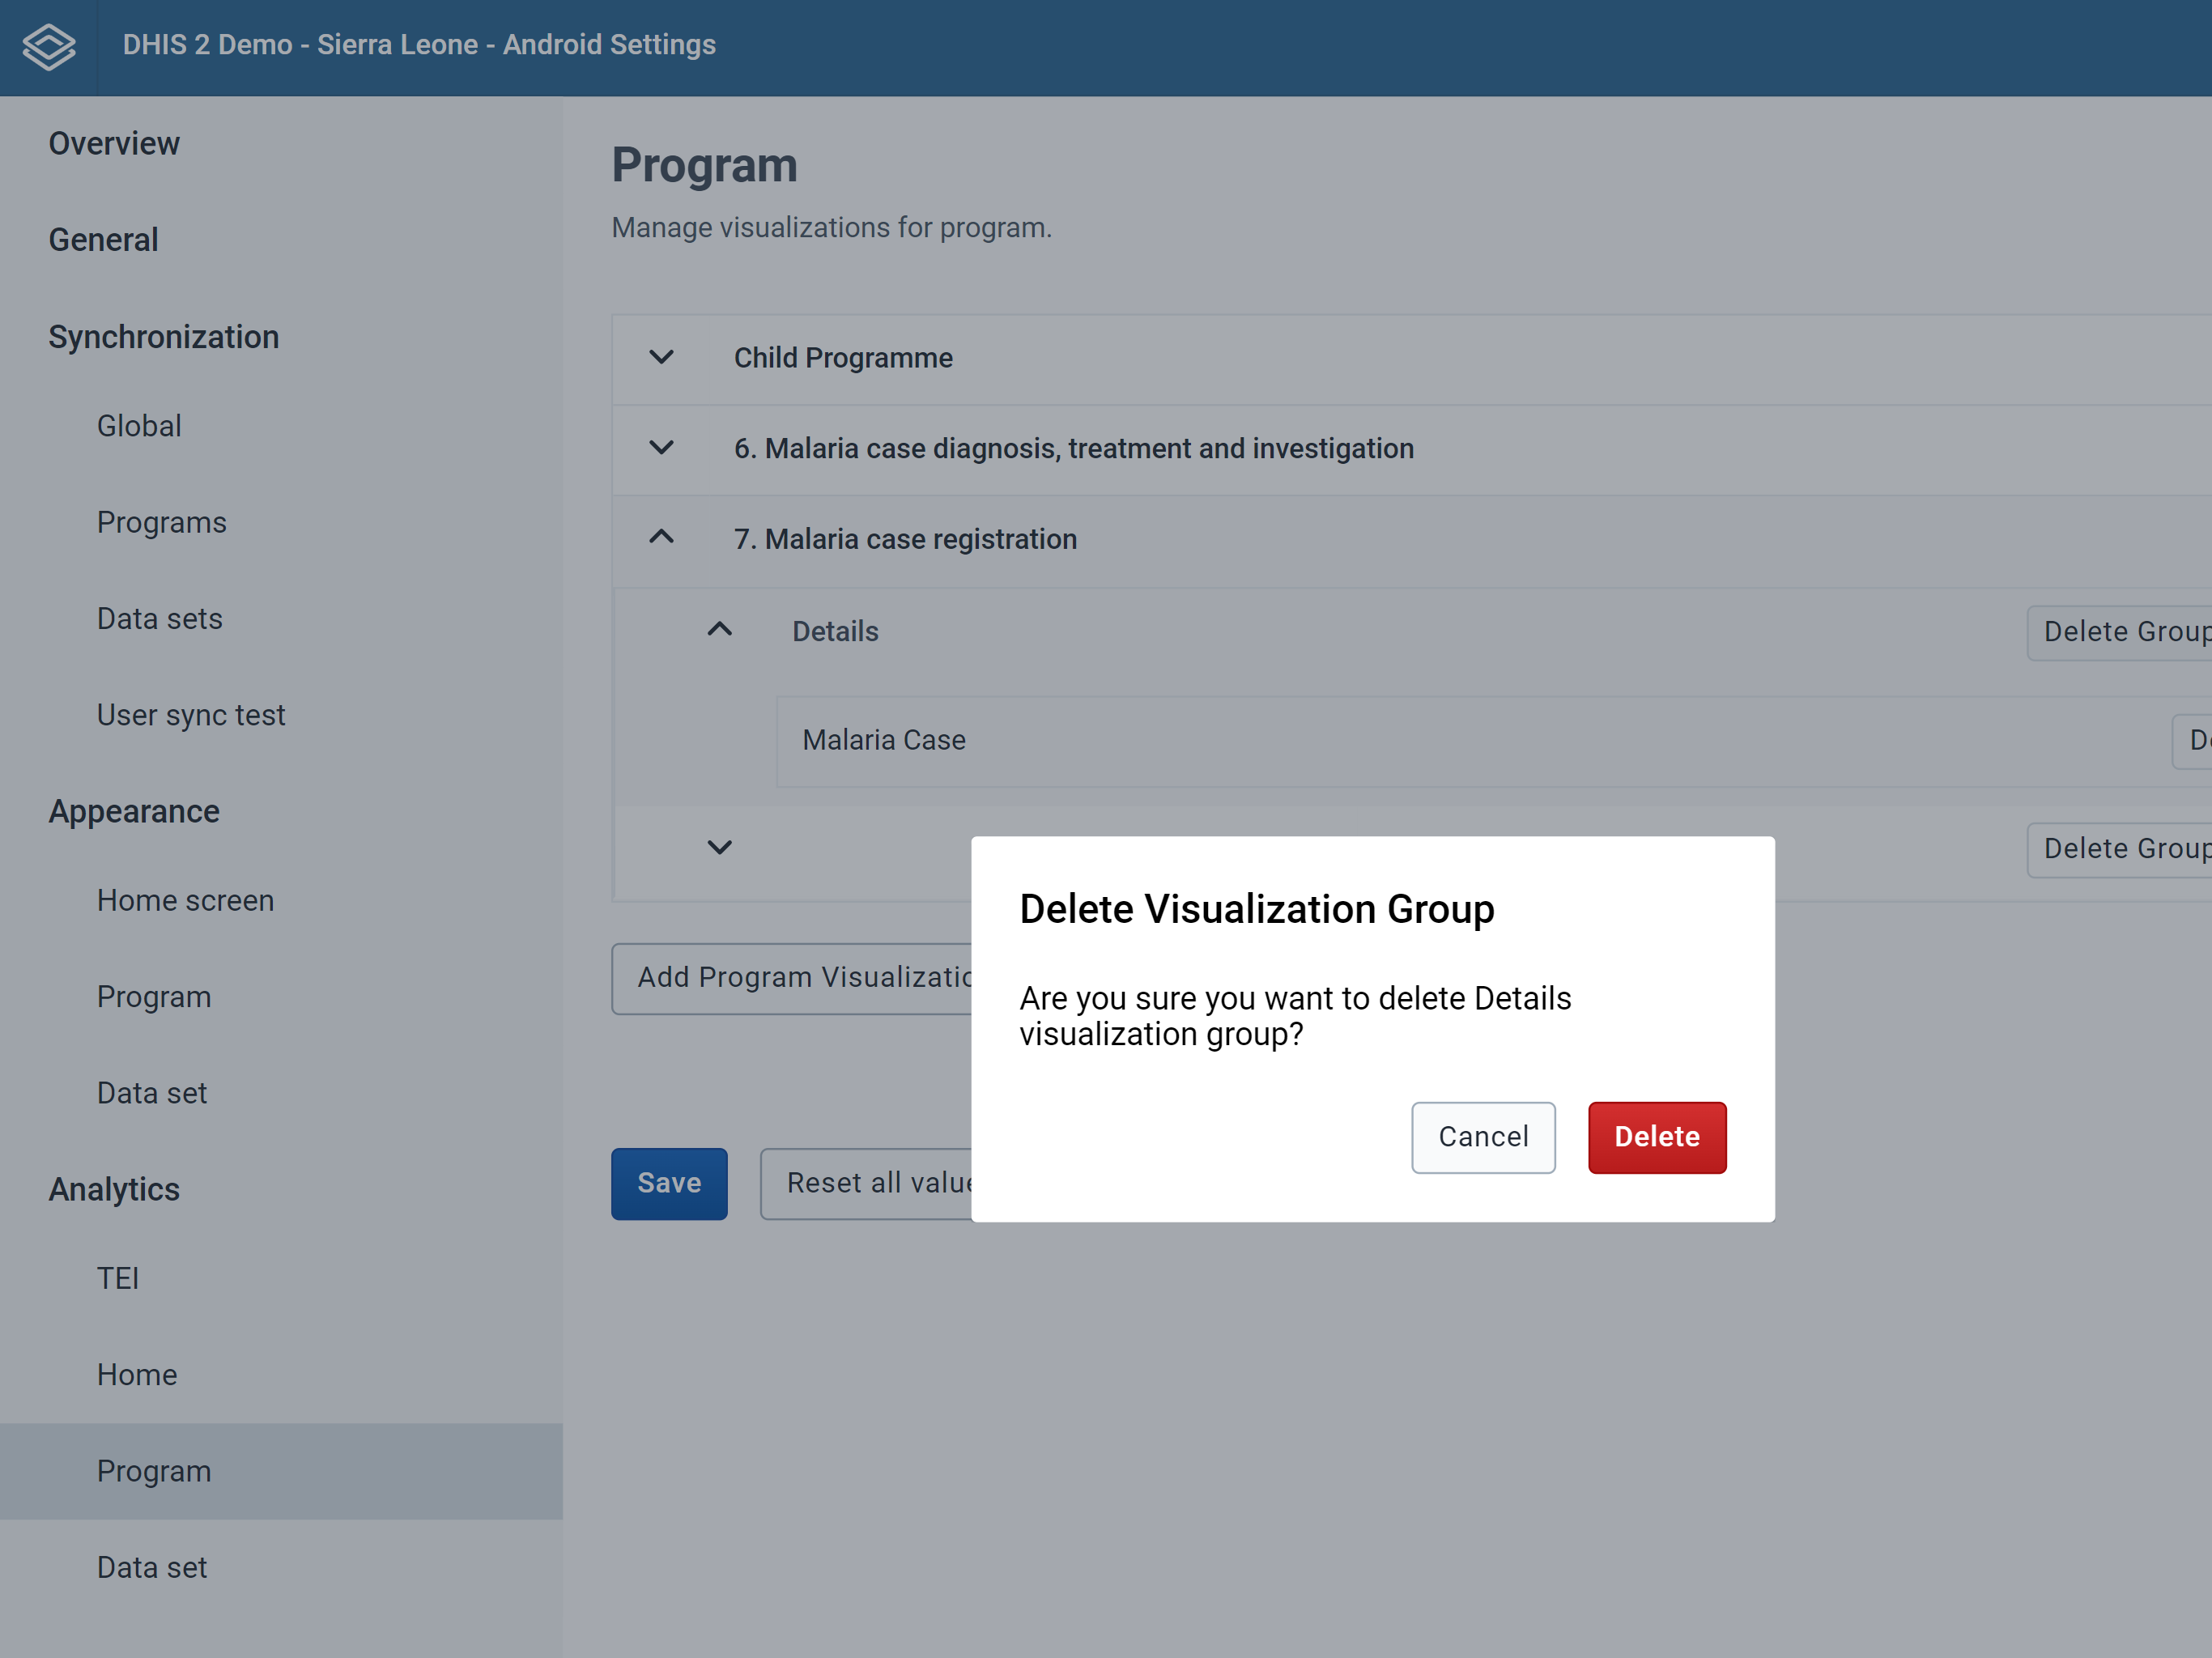
To reset all values:
Data Set visualizations are displayed in the list screen (Analytics tab) in a Data Set of the android app.
All items available are first created in the Data visualizer app in DHIS2 and configured in the android settings app.
To create a Data Set item:
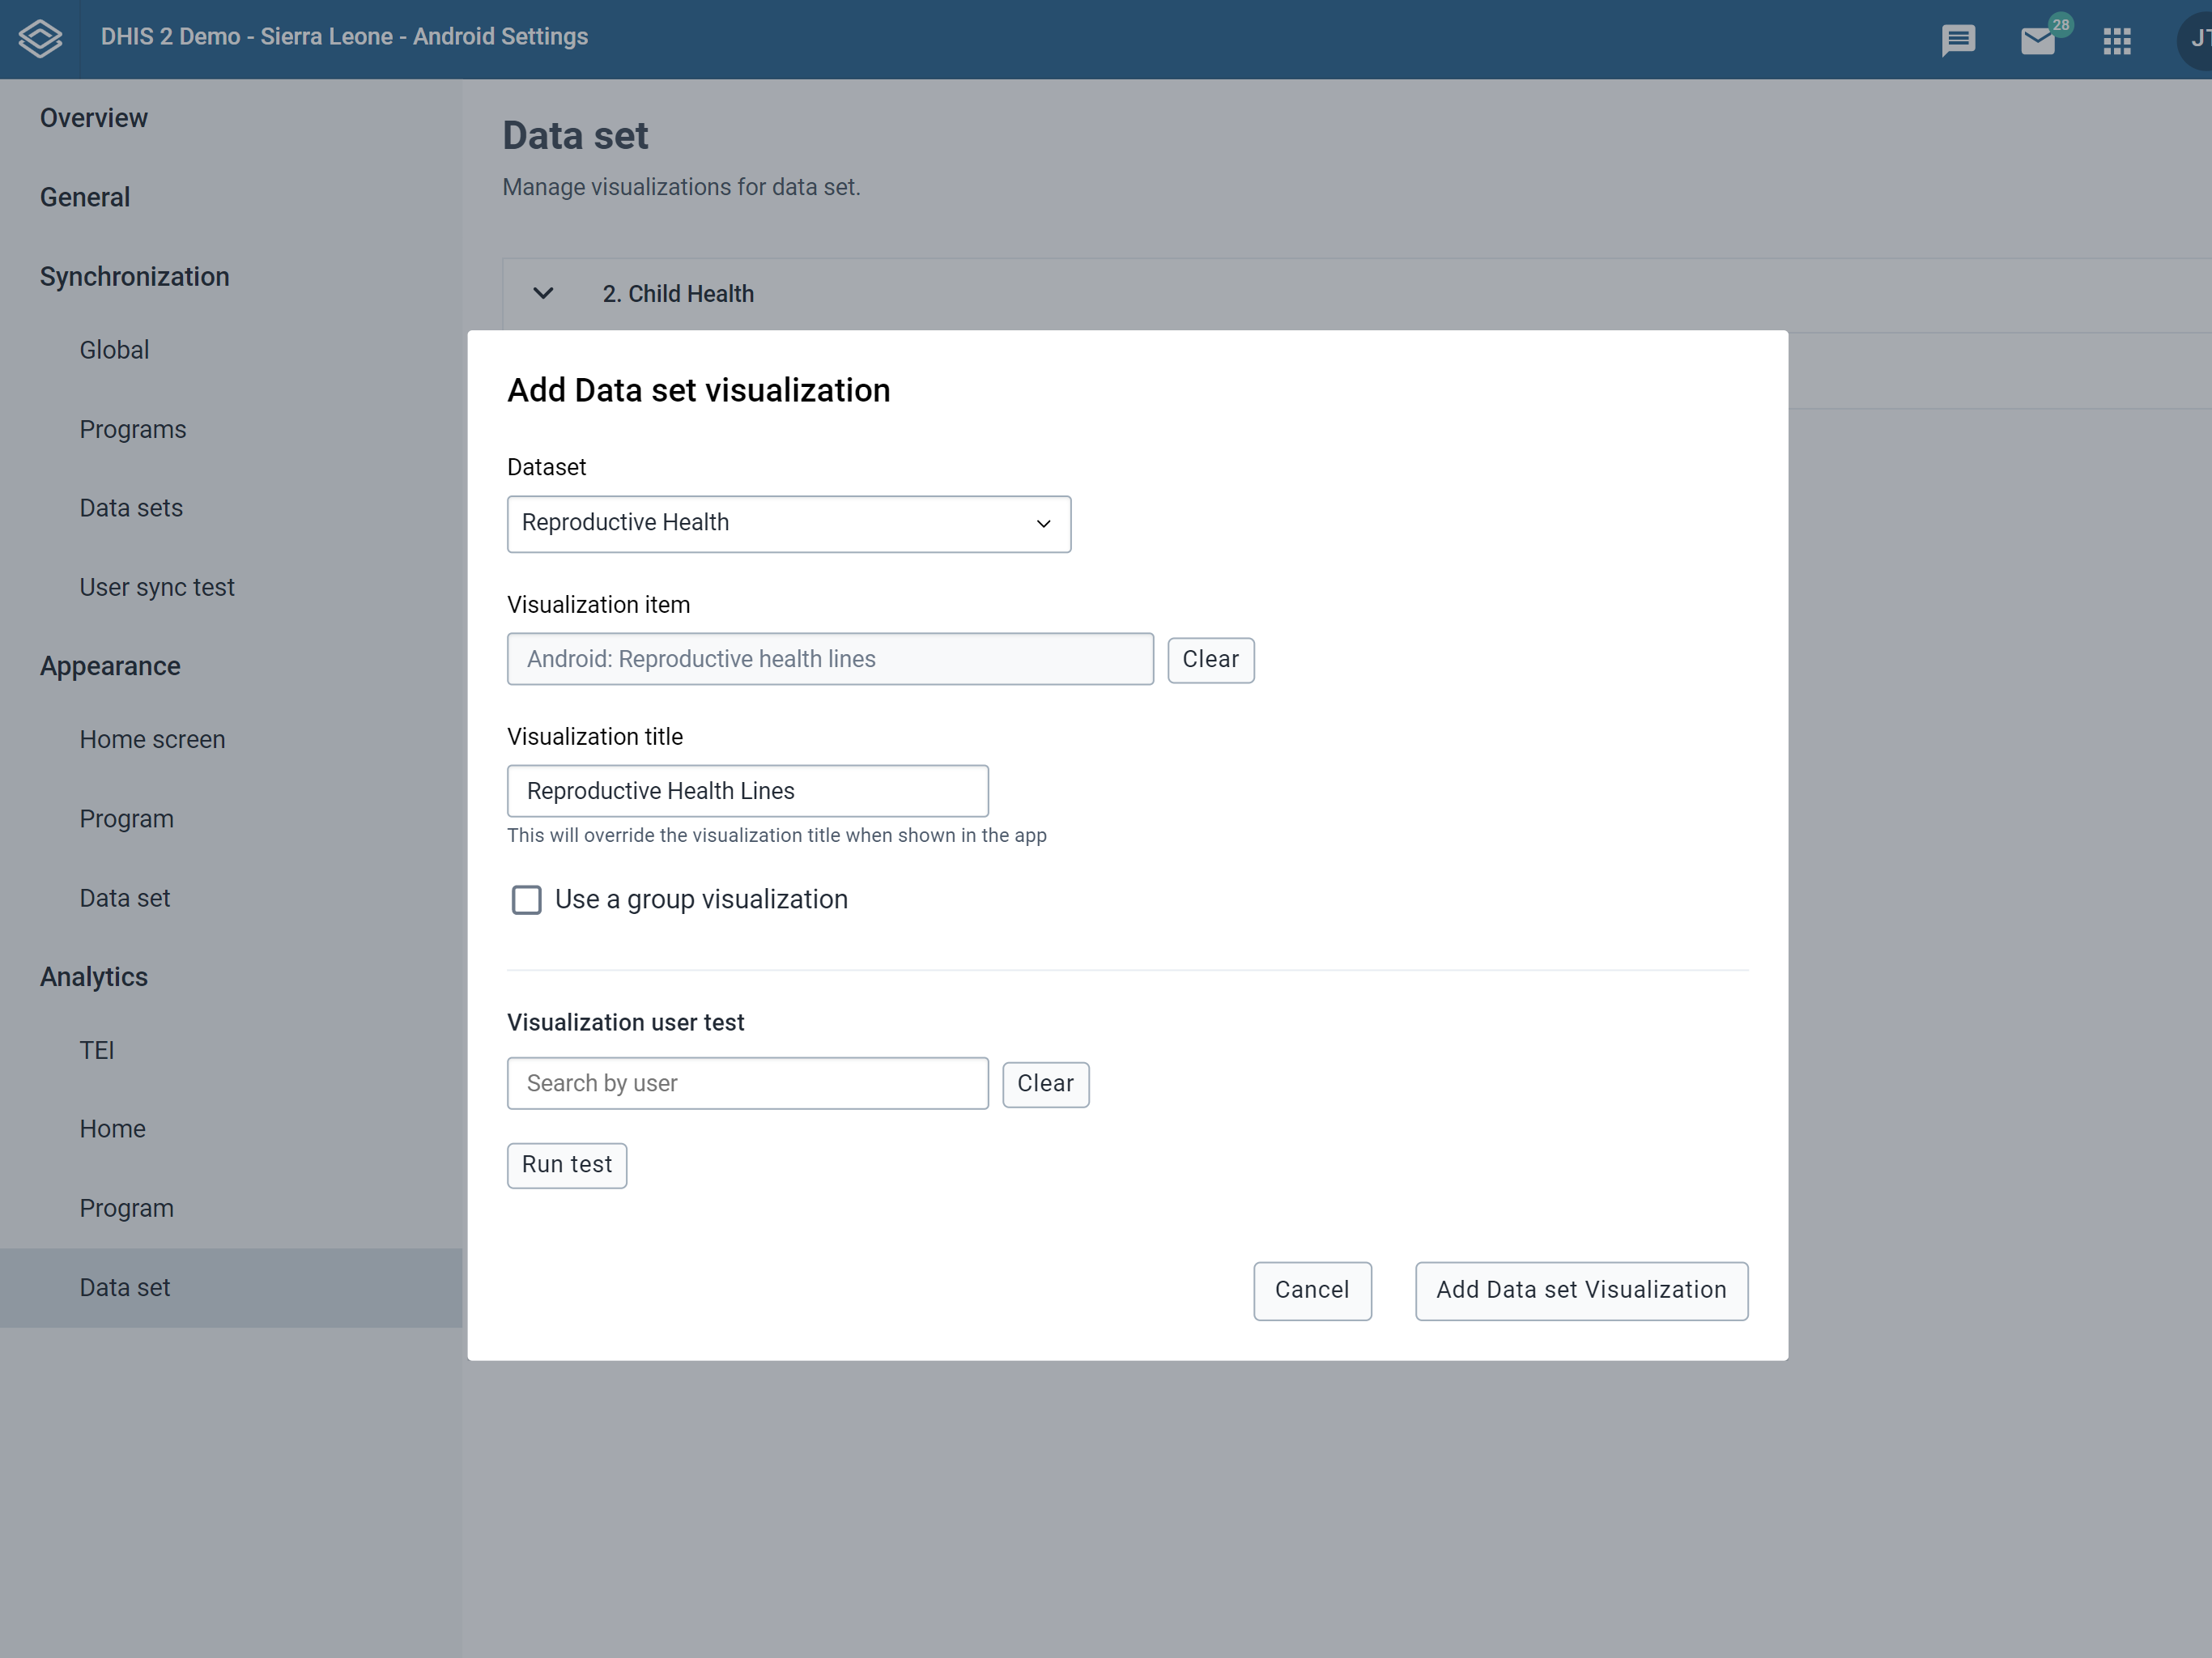
To edit the title of a Data set item (v2.2.1):
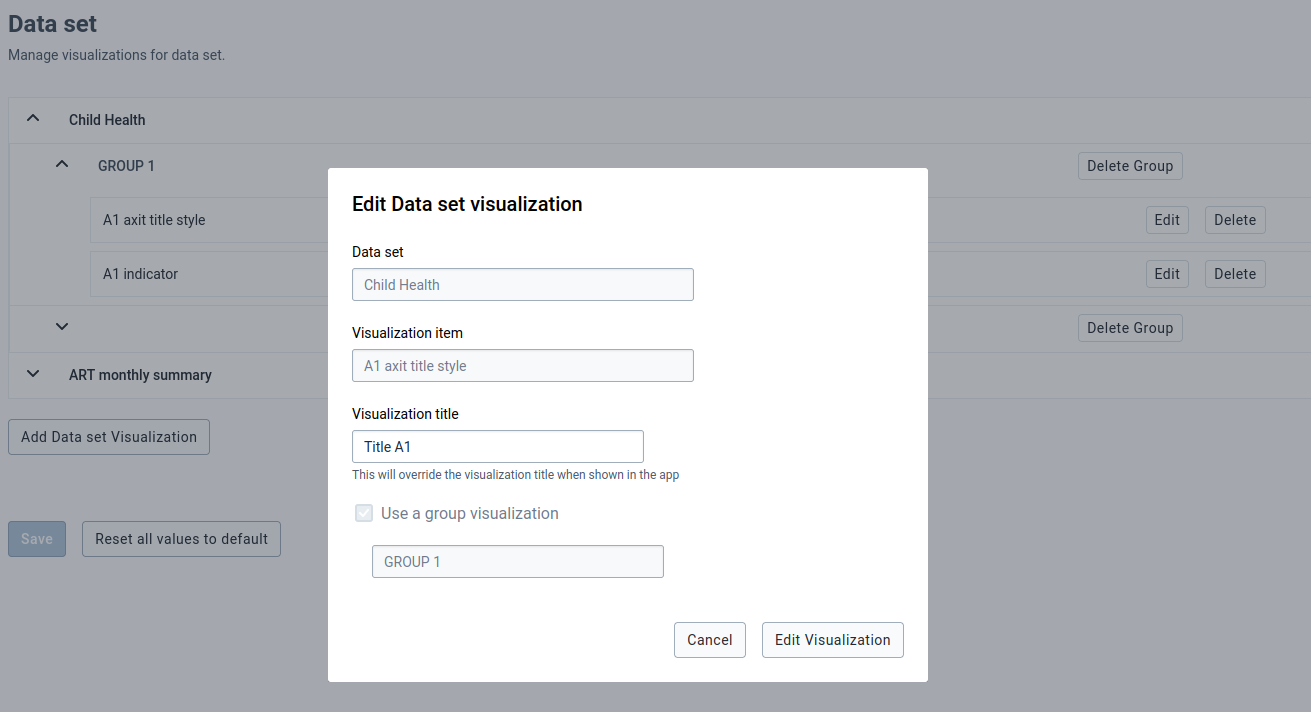
To remove a Data Set item:
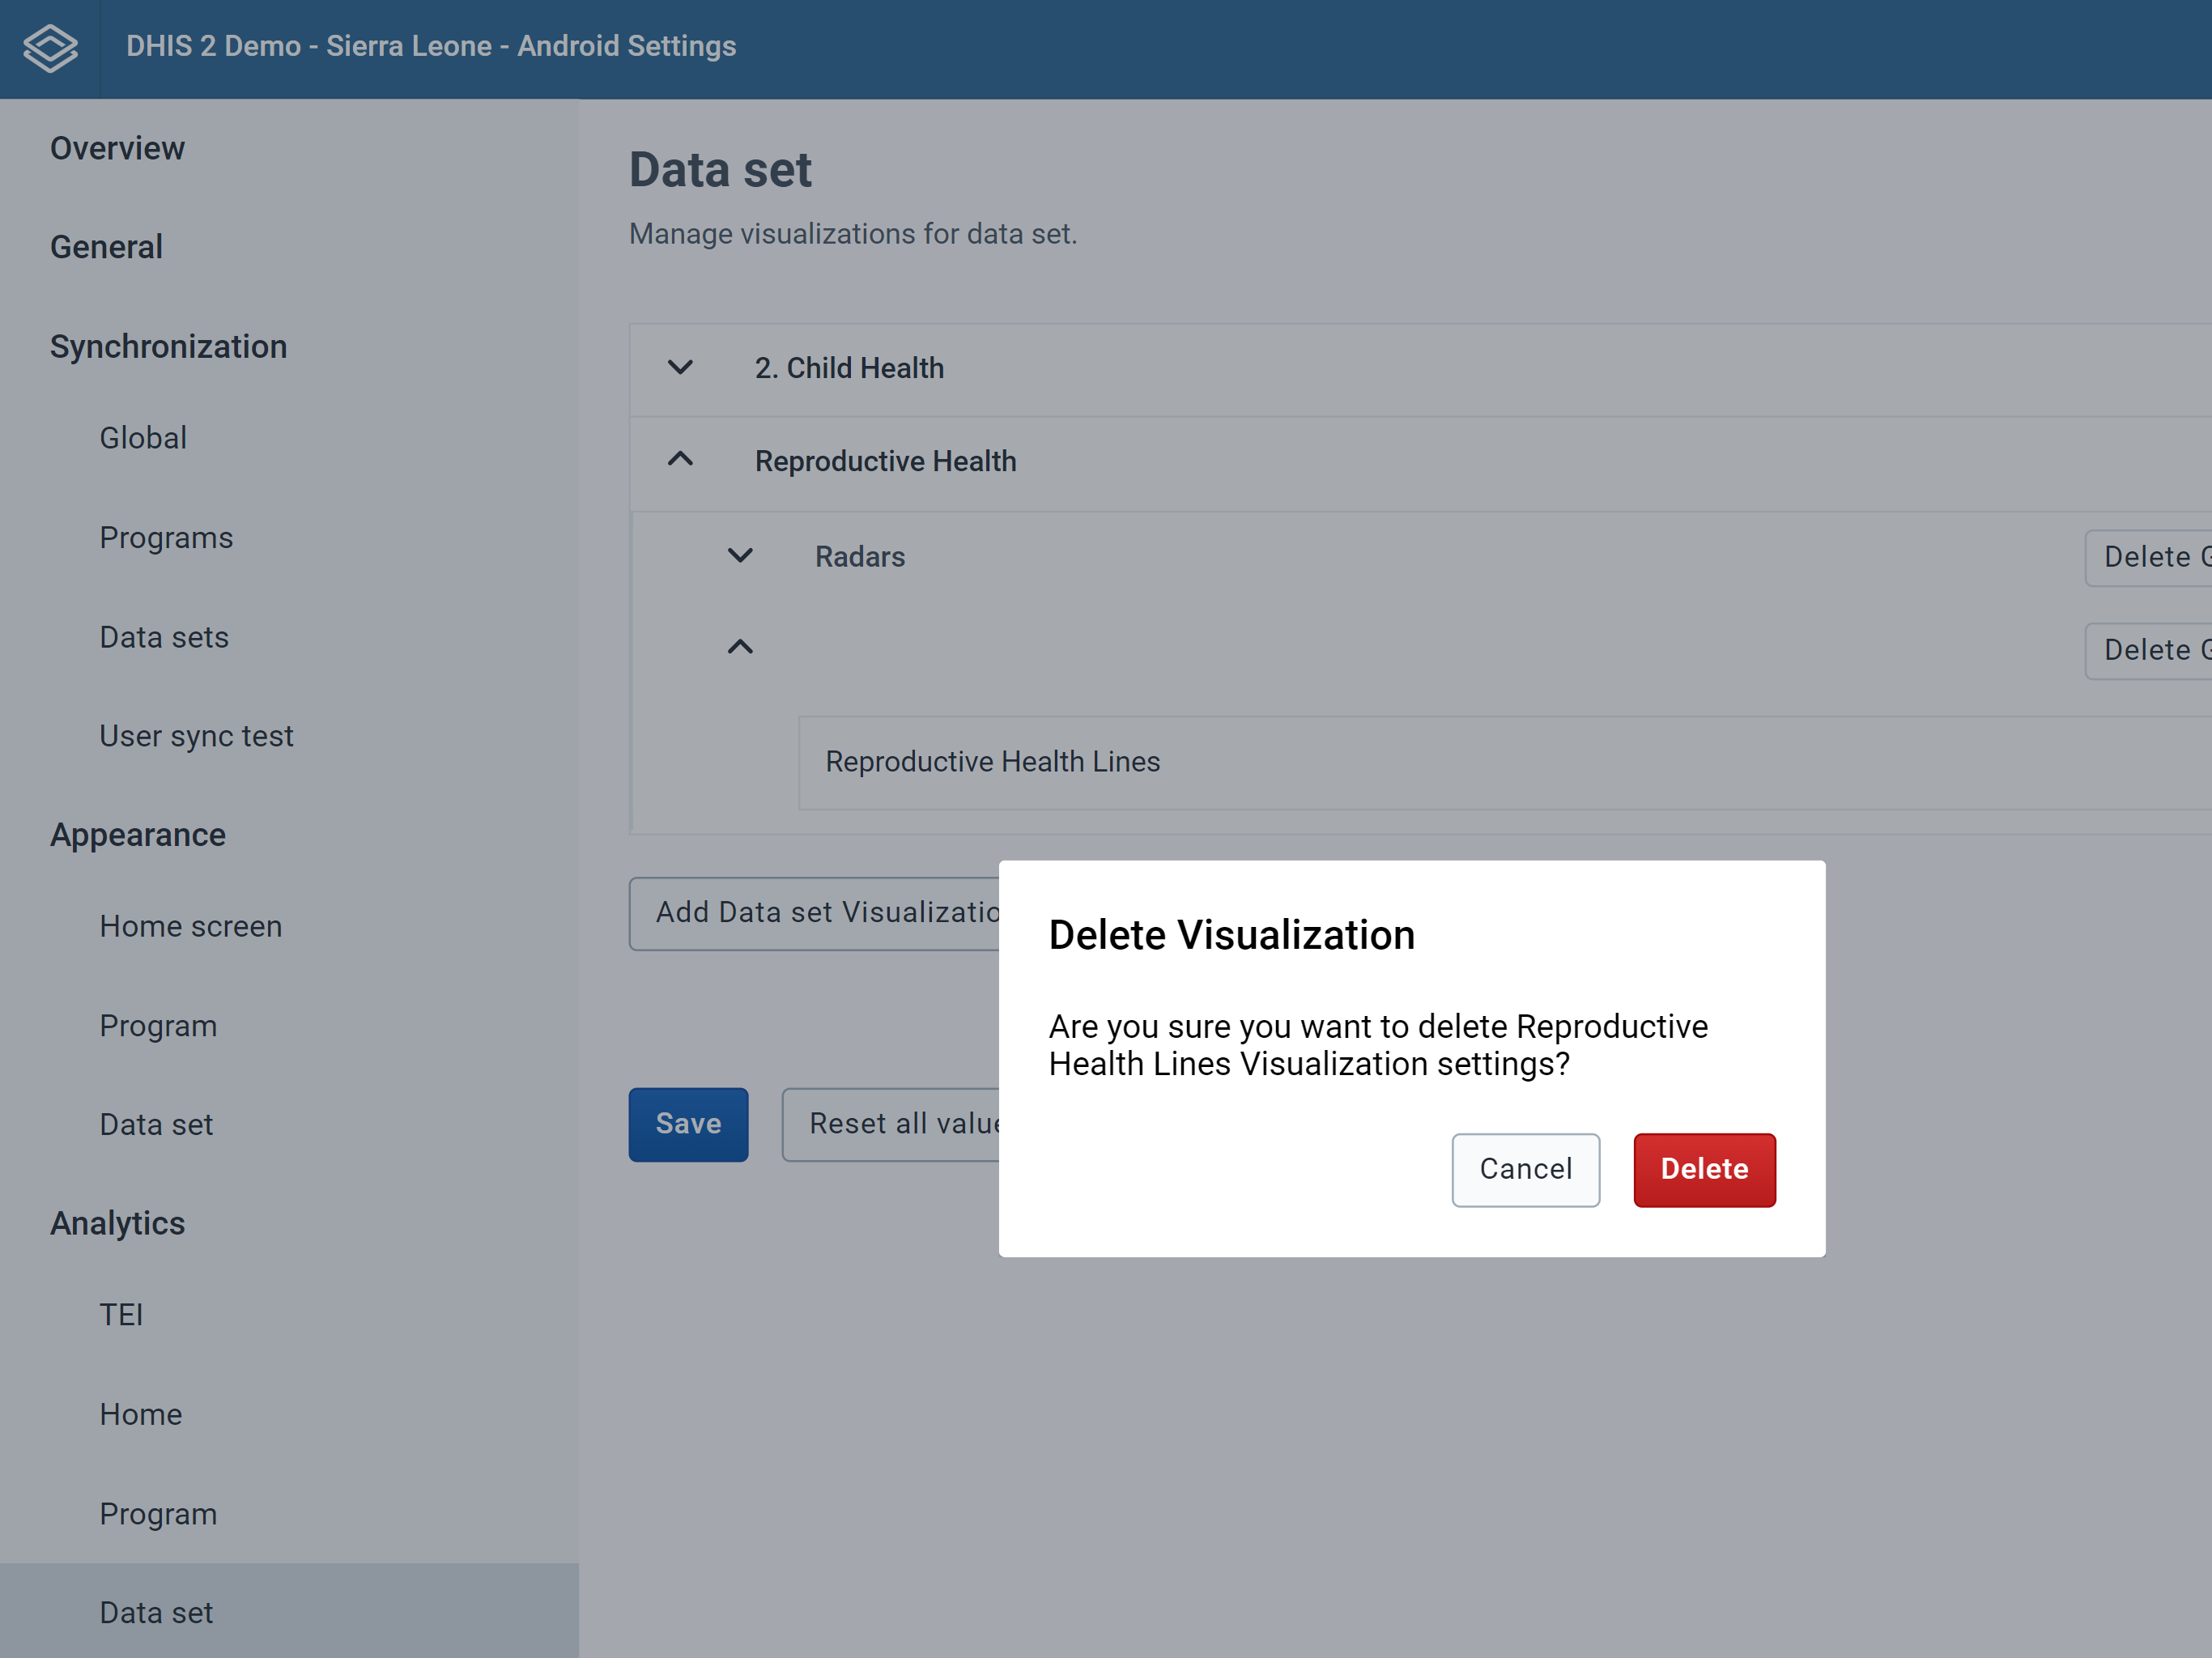
To reorganize a Data Set item inside a group (New 2.4.2):
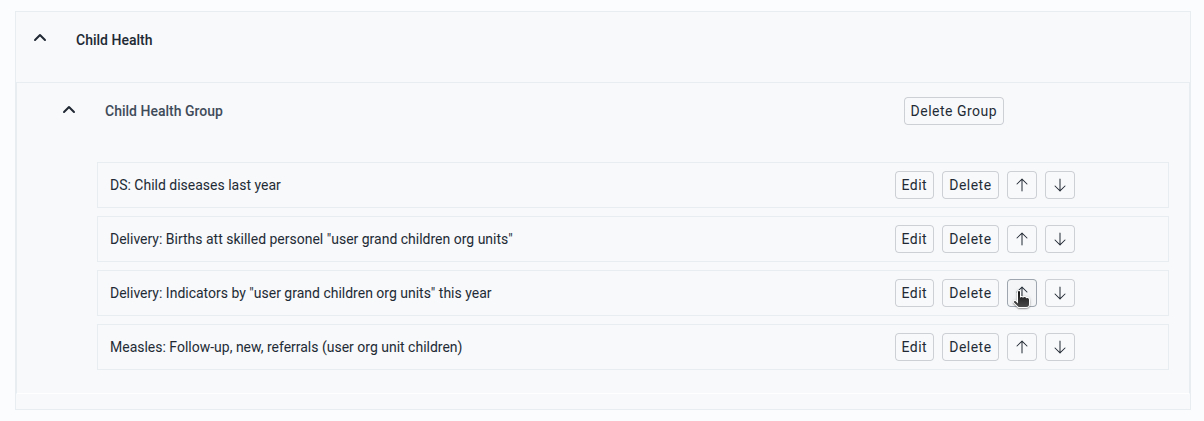
To remove a Data Set group:
All the items associated to that group will be deleted
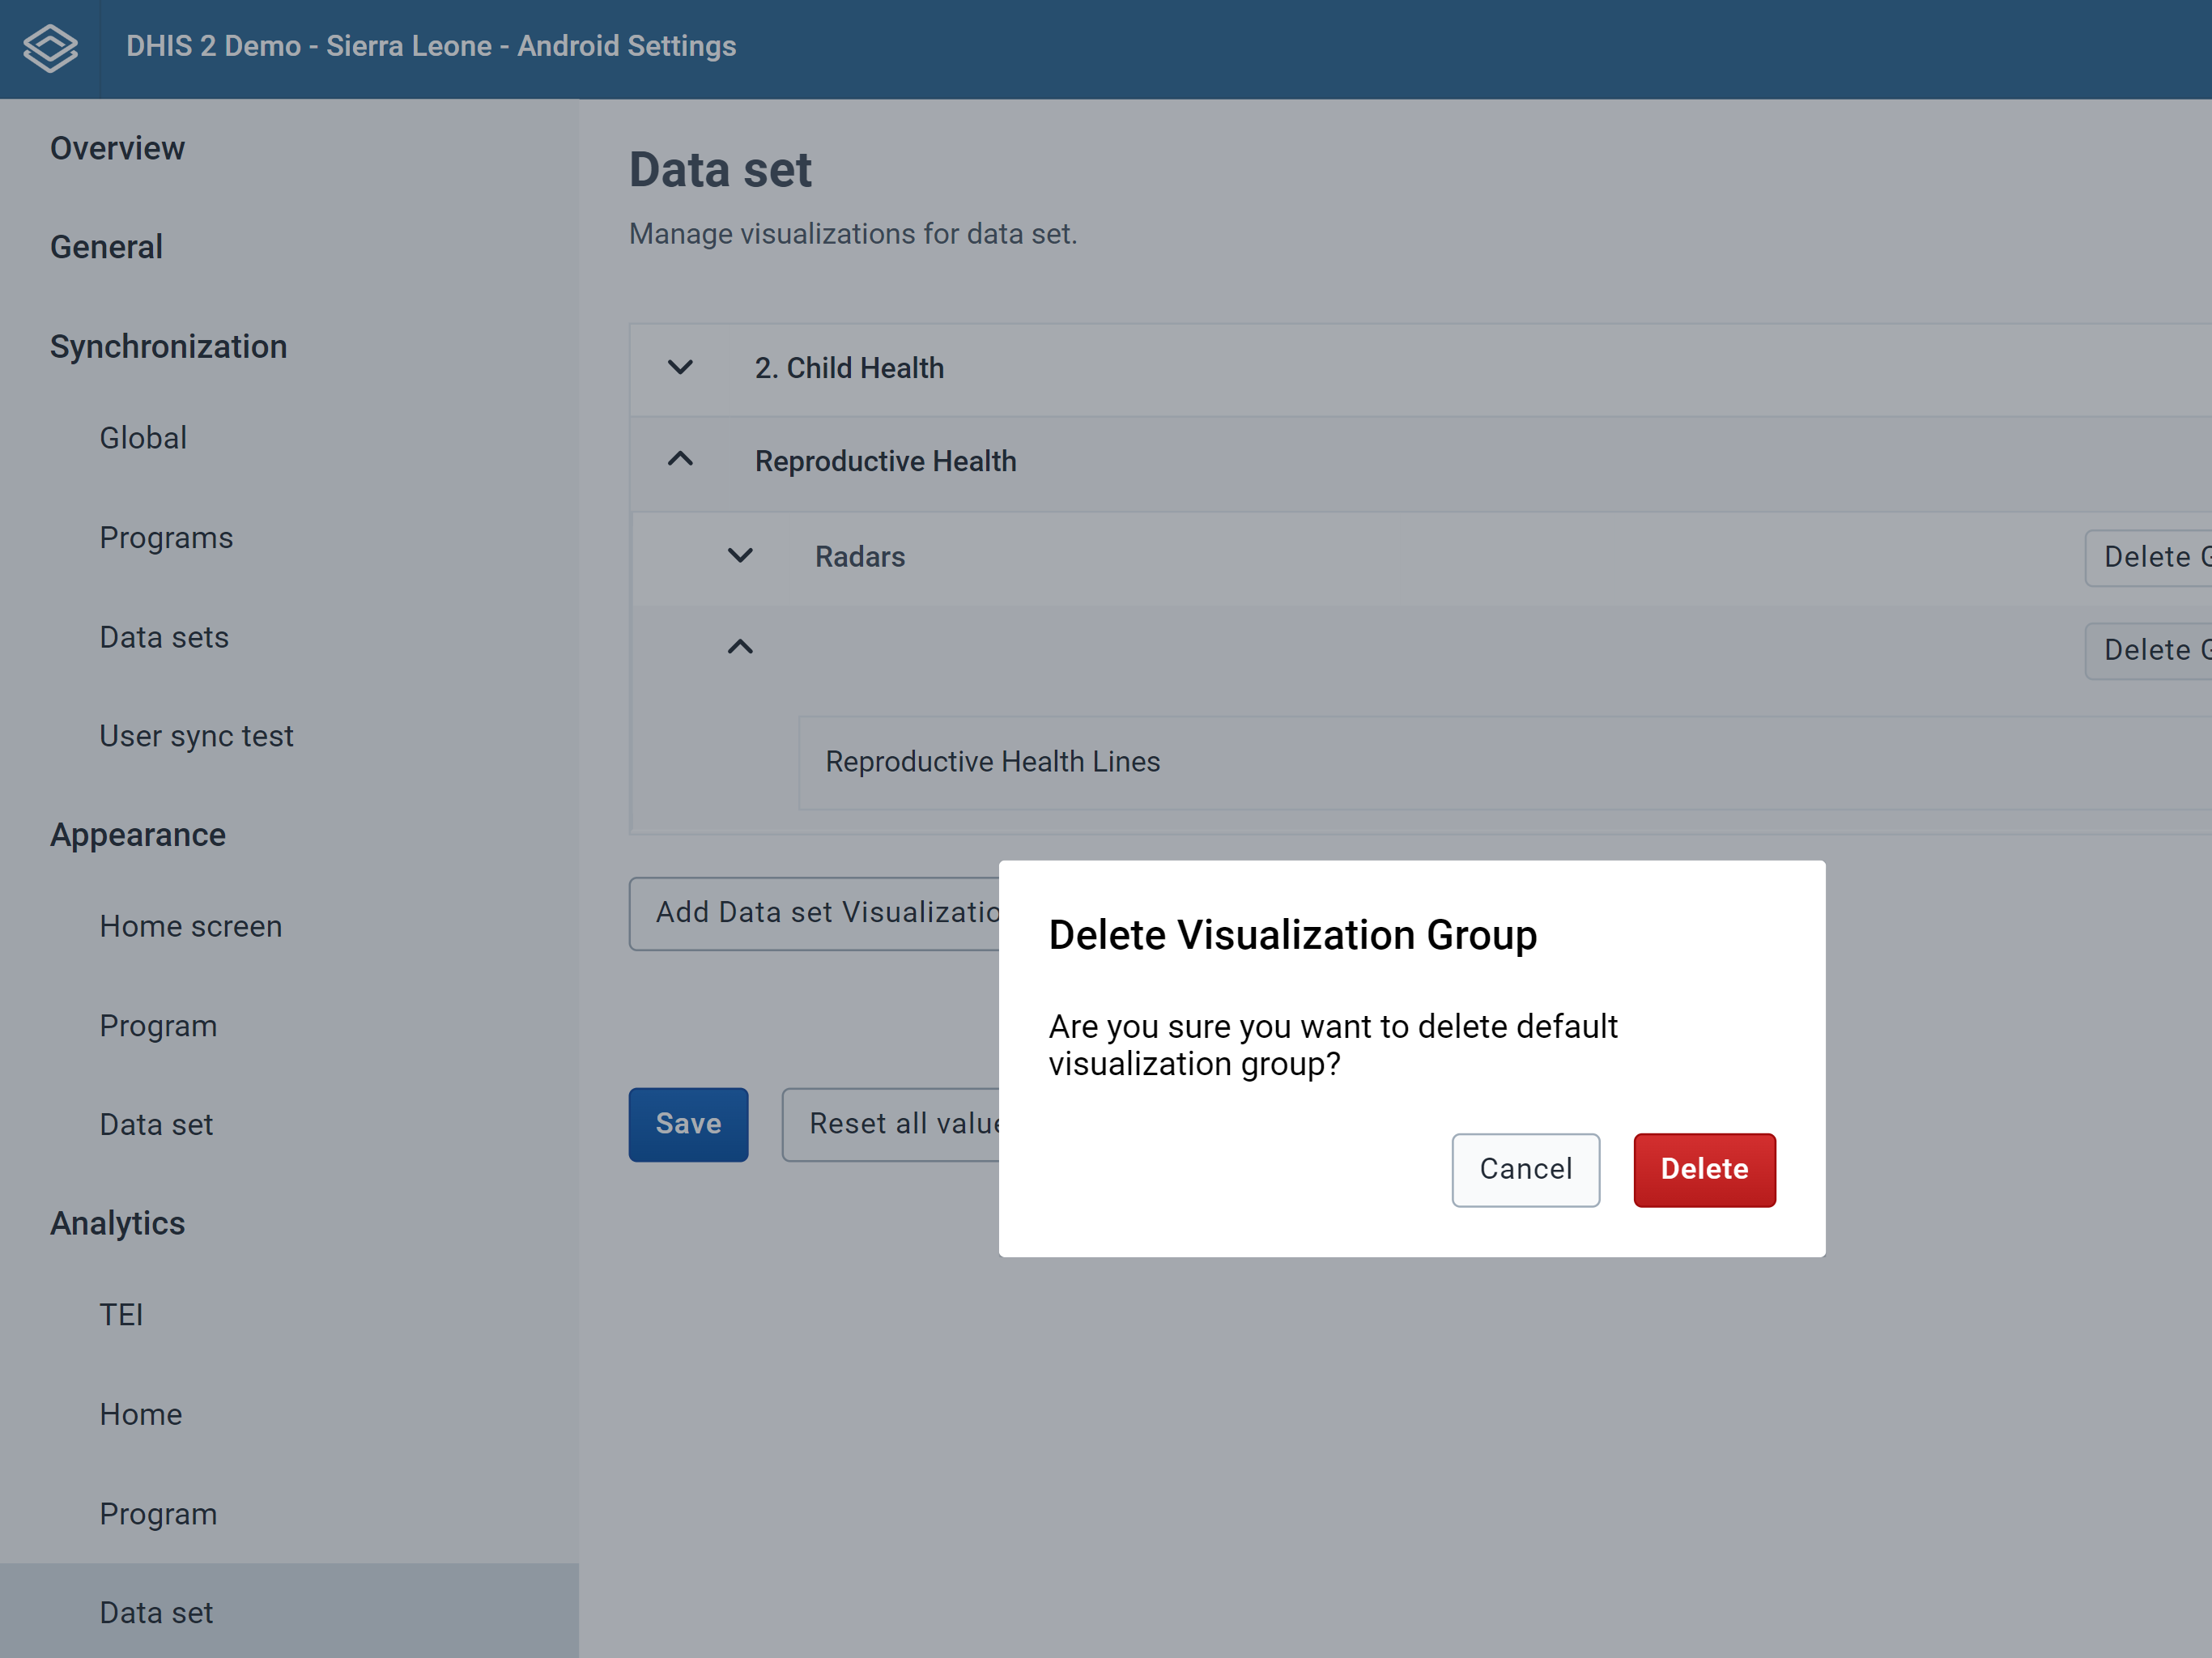
To reset all values:
The visualization user test is a feature available in Home, Program and Data Set Analytic setting that helps the admin user to identify if any particular user will be able to see the visualization.
The android settings app checks for at least one of these three permissions:
To run the test:
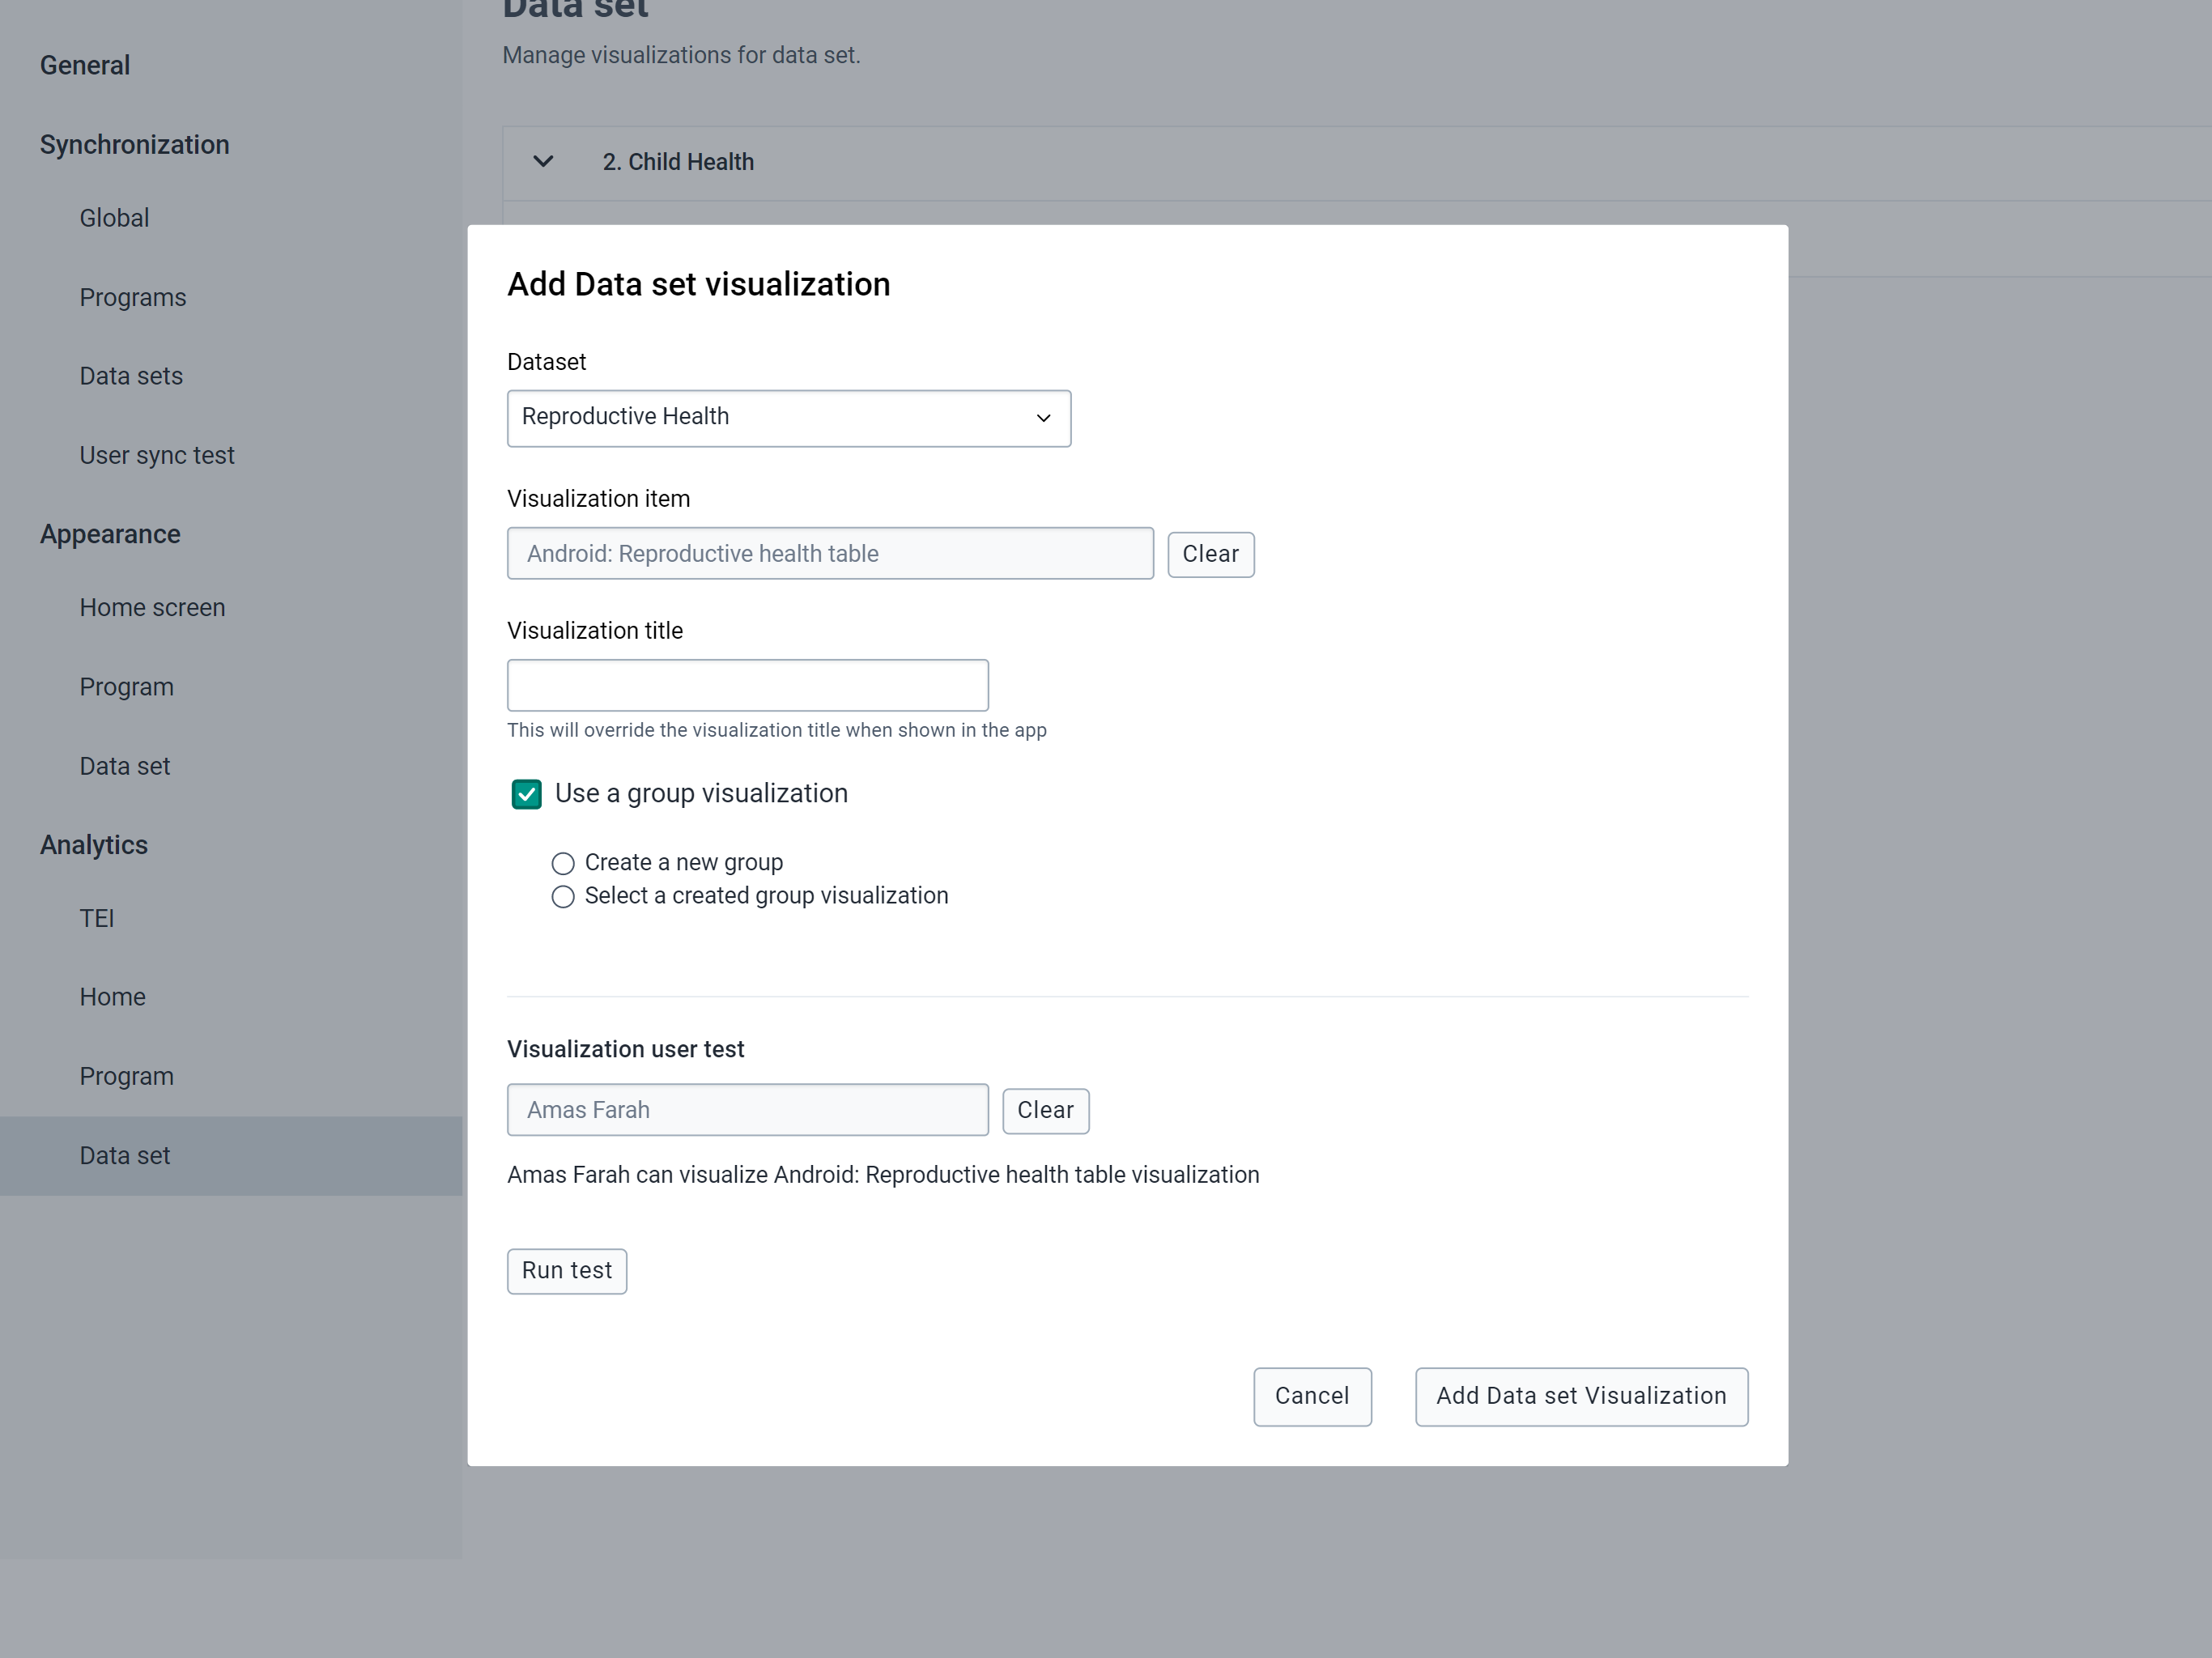
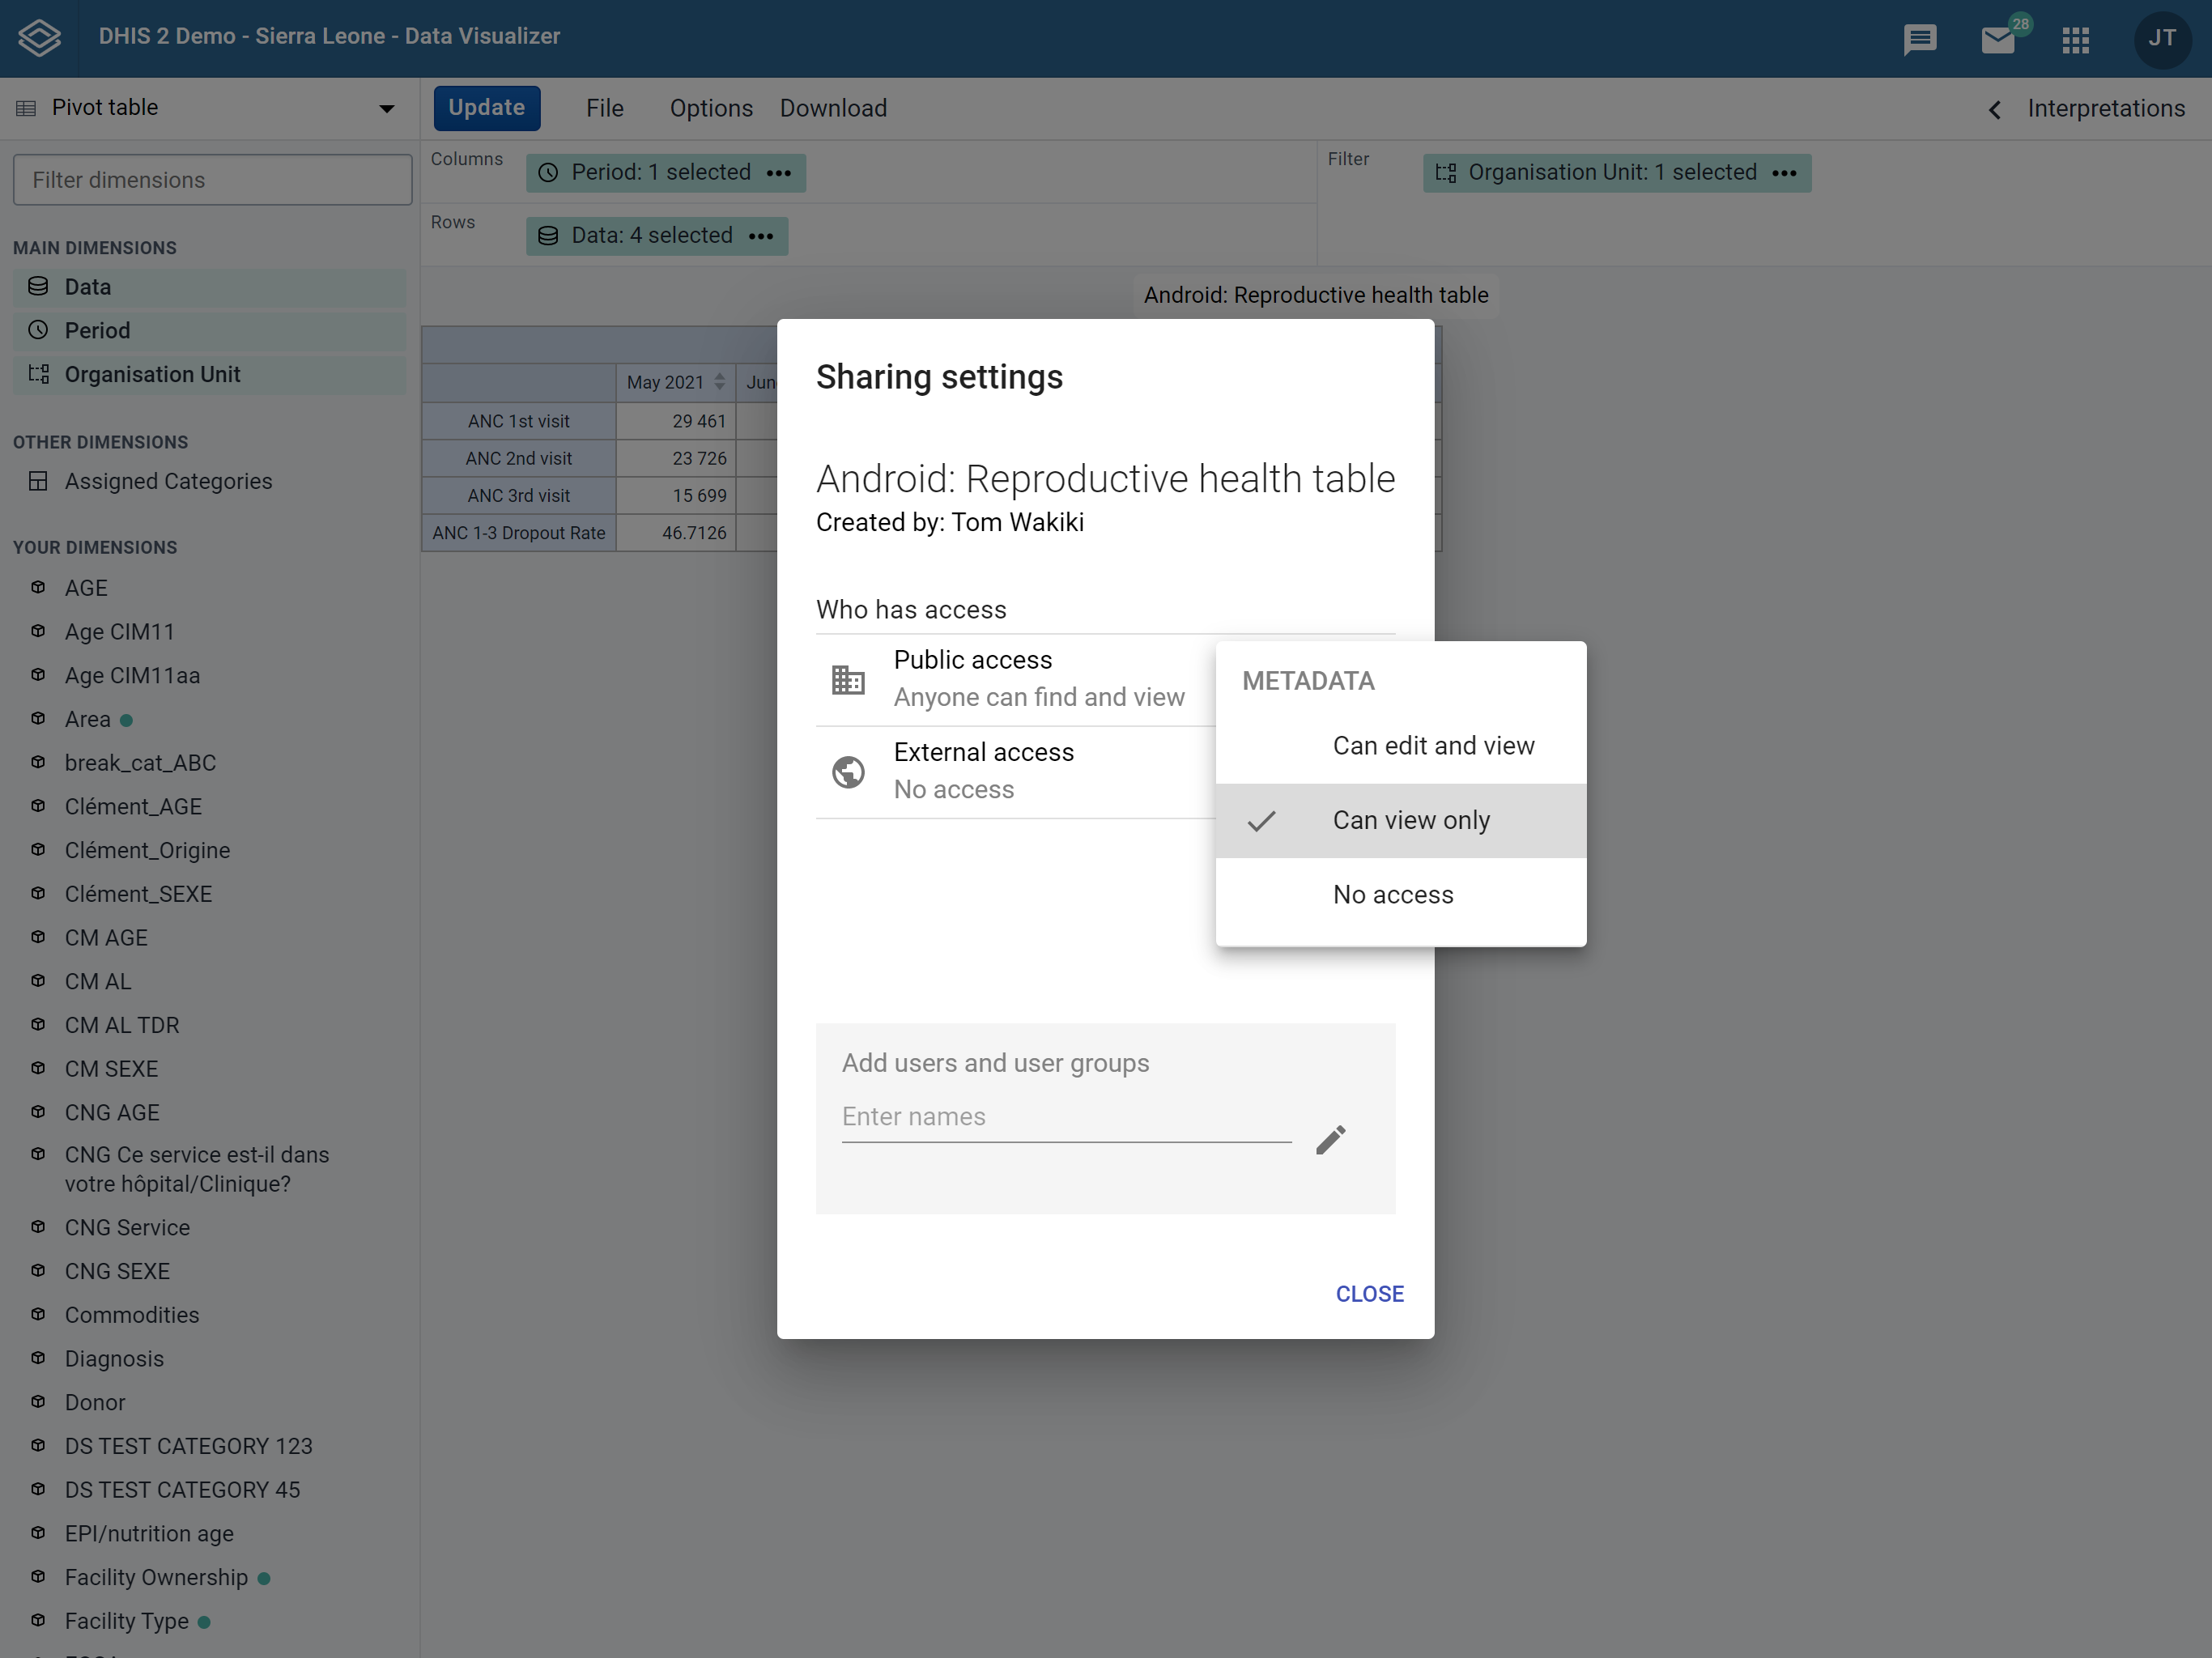
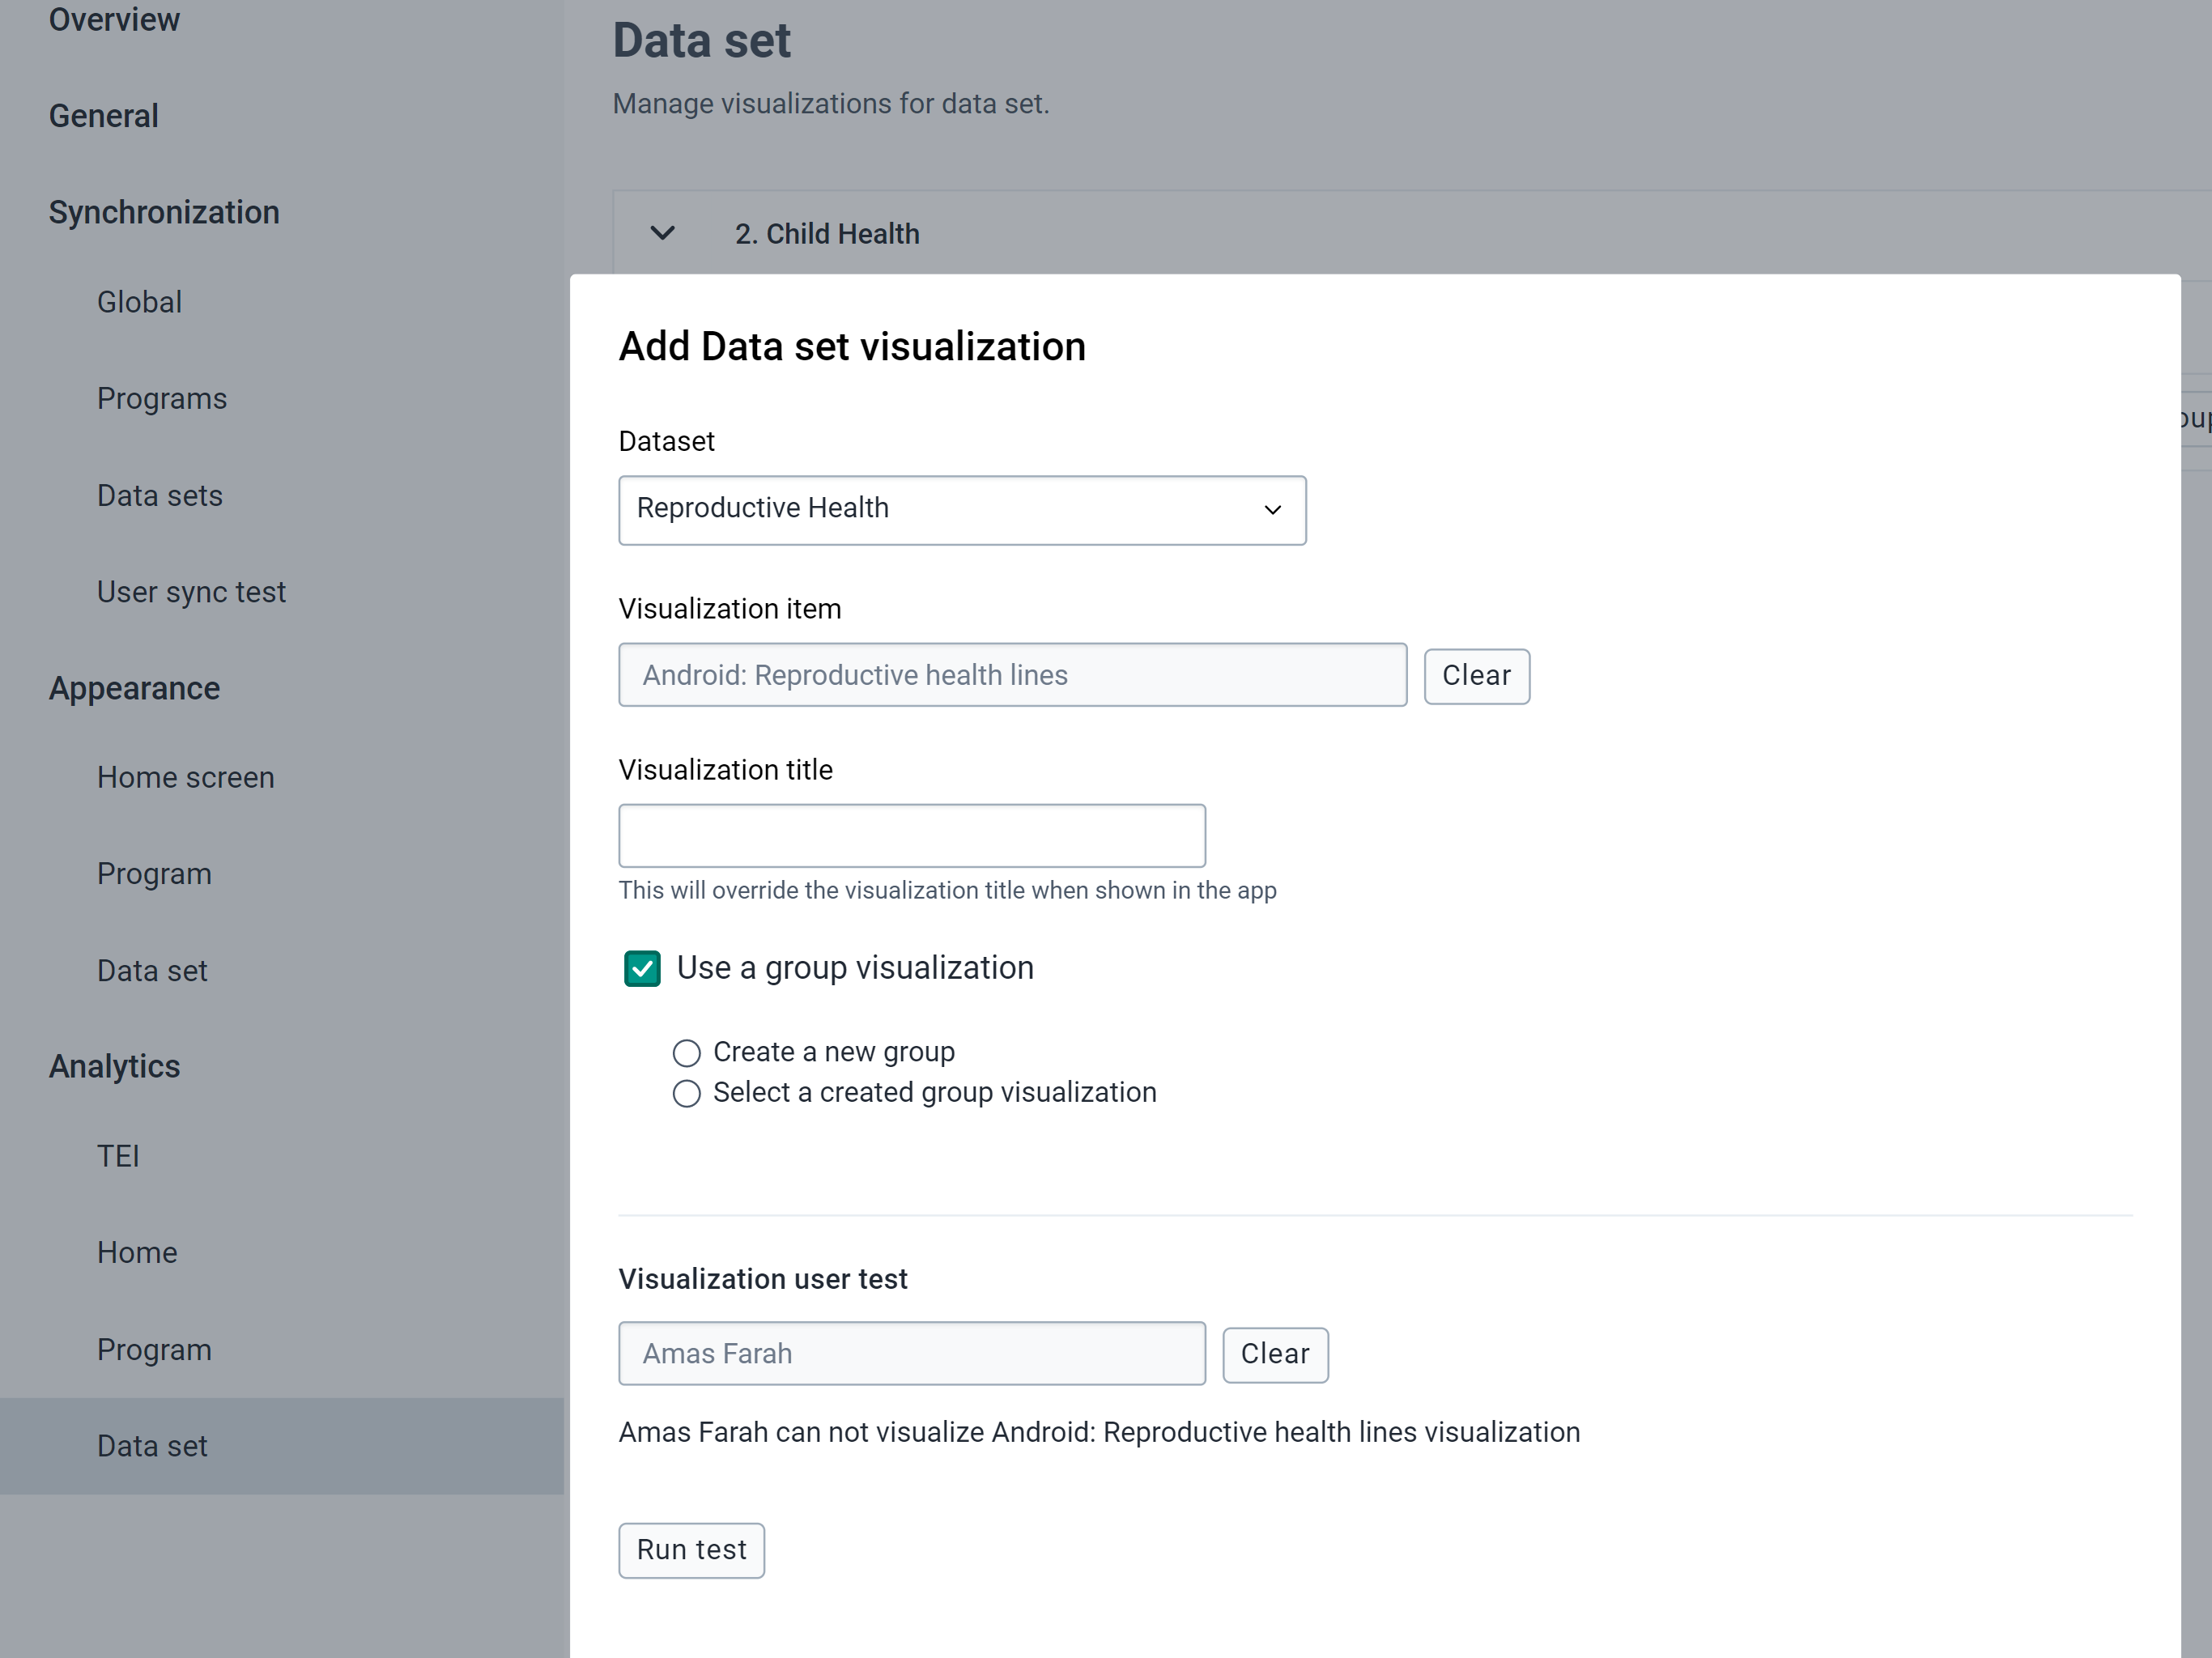
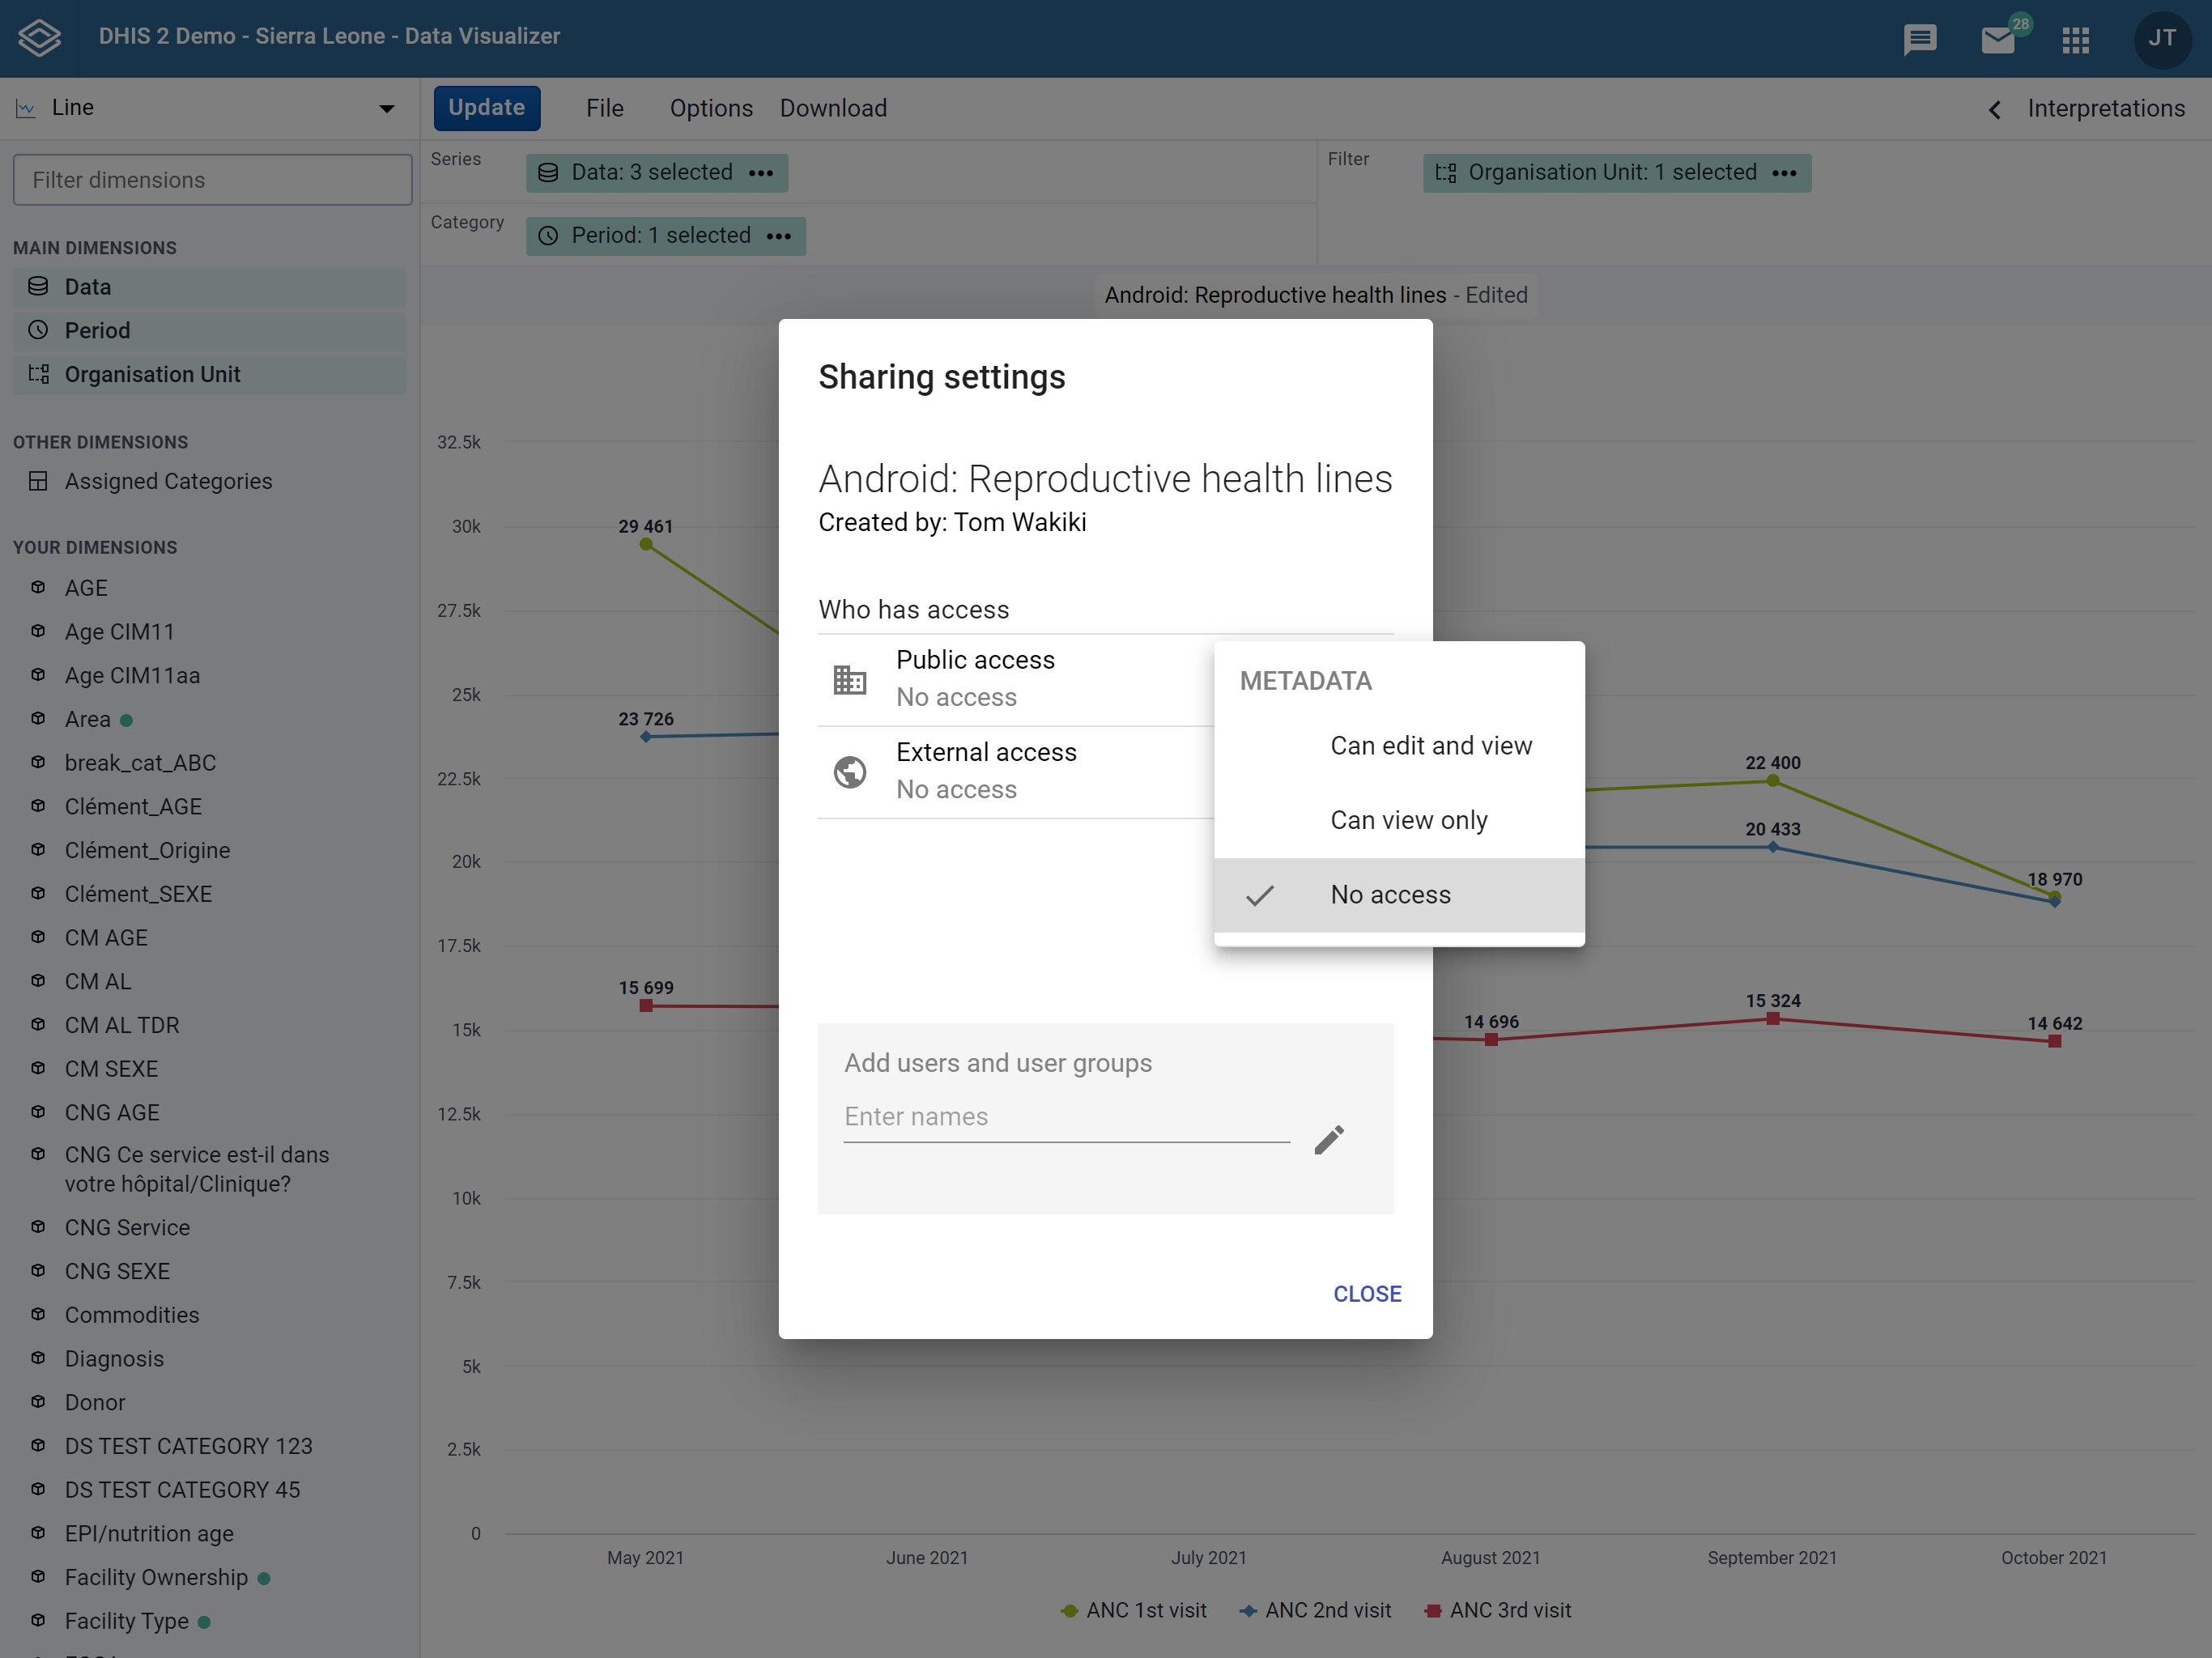
Since the aggregations and calculations displayed are calculated in the device, the implementation of analytics is limited compared to web.
In summary the compatible and supported objects and features for Data Visualizations are:
There are many more restrictions which apply to Android Analytics regarding the many configuration options available in the Web Visualizer as well as the supported functions and calculations related to indicators and program indicators. This table summarises all supported features.
In the same way, Event visualizations are considered valid if:
Note (v2.2.1)
When searching for a visualization to add as part of the Analytics visualizations, all visualizations will be listed, but visualizations that don't meet the above restrictions will be disabled.
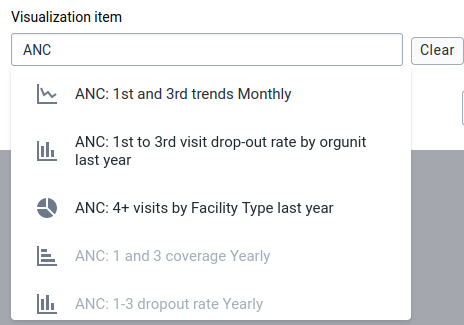
By configuring custom intents, administrators can enable the Android app to launch external applications, send data to them, and receive data back to populate fields automatically.
To add a new Custom Intent:
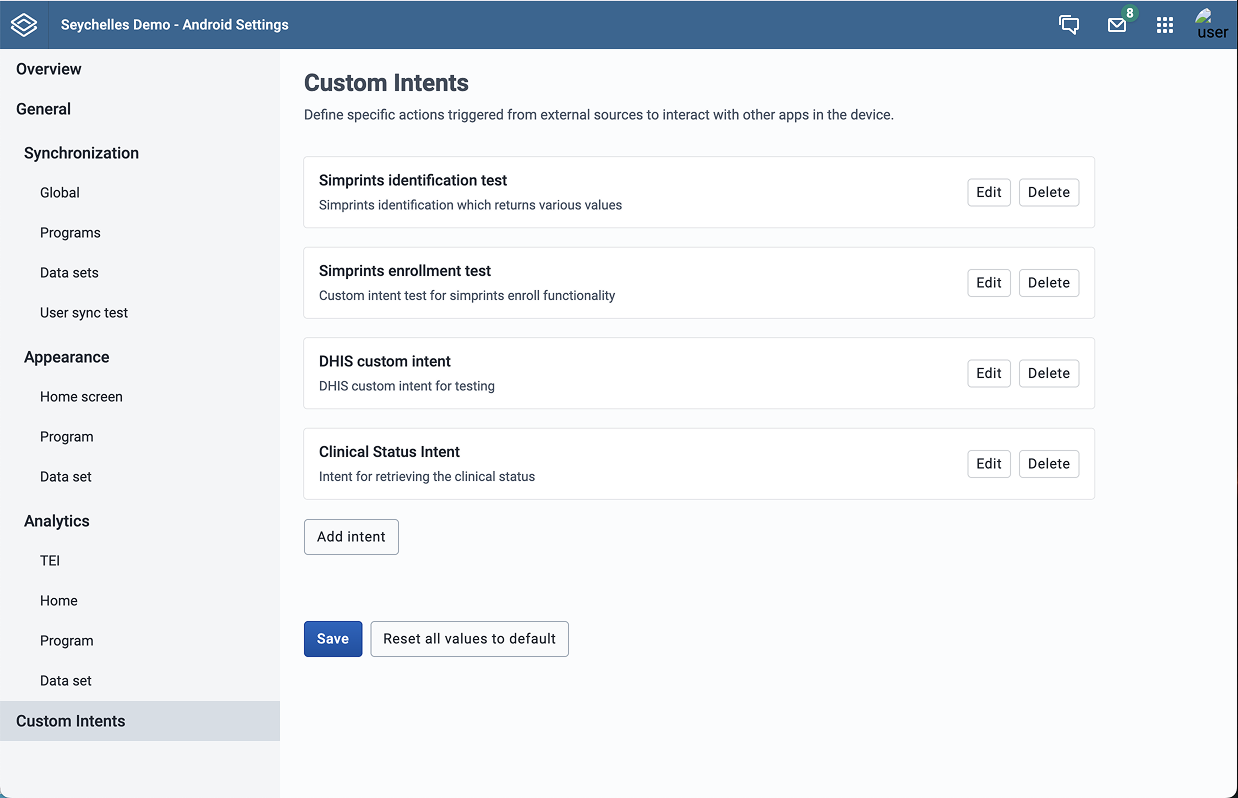
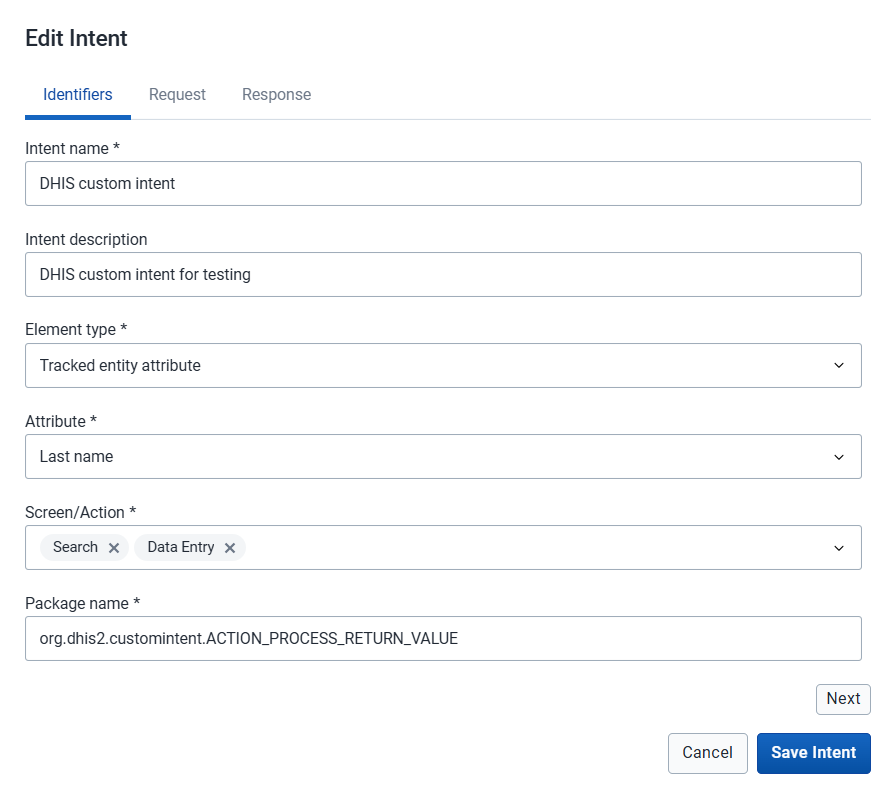
Specifies where the custom intent will be attached. Options include:
Note
Only Data Elements or Tracked Entity Attributes with TEXT or LONG_TEXT value types are currently supported for custom intents.
Defines where in the Android app the custom intent will be triggered. Available options:
The complete package name and action of the third-party Android application to launch. This should include both the package identifier and the specific action.
Format: com.apppackageName.id.CAPTURE
Example: com.google.zxing.client.android.SCAN for a barcode scanner app
Important
The third-party application must be installed on the Android device for the custom intent to work. If the app is not installed, users will receive an error message when attempting to trigger the intent.
The Request section defines the parameters that will be sent to the third-party application when the intent is launched. This allows you to customize the behavior of the external app based on your requirements.
A list of key-value pairs that will be sent as extras to the third-party application's intent. Each parameter consists of:
The "value" parameter is an expression that allows the assignment of dynamic values if needed.
It has support for the d2-functions used in program rules and some suppport for variables. The supported variables are:
| Variable | Description |
|---|---|
| orgunit_code | Code of the orgunit of the TE/Event |
| orgunit_id | UID of the orgunit of the TE/Event |
| orgunit_path | Path of the orgunit of the TE/Event |
| user_id | UID of the logged user |
| user_username | Username of the logged user |
The identifier for those variables is the prefix VAR. For example, you might have a value like:
VAR(orgunit_id)
d2:condition('OU_', VAR{orgunit_id}) // Resulting in something like 'OU_DiszpKrYNg8'
Note
Request parameters are type-safe. Follow these formatting rules: - Strings: Must be surrounded by single quotes (e.g.,
'QRCODE','portrait') - Integers: No quotes needed (e.g.,100,640) - Floats: No quotes needed (e.g.,3.14,2.5) - Booleans: No quotes needed (e.g.,true,false) - Expressions: No quotes needed (e.g.,VAR{orgunit_id})
Example Request Parameters:
| Key | Value | Description |
|---|---|---|
| PROJECT_ID | 'sample_id' | Id needed for third party app |
| ORIENTATION | 'portrait' | Set camera orientation |
| TIMEOUT | 30000 | Set timeout in milliseconds |
| ENABLE_FLASH | true | Enable camera flash |
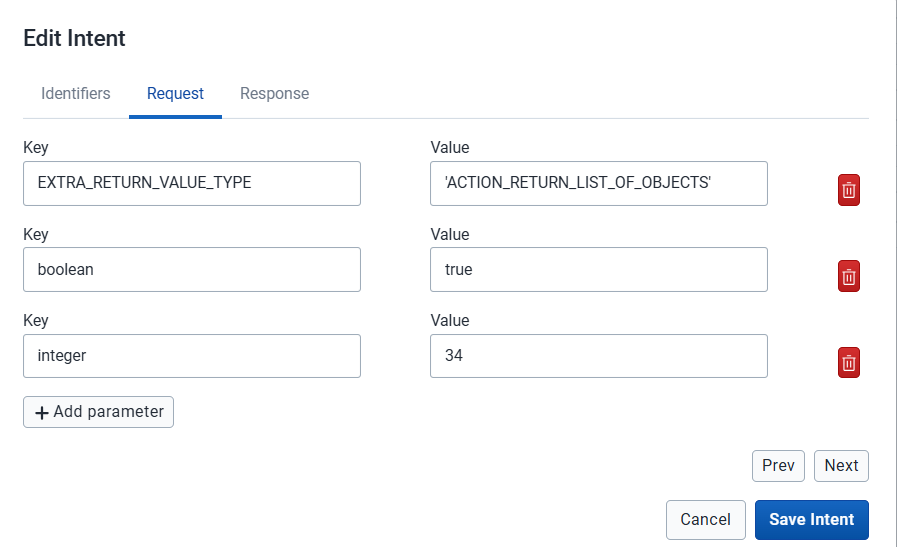
The Response section defines how to extract and process data returned from the third-party application. This determines which value will be populated in the linked tracked entity attribute or data element.
The exact name of the extra field in the intent returned by the third-party application. This is the key used by the external app to send data back to DHIS2.
Example: SCAN_RESULT, LATITUDE, BARCODE_VALUE
The data type of the returned value. Available options:
Only applicable when Extra Type is "JSON Object" or "List of JSON Objects"
Specifies the property name to extract from the JSON object(s). This should be a direct property of the JSON object.
Example: value, latitude, name
Note
- Only direct properties are supported. Nested properties (e.g.,
location.coordinates.latitude) are not currently supported.- Array indexing (e.g.,
results[0].name) is not currently supported.- When using List of JSON Objects as the Extra Type:
- For SEARCH: The specified property will be extracted from all objects in the list, allowing users to search for tracked entity instances that match any value in the list.
- For DATA_ENTRY: The values will be extracted from all objects and concatenated into a single string separated by commas (e.g.,
value1,value2,value3).
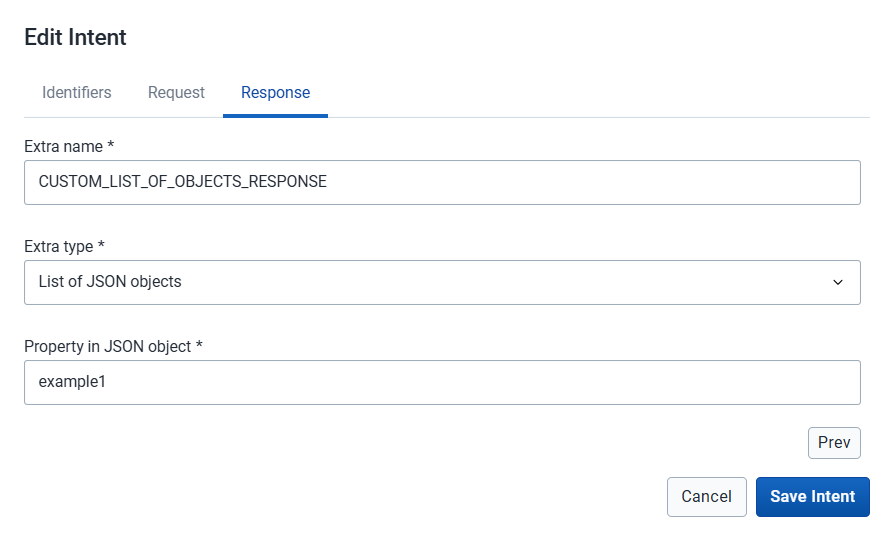
This example shows how to integrate a barcode scanner app to populate a patient ID field.
Configuration: - Intent Name: Barcode Scanner for Patient ID - Intent Description: Scans patient ID barcodes using ZXing scanner - Element Type: Tracked Entity Attribute - Attribute: Patient ID - Screen/Action: DATA_ENTRY - Package Name: com.google.zxing.client.android.SCAN
Request Parameters: | Key | Value | |-----|-------| | SCAN_MODE | 'QR_CODE_MODE' | | PROMPT_MESSAGE | 'Scan patient ID barcode' |
Response: - Extra Name: SCAN_RESULT - Extra Type: String - Property in JSON Object: (leave empty for string type)
This example demonstrates capturing GPS coordinates accuracy from a mapping application that returns JSON data.
Configuration: - Intent Name: GPS Location Capture - Intent Description: Captures GPS coordinates from mapping app - Element Type: Data Element - Data Element: Household Location - Screen/Action: DATA_ENTRY - Package Name: com.example.gpsapp.CAPTURE_LOCATION
Request Parameters: | Key | Value | |-----|-------| | ACCURACY | 'HIGH' | | TIMEOUT | 60000 |
Response: - Extra Name: LOCATION_DATA - Extra Type: JSON Object - Property in JSON Object: accuracy
Example JSON response:
{
  "coordinates": {
    "latitude": -1.2921,
    "longitude": 36.8219
  },
  "accuracy": 5.0,
  "timestamp": "2025-11-03T10:30:00Z"
}
This example shows integration with a custom medical device app that returns multiple measurements in a JSON array.
Configuration: - Intent Name: Blood Pressure Monitor - Intent Description: Captures blood pressure from external monitor device - Element Type: Data Element - Data Element: Systolic Pressure - Screen/Action: DATA_ENTRY - Package Name: com.medical.bpmonitor.MEASURE
Request Parameters: | Key | Value | |-----|-------| | MEASUREMENT_TYPE | 'BLOOD_PRESSURE' | | UNIT | 'mmHg' |
Response: - Extra Name: MEASUREMENTS - Extra Type: List of JSON Objects - Property in JSON Object: systolic
Example JSON response:
[
  {
    "systolic": 120,
    "diastolic": 80,
    "pulse": 72,
    "timestamp": "2025-11-03T10:30:00Z"
  }
]
Warning
When configuring custom intents that integrate with third-party applications, consider the following security implications: - Data sent to third-party apps may be stored or transmitted according to the third-party app's privacy policy - Ensure third-party applications are from trusted sources - Review the permissions requested by third-party applications - Sensitive health data should only be shared with certified and compliant applications - Consider implementing Mobile Device Management (MDM) to control which apps can be installed
Issue: Custom intent button doesn't appear - Verify that the custom intent is correctly configured in the Android Settings Web App - Check that the device has synchronized the latest configuration - Ensure you're viewing the correct tracked entity attribute or data element
Issue: "Application not found" error - The third-party application is not installed on the device - The package name is incorrectly configured - The third-party app doesn't support the specified action
Issue: No data is returned - Verify the Extra Name matches the key used by the third-party app - Check that the Extra Type is correct - Review the third-party app's documentation for the expected response format
Issue: Wrong value is populated - Verify the Property in JSON Object path is correct - Check that the JSON structure matches the expected format - Ensure the Extra Type matches the actual returned data type
Issue: App crashes when launching intent - Review the request parameters for syntax errors (e.g., missing quotes for strings) - Verify the third-party app supports the configured parameters - Check Android logs for detailed error messages
Before deploying custom intents to production:
Note
Consider creating a test program or data set specifically for testing custom intent configurations before deploying to production programs.
Clear Naming: Use descriptive intent names that clearly indicate the purpose and third-party app being used
Documentation: Maintain documentation of all configured custom intents, including the required third-party apps and their versions
User Training: Provide clear instructions to users on how to use custom intents and what to expect. Ensure users understand that manual data entry will not be available for fields with custom intents configured.
App Distribution: Use Mobile Device Management (MDM) to ensure third-party apps are properly installed and updated on all devices
Testing: Thoroughly test custom intents in a non-production environment before deployment
Validation: Implement appropriate validation rules on fields that use custom intents to ensure data quality
Reliability: Ensure the third-party application is stable and reliable, as it will be the only way to populate the configured field. Have a contingency plan if the third-party app becomes unavailable.
Version Control: Keep track of third-party app versions and test compatibility when apps are updated
Privacy Compliance: Ensure custom intent configurations comply with data privacy regulations (GDPR, HIPAA, etc.)
A user can easily install the Android Settings Web App by logging into the DHIS2 and going to App Management.
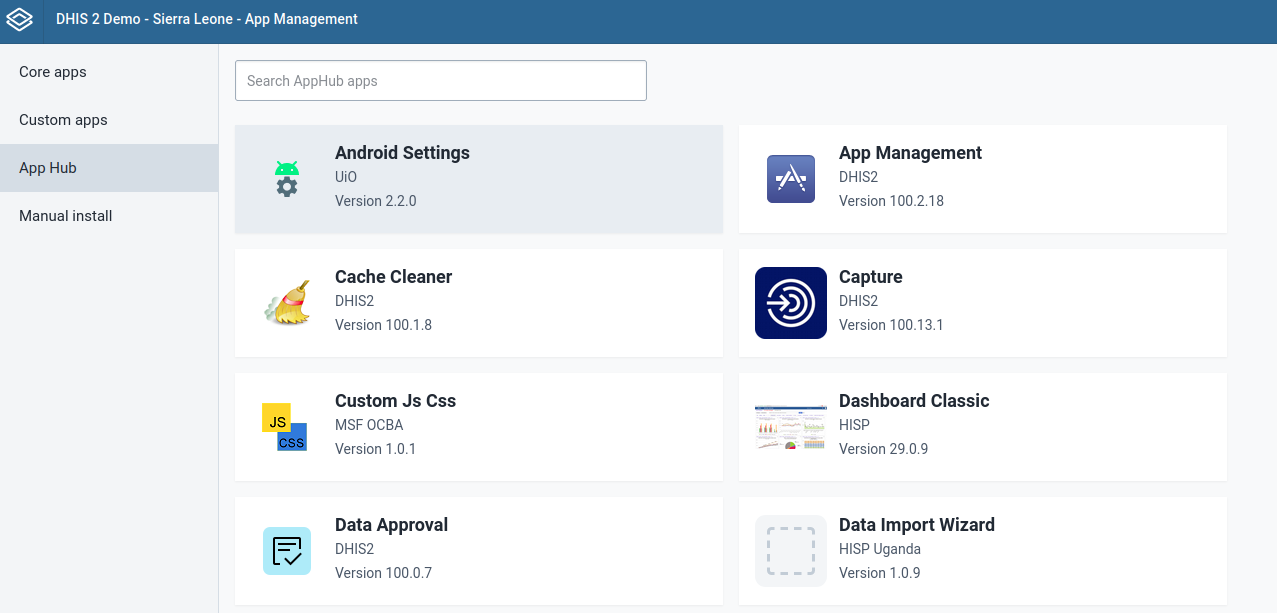
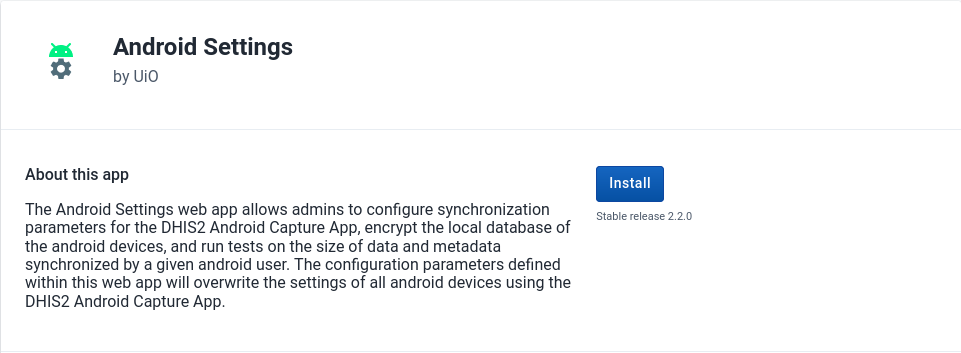
After a user installs and launches the Android Settings Web App for the first time, the web app will require setting and saving the default values of the configuration. This will apply default settings to all android devices connected to the instance.
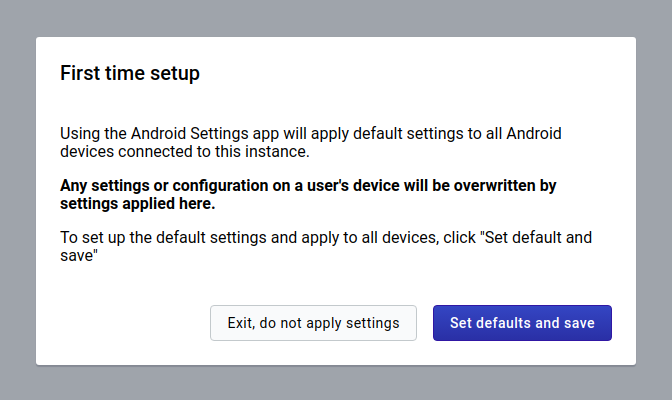
Warning
Be aware that previous versions are deprecated, so you will start with a new default configuration.
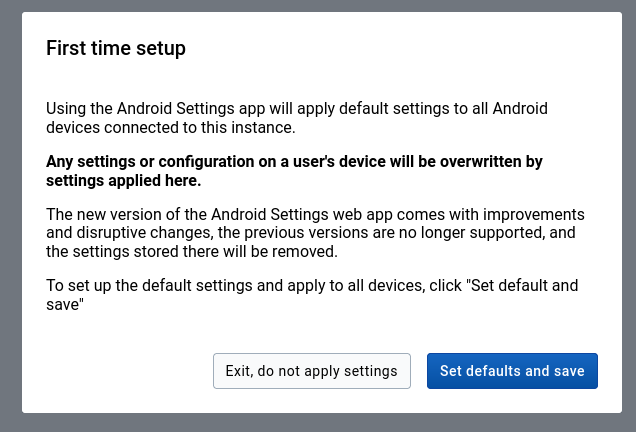
Warning (v2.3)
When using DHIS2 version equal to or higher to 2.40, only users with "M_androidsettingsapp" or "ALL" authority can save or update the configuration, but any user will have view access once it is created.
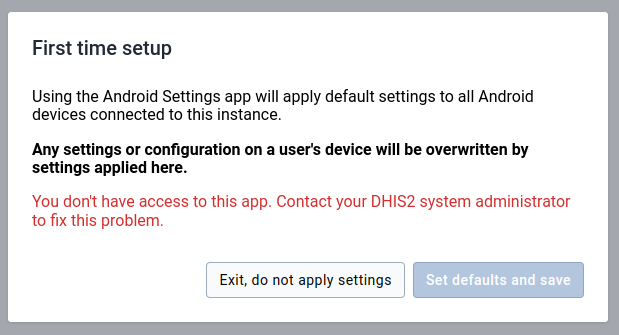
Internally all settings are stored in Datastore in JSON format.
Datastore structure:
| Item | Description | Data type |
|---|---|---|
| Namespace | Namespace for organization of entries | String |
| Key | Key for identification of values | String |
| Value | Value holding the information for the entry | JSON |
At the form footer of all settings sections, admin users can find a Save button.
Only when an admin user clicks on this button, all changes made on the current section are saved on the Datastore. These changes will apply to the Android Capture App when they synchronize their configuration.
An admin user can restore the settings at any time. There is a Reset all values to default button at the form footer of all settings sections.
The default values will be only restored on Datastore and applied after clicking on Save.
In case of needing to uninstall the Android Settings App it is recommended to also delete all the data from the reserved datastore namespace.

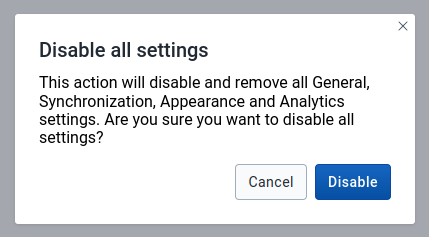
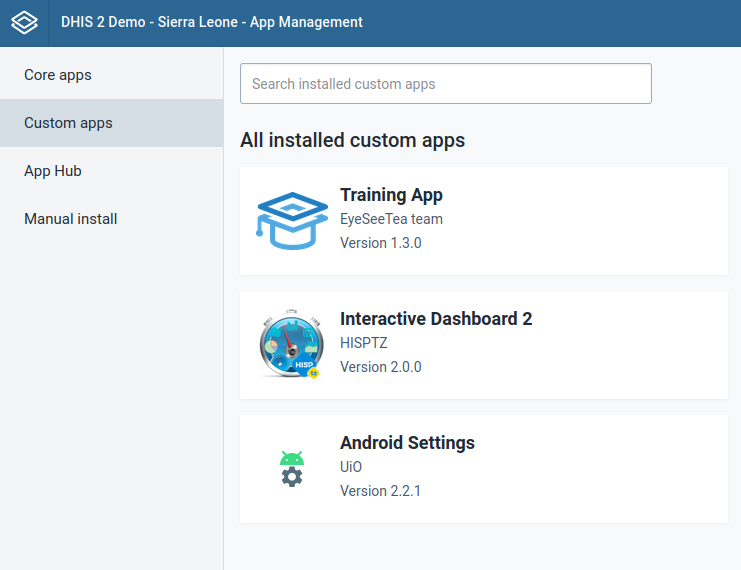
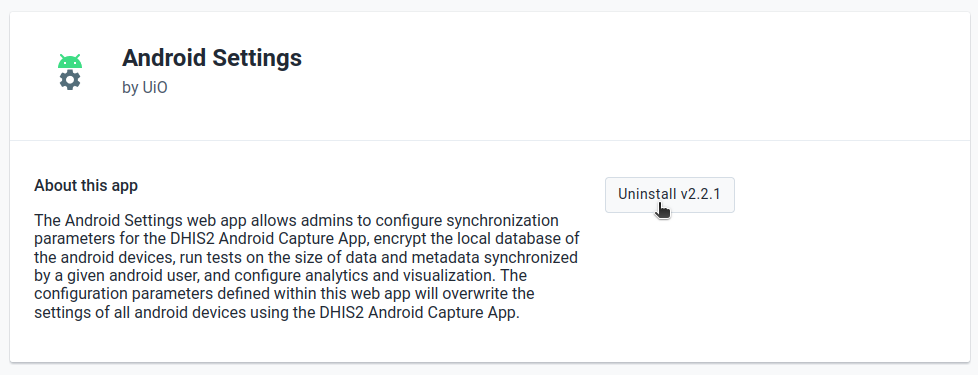
Warning
This is a critical action, be aware that by doing this, all previous configurations will be permanently deleted.
A label is displayed to indicate the minimum Android app version required to use specific features or functionalities. This ensures that users are informed about compatibility requirements and can update their app if necessary to meet the minimum version.
For example, if a feature requires Android app version 2.9 or higher, the label will show the required version clearly for the user.
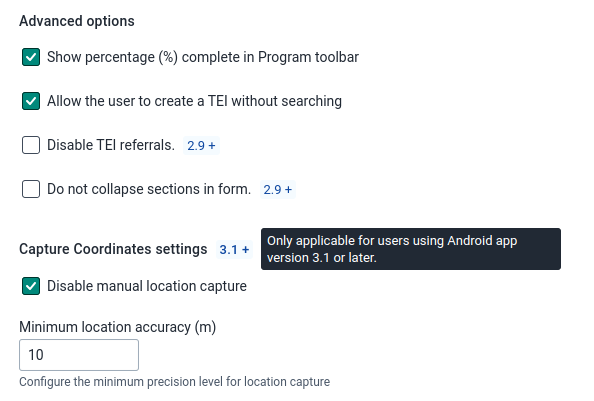
This table summarises all supported features and the compatibility of them with the Android Capture app.
This section focuses on the Use Case Configuration Web App implementation.
The Use Case Configuration Web App will connect the components of use cases, like Pharmacy stock management (LMIS), such as the Tracker Program and Data elements, to the Android Capture App. This app ensures configuration flexibility and avoids hard coding various metadata in the actual mobile application.
Based on the configuration, any program of the DHIS2 server can be set as a stock management system or any other use case.
Please note that in this version of the Web App, only users with "ALL" authority are able to define the configuration. Other users will not have access to the web app or see the configuration.
Warning
Be aware that the app can only be used in instances using the 2.39.1 DHIS2 API version onward.

A user can easily install the Use Case Configuration Web App by logging into the DHIS2 and going to App Management.
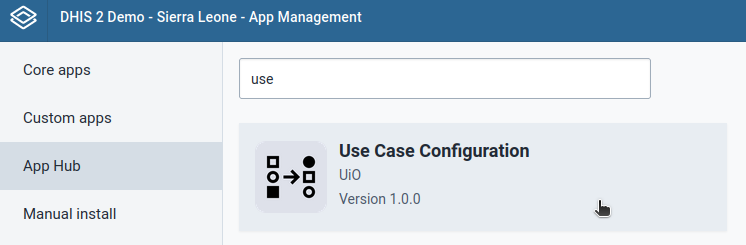
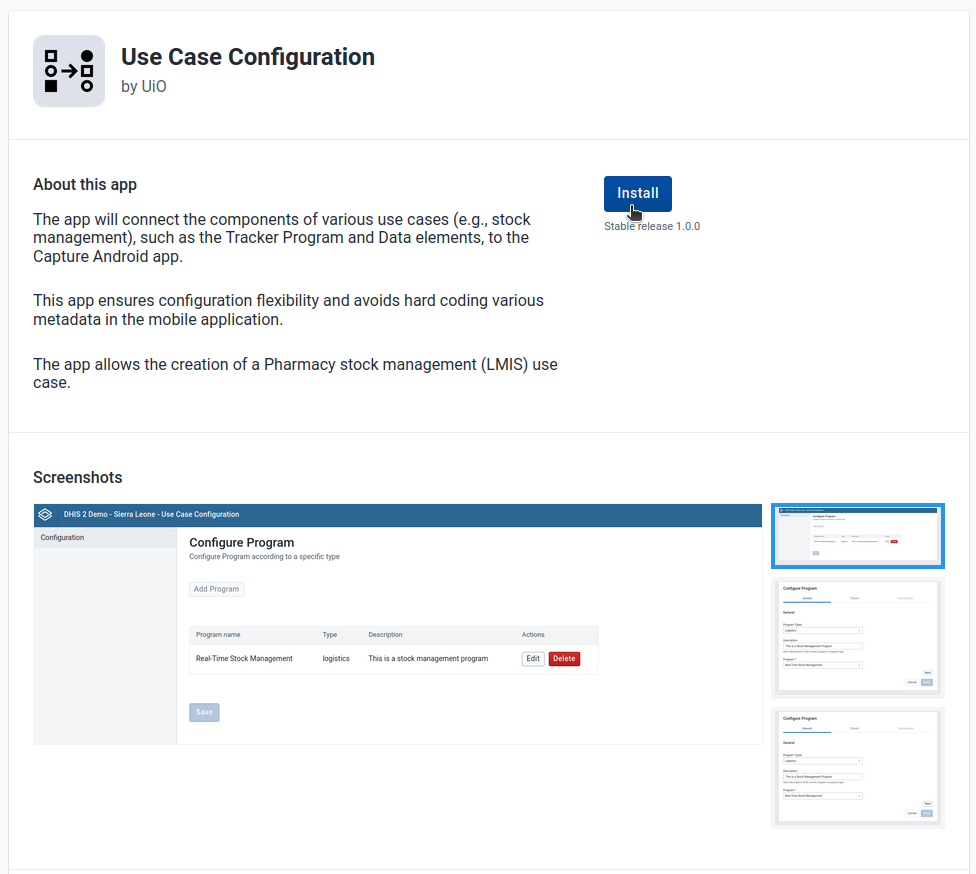
After a user installs and launches the Use Case Configuration Web App for the first time, the web app will require saving the default values of the configuration. This will allow android devices connect to the instance.
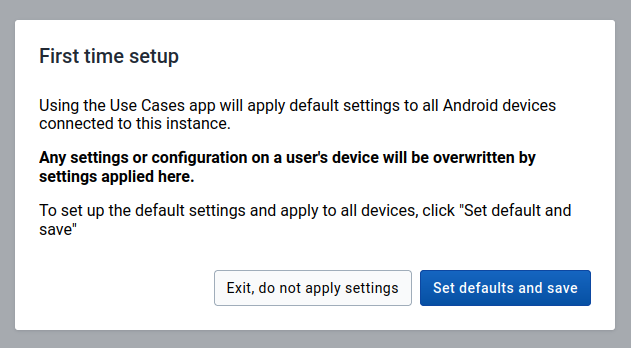
Warning
Only users with 'ALL' authority are able to save or update the configuration, users with no authority will not have view access to the app even if it is already created.

It allows admin users to configure programs to use the stock management system use case.
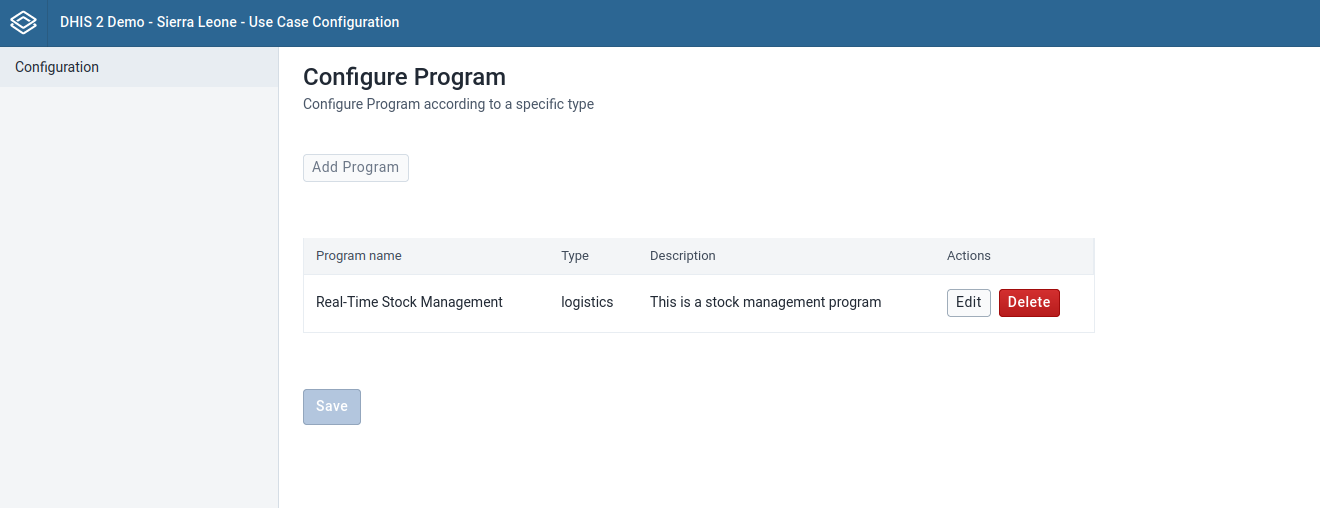
Note: (New 1.1)
- Effective from version 1.1.0 of this web application, it is mandatory that Data Elements such as "Stock on Hand" and "Corrected Stock" possess a value type of "Positive or Zero Integer."
- To modify the value type of these Data Elements, users must use the Maintenance app.
- Following the adjustment of the value type, users are required to update or edit the program configuration via the Use Case Configuration web application. This ensures synchronization and coherence across the system.
This ensures that these crucial data elements maintain consistency and accuracy within the system.
The DHIS2 Use Case Configuration App assigns the use case, like Real Time Stock Management, to any Tracker Program. When the user opens the application in the Android Capture app the DHIS2 RTS is started instead of a conventional Tracker Program.
To create a Program Configuration:
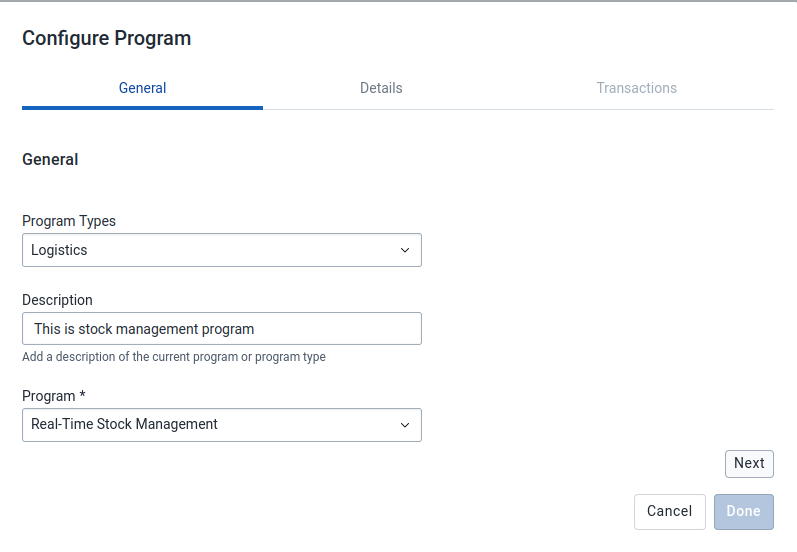
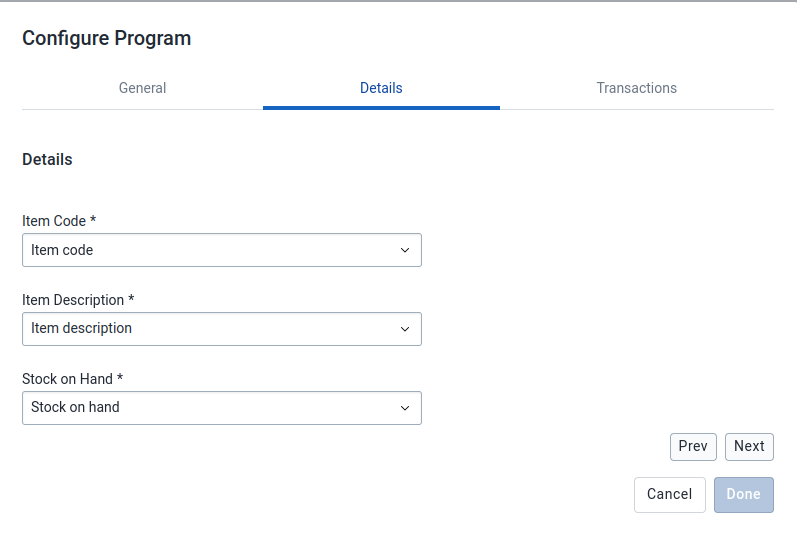
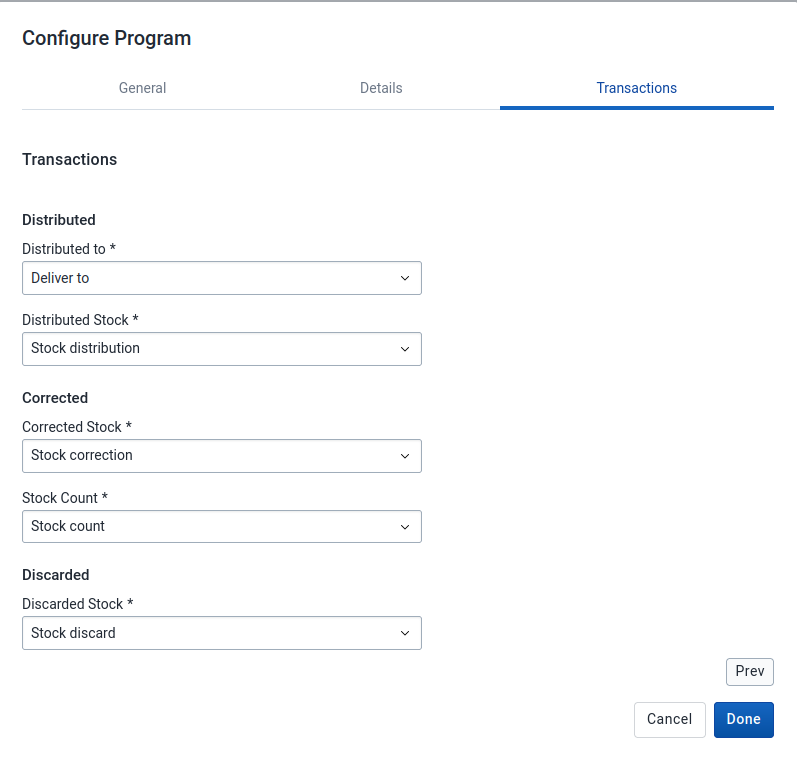
Note:
When all the valid programs are already configured, the Add Program button will be disabled.
The compatible and supported programs for a RTSM use case are: - Tracker program with one repeatable program stage. - Program rules to provide the real time stock on hand update. - Data elements and Tracker Entity Attributes assign to program and program stage.
The following is a comprehensive list of the main metadata configurations and settings for the Tracker Program on which the customized DHIS2-RTS is based on.
| CATEGORY | SYSTEM DEFAULT SETTINGS |
|---|---|
| Organisation unit | According to national protocols and policies and/or existing DHIS2 configuration |
| Data element | Name: - "Deliver to": Text / Option set = "Deliver to" - "Previous stock balance": Positive integer - "Stock correction": Positive or Zero integer (New 1.1) - "Stock count": Positive integer - "Stock discard": Positive integer - "Stock distribution": Positive integer - "Stock on hand": Positive or Zero integer (New 1.1) - "Stock received": Positive integer Domain type: Tracker Value type: see above |
| Option set | Name: "Deliver to" Value type: Text |
| Tracked entity attribute | Name: - "Item barcode" - "Item code" - "Item description" "Value type": Text "Aggregation type": None |
| Tracked entity type | Name: Item "Feature type": None |
| Program | Type: Tracker Tracked entity type: Item Program tracked entity attributes: - Item barcode - Item code - Item description Program stages: Name: "Stock on Hand" Scheduled days from start: 0 Repeatable |
| Program rule | Name: "Assign Stock correction" Condition: "d2:hasValue( #{Stock count} )” Action: "Assign value" Name: "Assign Stock on Hand" Condition: "true" Action: "Assign value" Name: "Assign previous stock balance" Condition: "d2:hasValue( #{Initial stock on hand - Previous event} )" Action: "Assign value" |
More information related to DHIS2 for logistic in the user guide.
To edit a Program Configuration:
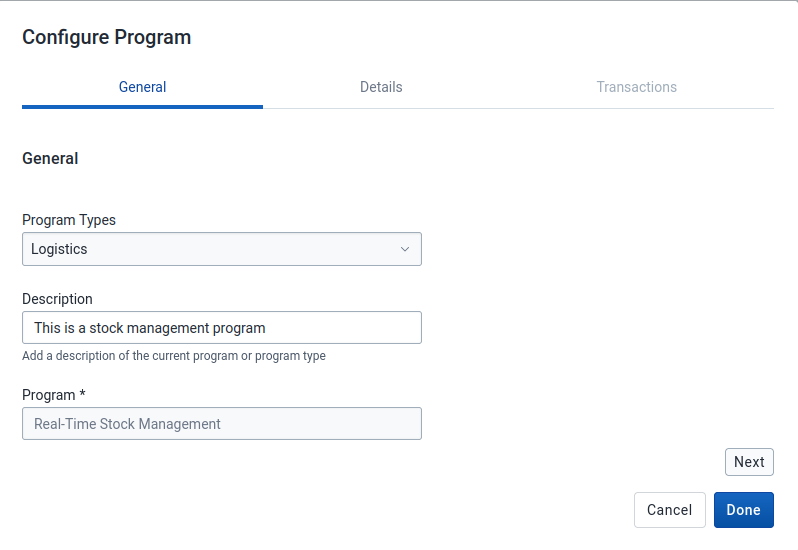
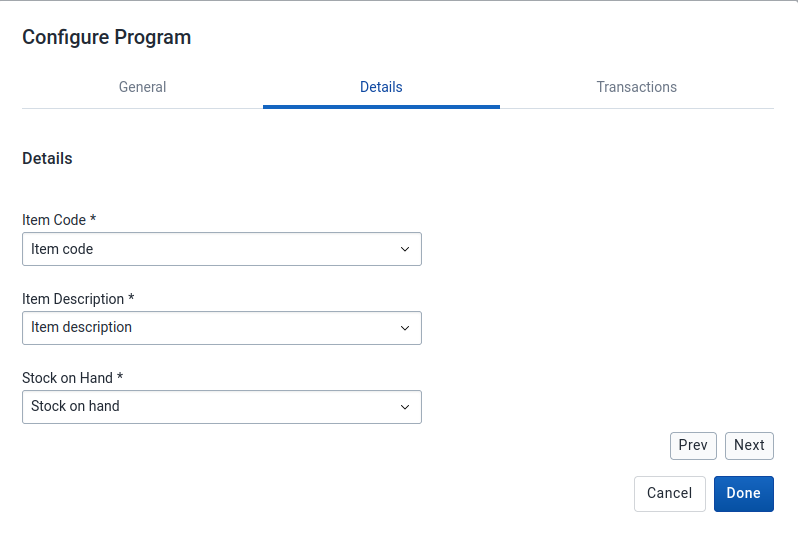
Note: (New 1.1)
- While editing the configuration of a program containing Data Elements with a previously accepted value type, users will encounter a warning indicating the need for attention to these fields. These flagged fields will need reconfiguration by selecting new Data Elements.
- The "Next" and "Done" buttons within the configuration interface will remain disabled until users have selected Data Elements that comply with the new valid value type. This precaution ensures that only compatible Data Elements are used.
This process ensures seamless transition and adherence to updated system requirements, minimizing errors and ensuring data accuracy.
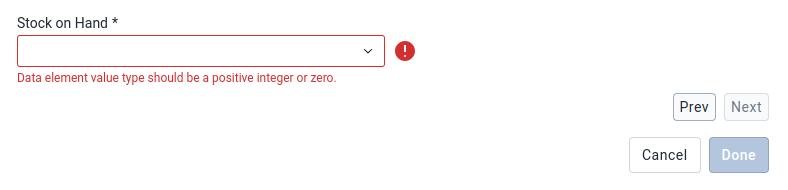
To remove a Program Configuration:
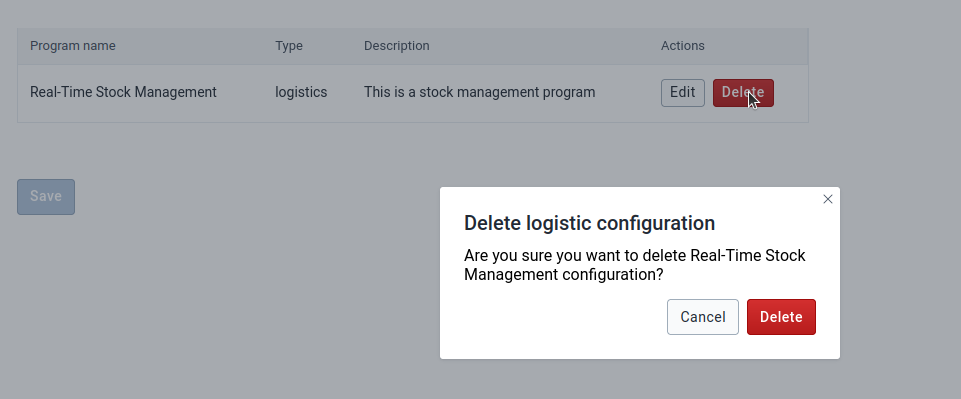
Internally all program configurations are stored in Datastore in JSON format.
Datastore structure:
| Item | Description | Data type |
|---|---|---|
| Namespace | Namespace for organization of entries | String |
| Key | Key for identification of values | String |
| Value | Value holding the information for the entry | JSON |
At the footer of the configuration section, admin users can find a Save button.

Only when an admin user clicks on this button, all changes made are saved on the Datastore. These changes will apply to the Android Capture Apps when they synchronize their configuration.
In case of needing to uninstall the Use Case Configuration App it is recommended to also delete all the data from the datastore namespace.
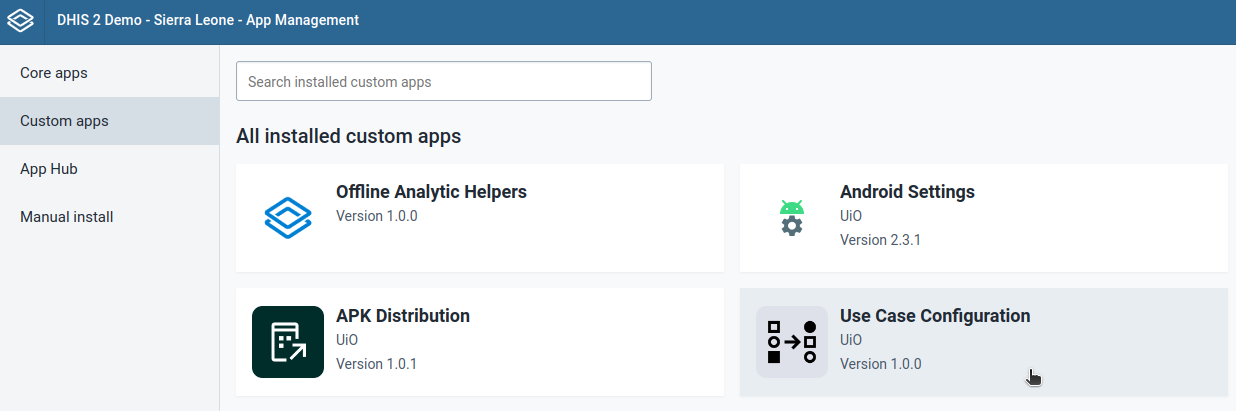
Warning
This is a critical action, be aware that by doing this, all previous configurations will be permanently deleted.
This section focuses on the APK Distribution Web App implementation.
The APK Distribution Web App enables implementation administrators to manage and control the version of the Android app, making it easier to manage app updates and ensure compatibility with the DHIS2 system.
Admins will be able to upload the desired version and users will get a prompt message to update when they are not in the last updated version.
Please note that in this version of the Web App, only users with "ALL" authority are able to define the Android app versions. Other users having access to the web app can see the version history list and download the latest version, but cannot edit them.
A user can easily install the Use Case Configuration Web App by logging into the DHIS2 and going to App Management.
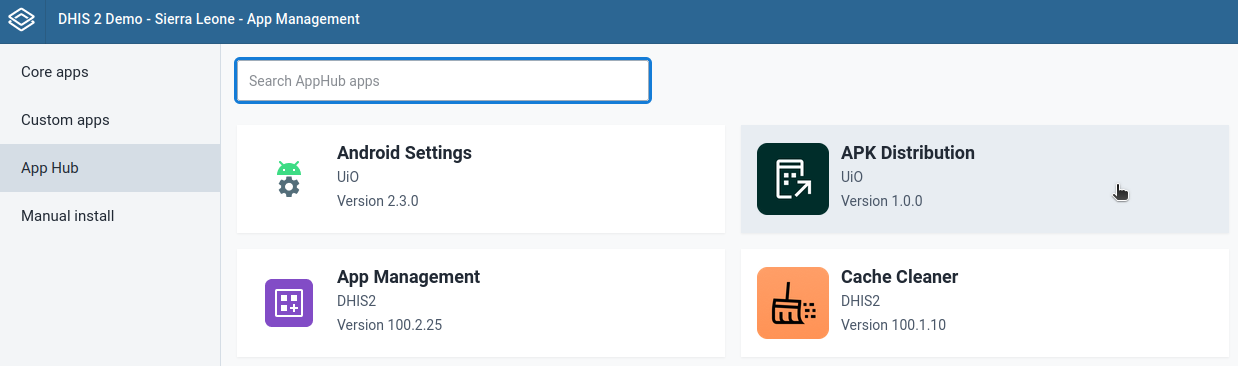
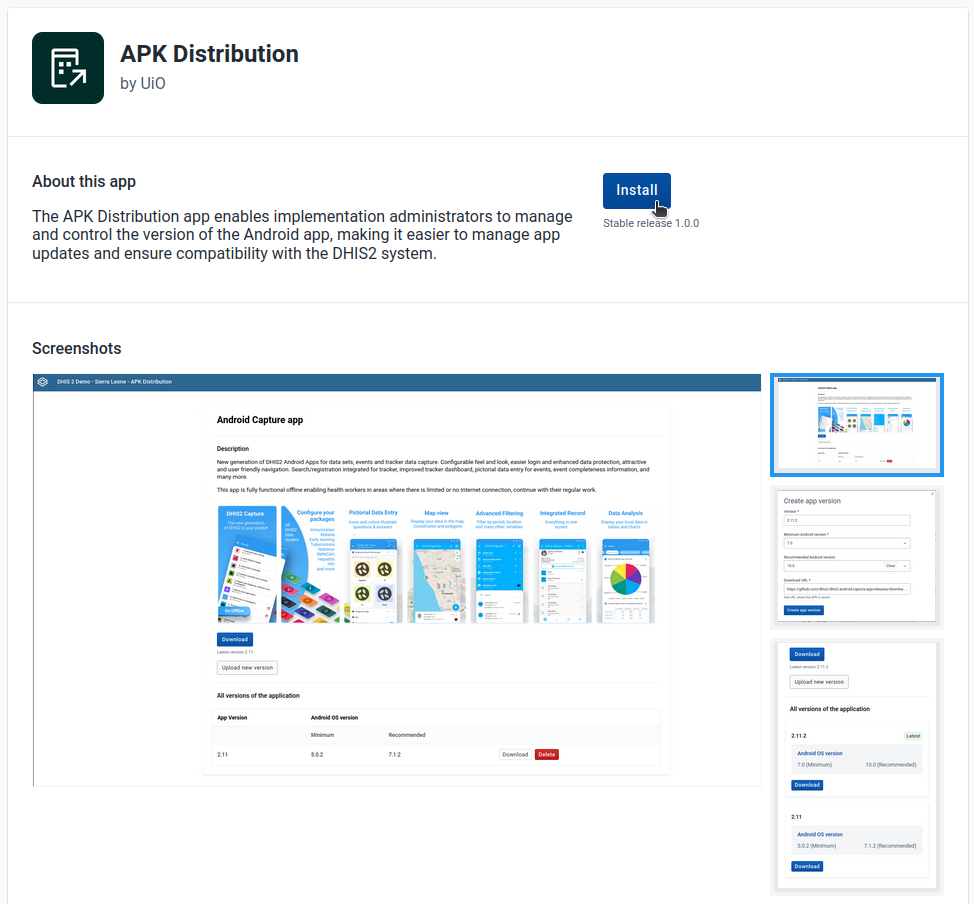
After a user installs and launches the APK Distribution Web App for the first time, the web app will require saving the default values of the configuration. This will allow android devices connect to the instance.
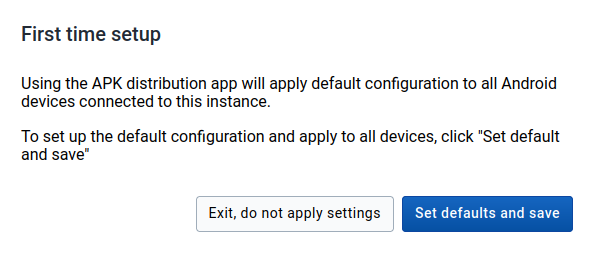
Warning
Only users with 'ALL' authority are able to upload or delete APK versions, but any user will have view access once it's created.
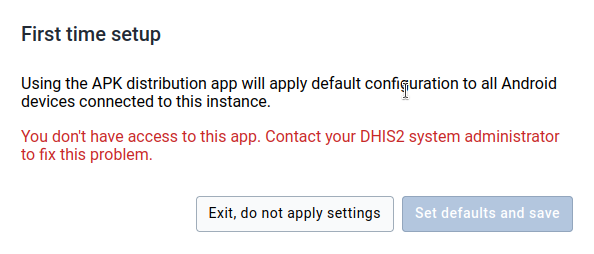
The APK Distribution Web App allows the admin users to update or remove versions of the Android app.
The app provides two distinct interfaces based on user roles:
User Interface: Regular users have a simplified interface where they can: - Download APK (New 1.2): A download button is displayed, showing the APK associated with their user group. If no APK is assigned to their user group, no button or related content will be displayed. This design ensures admins have full control over APK management, while regular users only see content relevant to their access permissions.
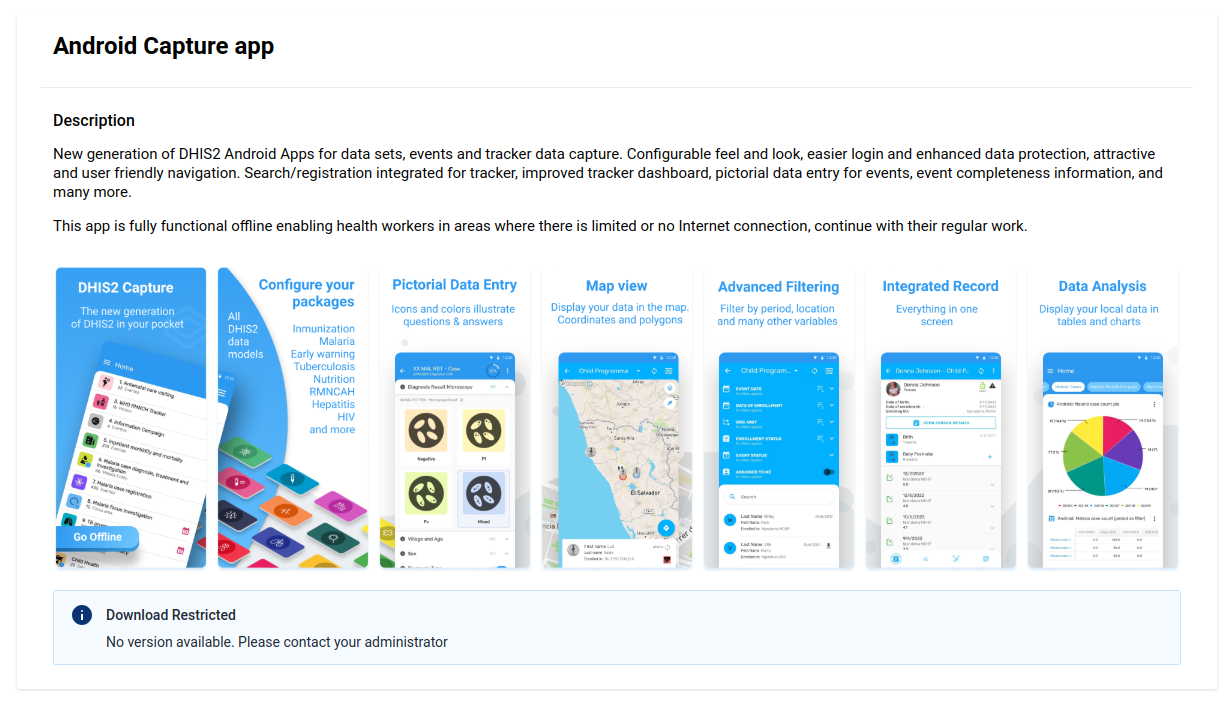
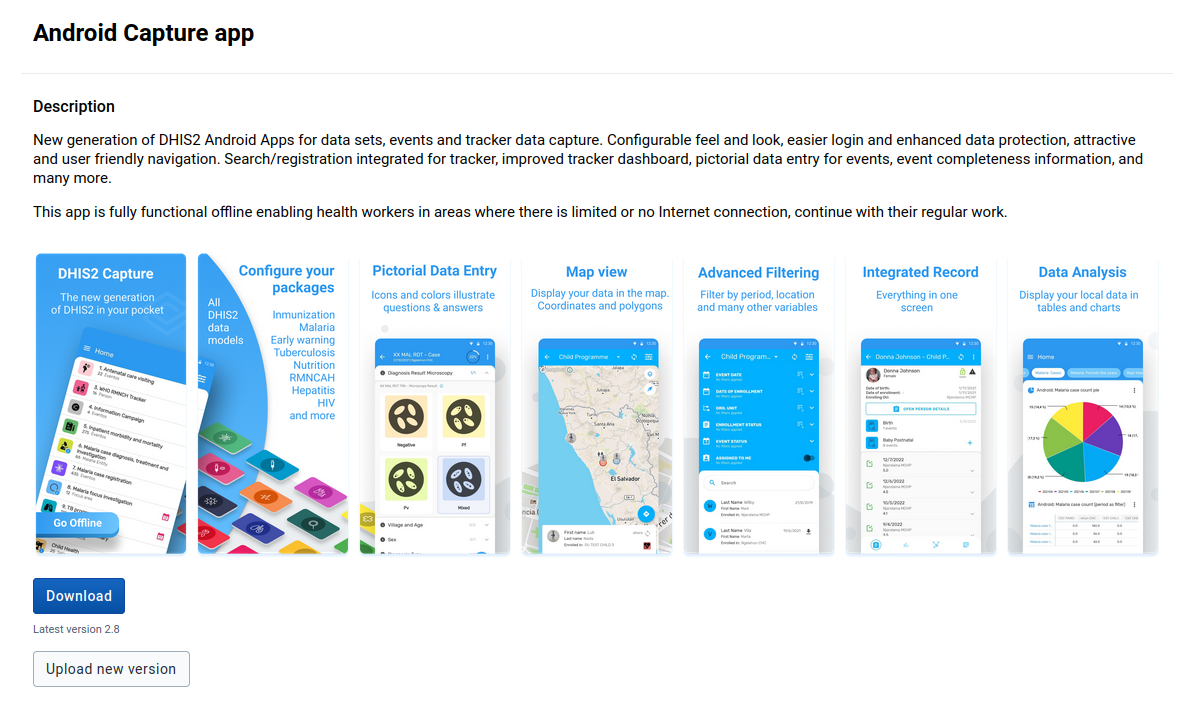
Admin Interface: This special interface is designed exclusively for admin users, allowing them to:
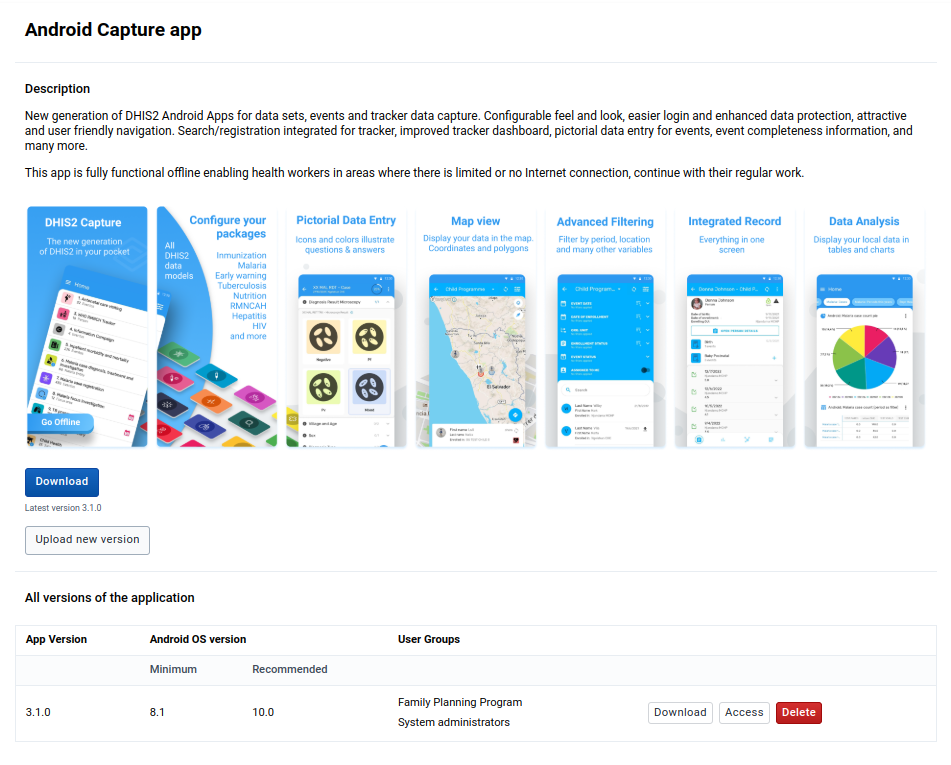
Follow the steps below to upload an Android app version:
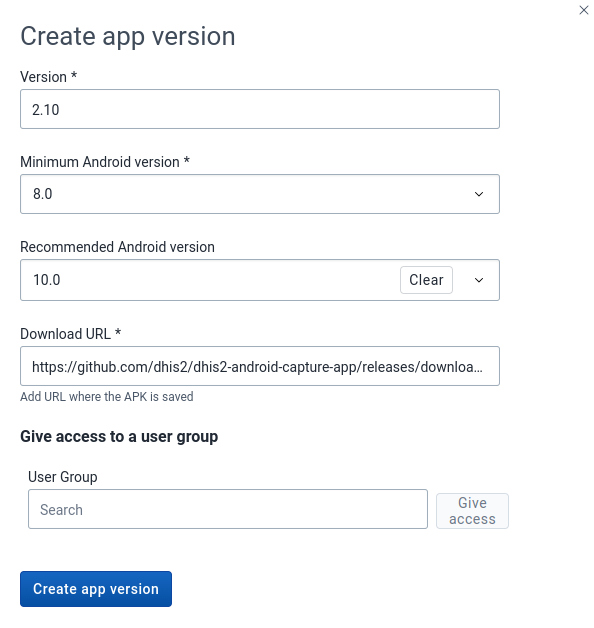
Note:
App versions must follow semantic versioning. Read more about semantic versions.
When uploading a new apk, make sure that the app version is higher than the current/latest version.
To choose the minimum or recommended Android OS version for the app version, it is suggested to review the Mobile Device Specification documentation.
To give access to one or more User Groups:
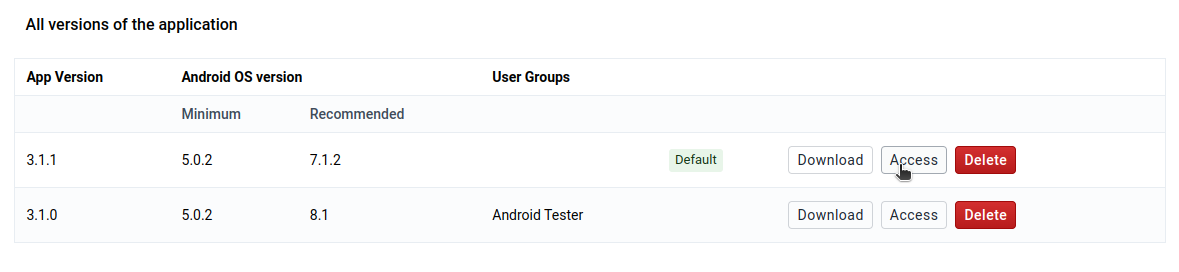
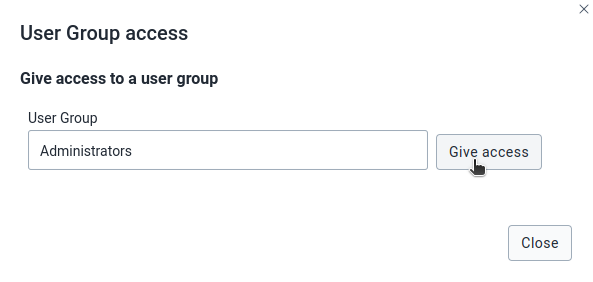
Note:
The APK Distribution web application empowers administrators to allocate access to user groups for specific "Android App" versions. - User groups can be assigned to multiple "Android app" versions, yet individual users within those groups will only have access to the latest version allocated to their group. - It's feasible to refrain from assigning a user group to an "Android app" version. In such cases, all users within that instance will automatically gain access to that version. - In instances where no user group is assigned to any "Android app" version, the latest version will be designated as the Default. Consequently, only the latest version will be accessible to all users within the instance.
To give access to one or more User Groups:
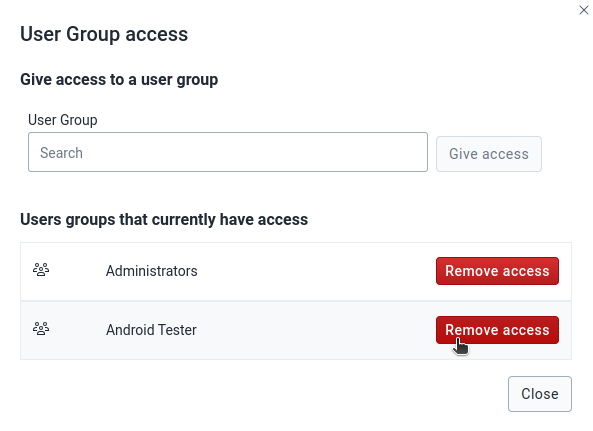
To remove an Android App version:
This Web App can also be manipulated from a mobile device. To use it, open DHIS2 in the browser from a mobile or tablet device.
The mobile version allows the administrator user to upload and download app versions.
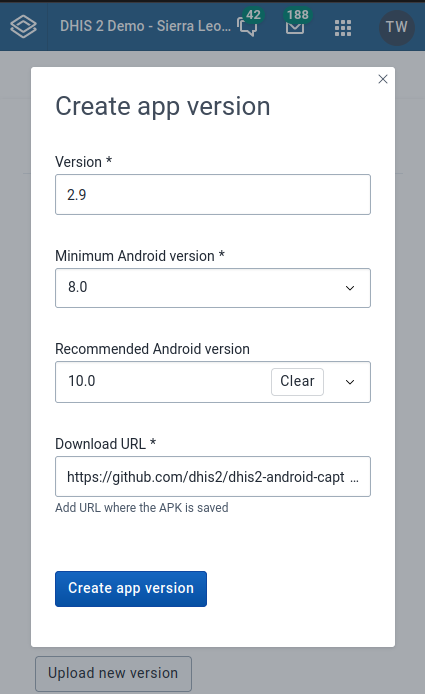
When downloading a version, the APK will be stored in the device.
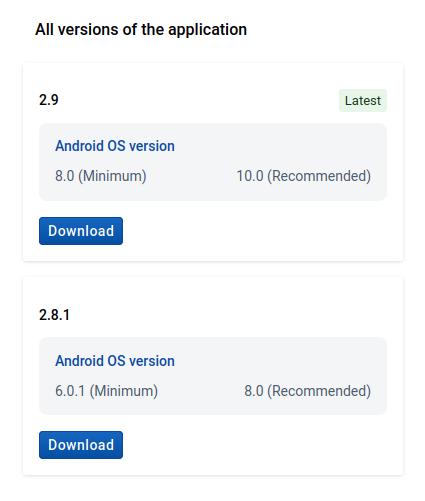
In case of needing to uninstall the APK Distribution App it is recommended to also delete all the data from the datastore namespace.
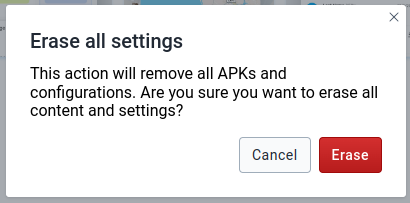
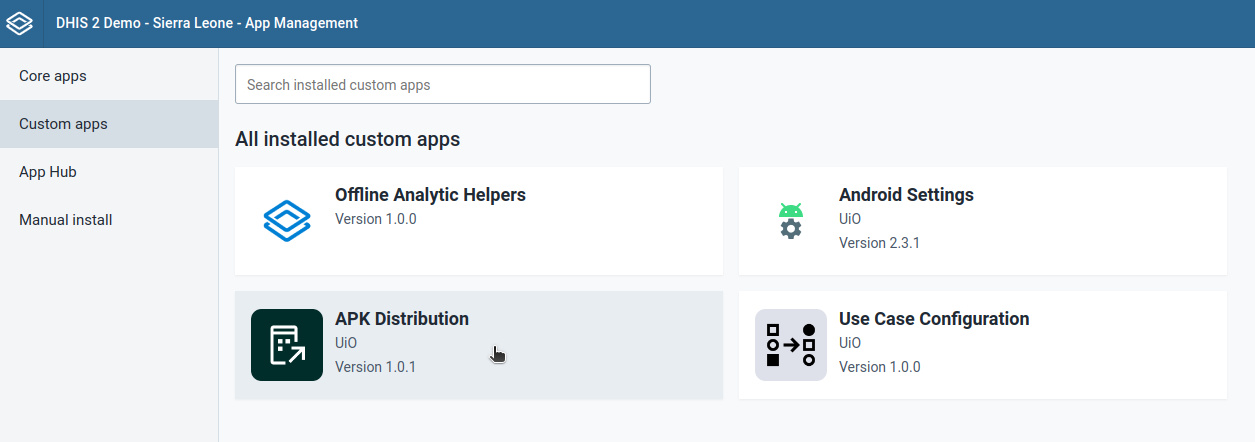
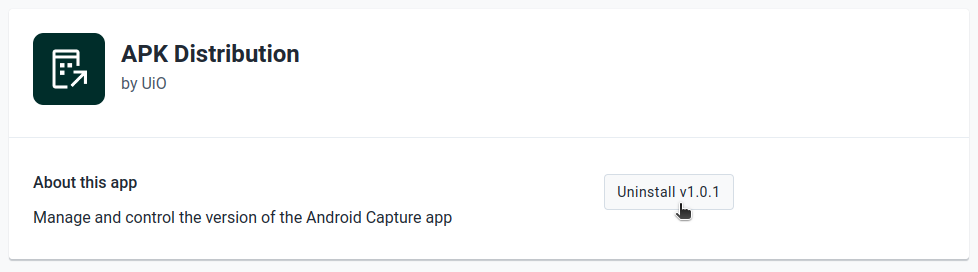
Warning
This is a critical action, be aware that by doing this, all previous configurations will be permanently deleted.
This section focuses on the Synchronization Troubleshooting Web App implementation.
The Synchronization Troubleshooting Web App provides administrators with real-time visibility into synchronization errors. These error records are automatically removed by the backend after a default period of 24 hours.
This cleanup period is defined in System Settings and applies to all single-run jobs (such as data imports). The value can be changed through the API. Increasing the period will retain errors for longer but also increase database storage.
To check current cleanup period:
GET /api/systemSettings/jobsCleanupAfterMinutes
To update cleanup period (value in minutes):
POST /api/systemSettings/jobsCleanupAfterMinutes?value=
Please note that in this version of the Web App, only users with "F_JOB_LOG_READ" authority are able to monitor the detailed error information. Other users will not have access to the web app.
A user can easily install the Synchronization Troubleshooting Web App by logging into the DHIS2 and going to App Management.
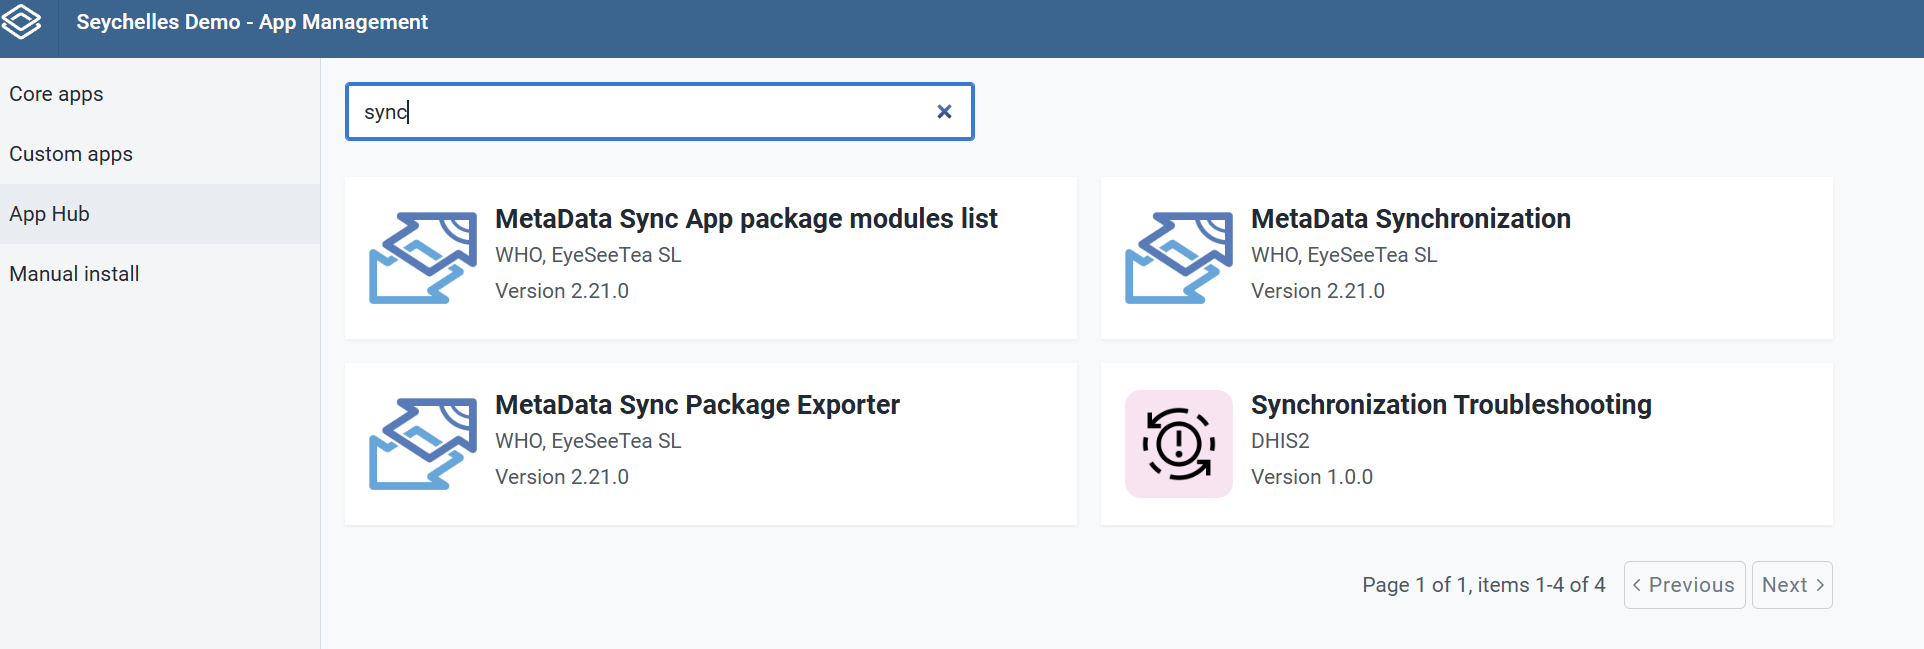
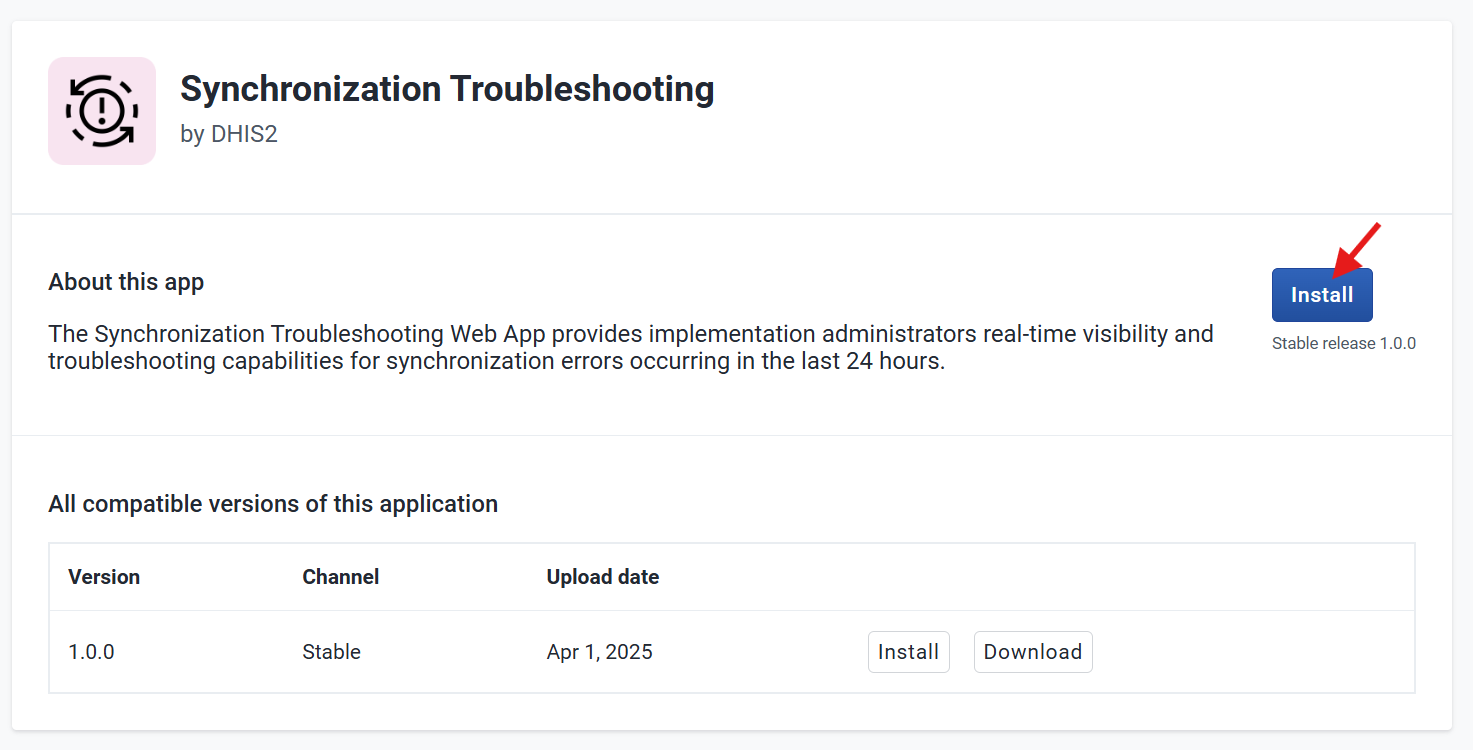
The Synchronization Troubleshooting provides admin users with a dedicated interface to monitor and manage synchronization errors efficiently.
This functionality helps admins track and resolve synchronization problems quickly, ensuring a smoother data transfer process.
Understanding Error Details: Identifying Android vs. Web Users
In the error detail cards, additional information is provided to help identify the source of the error. Key details include:
This information helps troubleshoot synchronization issues more efficiently by pinpointing whether the error is related to a specific platform or user type.
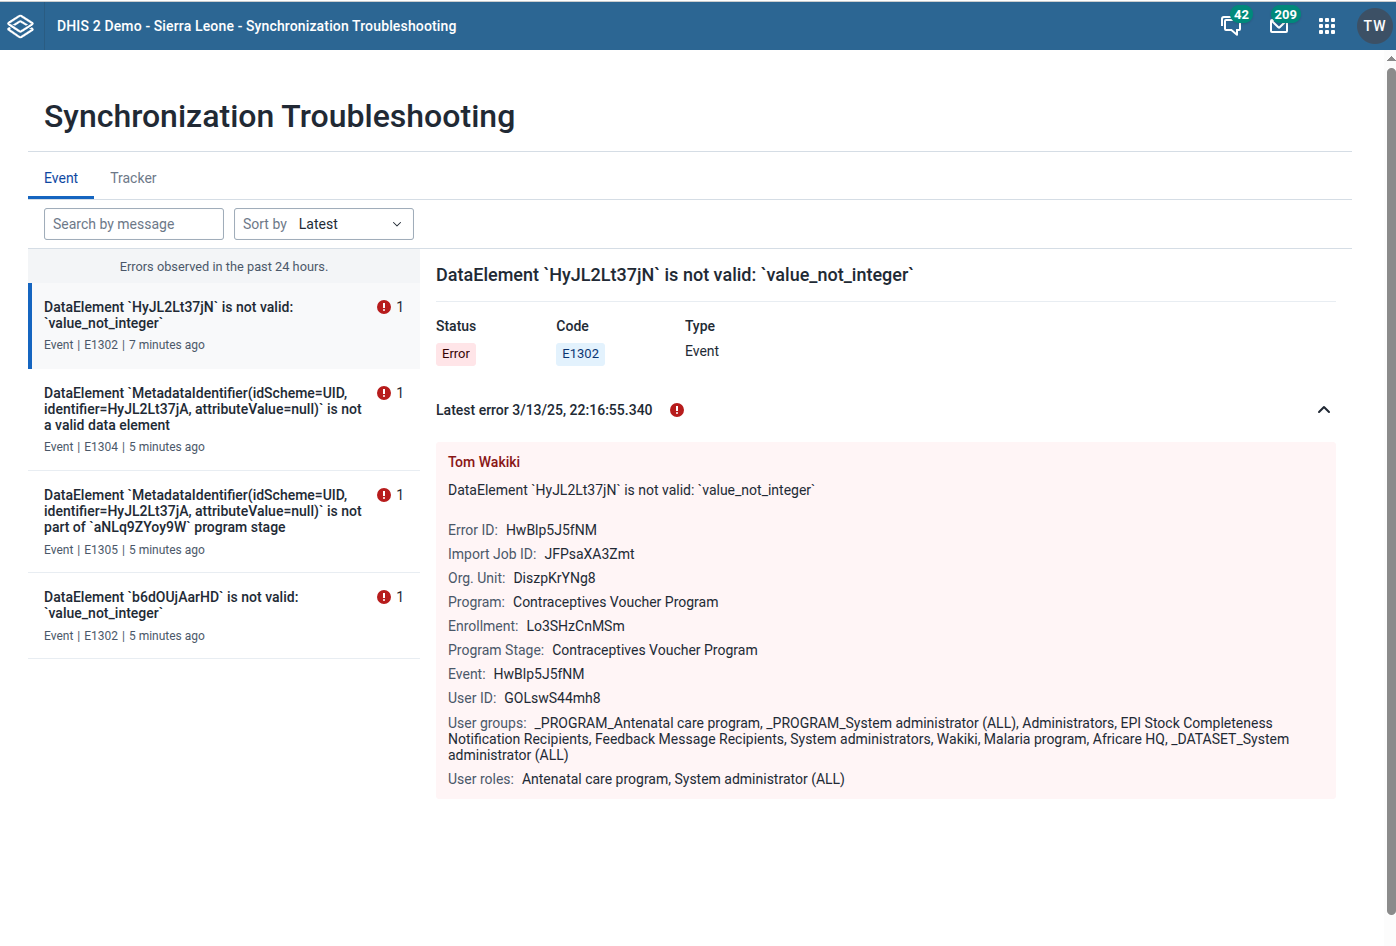
Note:
To monitor synchronization errors in the web app, users must have specific permissions:
- "F_JOB_LOG_READ" Authority: Required to access and read the list of synchronization errors.
- "F_USER_VIEW" Authority: Required to read the list of users
- Additional Access for Error Details: To view more details about each error, the user must have permission to access the lists of: Users Events Programs
Without these permissions, users may only see basic error information or be restricted from viewing certain details. This ensures that sensitive data is only accessible to authorized users.
In case of needing to uninstall the APK Distribution App it is recommended to also delete all the data from the datastore namespace.