DHIS2 Documentation Team
Copyright © 2008-2021 DHIS2 Team
Last update: 2021-09-17
Warranty: THIS DOCUMENT IS PROVIDED BY THE AUTHORS ‘’AS IS’’ AND ANY EXPRESS OR IMPLIED WARRANTIES, INCLUDING, BUT NOT LIMITED TO, THE IMPLIED WARRANTIES OF MERCHANTABILITY AND FITNESS FOR A PARTICULAR PURPOSE ARE DISCLAIMED. IN NO EVENT SHALL THE AUTHORS OR CONTRIBUTORS BE LIABLE FOR ANY DIRECT, INDIRECT, INCIDENTAL, SPECIAL, EXEMPLARY, OR CONSEQUENTIAL DAMAGES (INCLUDING, BUT NOT LIMITED TO, PROCUREMENT OF SUBSTITUTE GOODS OR SERVICES; LOSS OF USE, DATA, OR PROFITS; OR BUSINESS INTERRUPTION) HOWEVER CAUSED AND ON ANY THEORY OF LIABILITY, WHETHER IN CONTRACT, STRICT LIABILITY, OR TORT (INCLUDING NEGLIGENCE OR OTHERWISE) ARISING IN ANY WAY OUT OF THE USE OF THIS MANUAL AND PRODUCTS MENTIONED HEREIN, EVEN IF ADVISED OF THE POSSIBILITY OF SUCH DAMAGE.
License: Permission is granted to copy, distribute and/or modify this document under the terms of the GNU Free Documentation License, Version 1.3 or any later version published by the Free Software Foundation; with no Invariant Sections, no Front-Cover Texts, and no Back-Cover Texts. A copy of the license is included in the source of this documentation, and is available here online: http://www.gnu.org/licenses/fdl.html
The DHIS 2 documentation is a collective effort and has been developed by the development team and users. While the guide strives to be complete, there may be certain functionalities which have been omitted or which have yet to be documented. This section explains some of the conventions which are used throughout the document.
DHIS 2 is a browser-based application. In many cases, screenshots have been included for enhanced clarity. Shortcuts to various functionalities are displayed such as Data element > Data element group. The ">" symbol indicates that you should click Data element and then click Data element group in the user interface.
Different styles of text have been used to highlight important parts of the text or particular types of text, such as source code. Each of the conventions used in the document are explained below.
Note
A note contains additional information which should be considered or a reference to more information which may be helpful.
Tip
A tip can be a useful piece of advice, such as how to perform a particular task more efficiently.
Important
Important information should not be ignored, and usually indicates something which is required by the application.
Caution
Information contained in these sections should be carefully considered, and if not heeded, could result in unexpected results in analysis, performance, or functionality.
Warning
Information contained in these sections, if not heeded, could result in permanent data loss or affect the overall usability of the system.
Complete
Information contained in these sections, will indicate that these are issues that have been fully implemented.
Incomplete
Information contained in these sections, will indicate that these are issues that are not implemented and will be ignored.
Not_applicable
Information contained in these sections, will indicate that these are issues not applicable.
Work_in_progress
Information contained in these sections, will indicate that these are issues or freatures not completely implemented or with unexpected behaviour already reported.
Program listings usually contain some type of computer code.
They will be displayed with a shaded background and a different font.
Commands will be displayed in bold text, and represent a command which would need to be executed on the operating system or database.
Links to external web sites or cross references will be displayed in blue text, and underlined like this..
This guide is designed to assist you in configuring DHIS 2 for use with the Android Capture App.
It is not a tutorial or training manual; it is designed to complement the core DHIS 2 documentation and training materials with specific reference material for the Android application.
The document is divided into sections, which are intended to describe all the features that have been implemented in the app, those that have not yet been implemented and those that will not be supported. Where applicable, an explanation of problems with the use of a particular feature in Android app will be provided. Recommendations or tips will also be presented for a better understanding and use of the app.
In addition, the document has sections for new features in the login, visual configurations, synchronization management and a list of known important errors.
If you plan to deploy the DHIS2 Android App in the field, we strongly recommend you to read the Mobile Implementation Guidelines published by UiO. It includes chapters on technology requirements, security and configuration aspects, and testing and roll out recommendations. Below you will find some key aspects briefly introduced, we recommend reading the extended document.
The Android App is compatible and supported for DHIS 2 versions 2.30 to 2.36. And has no breaking changes with 2.29.
It requires a device that is running Android v4.4 (not recommended but supported) or higher. The minimum recommended for new devices: Android 7 or higher.
In the specific section of the Mobile Implementation Guidelines you will find recommendations for new mobile device acquisitions for a Dhis2 Android deployment.
If you plan to deploy the DHIS 2 Android App in the field, you should first do a full round of testing of the app in you own configuration.
The app has been extensively tested with the demo servers, and during Beta testing it was tested against some real configurations as well. We know, however, that every DHIS 2 configuration is special in many senses, and might cause inconsistencies that we have not being able to identify.
It is strongly advised to carry out a comprehensive testing of the app in your own server before piloting it.
If you are ready for deploying the new Android App in the field and your users are already using Event Capture or Tracker Capture, you should follow these steps:
Sync data of the current app you are using
Warning
Deleting the app without syncing can cause information loss.
Download and install the DHIS 2 Android App
First of all, please check the List of already reported bugs in JIRA
The list is always updated as you add new bugs and we work on them. You need an active, free DHIS 2 Jira account.
When reporting a bug please specify together with your description:
DHIS 2 and the new DHIS 2 Android App allows you to select icons for programs, datasets and the options of an optionset. DHIS 2 2.30 incorporates 125 icons. We plan to expand the collection of icons on each future version of DHIS 2- for that we need your help: we are seeking ideas for new icons - please submit yours using this form.
The steps to contribute to the translation of the app are:
Please let us know if it doesn't work well or if you need to add a new language by sending a message in the community to the user dhis2-android.
In case of errors during the sync process, a message is displayed in the settings menu ('Sync data' or 'Sync configuration' section). Also, a red sync icon is displayed next to the program in the Home screen. The sync error log gives details about the error and is prepared to be shared with admins.
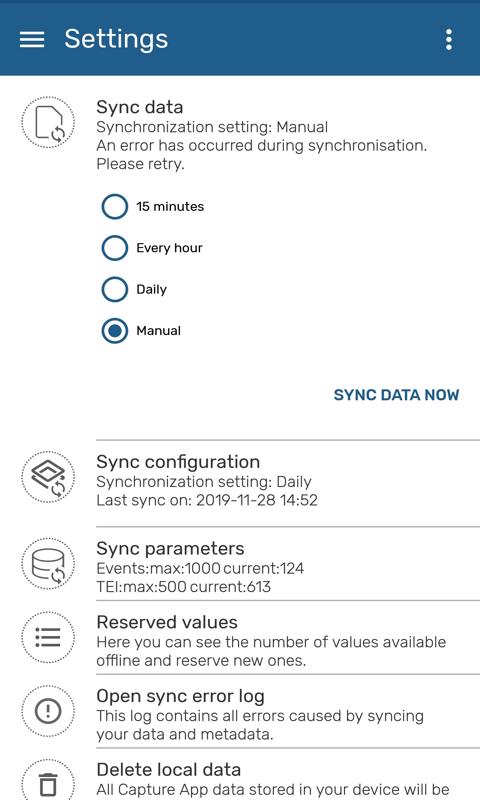
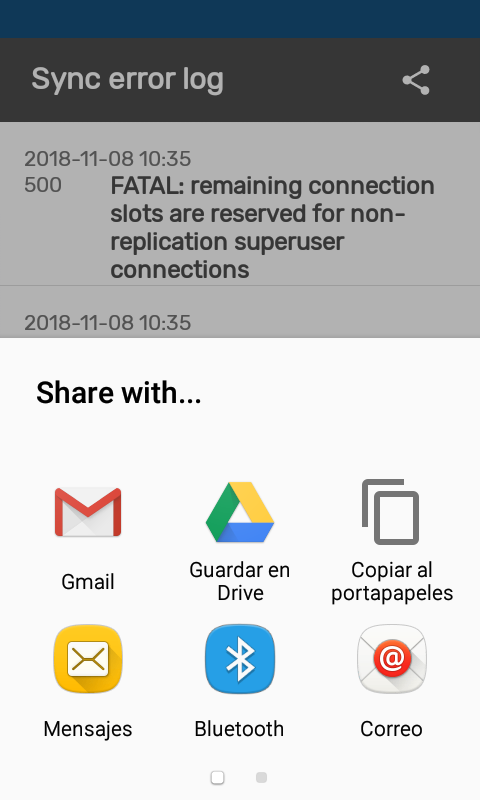
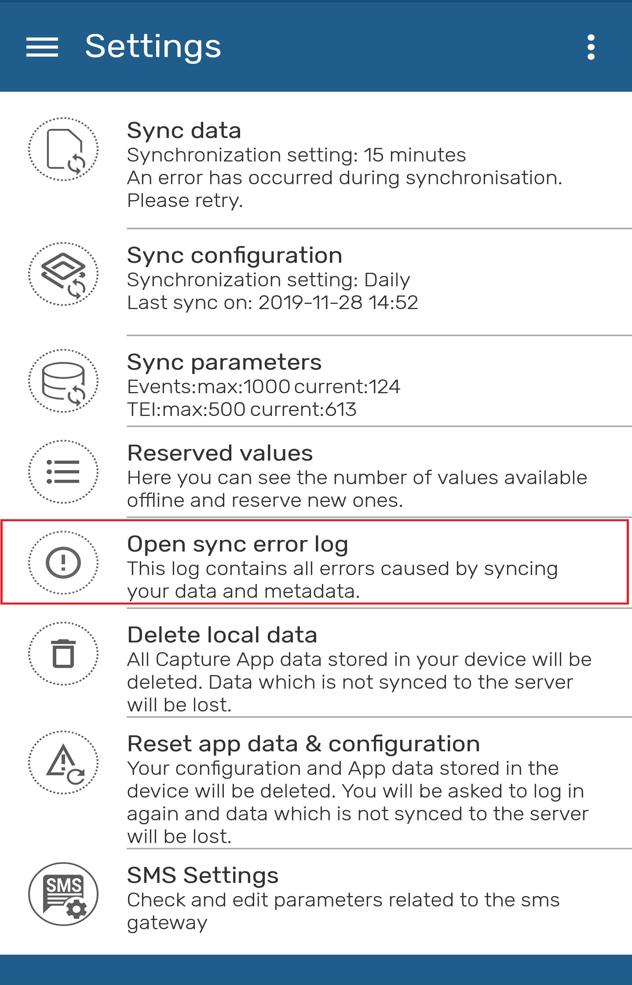
You can also open the sync errors log from Settings:
You can set your icon in the wallpaper using the DHIS 2 App Widget. The icon will be the flag configured in your server.

Note
How to add a widget:
- Long press in your wallpaper
- Select Widgets
- Look for the DHIS 2 Widget
- Select
It will add a shortcut to your app.
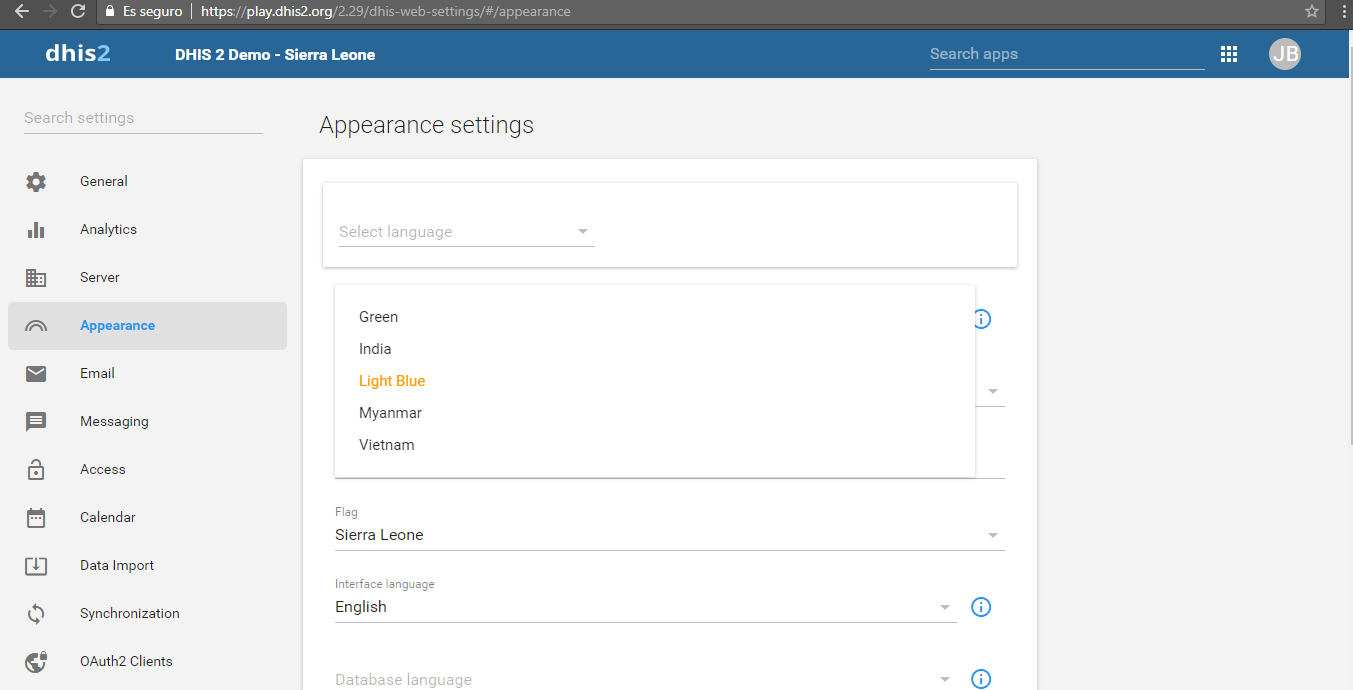
You can set the generic theme of the app by configuring the them in our server:
Note
How to set the server theme and flag:
Go to System Settings > Appearance > Style
- Select your style
- Green,
- India (Orange),
- Light Blue,
- Myanmar (red),
- Vietnam
- Select your flag
There are currently 134 icons available that you can choose from. You can search by name in the icon picker widget. Icons are available in positive, negative and outlined shapes. We will be adding many more icons in future releases.
Icons can be associated to programs, stages, data elements and the options of an option set. This is configurable through the Maintenance App.
Note
This feature is available from DHIS 2 2.30 onwards
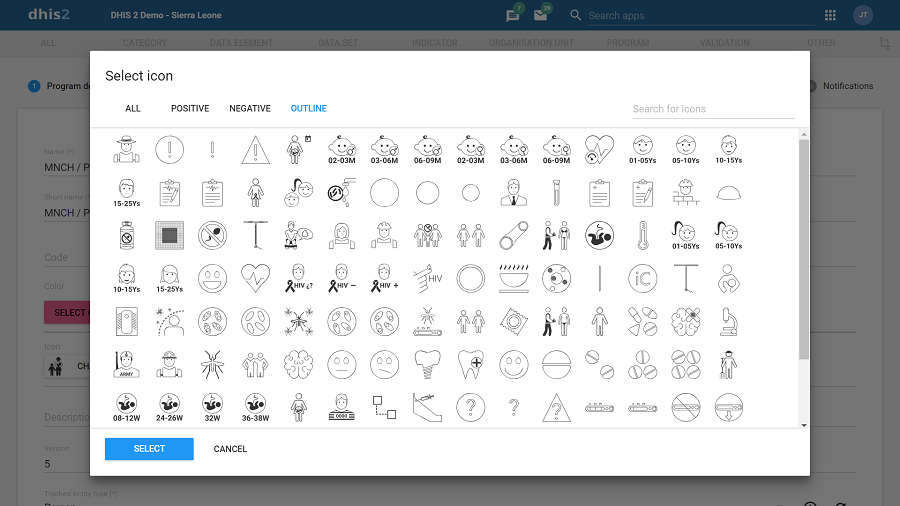
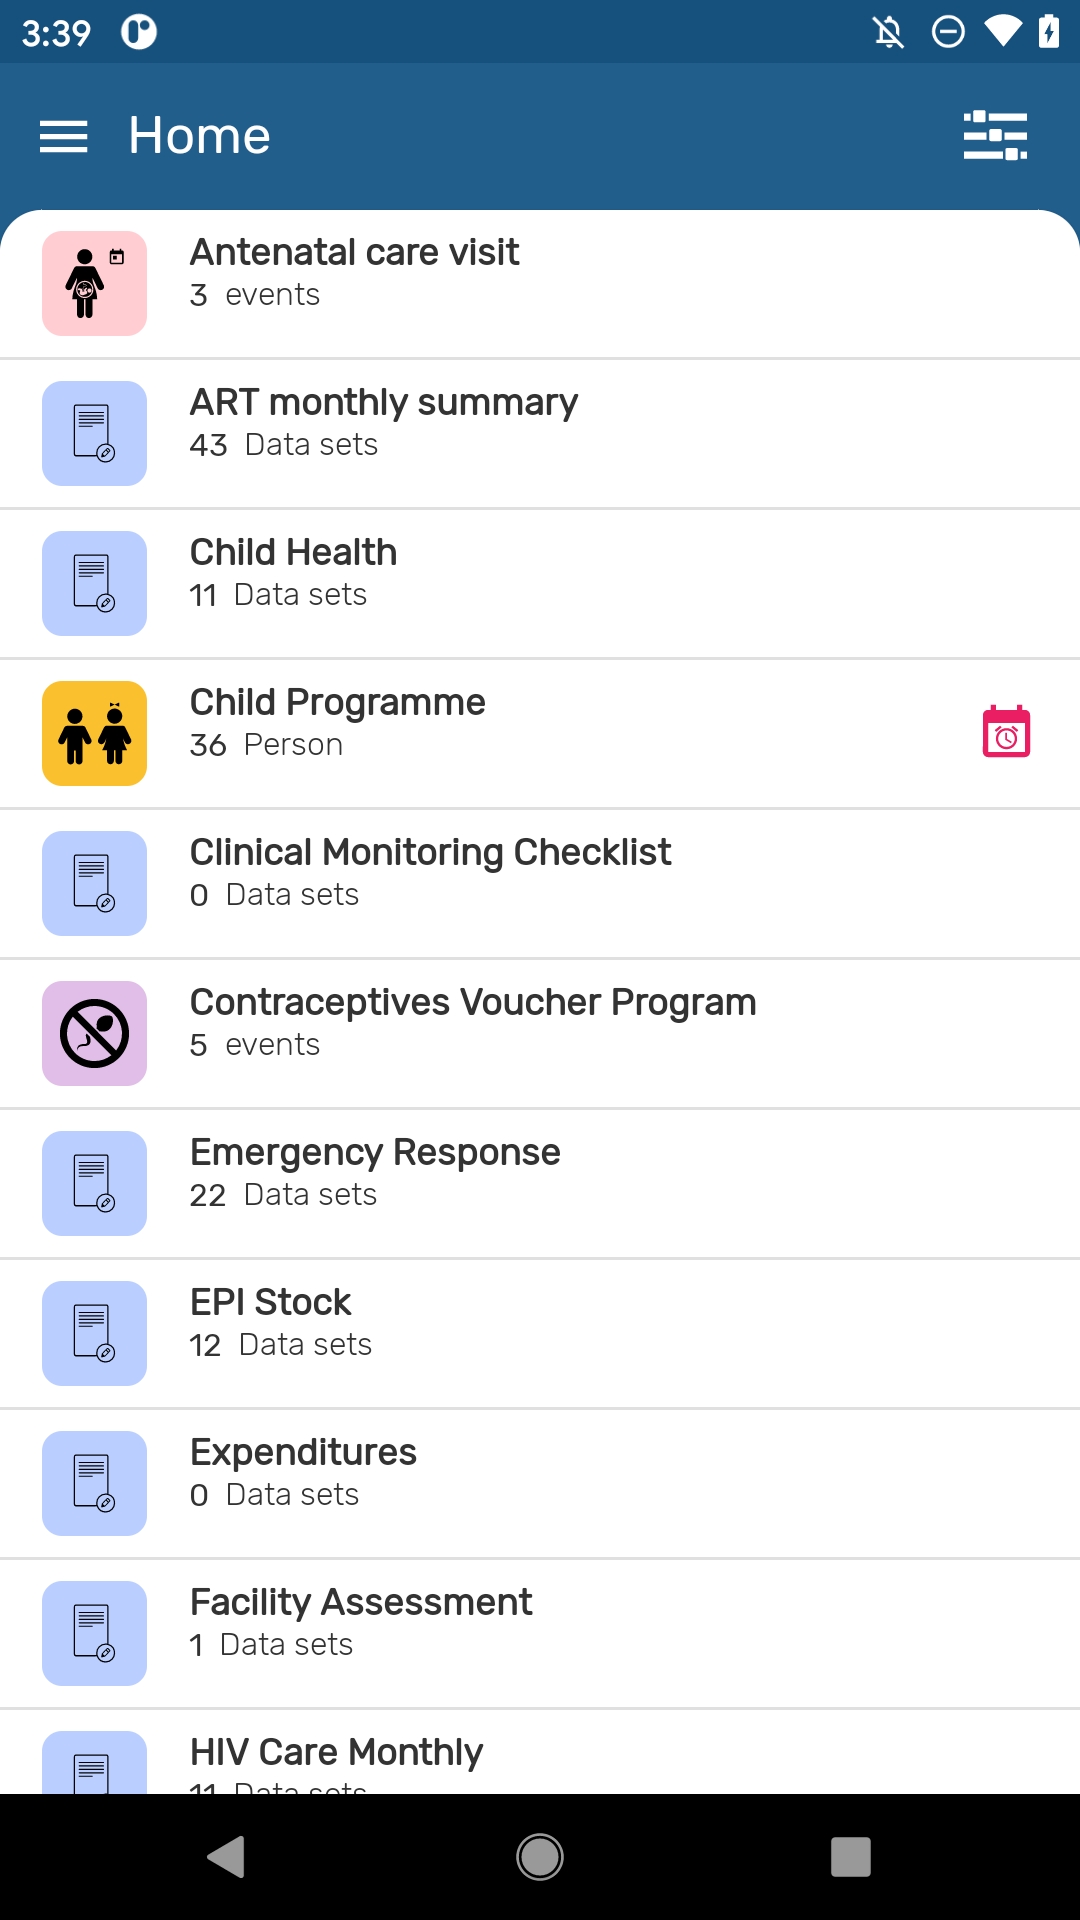
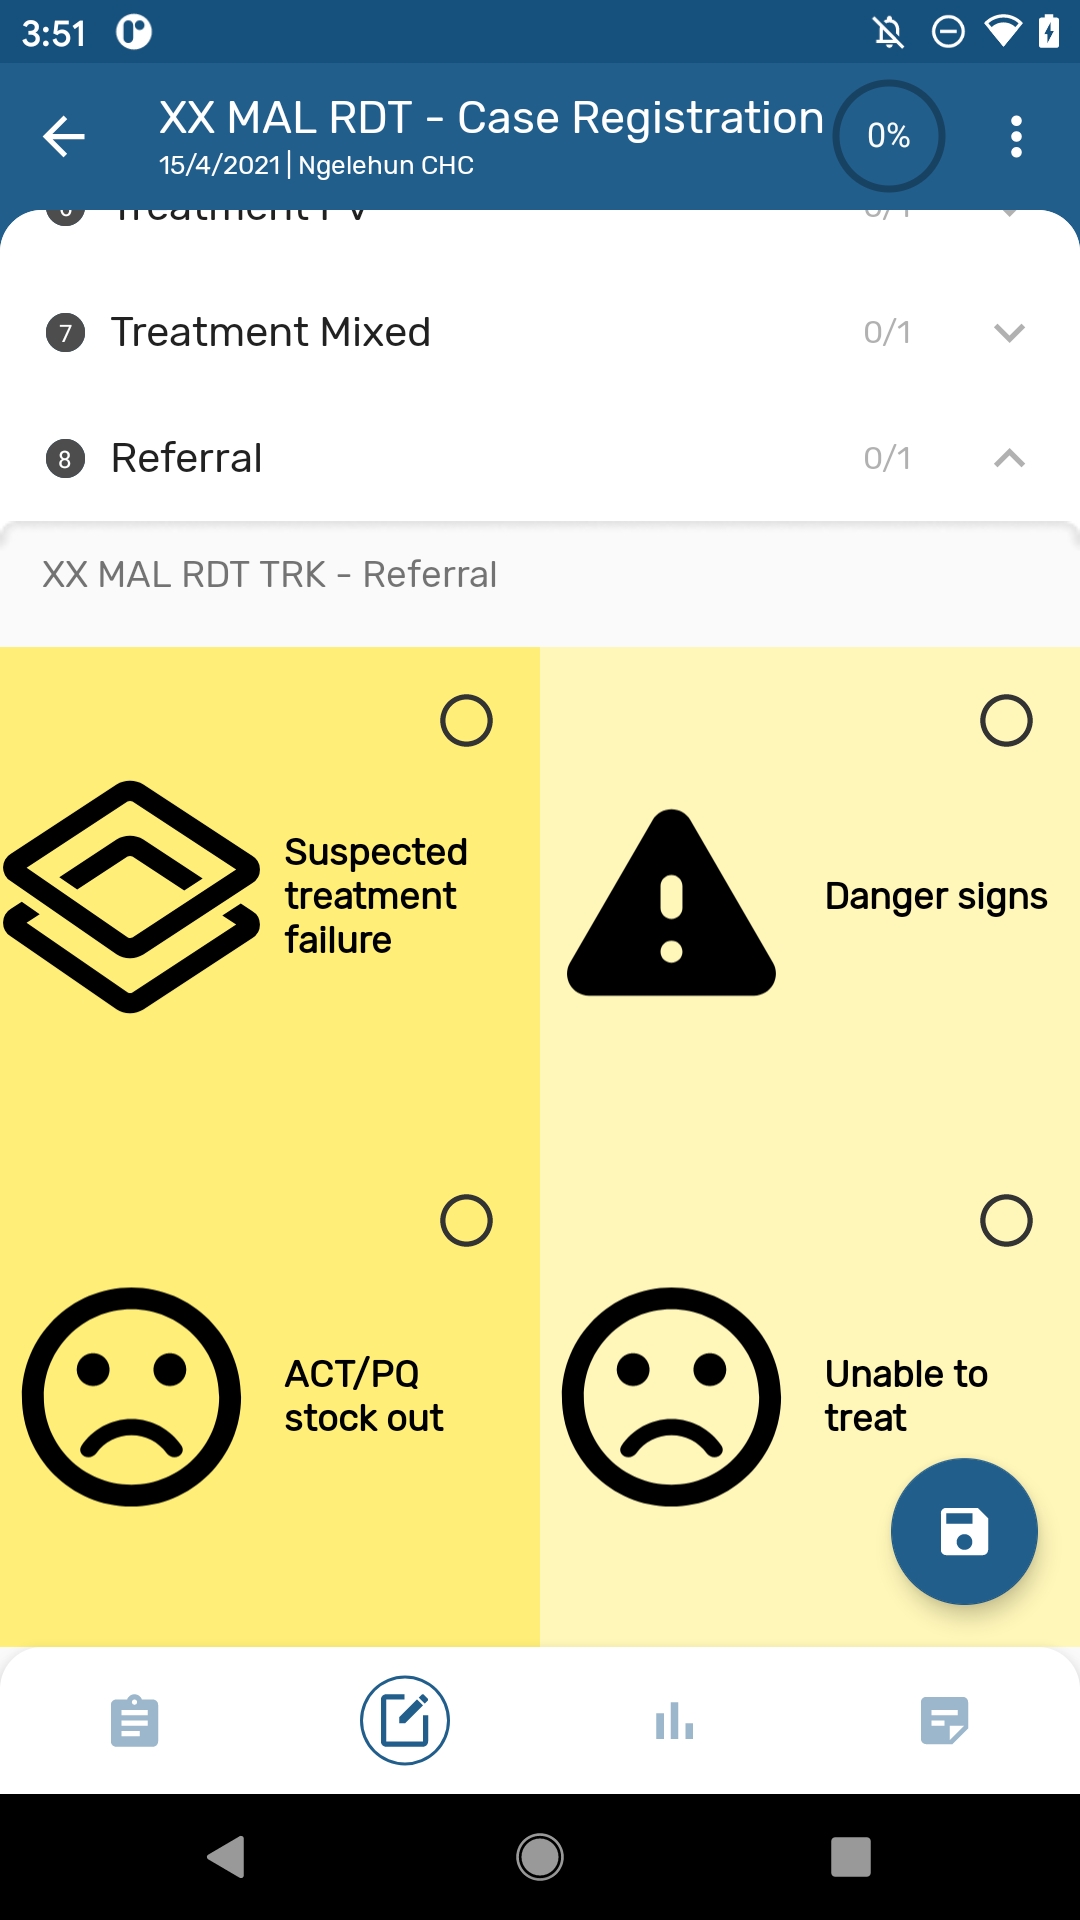
In the Android App icons render in the home screen to illustrate all the programs available to a user, or while adding an stage. For data elements and options, the icons render for single event programs, when a section contains a single DE, showing the option set as a matrix or sequence of images.
Note
Icons will initially only render in the new Android app. The new web-based Capture App will incorporate them in the near future.
We plan to expand the collection of icons on each future version of DHIS2- for that we need your help: we are seeking ideas for new icons - please submit yours using this form.
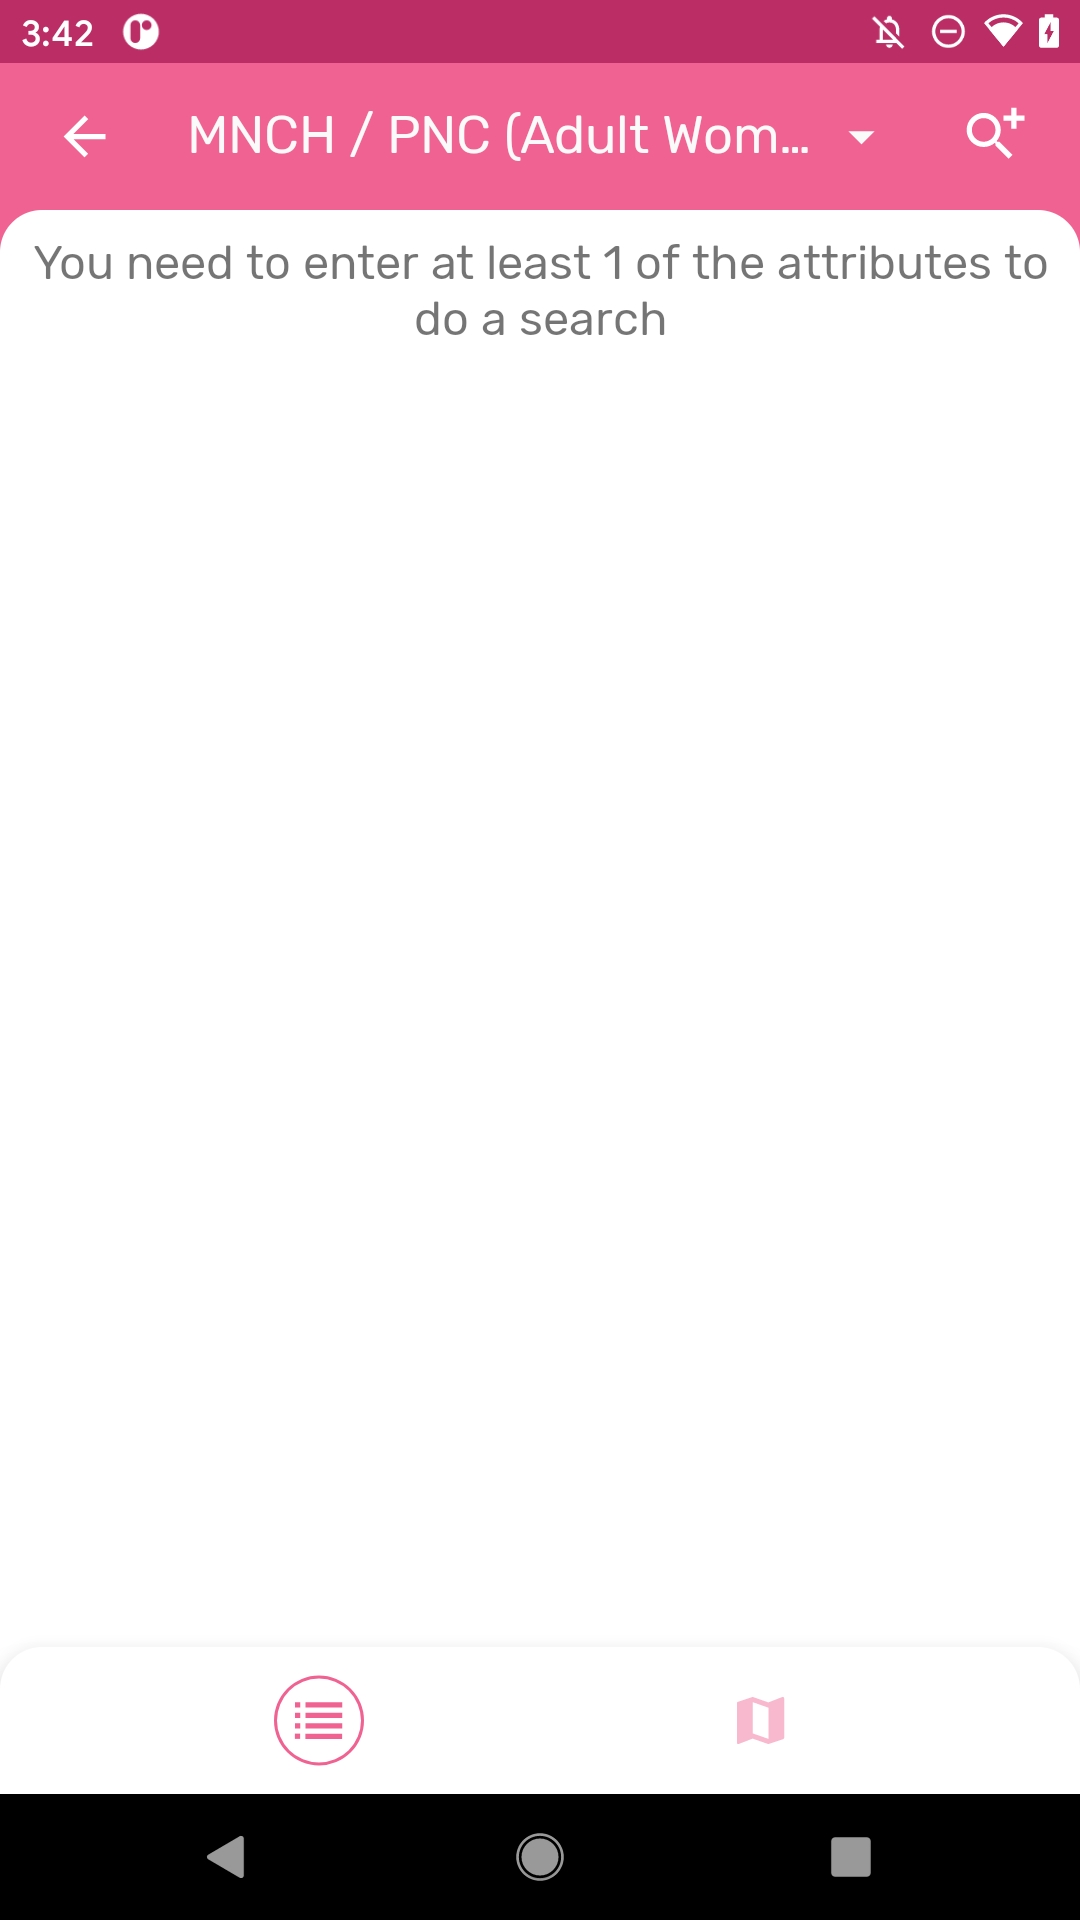
Tracker and Event capture now have the ability to render colours for programs, stages, data elements and options in option sets. A colour picker is integrated in the Maintenance App, which shows as a palette, except for options which allows the selection of any colour.
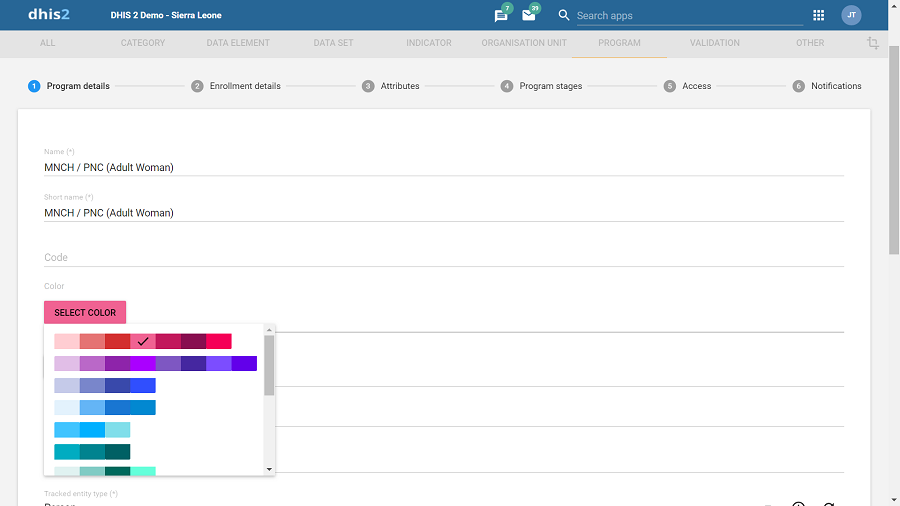
In the Android App, the color will be rendered as background color for programs and stages combined with an icon (if selected). For options it renders as the background colour during data entry form for single event programs. When the user selects a program with an assigned colour, that colour becomes the background theme for all screens in the domain of the program.
Note
Colours will first be available in the new Android app, followed in future releases by the new web-based Capture App.
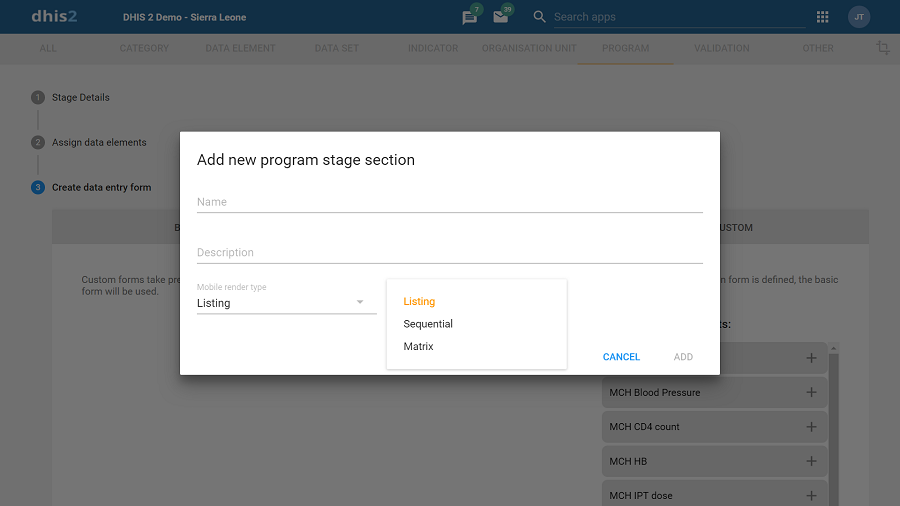
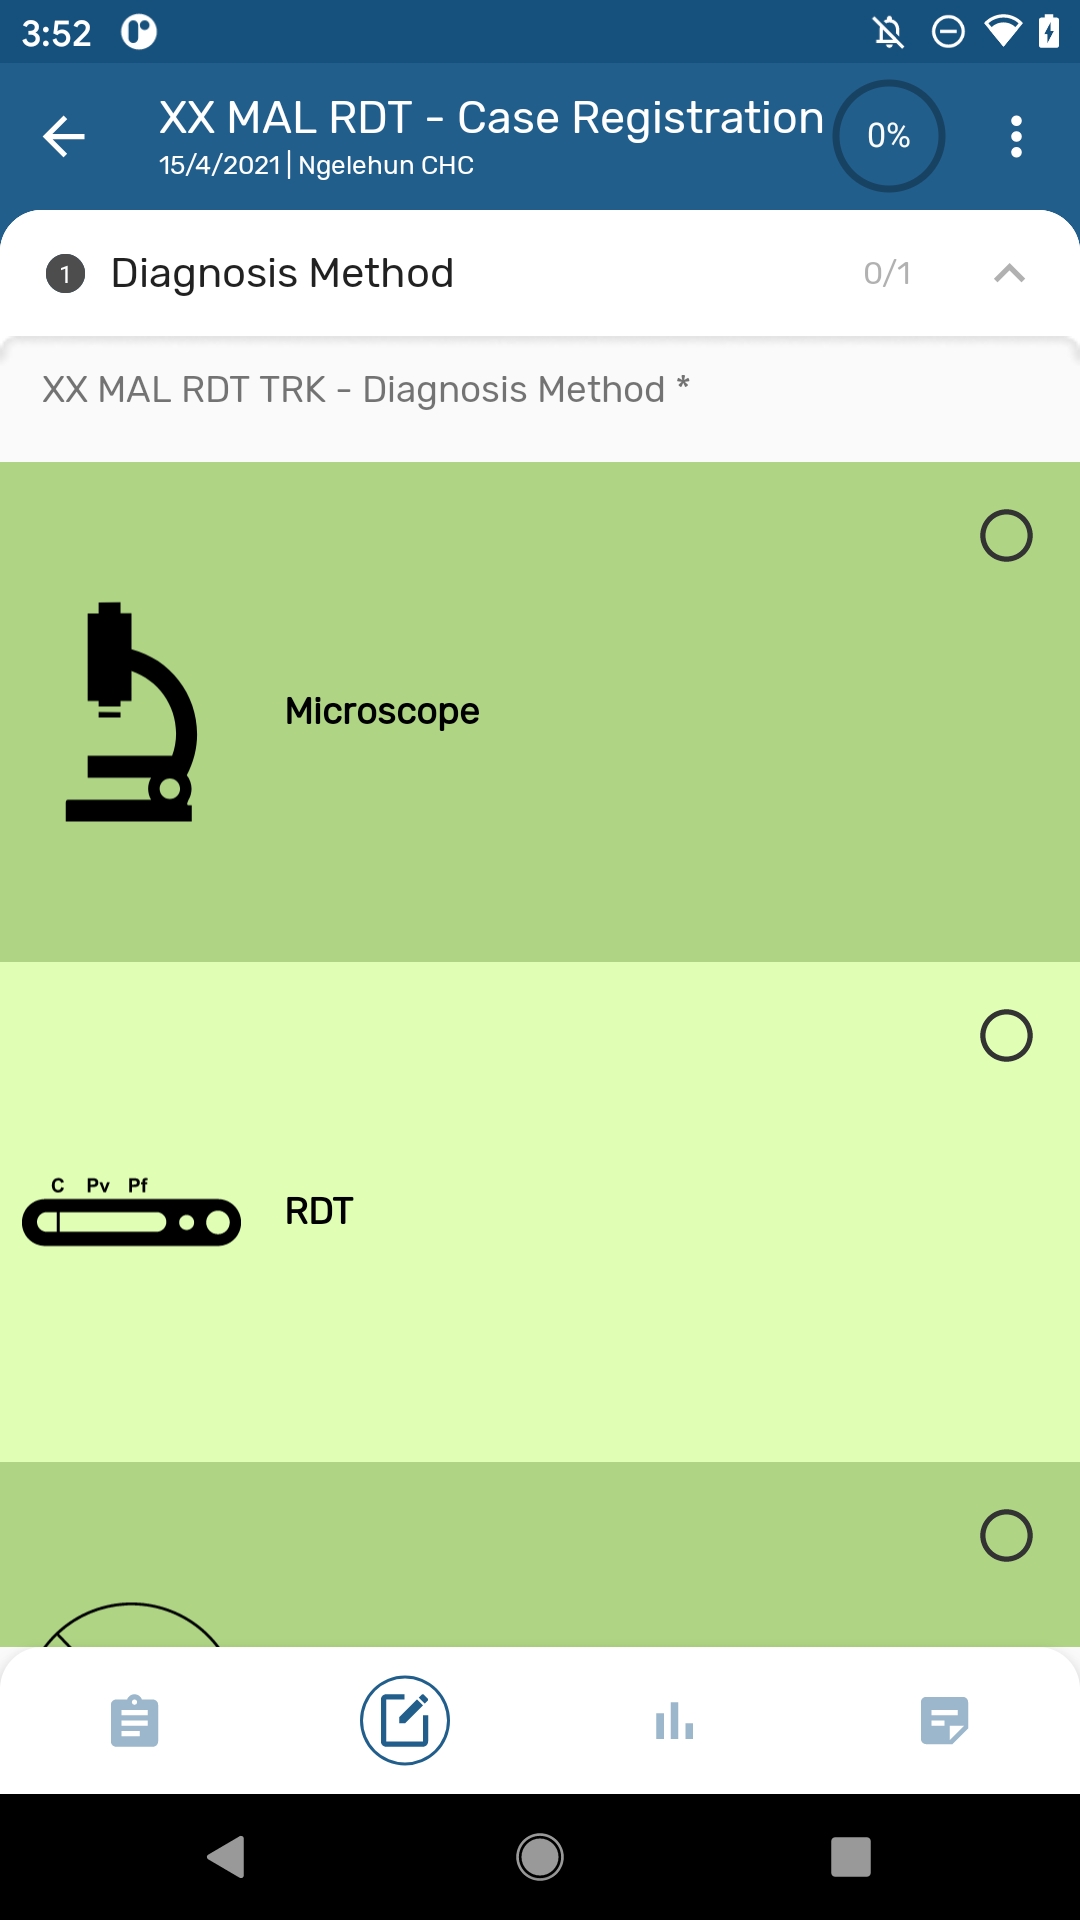
Program Section: when used in combination with icons, a Program Section with a single data element and associated Option Set can render the options in sequential or matrix layout (see screenshots). If the icon is not found, the app displays the DHIS logo.
Note
Render type for sections will first be available in the Android app, followed in future releases by the new web-based Capture App UI.
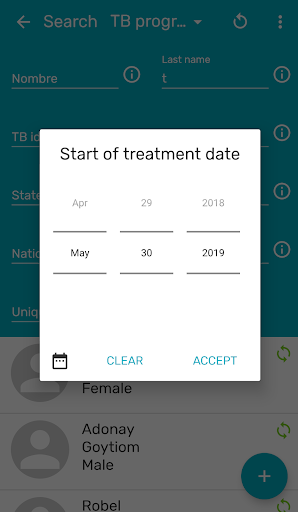
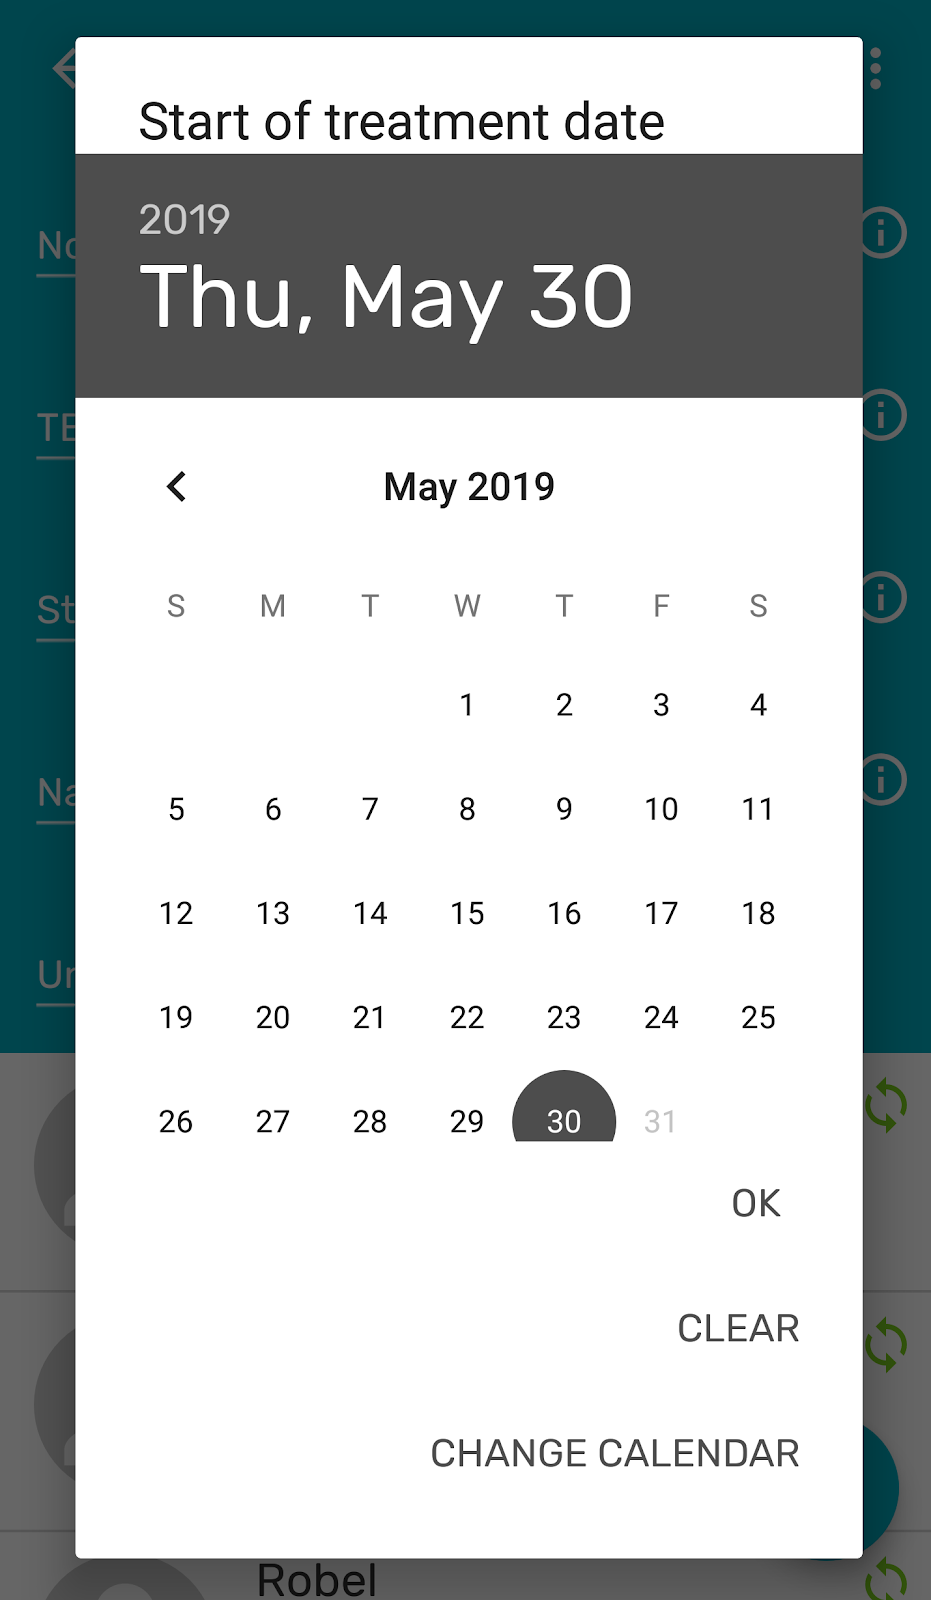
Now it is possible to use two different calendars. The one on the left is the first to appear but you can change it by clicking on the calendar icon on the lower left corner.
This is available when:
Note
For Android versions 4.4, 5.1 and small devices, the Accept option is not visible in the second calendar view.
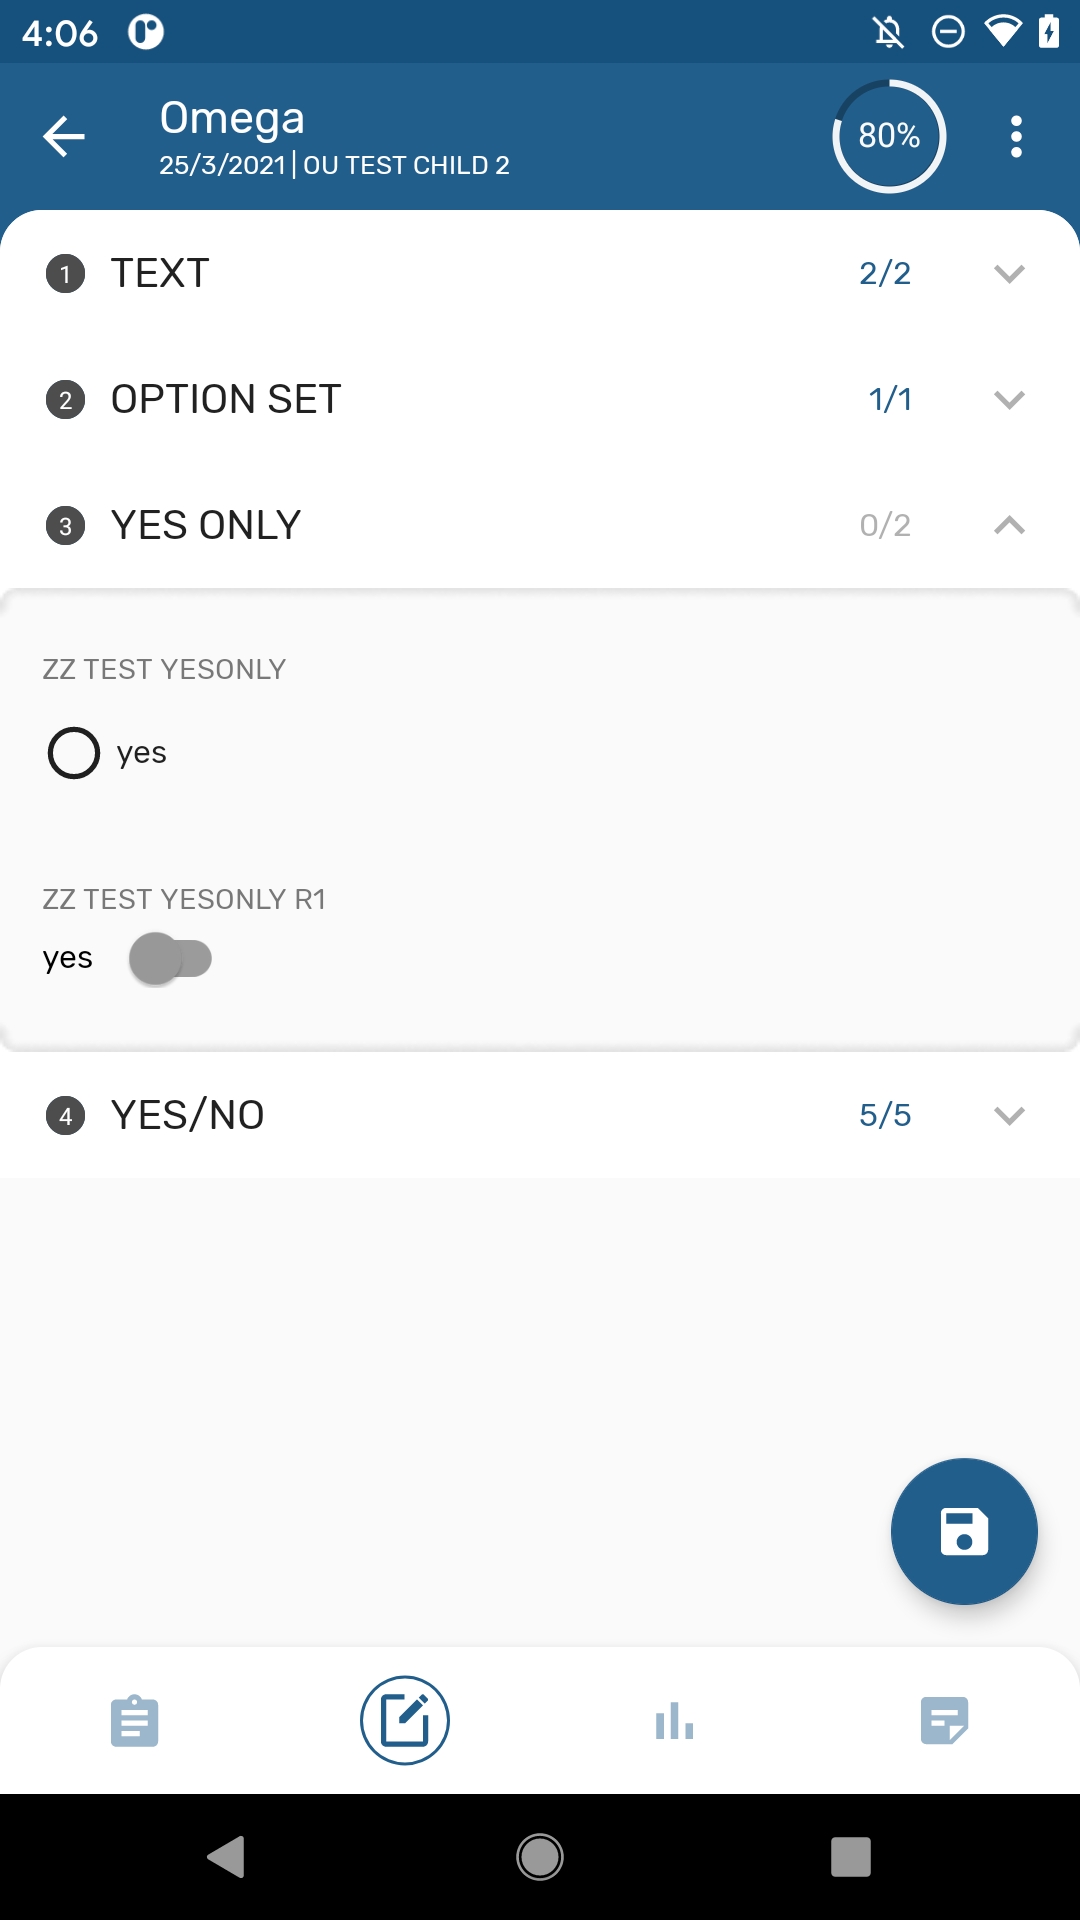
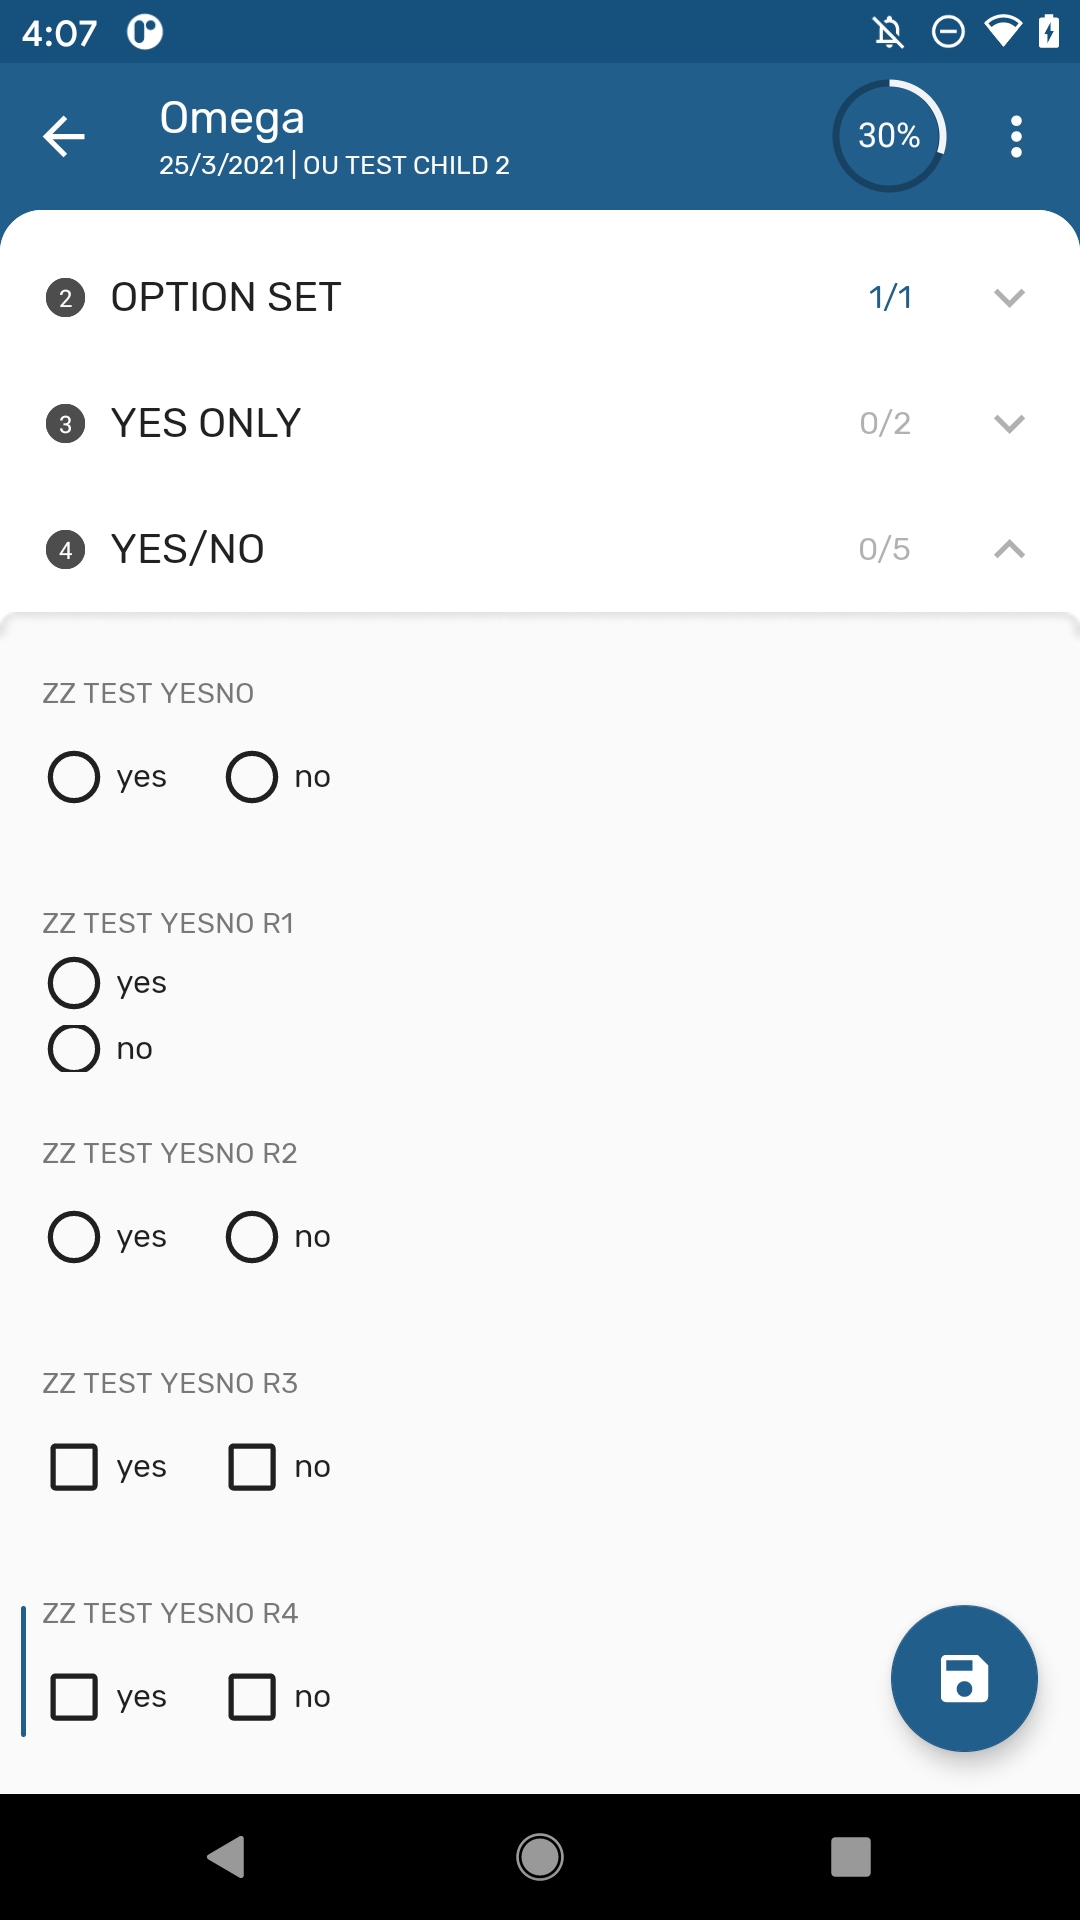
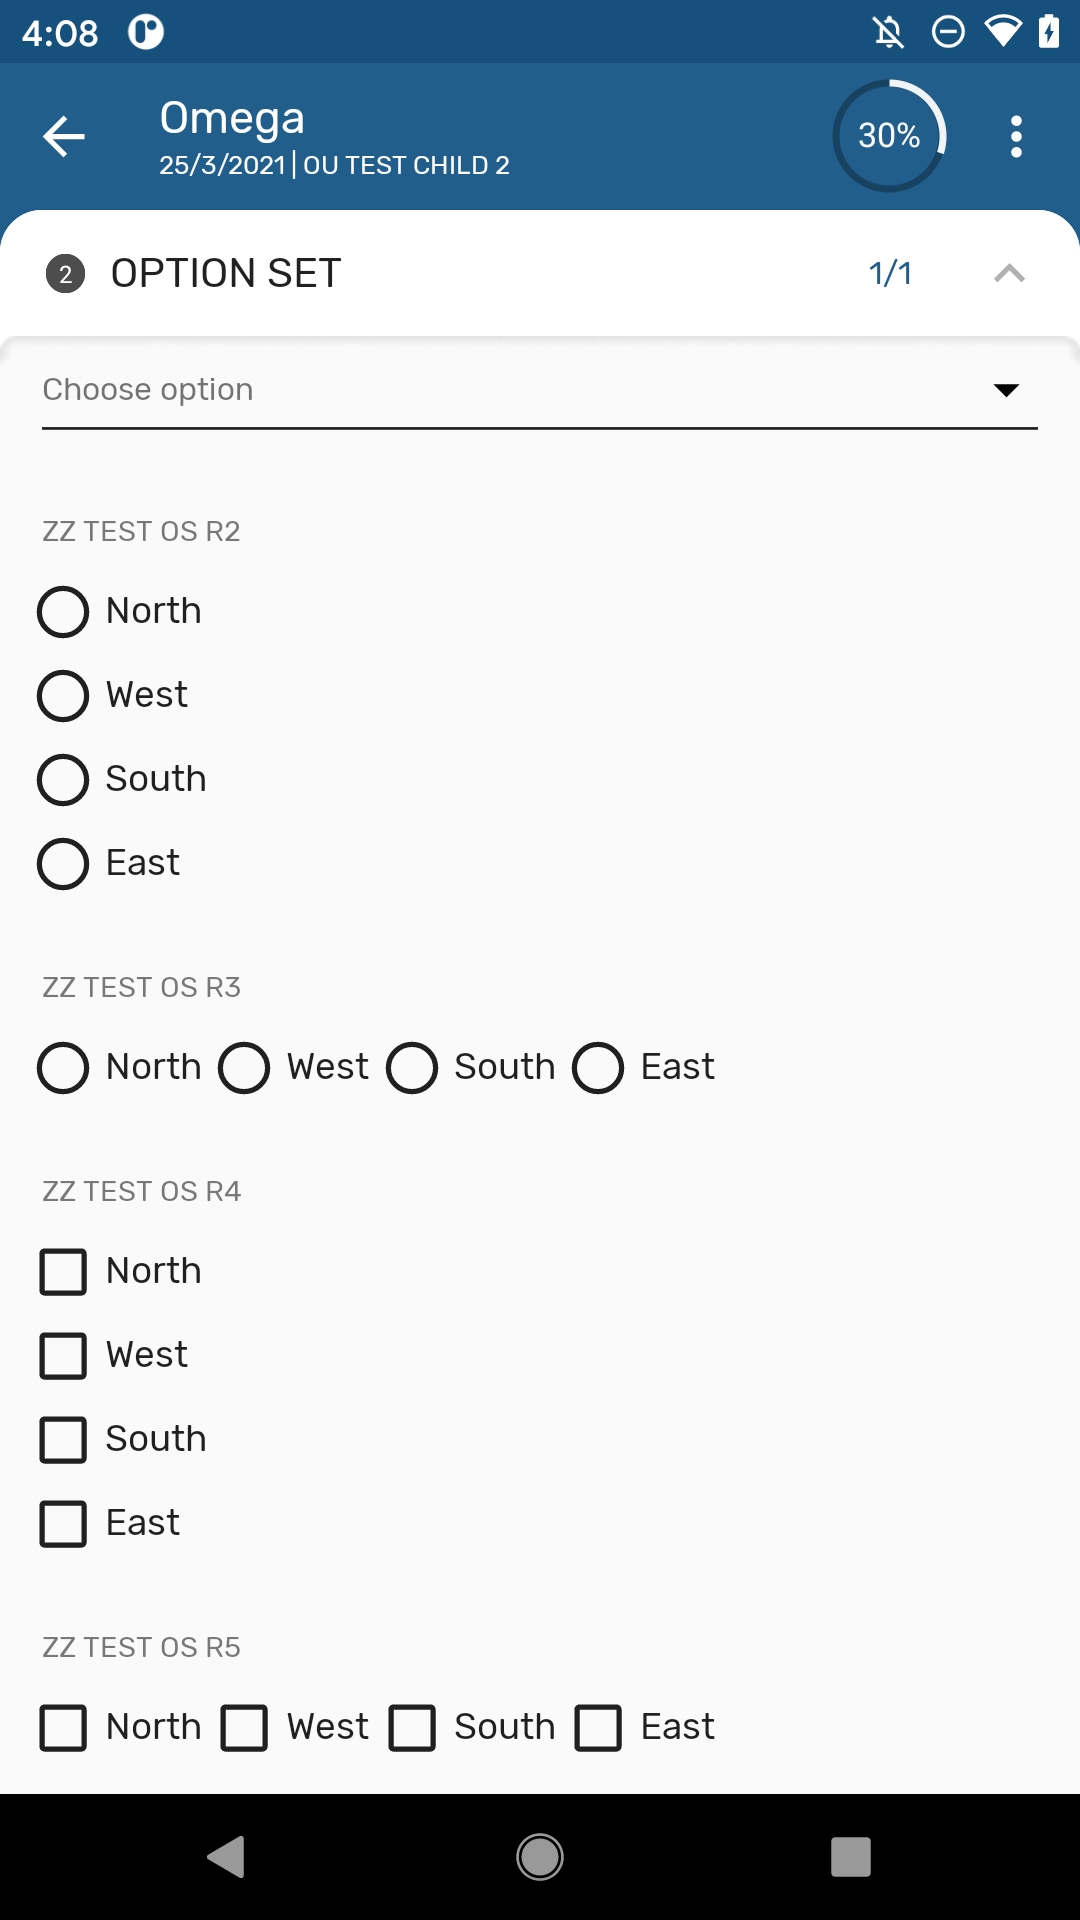
The available rendering options have been expanded to include horizontal and vertical radio buttons, checkboxes and toggles. The allowed options depend on the value type.
Note
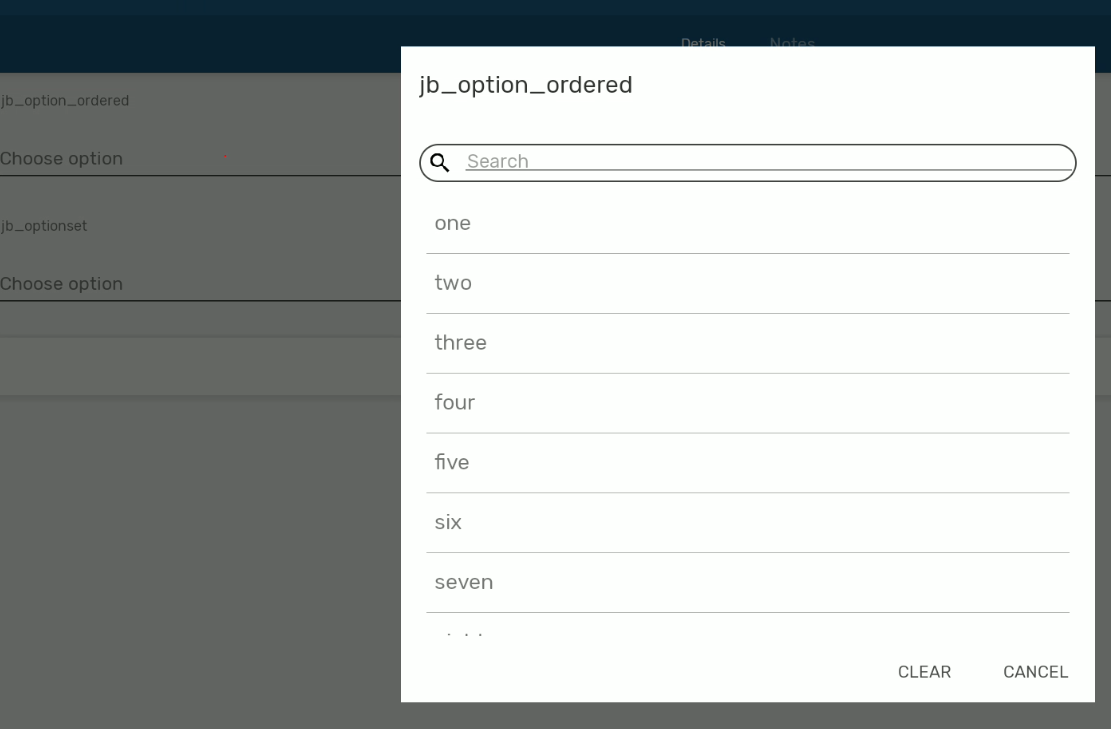
The default rendering option will automatically display a search box whenever there are more than 15 elements in the option set to ease the selection.
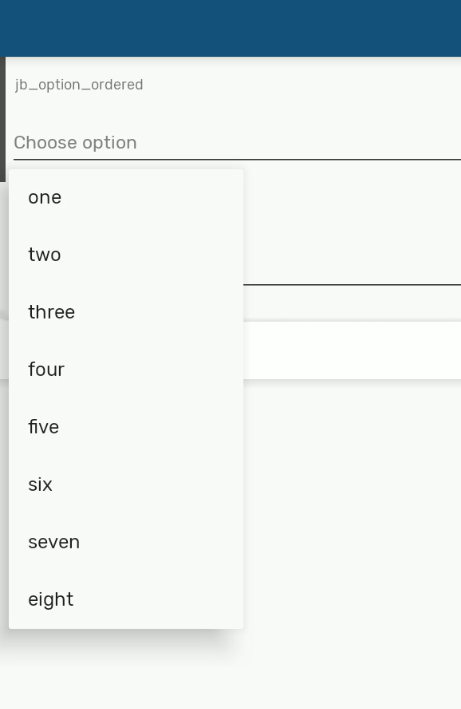
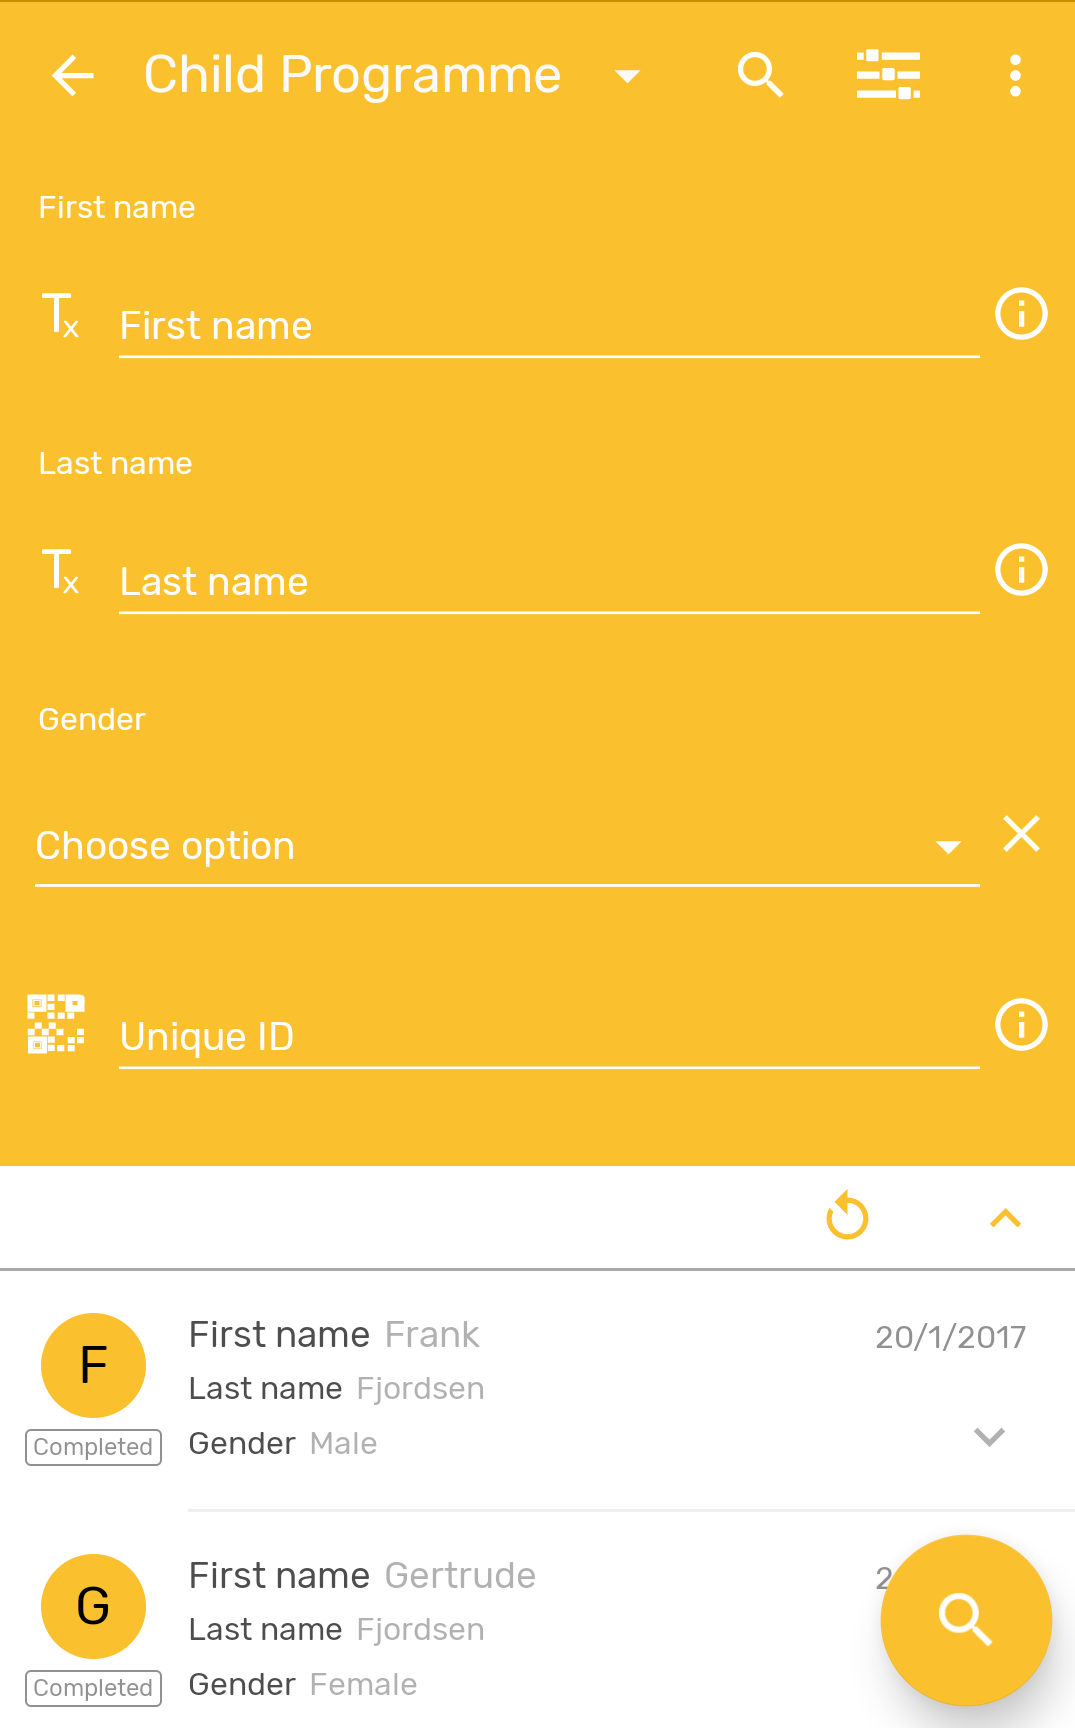
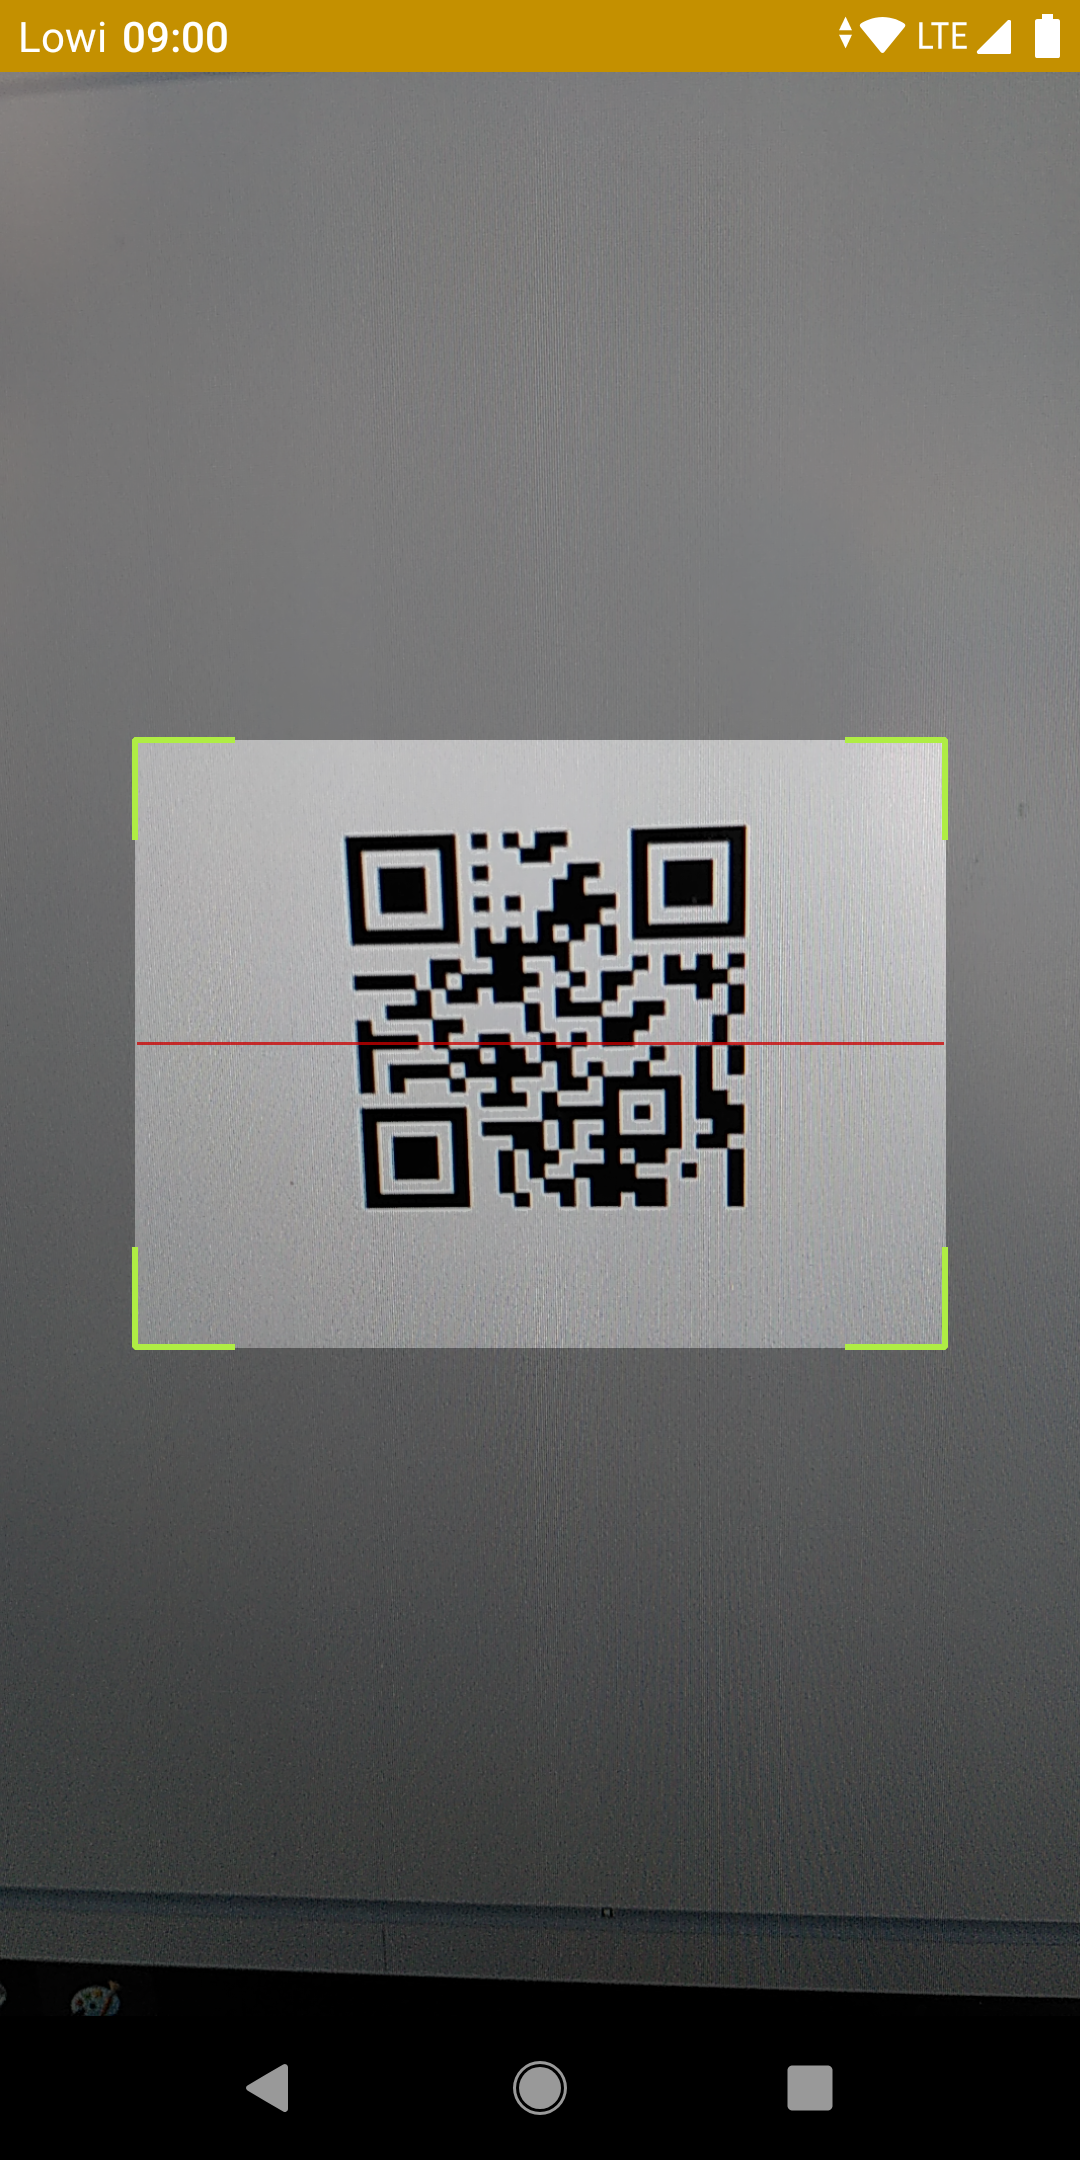
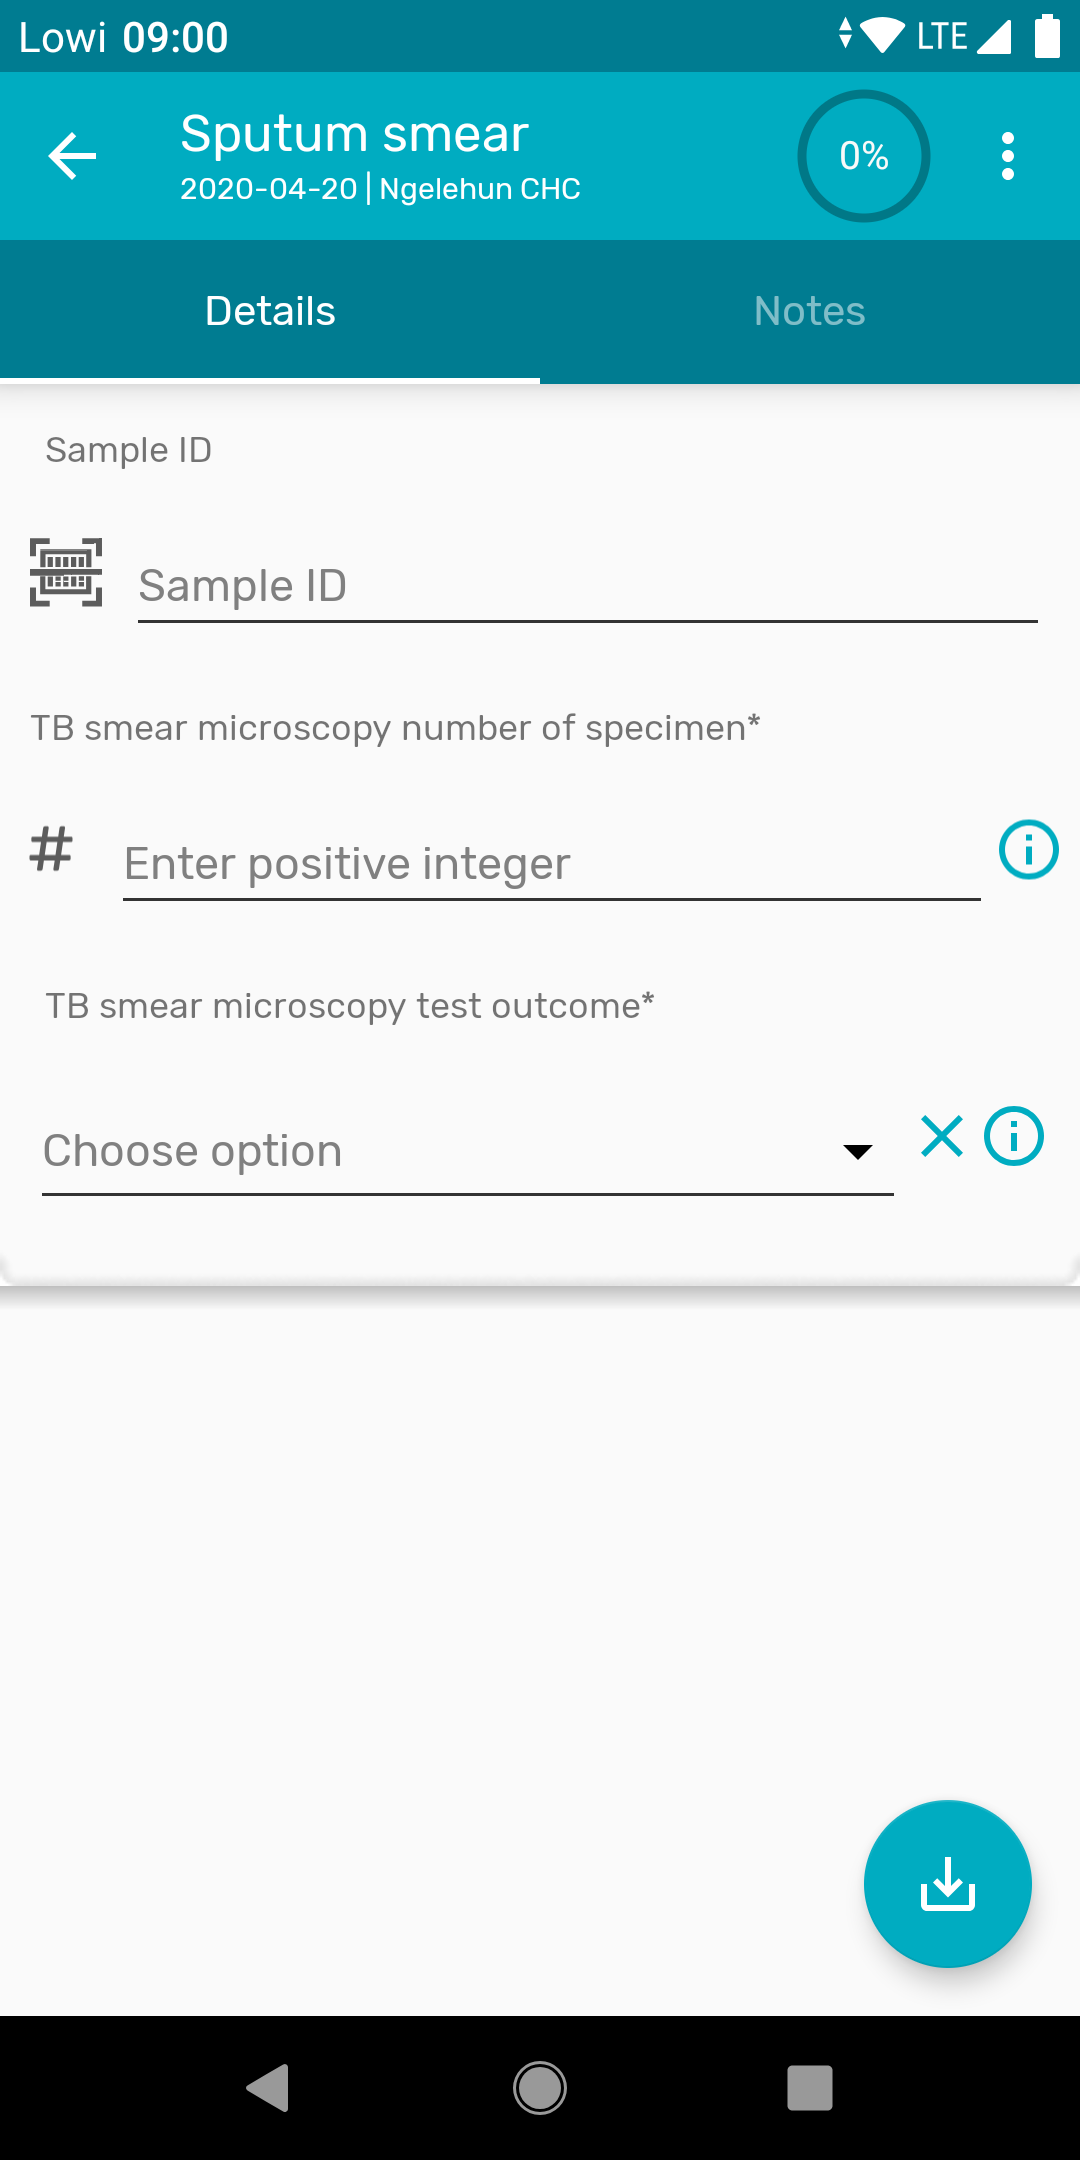
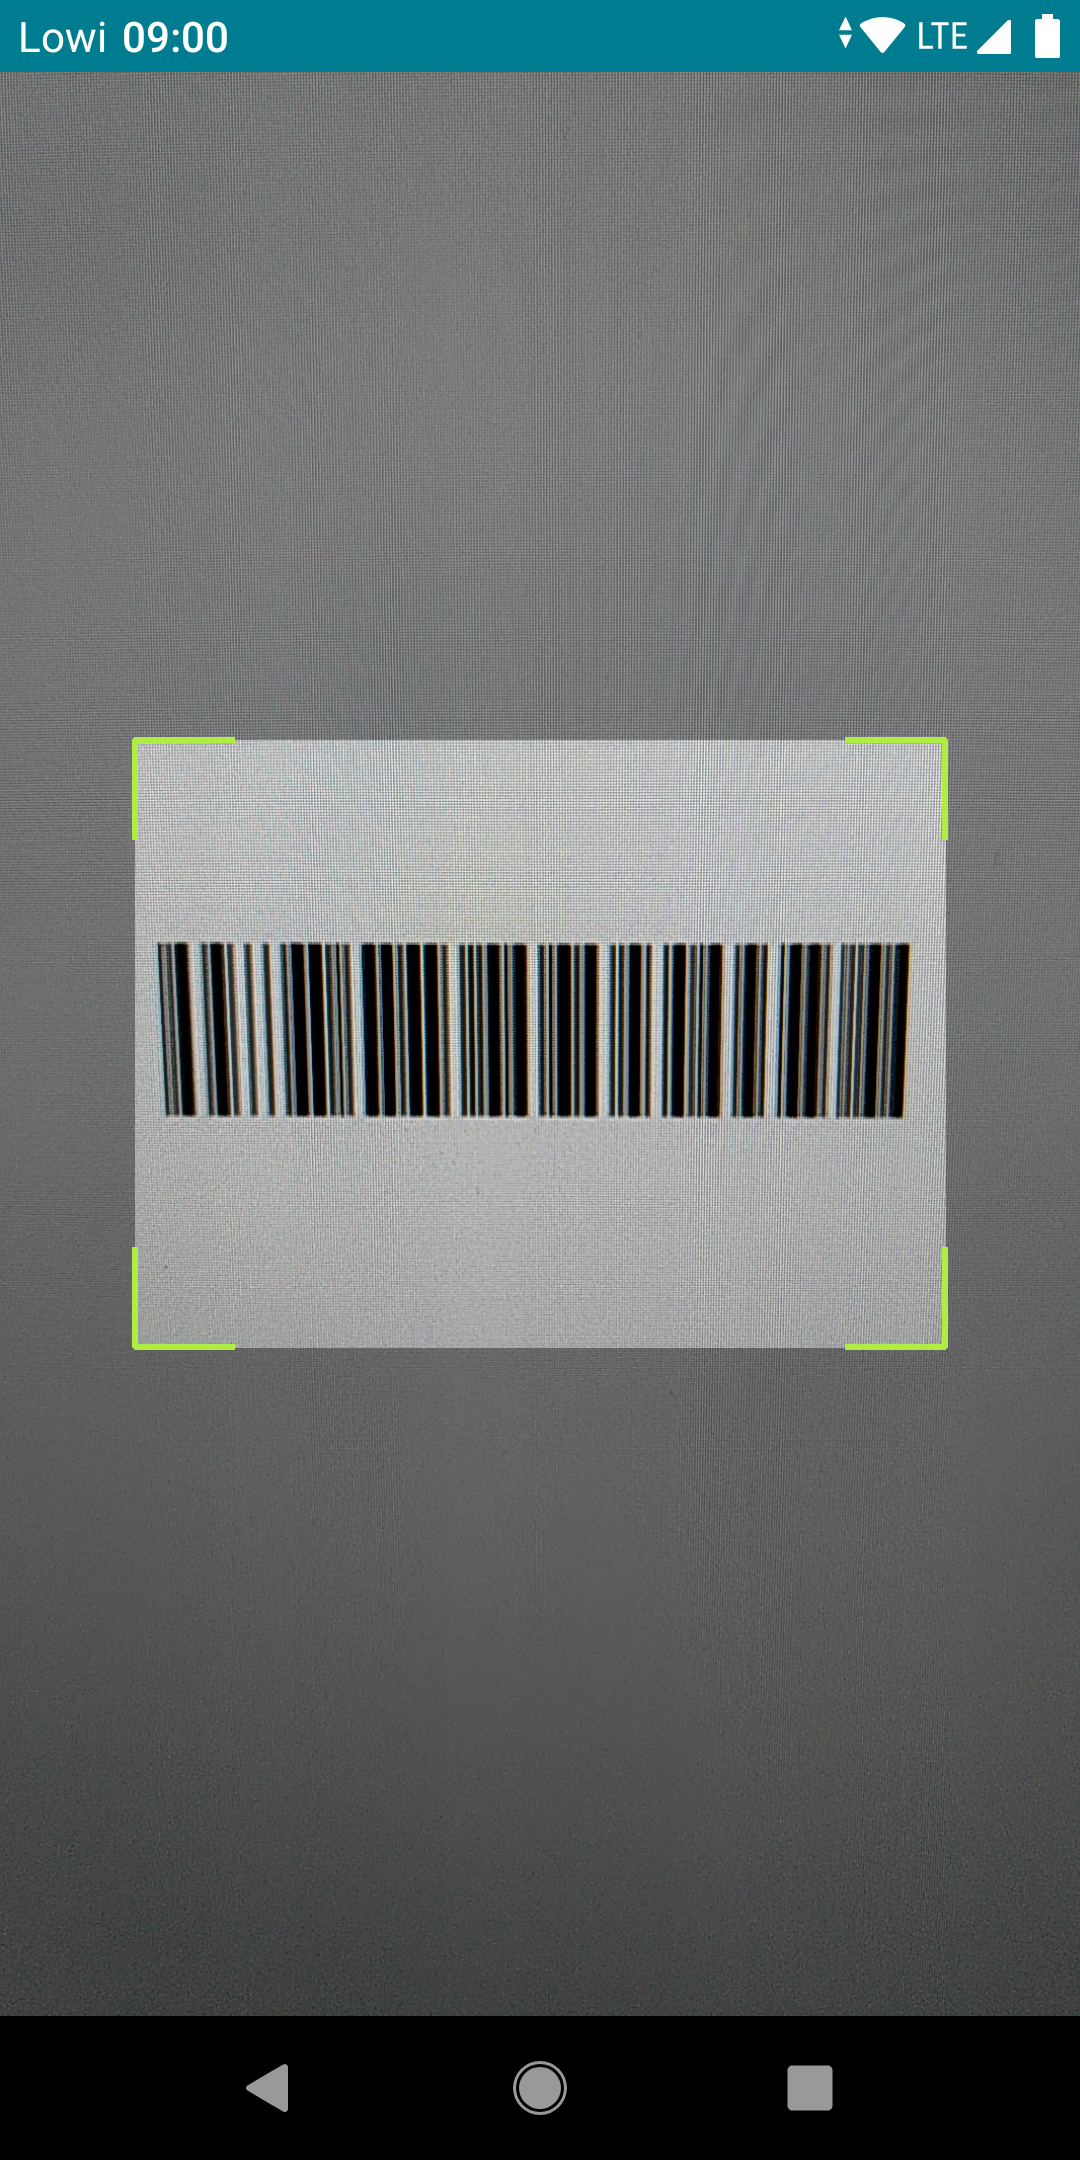
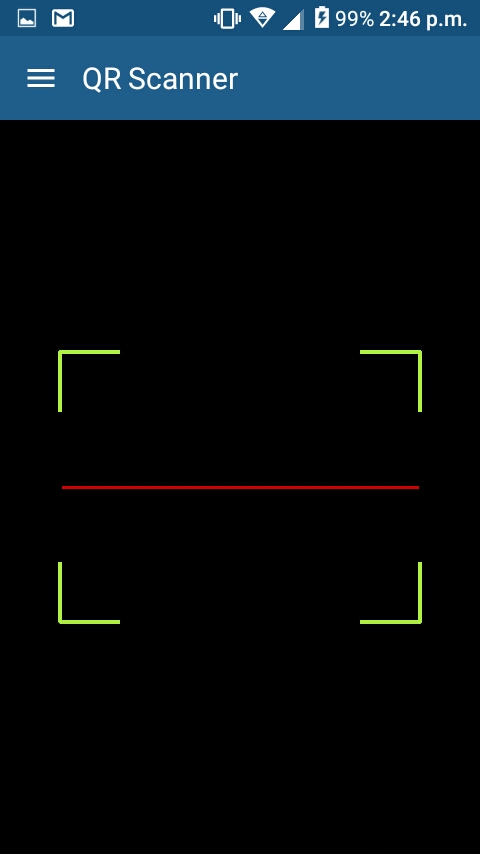
Data elements or attributes type text can be also configured as QR or barcodes. When a Data Element or Attribute is rendered as QR/Barcode, the app will open the device camera to read the code image. When the QR/Barcode is a TEI attribute configured as searchable, the user will be allowed to scan the code in order to search and identify the Tracked Entity Instance. This will also work for option sets.
Barcodes also allow the user to manually enter the value.
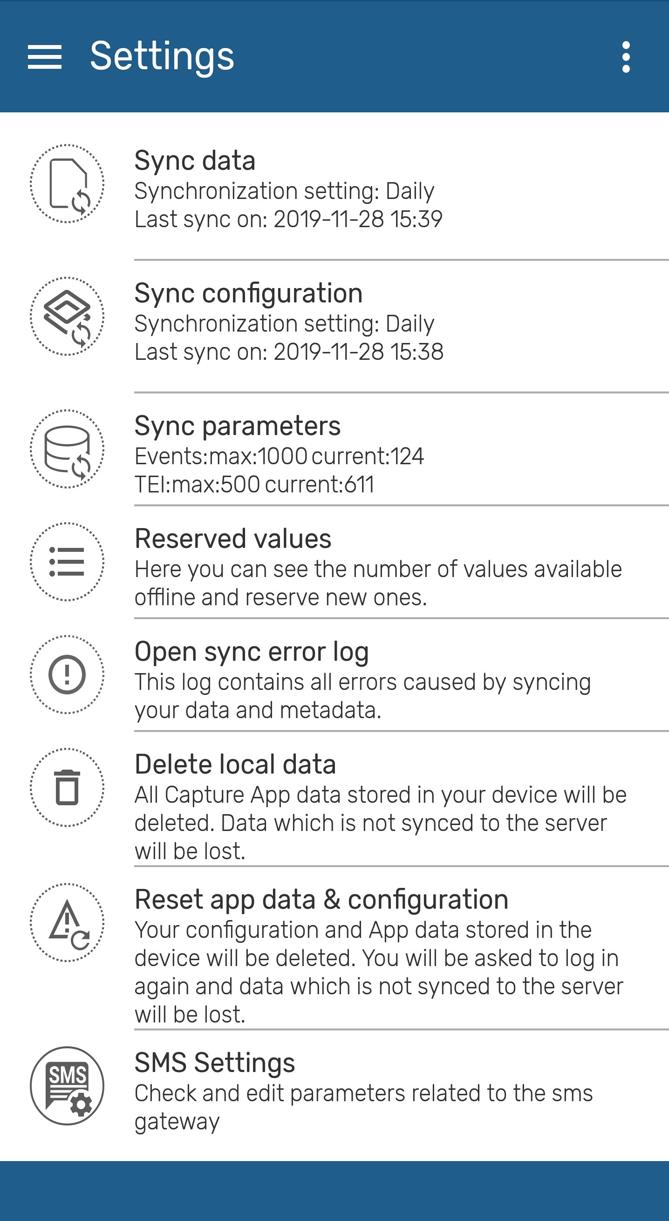
Data sync process: User is able to choose from a drop-down list if the data entered in the app is uploaded to the server manually or scheduled every 15 min, 1 hour or 1 Day. By default the app will sync every 24h. This kind of Syncing includes new and updated events and TEI’s.
Configuration sync process (Metadata syncing): User is able to choose from a drop-down list if the data entered in the app is uploaded to the server manually or scheduled every day or week. By default the app will sync every 24h. This sync will update changes in programs or configurations in web.
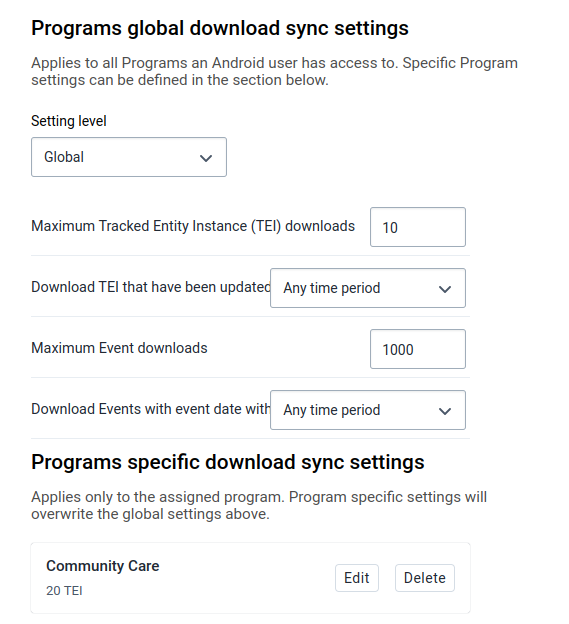
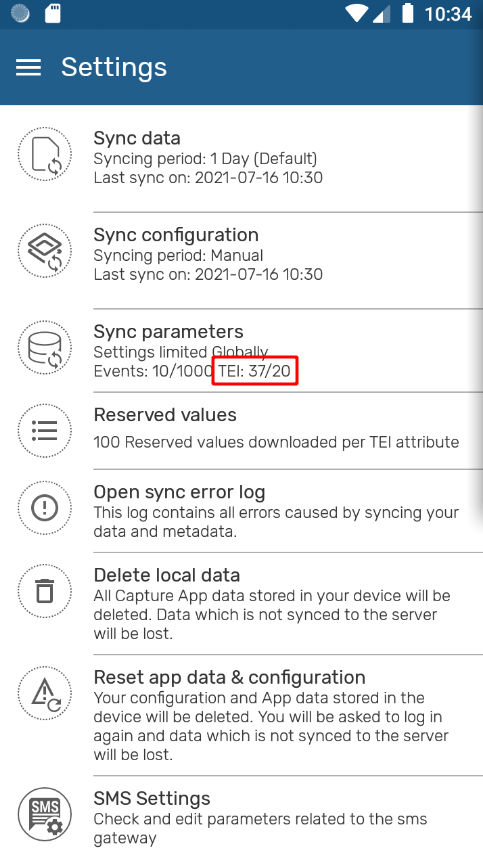
Sync Parameters: these parameters allow the user to specify the maximum number of TEI’s and events that can be stored in the local device. The user can also specify if limits apply per organisation unit or in total. Values can be set to default by clicking on “Reset to default”.
Note
Sync data, Sync configuration and Sync parameters can be overwritten using the Android Settings Web App.
Reserved Values: this will specify the number of reserved Id's available in your device and will allow you to refill them.
Open sync errors log: The sync error log gives details about the error and is prepared to be shared with admins.
Delete Data: this action will delete local data without having to log out.
Reset App: this action will log out the user and delete all data and metadata. It is similar to resetting the App.
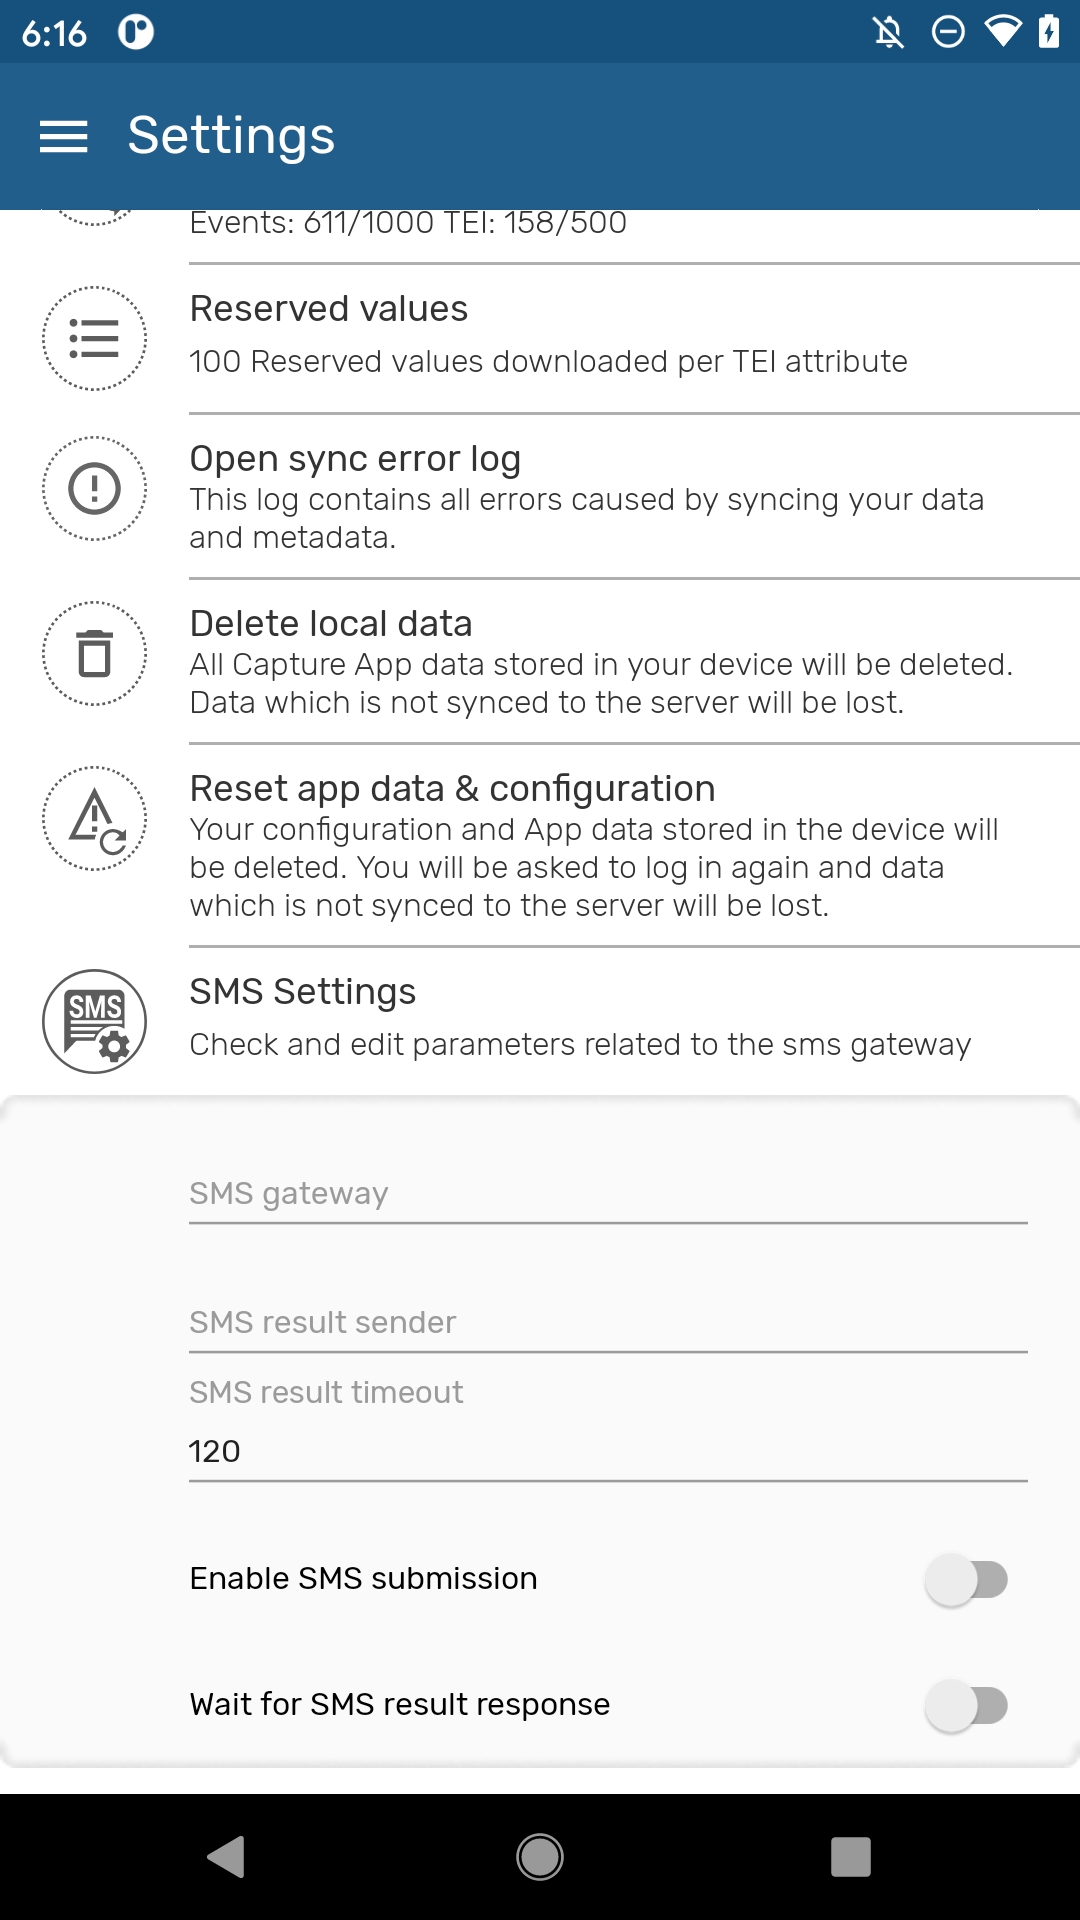
SMS Settings: This sections allows to check or edit the parameters related to the sms gateway.
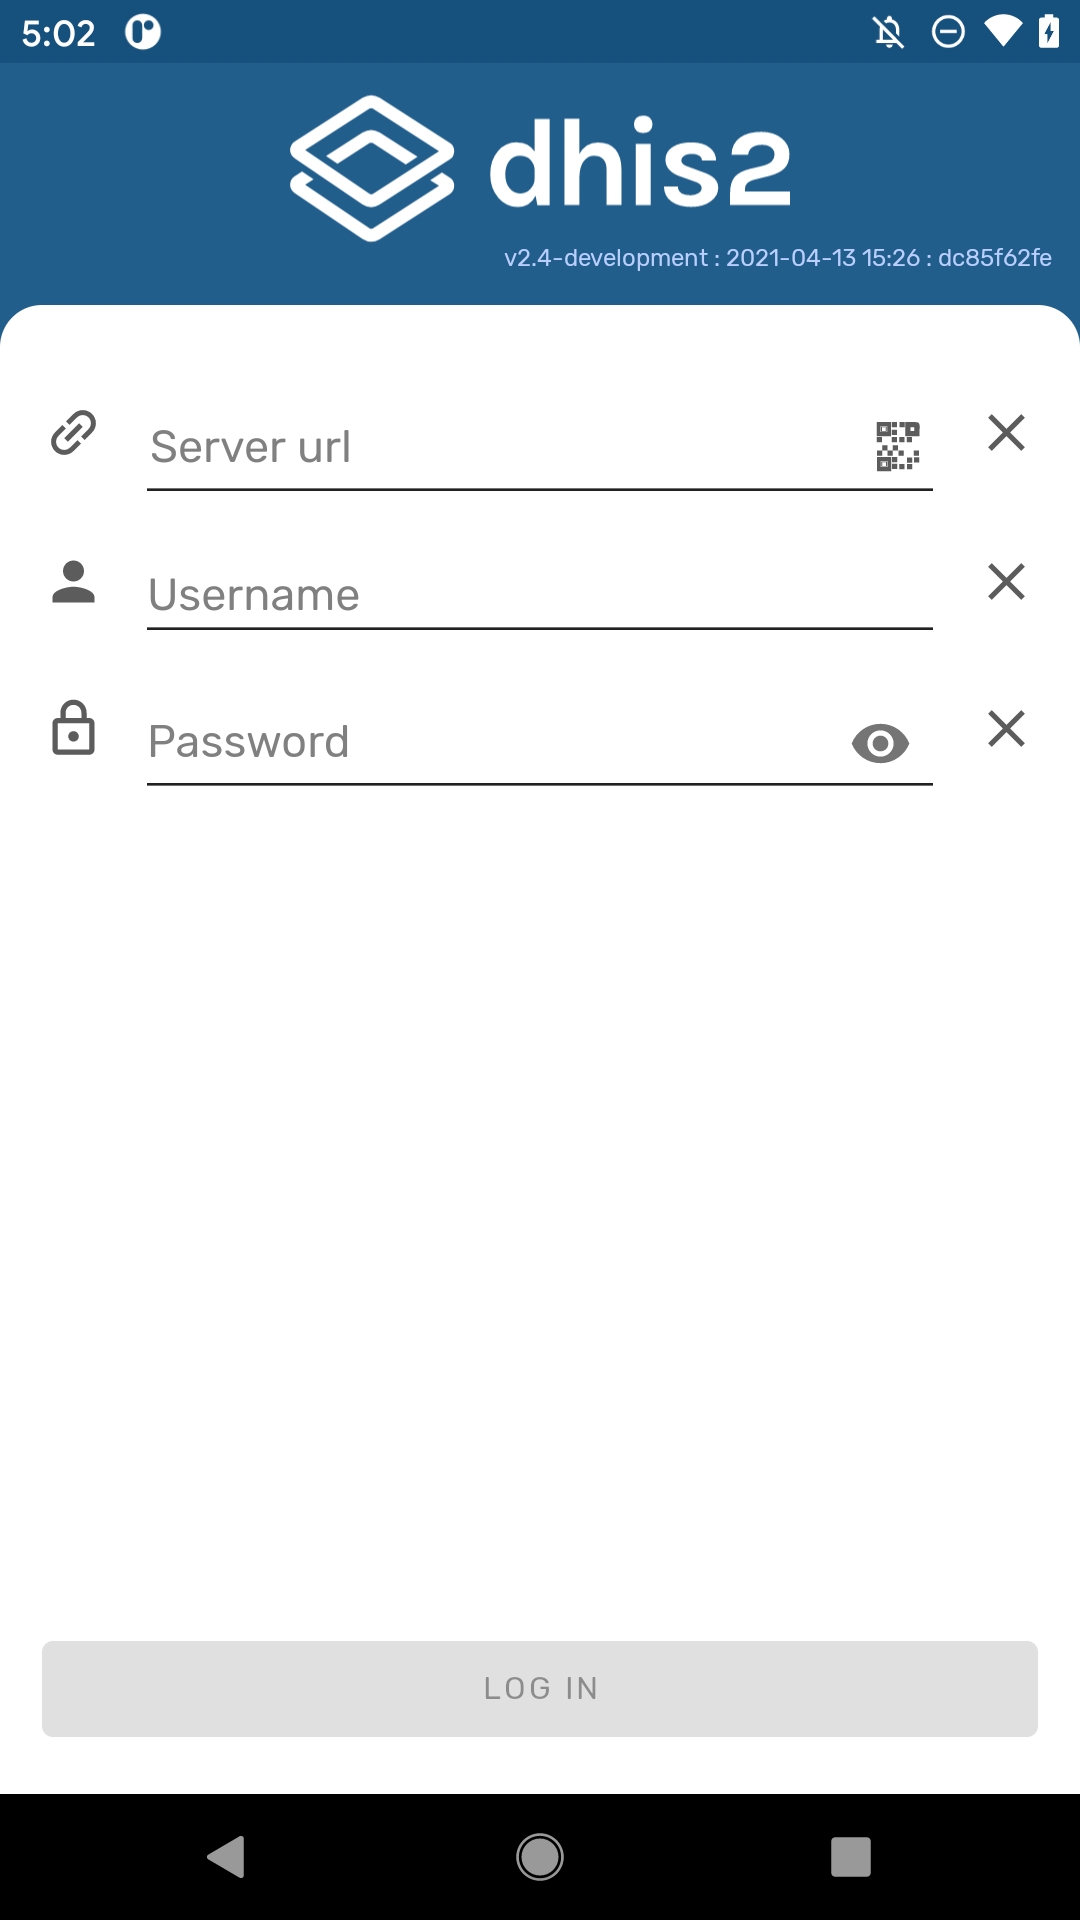
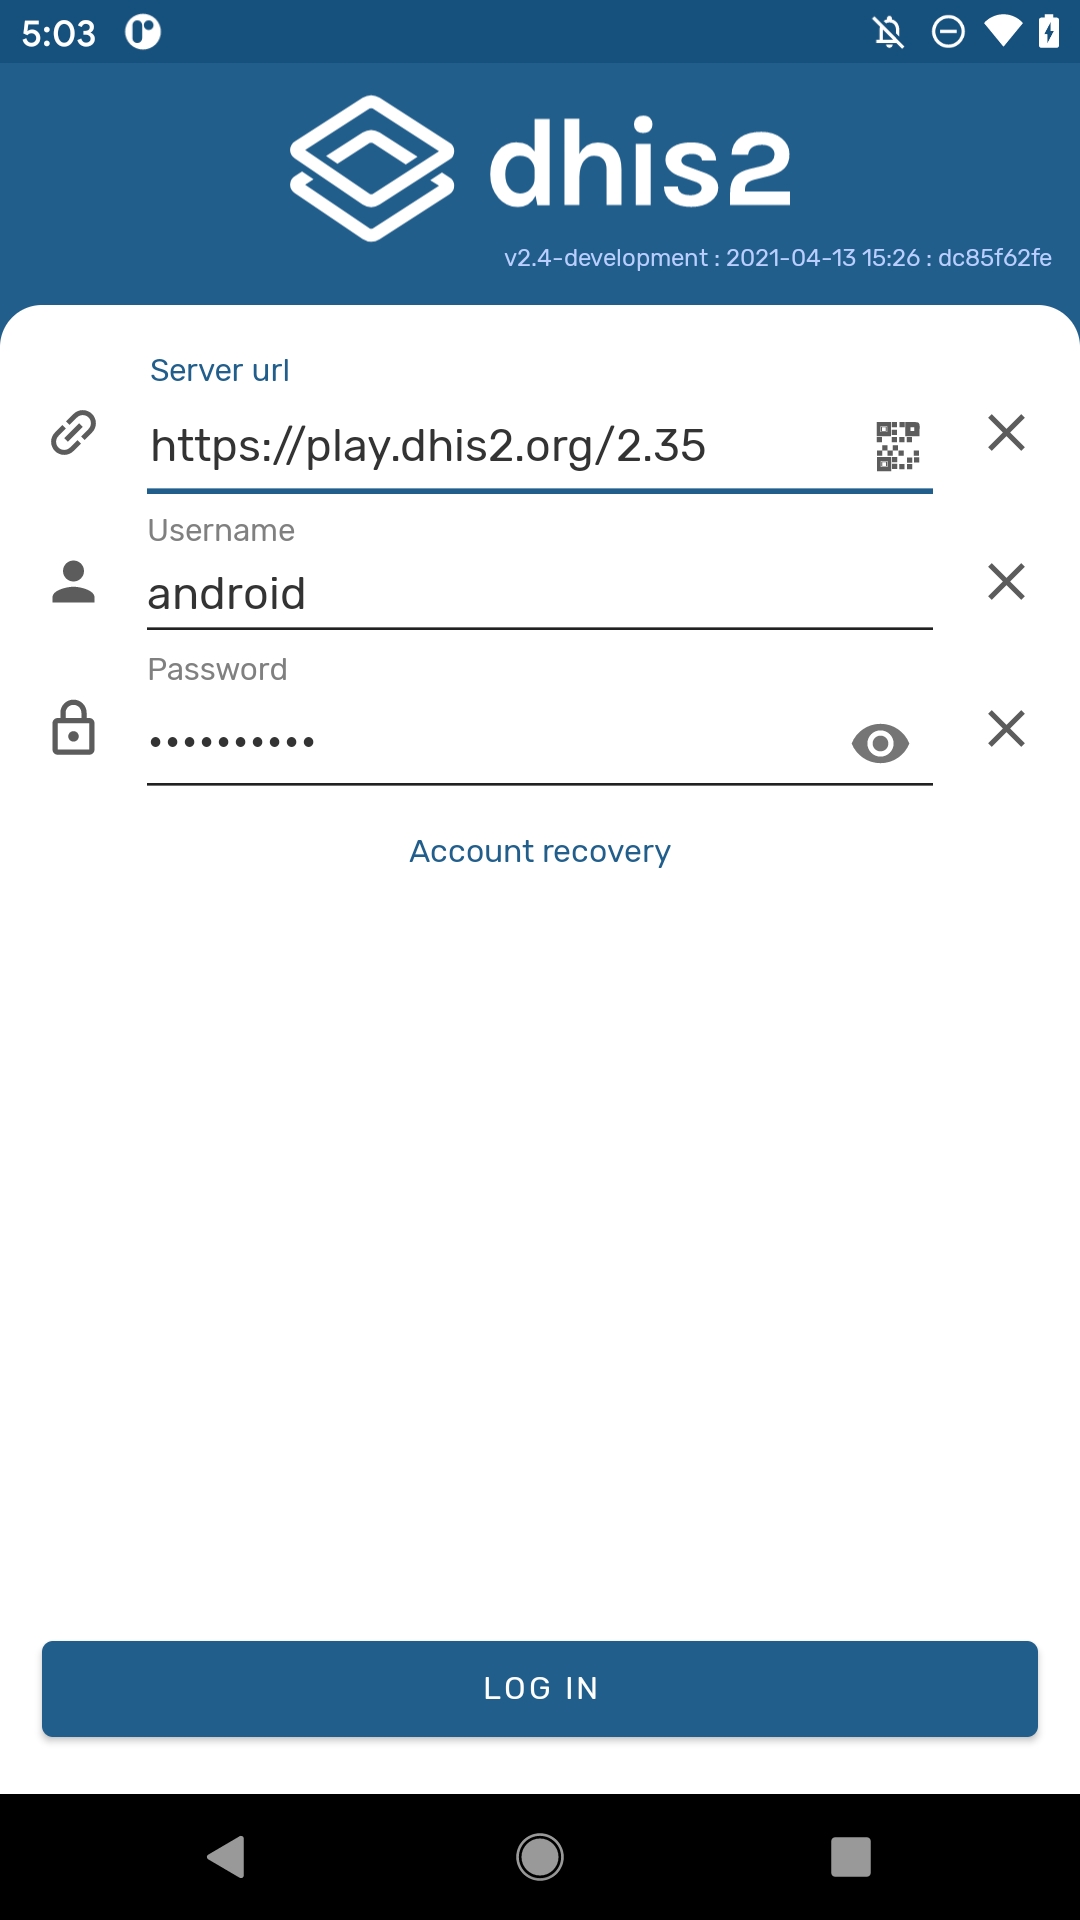
There are two ways to access the application:
Note
Take note that login is only possible with servers from version 2.29.
Note
After the first login, the app will suggest URL and username of all successful connections.
You are able to make an offline login only if using the same user as the last online session.
Warning
In DHIS2 versions up to 2.30 if a user attemps an on-line login and their account has been disabled as explained in the DHIS 2 Manual - Disable User all the data will be wiped from the phone. Make sure that before disabling a user all the data has been synced or that you are using this feature to remotely wipe sensitive data in case of a device getting lost.
Due to a change in the login API this feature is not available in 2.31 and above versions.
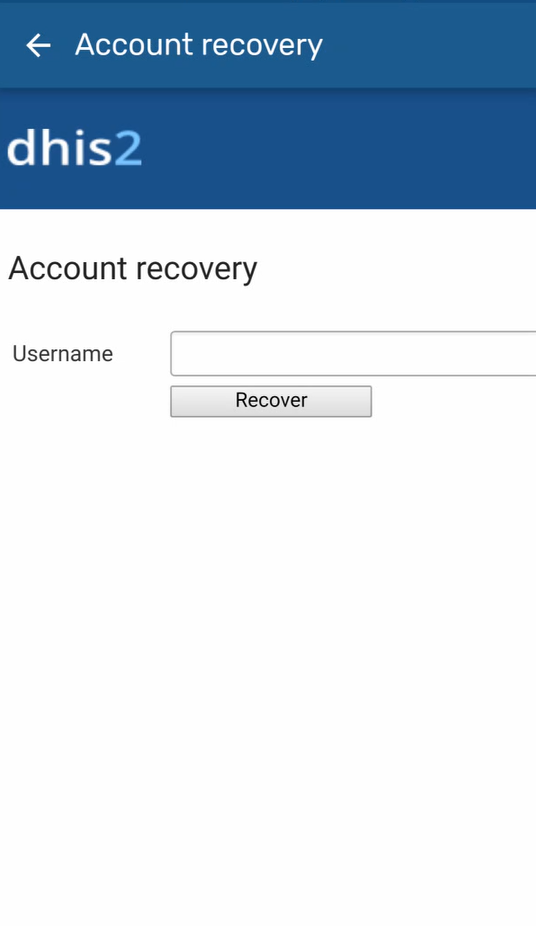
The users will be able to restore their own password if they have the setting enabled: Enabled User Account Recovery.
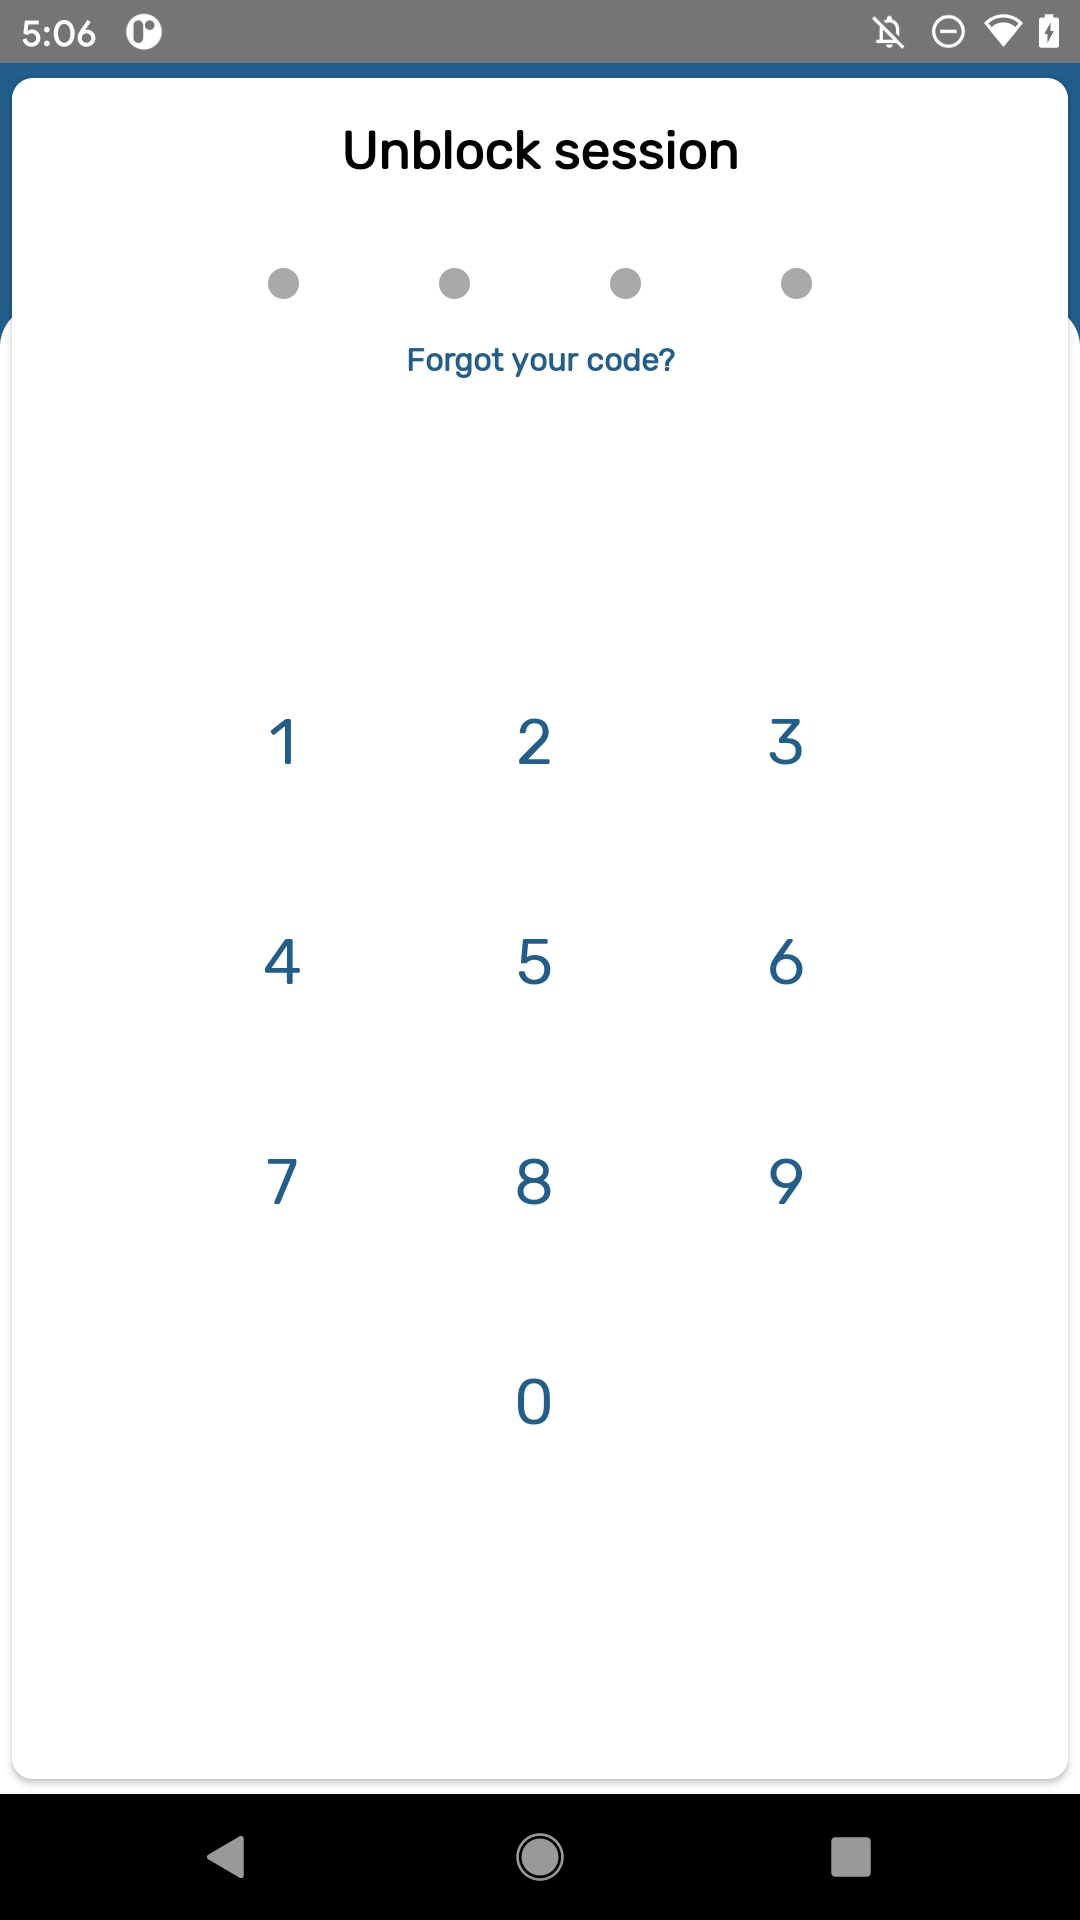
User is able to lock the session using a 4 digit PIN. This allows to move to other apps in your phone without deleting the local data. If the user forgets the PIN number, log in by entering the credentials is also available.
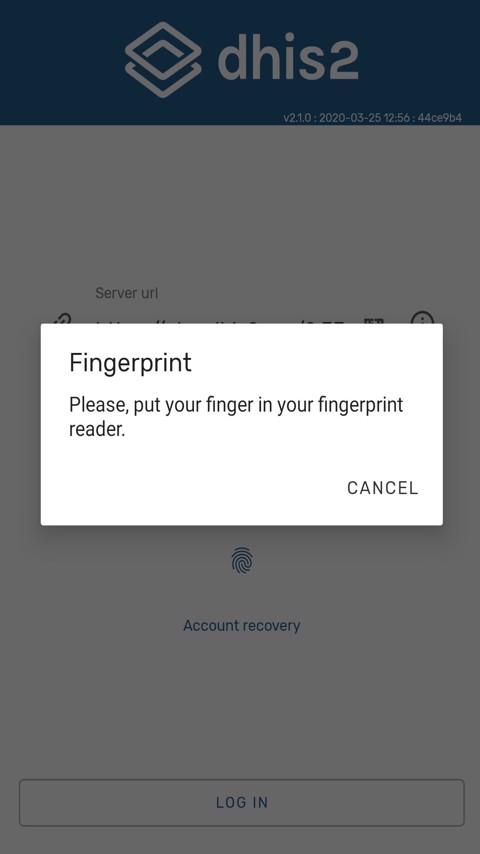
User is able to use the fingerprint scanner if the feature is activated in the device.

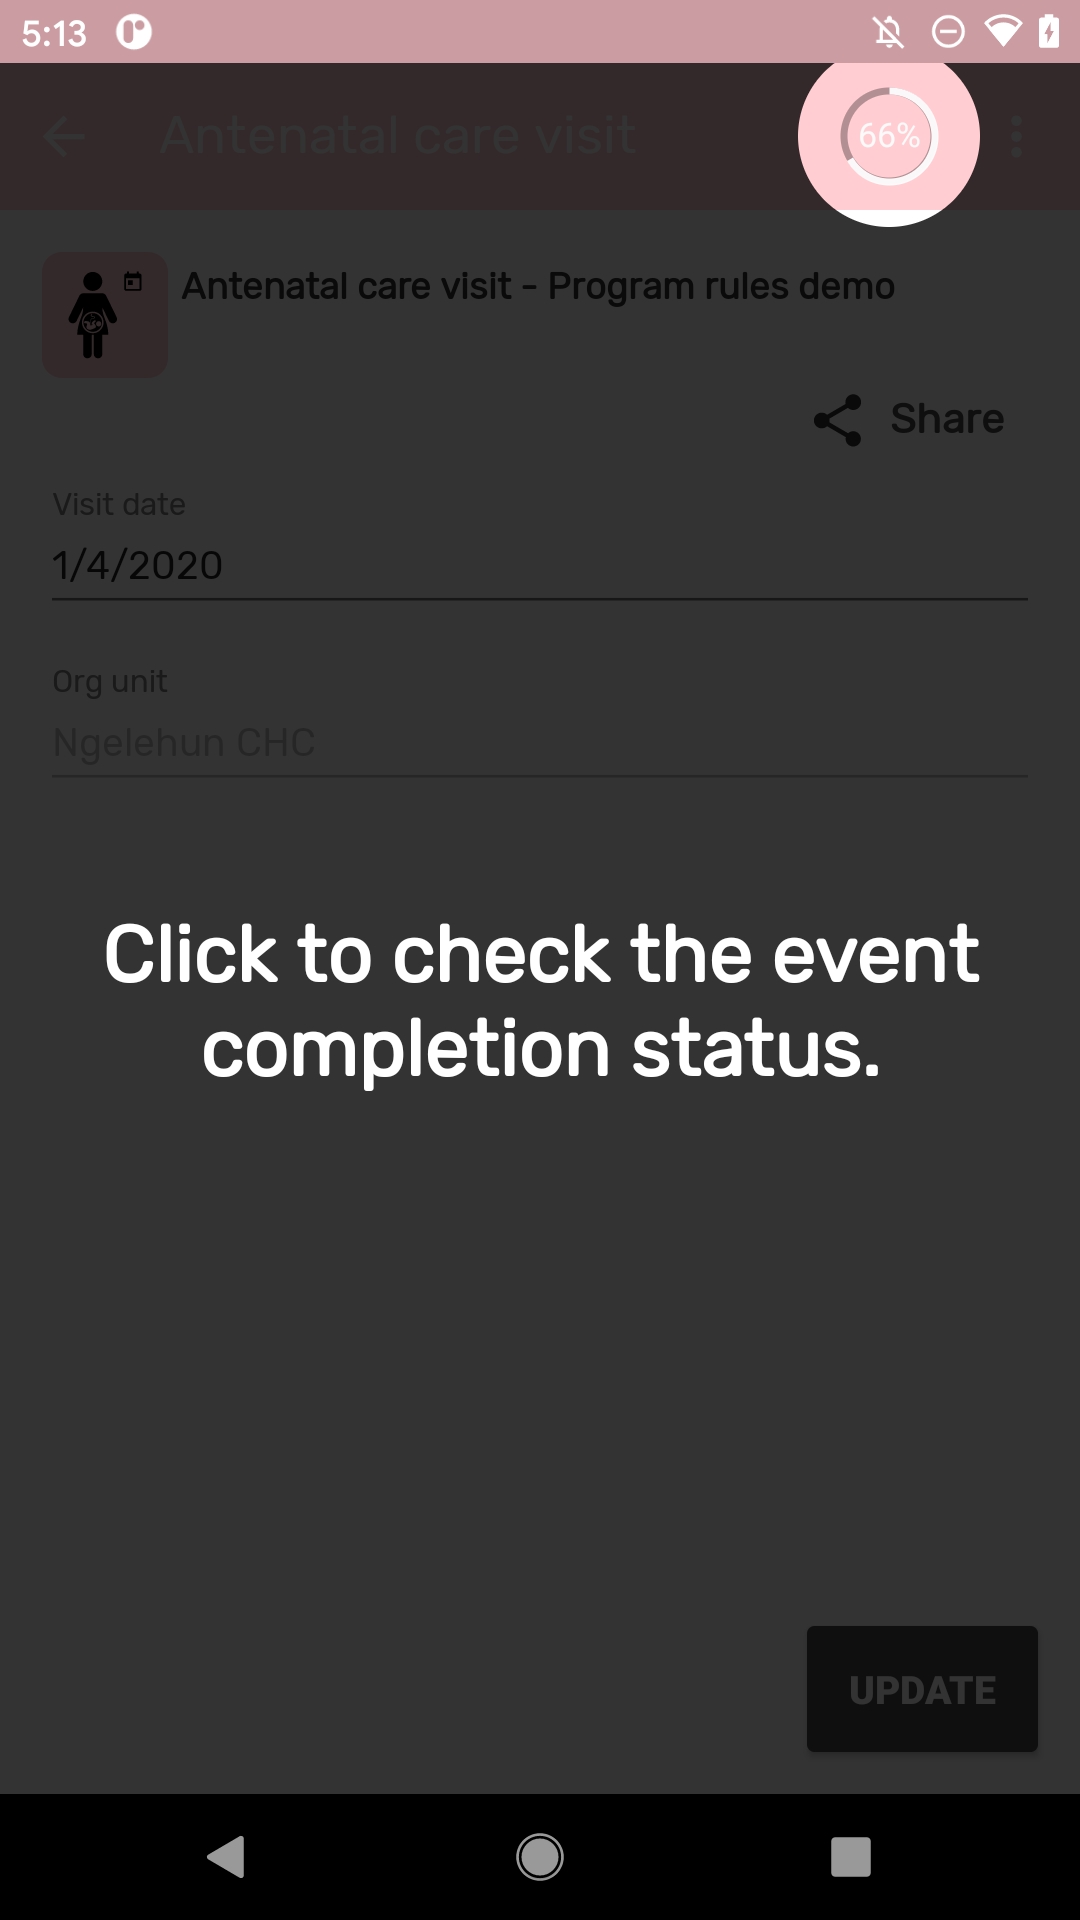
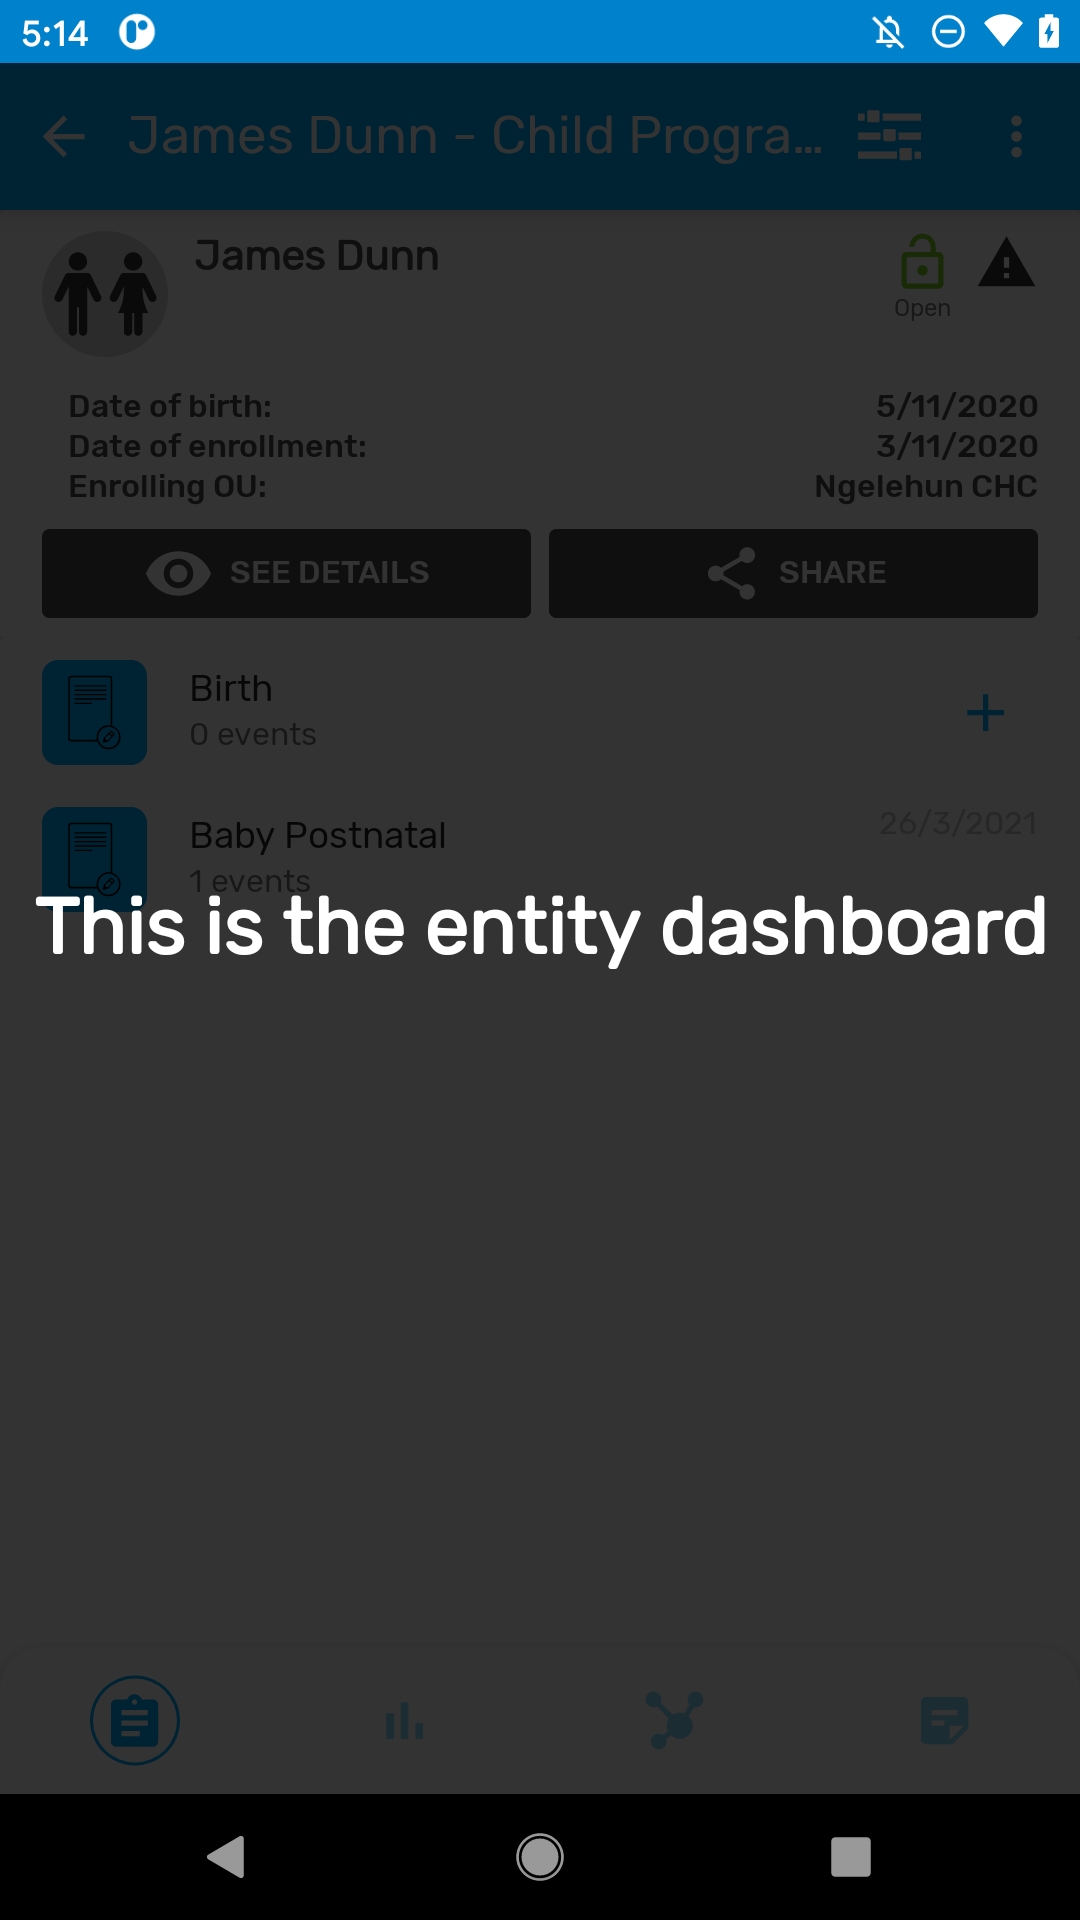
A contextual guide is available in Event details and TEI dashboard screen.
Tip
User is able to re-open the instructions by clicking on the three dots at the top right corner of the screen.
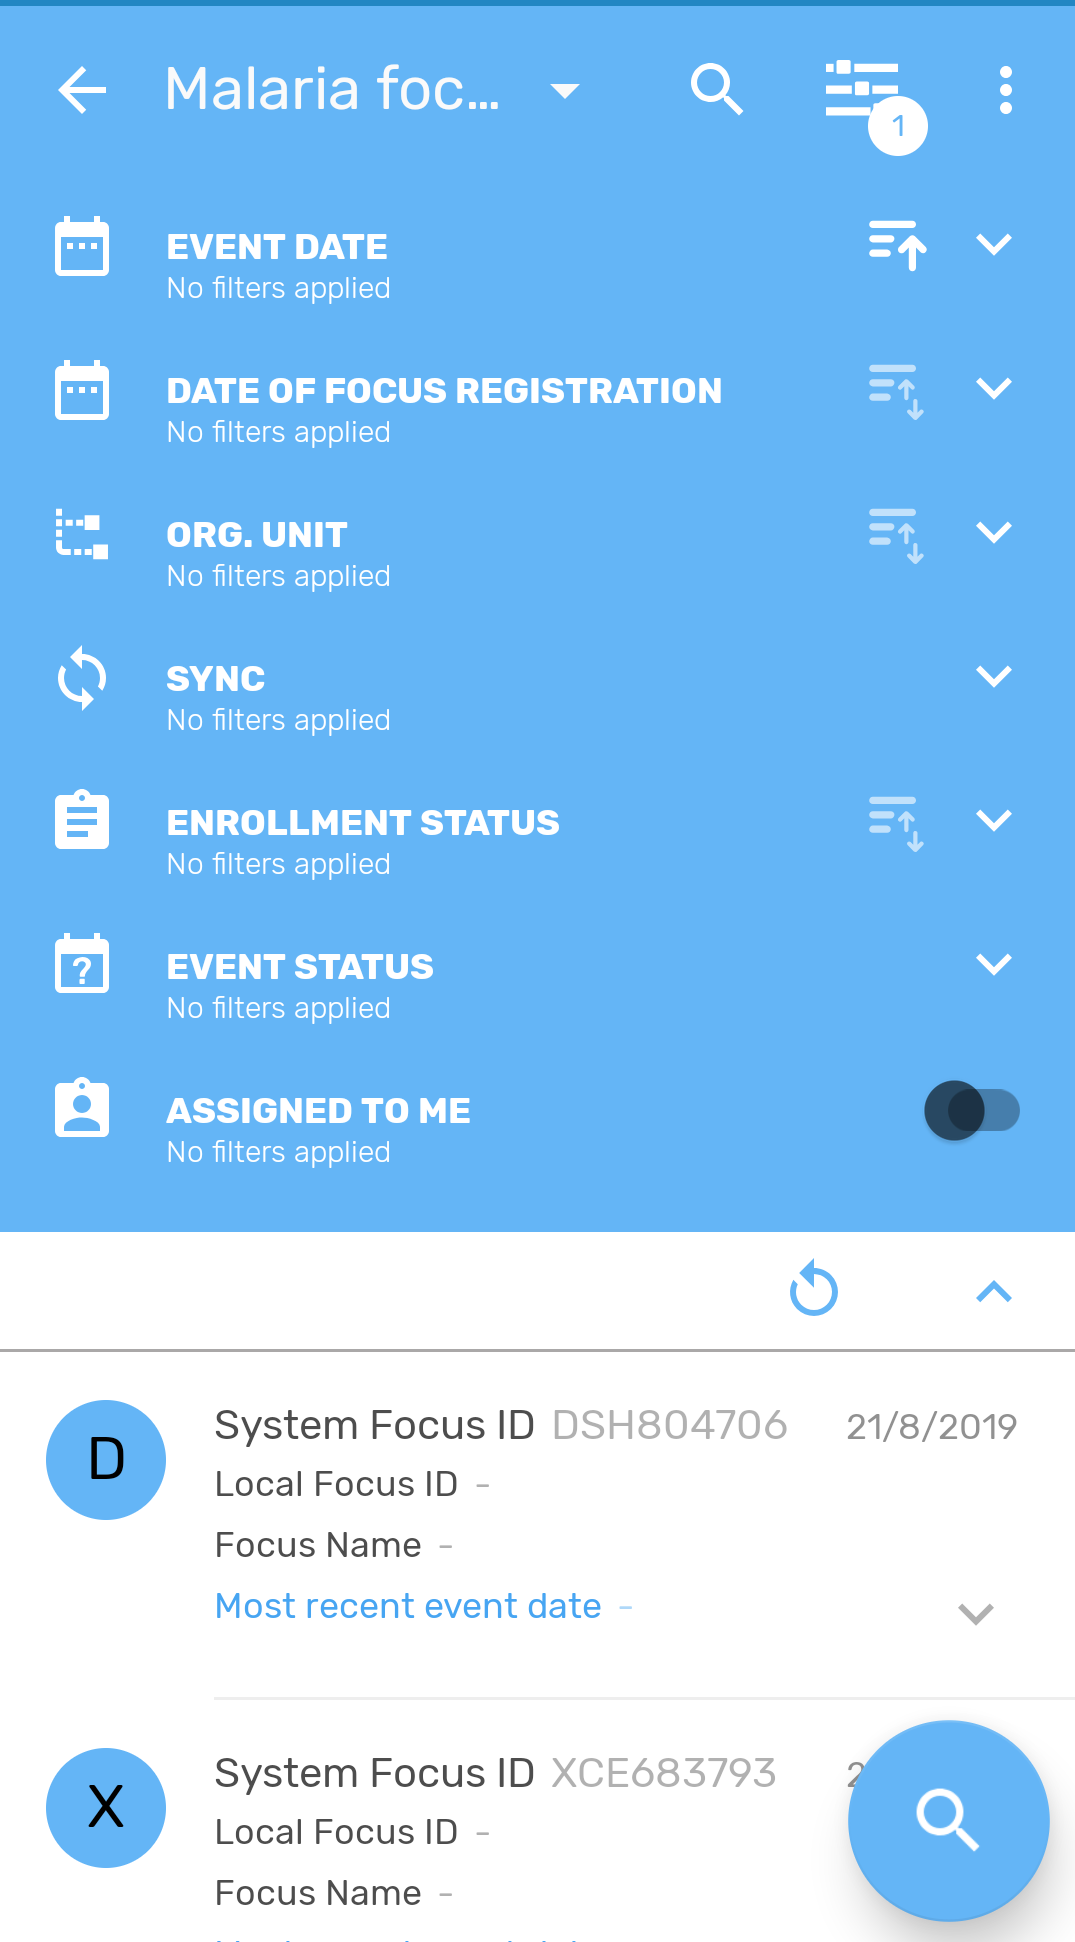
The app has new and improved filters for all listing screens (home, event listing, tei search and dataSets).
Filter by period, org. Unit, sync state, event status, category option combination and "assigned to me".
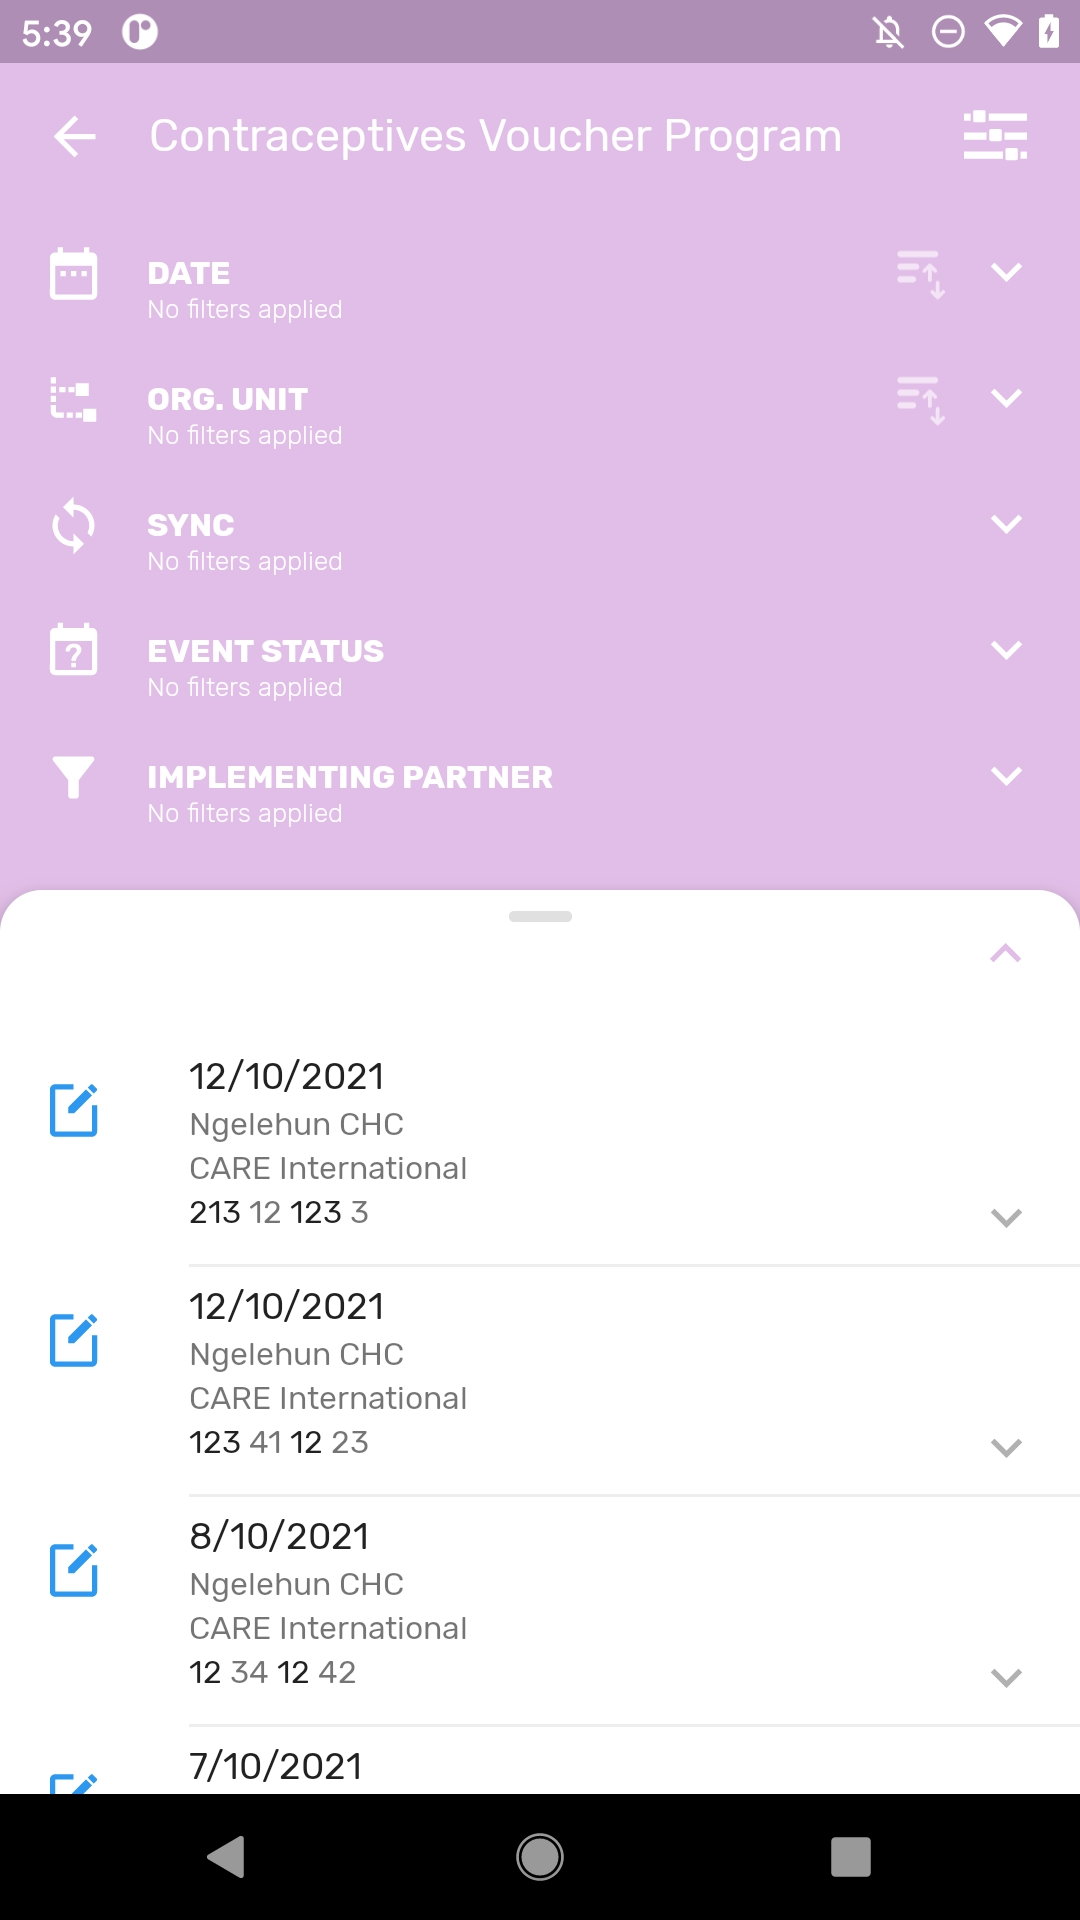
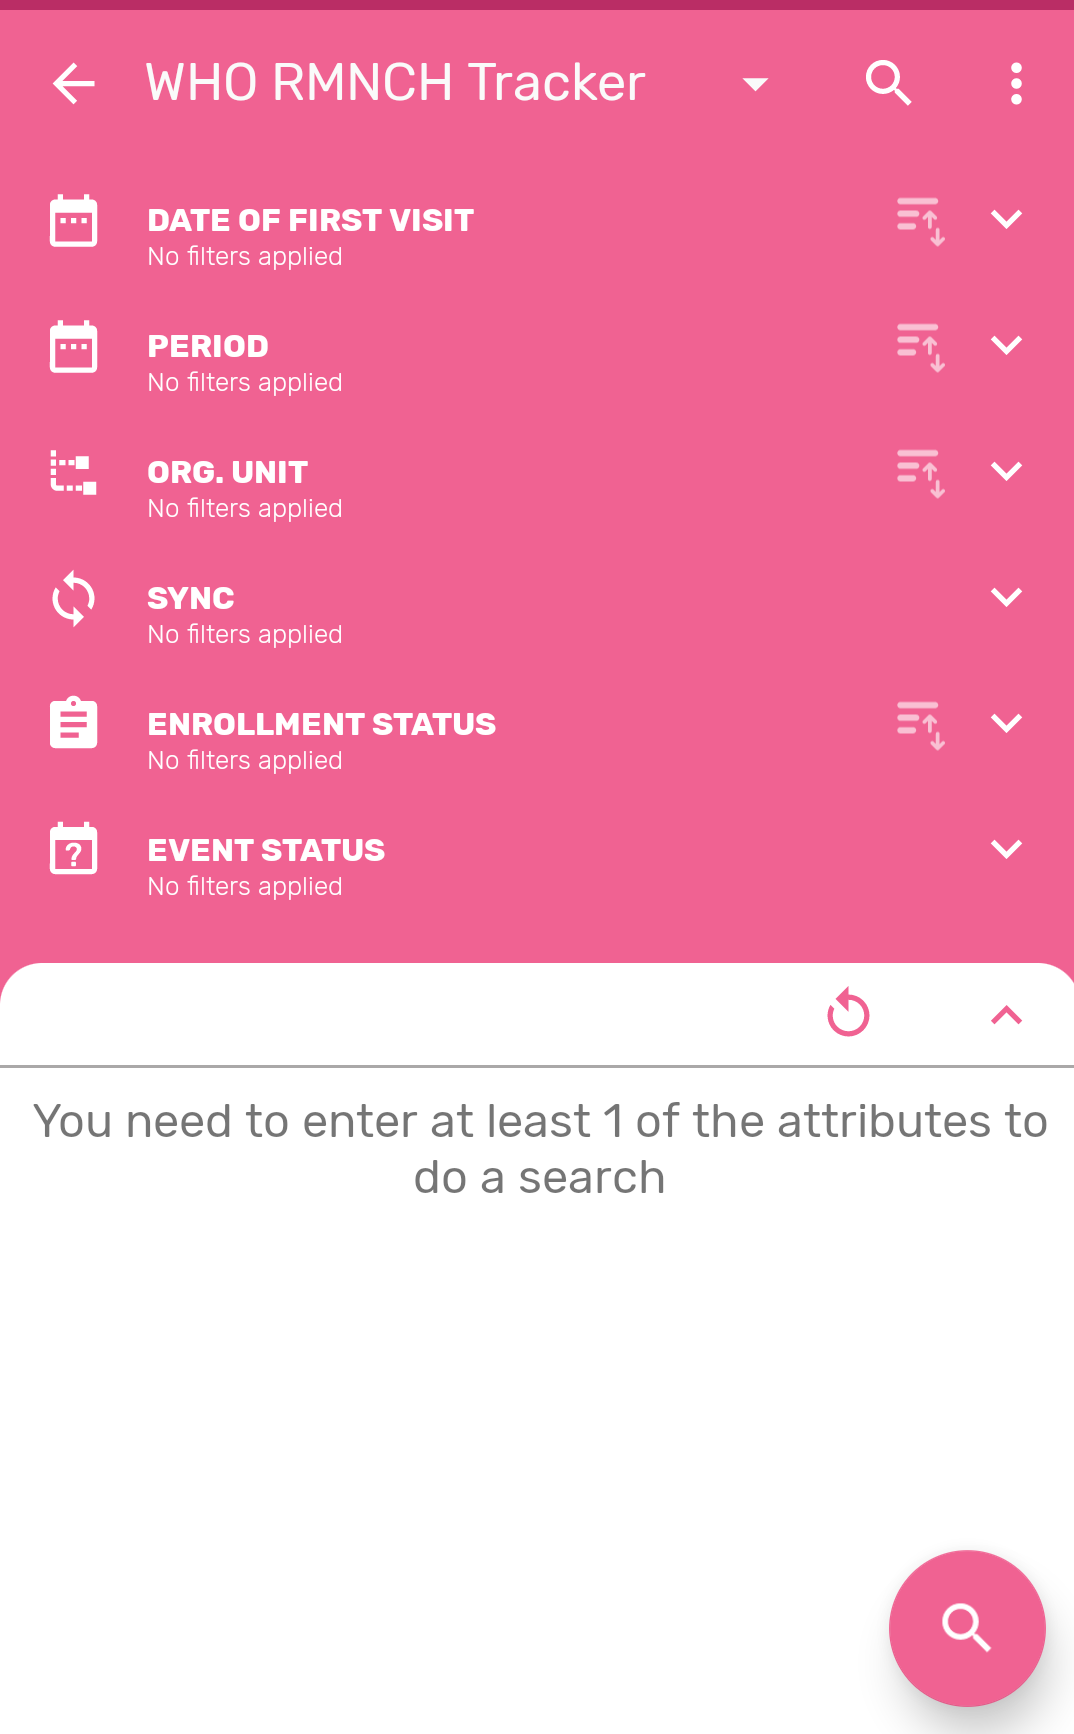
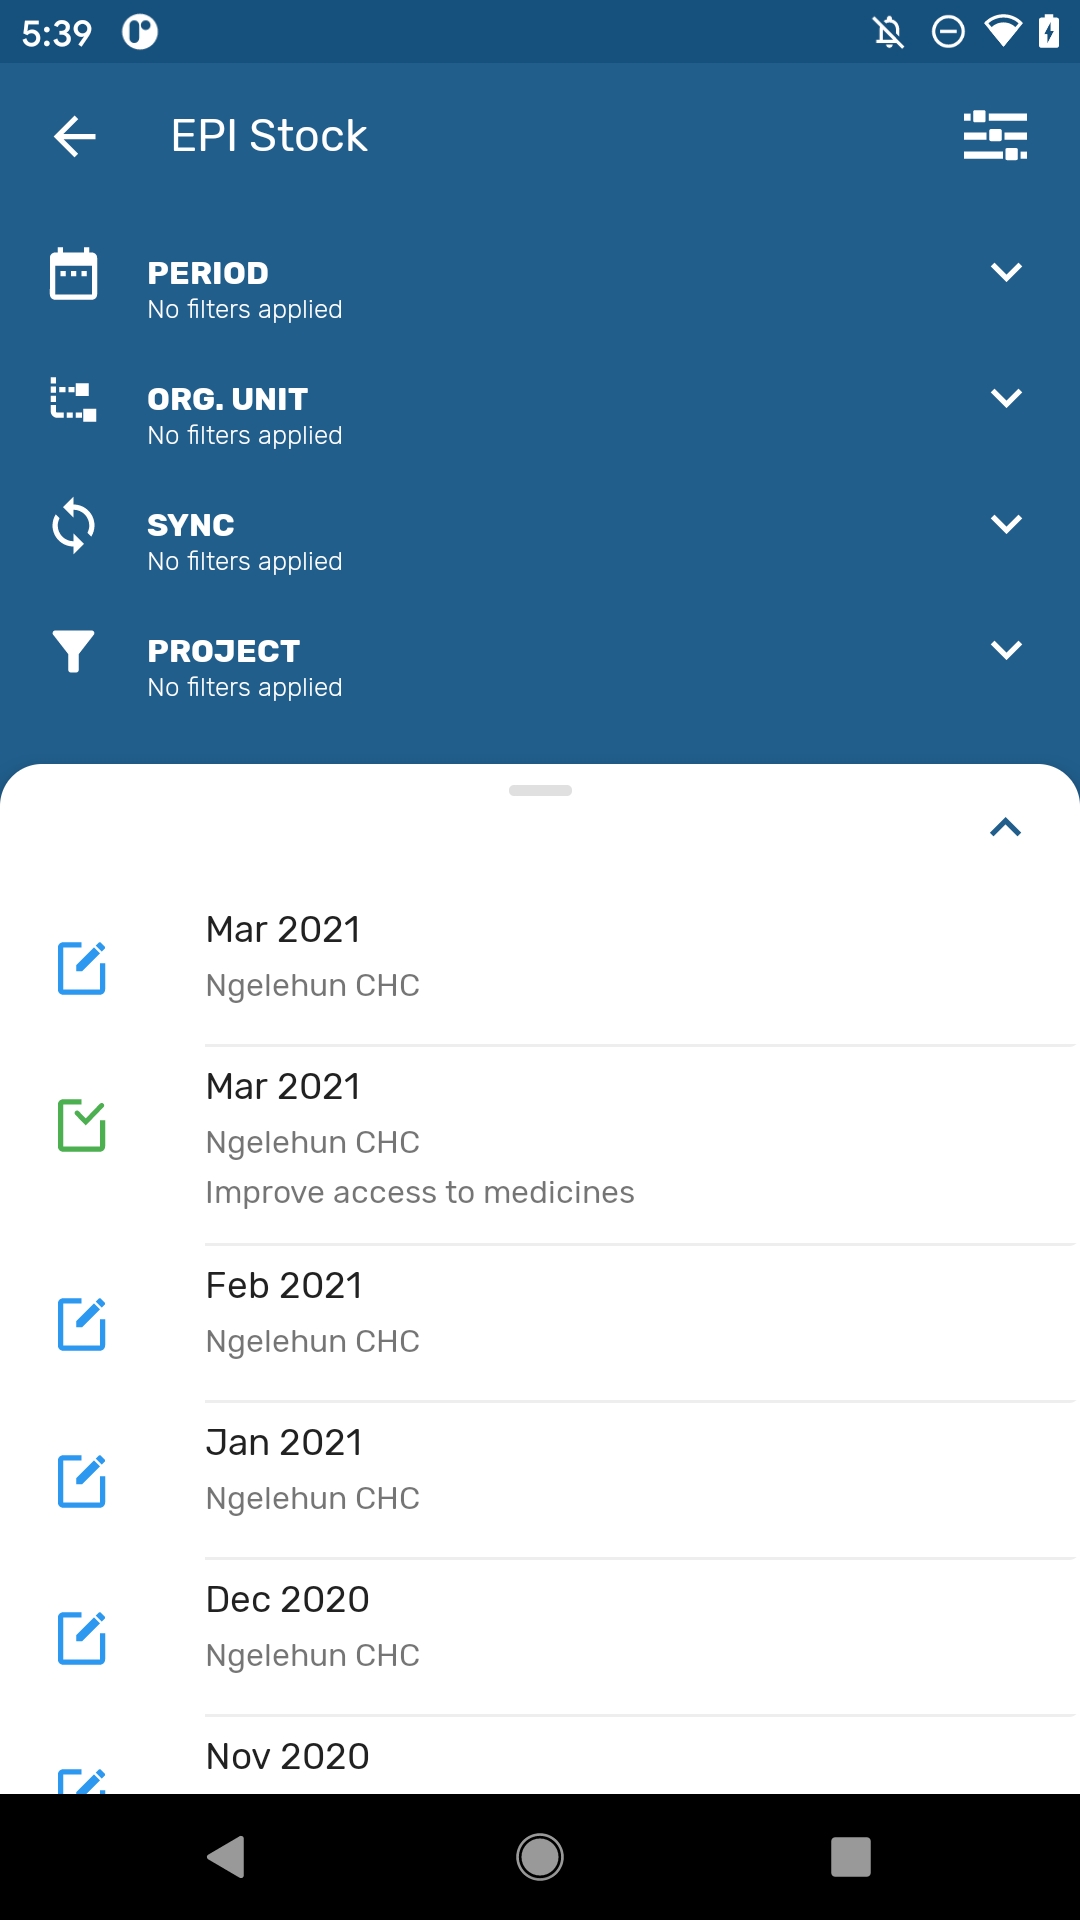
Filters will adapt to the different programs and data sets.
It is possible to filter events based on its assignment to the current user. The “Assigned to me” filter has been added to the single event program list, the TEI list and the TEI Dashboard and the map views. It will only be displayed when the active program is configured to assign events to users.
Filter the Events, TEIs(based on their events) and data sets, the following periods of time are availables:
Allows the user to type the search or select an org unit from the tree.
Filer by:
Filter the events by:
Multiple status selection is permited. Once you open a TEI, the filter will be kept in the dashboard and show only the events with the selected status.
Events shown are up to 5 years old.
The 'Date of Enrollment' will apply to the Enrollment date of the TEI in the program. If there is more than one enrollment date, it should sort the results by the most recent one. The label of this filter will display when available.
The filter 'Enrollment status' offers three options: Active, Completed, Cancelled. Only one option can be selected at time. If you filter by "completed" and the TEI has more than one enrollment, the app will open the "active" enrollment. To see the completed one, select the three dot menu at the top right corner of the dashboard and select "program enrollments".
Filters have been added to the TEI dashboard. It is possible to filter the events of a Tracked Entity Instance enrollment per period, organisation unit, sync status, event status, and user assignment.
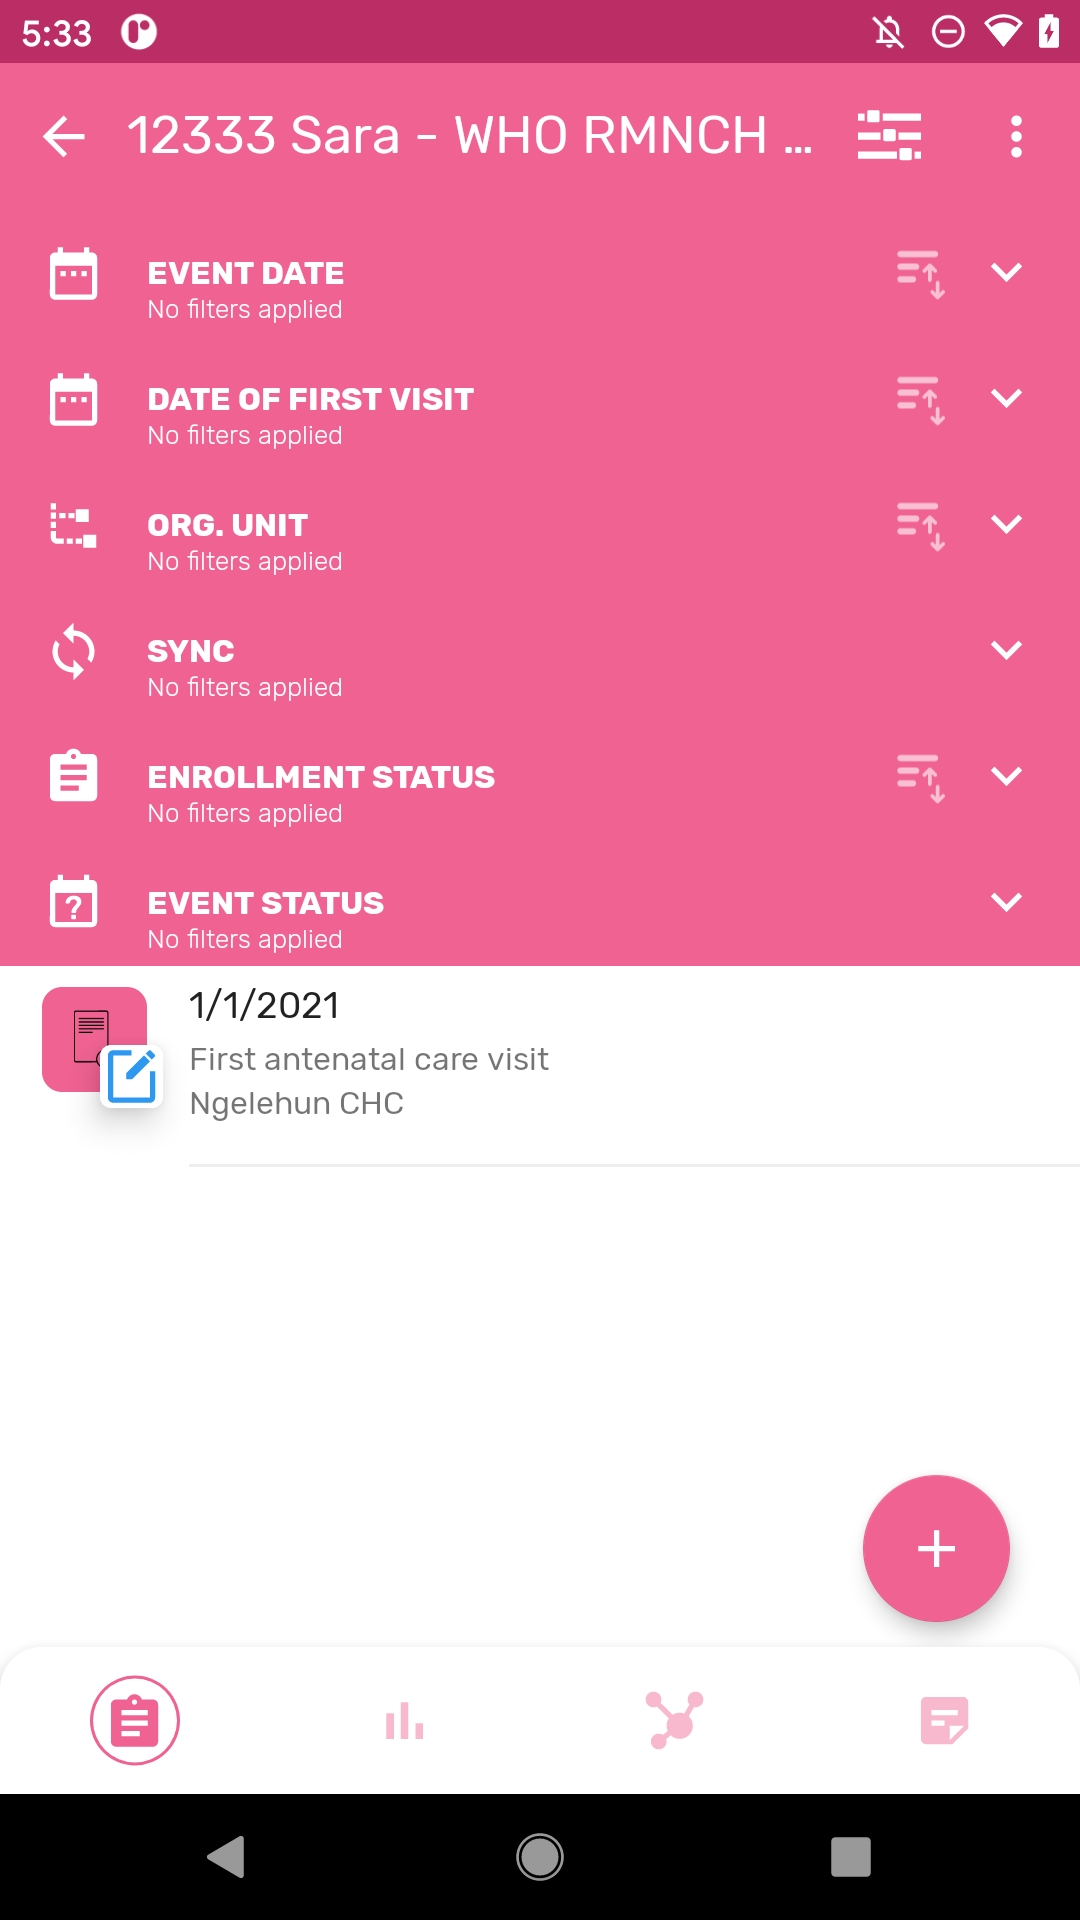
Sorting has been integrated in the filter menu.
The sorting button will be on the filter bars with the following behavior:
Allows the user to check sync information for a specific program. Now the synced records will not show any icon. Only unsynced, error or SMS icons will be displayed.

Allows to sync individual records (Program, Event, TEI, DataSet, DataValues) with the server.

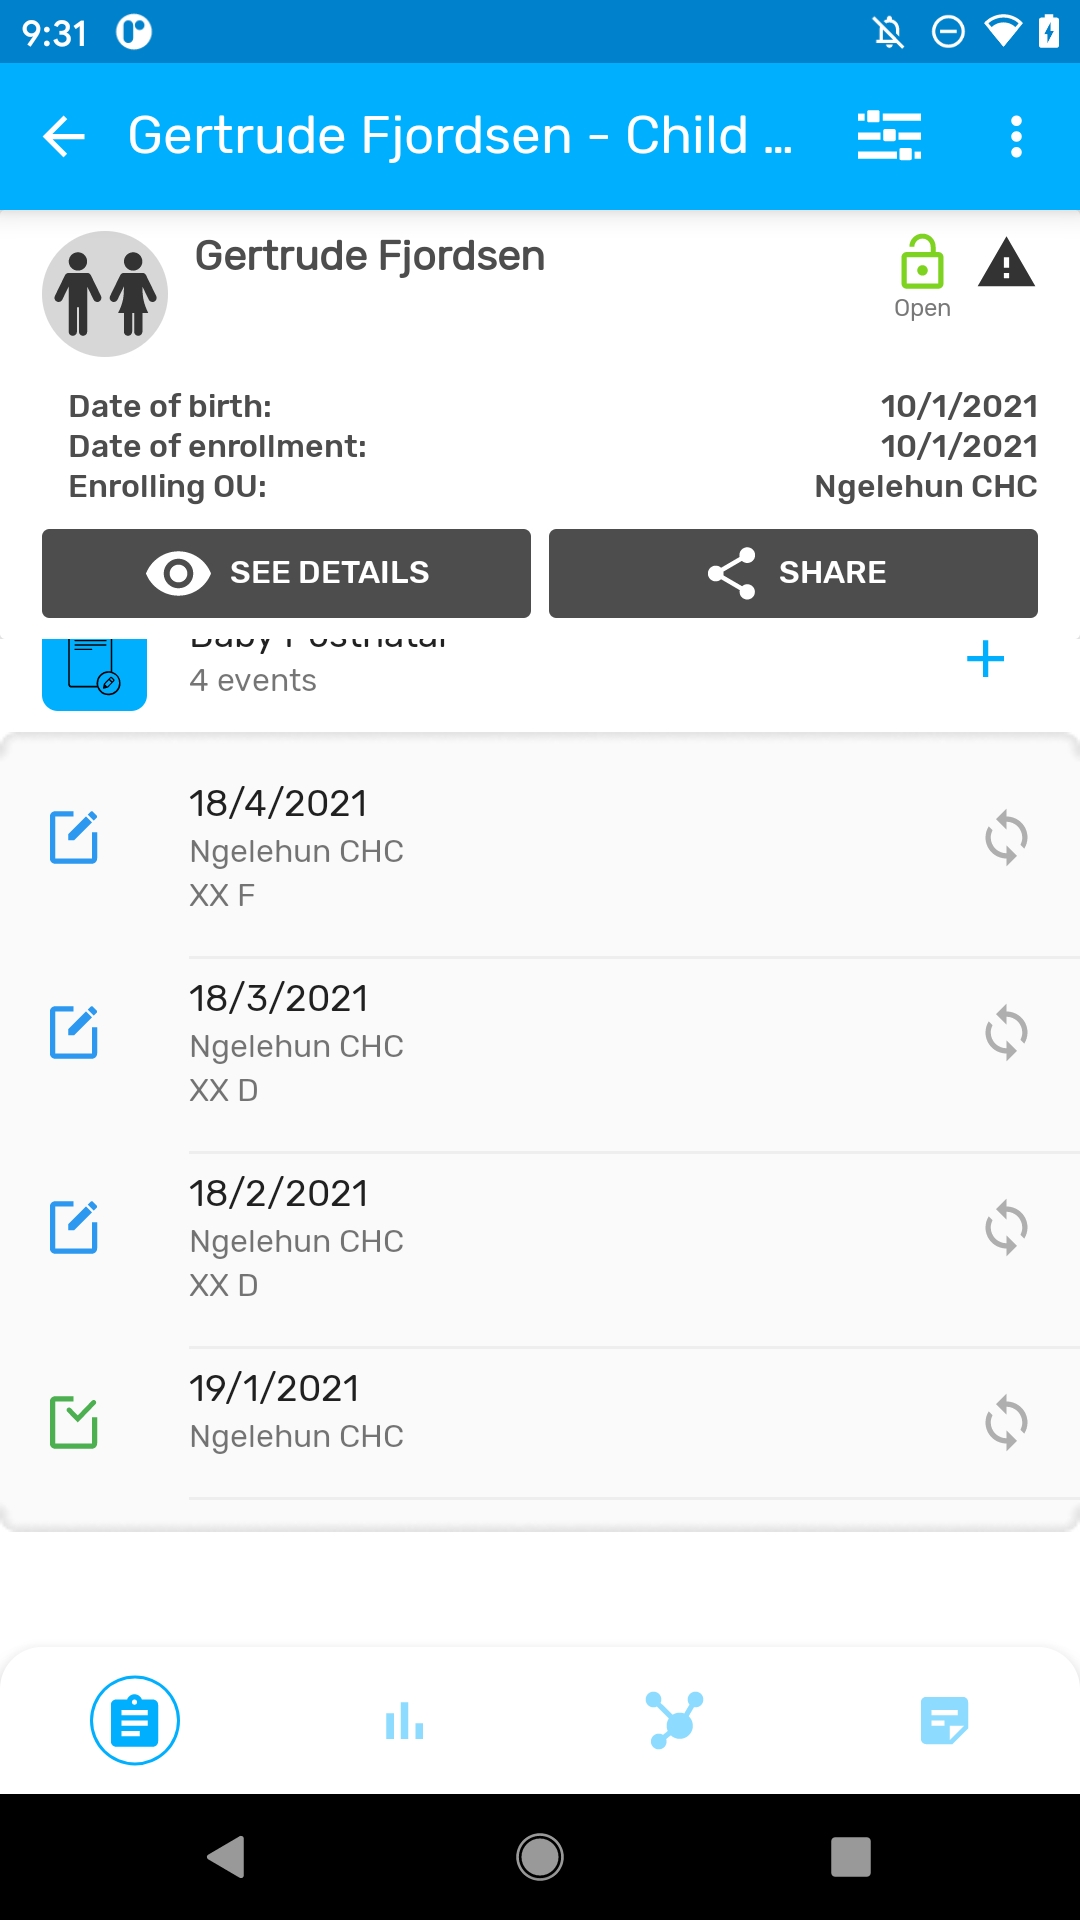
When there is no internet conexion, it allows to send a record though several SMS messages. The record is marked as “SMS synced”.
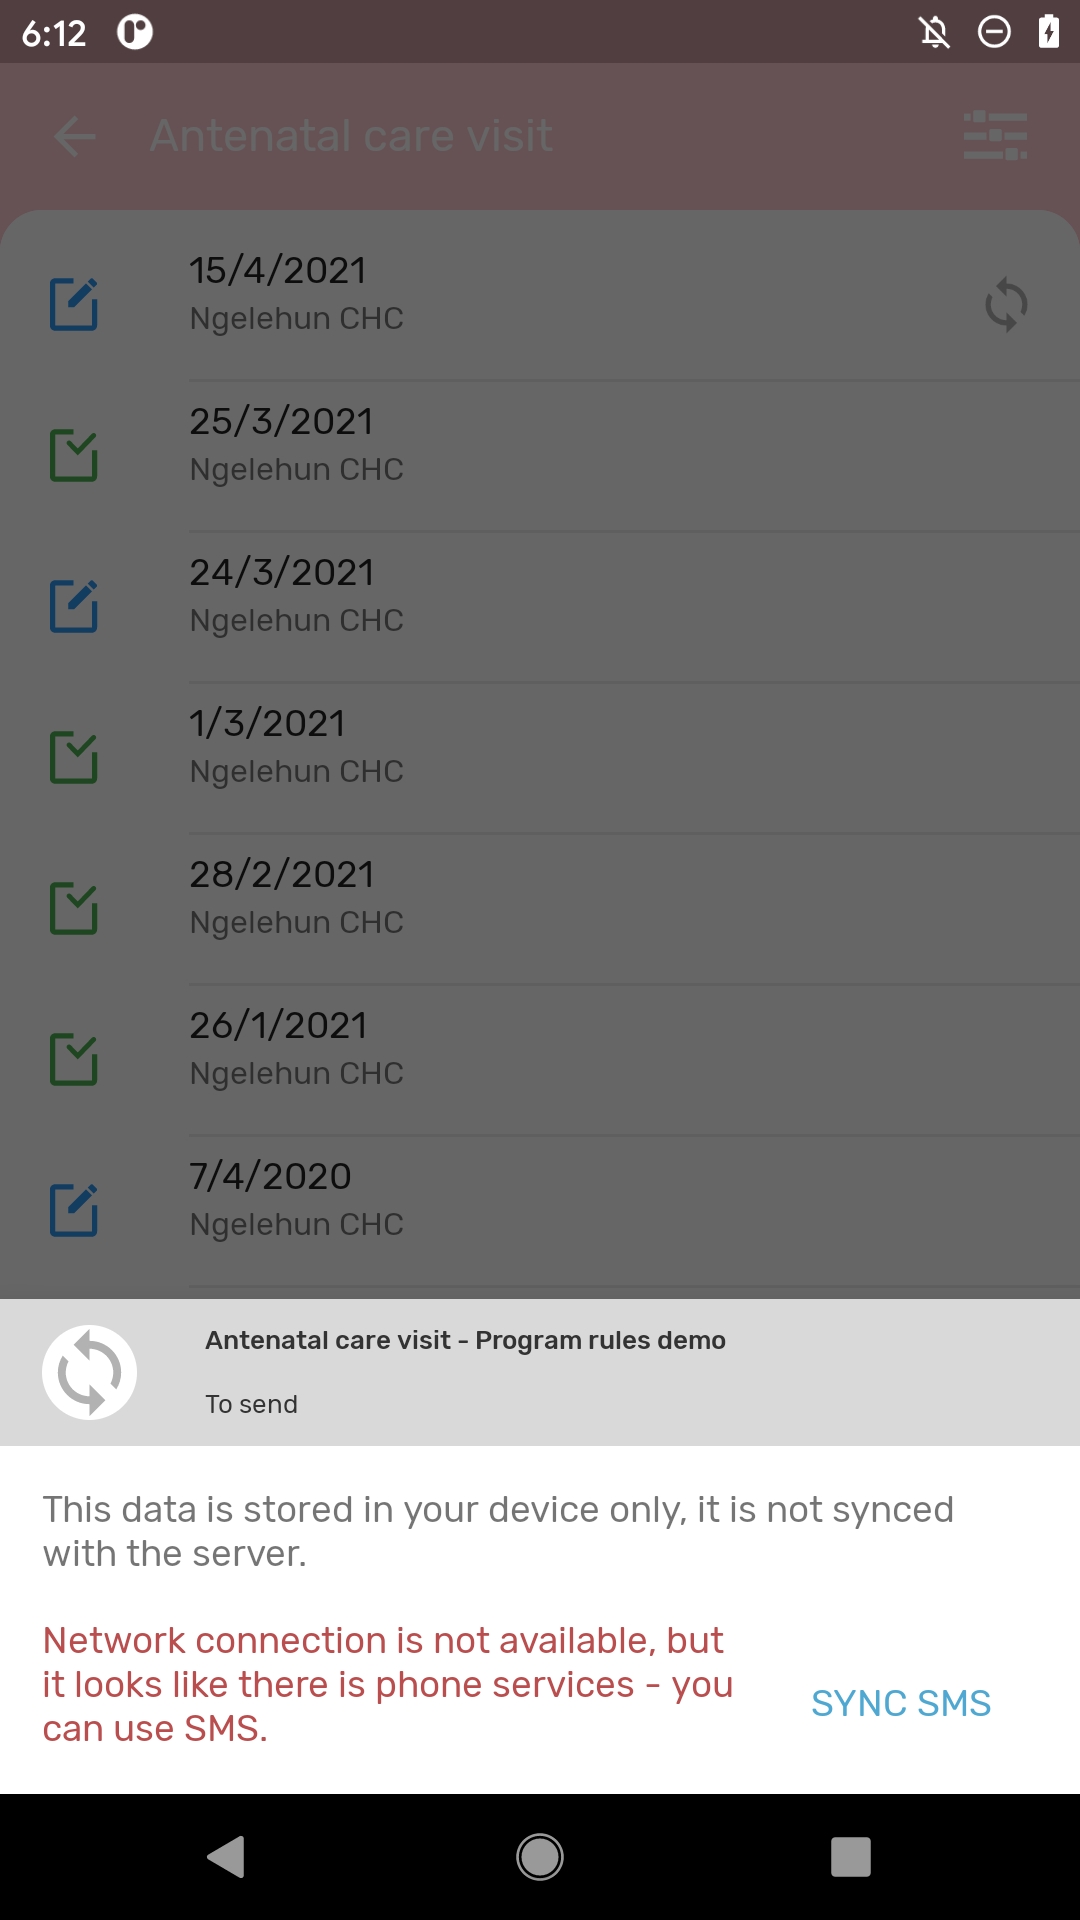
Tip
Edit parameters related to SMS gateway in the SMS Settings (Settings Menu)
Note
Note that in order to user the SMS sync capabilities the SMS services needs to be enabled in the server side as described in the (official documentation)[https://docs.dhis2.org/master/en/dhis2_user_manual_en/mobile.html#sms-service]. You can also find more information on how to use different gateways in the (Android Implementation Guidelines)[https://docs.dhis2.org/master/en/dhis2_android_implementation_guideline/about-this-guide.html].
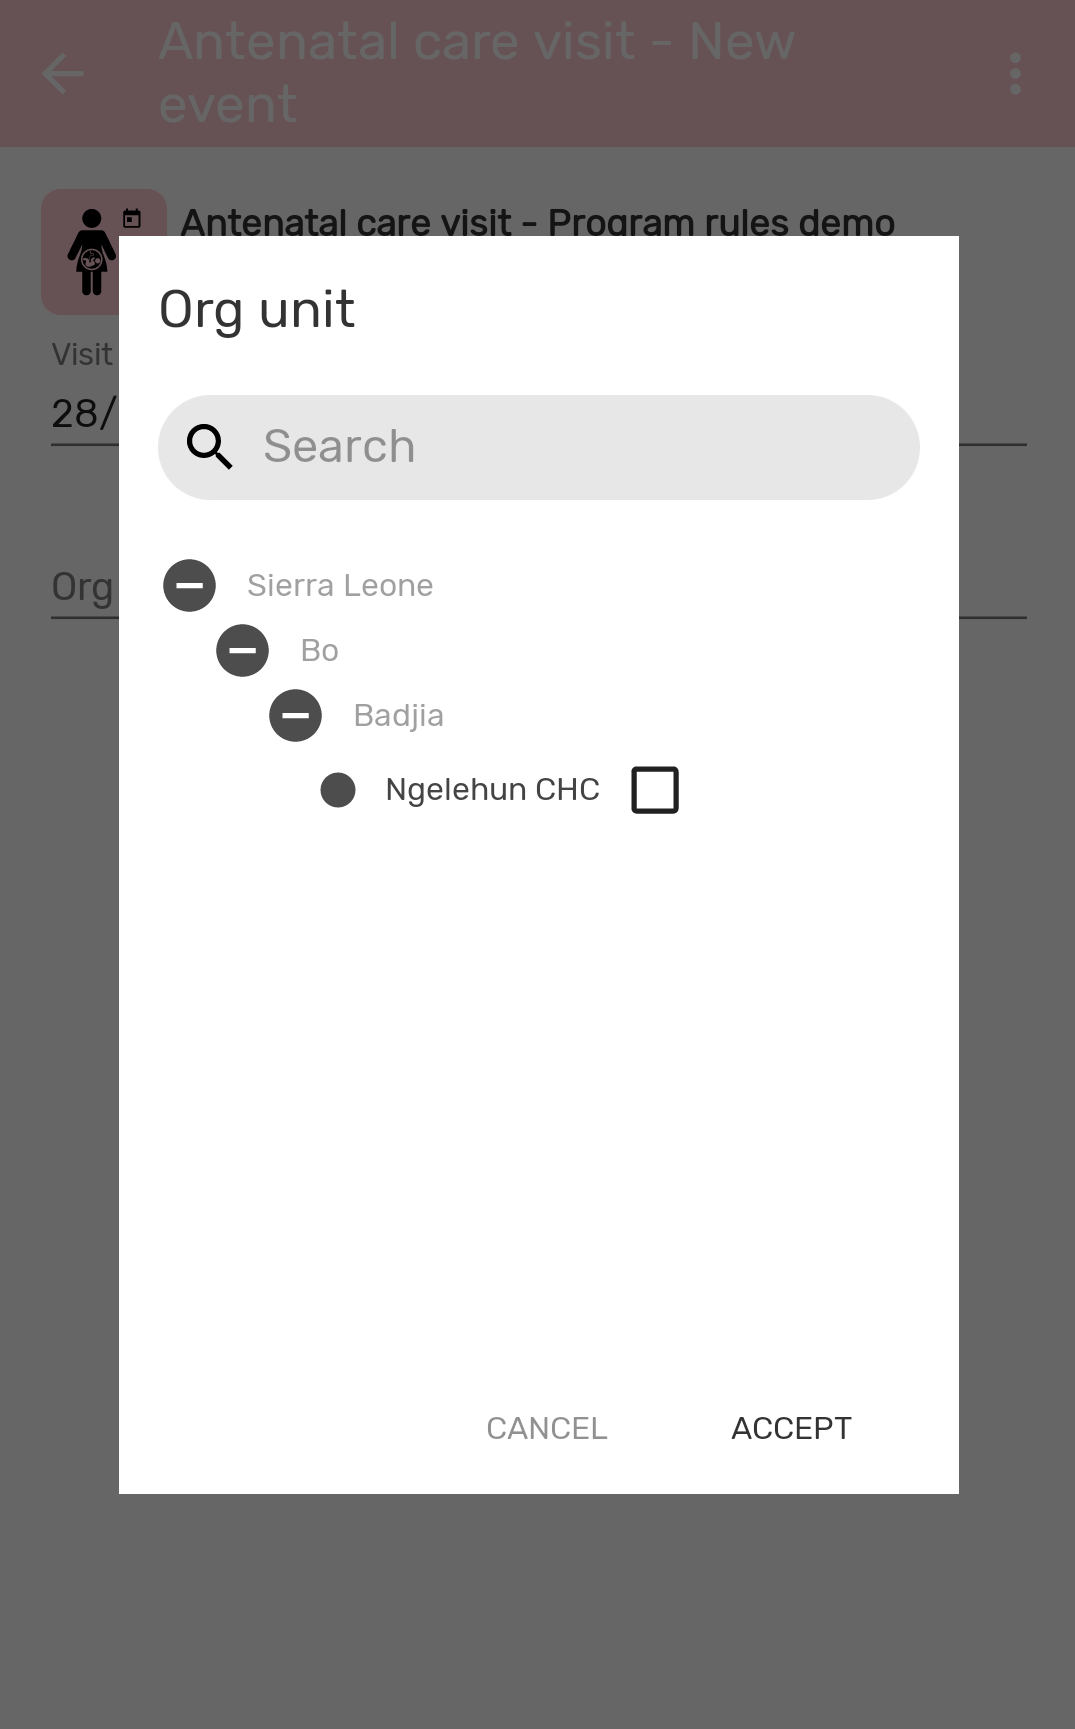
The whole organisation unit tree is displayed. Organisation units not available for data entry will be colored in grey. User must check the box to select the org unit wanted.
Caution
Mobile users are not expected to access the org. unit hierarchy of a whole country. Maximum number of org units is difficult to set, as the App does not set the limit, but the resources on the device (memory, processor). We could say below 250 org units should be safe, but still believe that is a very big number for a mobile use case.
The user can now enter aggregate data for an organisation Unit, a period and a set of data elements and send it to the server.
Tip
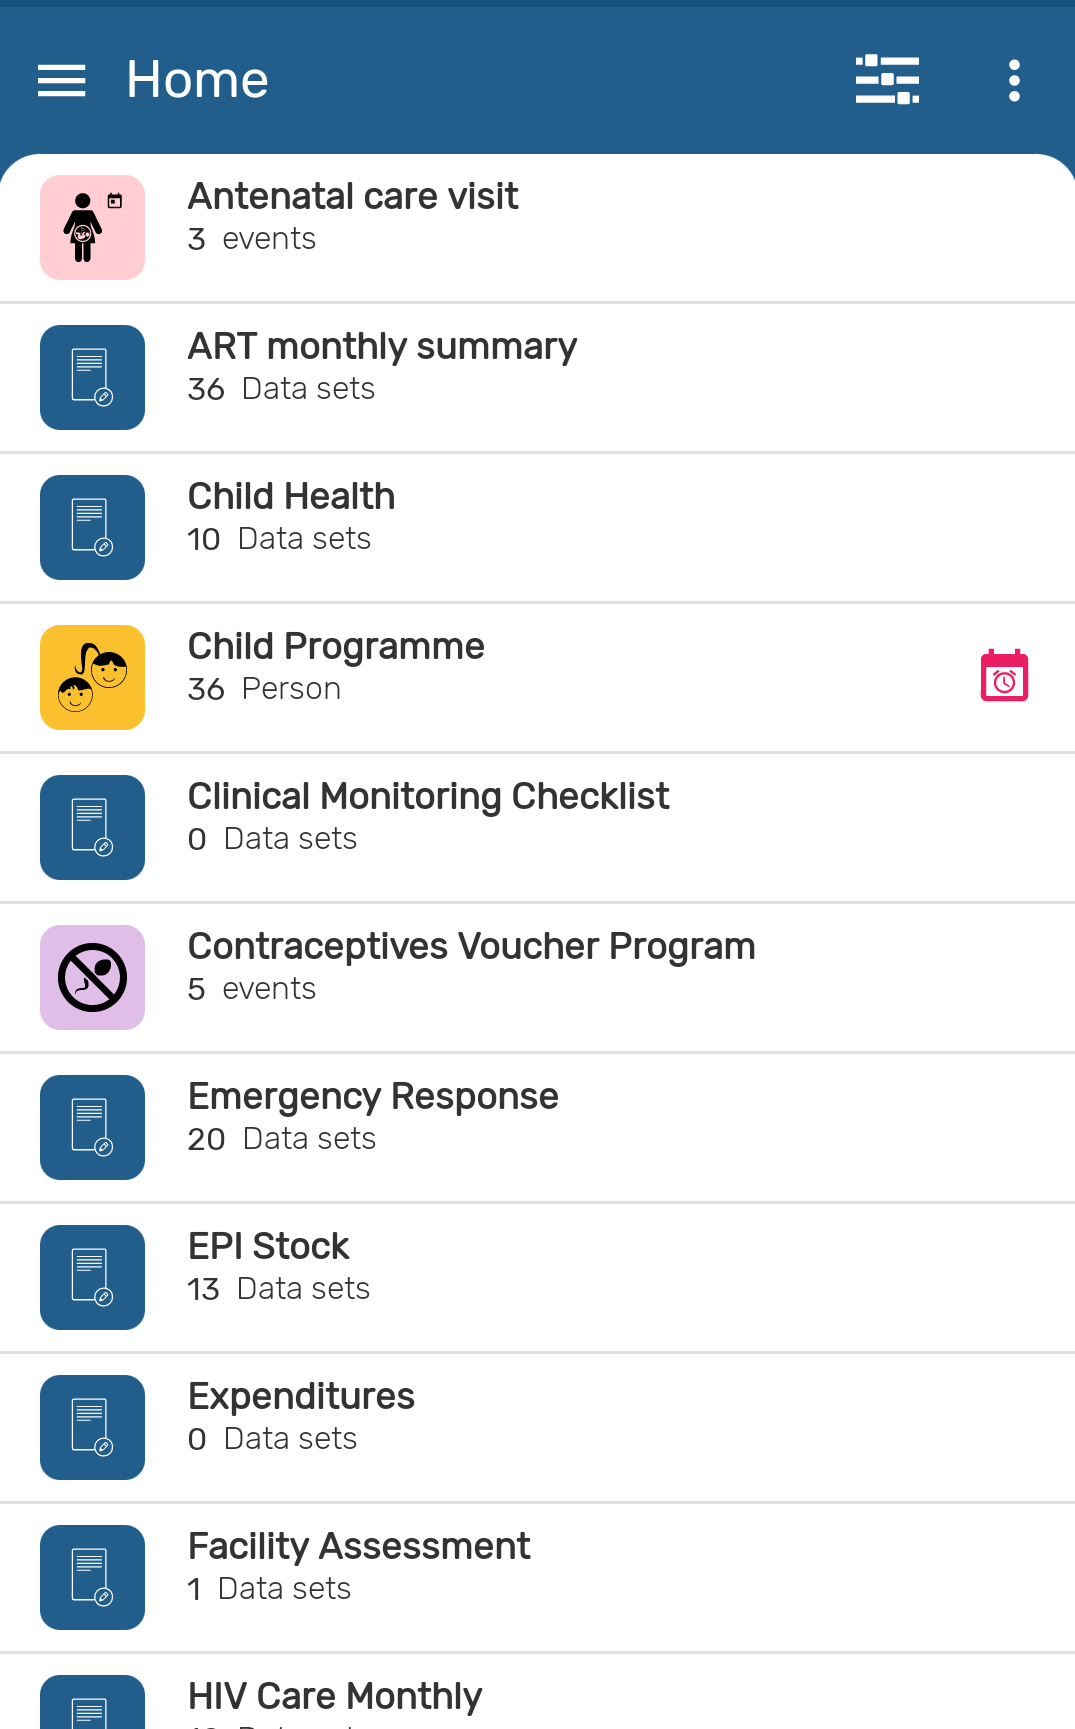
An easy way to differentiate them is by looking at the word at the bottom left corner. The word 'Event' will always be in event programs. In tracker will appear the name of the tracked entity type (person, patient, building, etc.). For data sets, the word 'DataSets' will be shown next to the number of records.

Capture the TEI coordinates in the registration form. Enable this feature in the TET feature type.
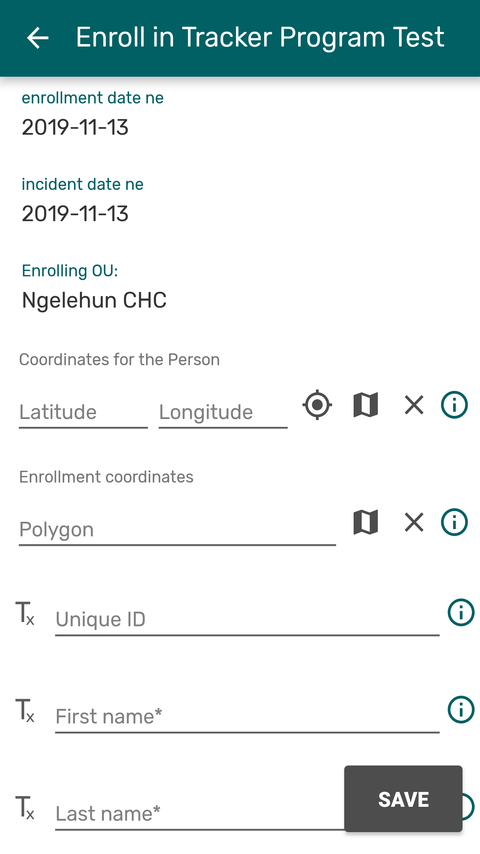
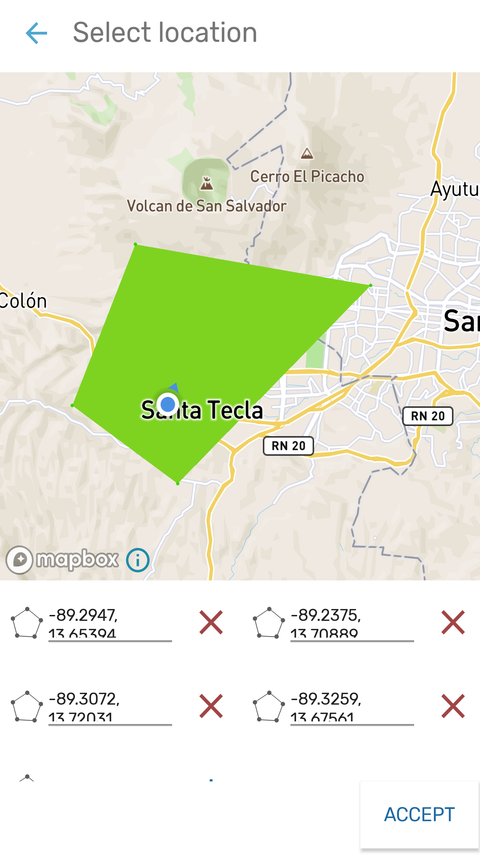
The app now supports the geoJSON format and the user is able to capture polygons.
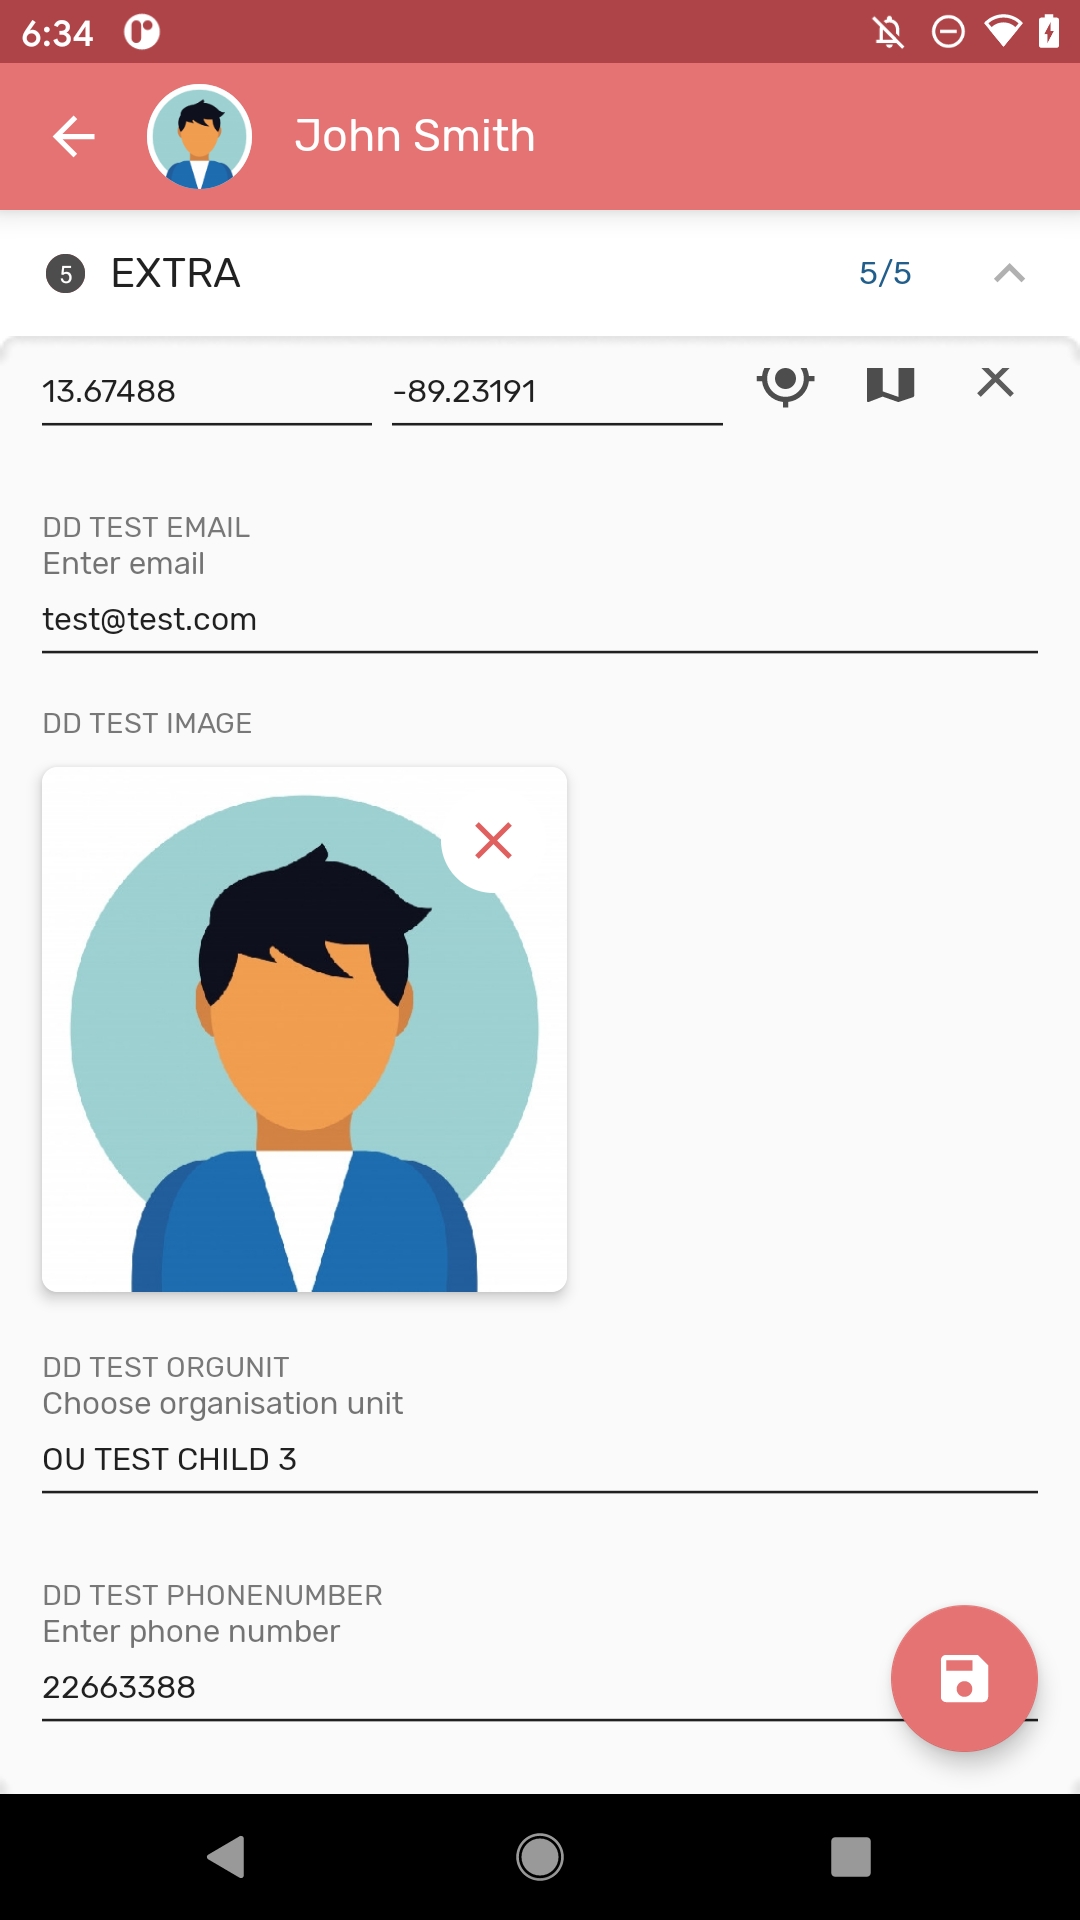
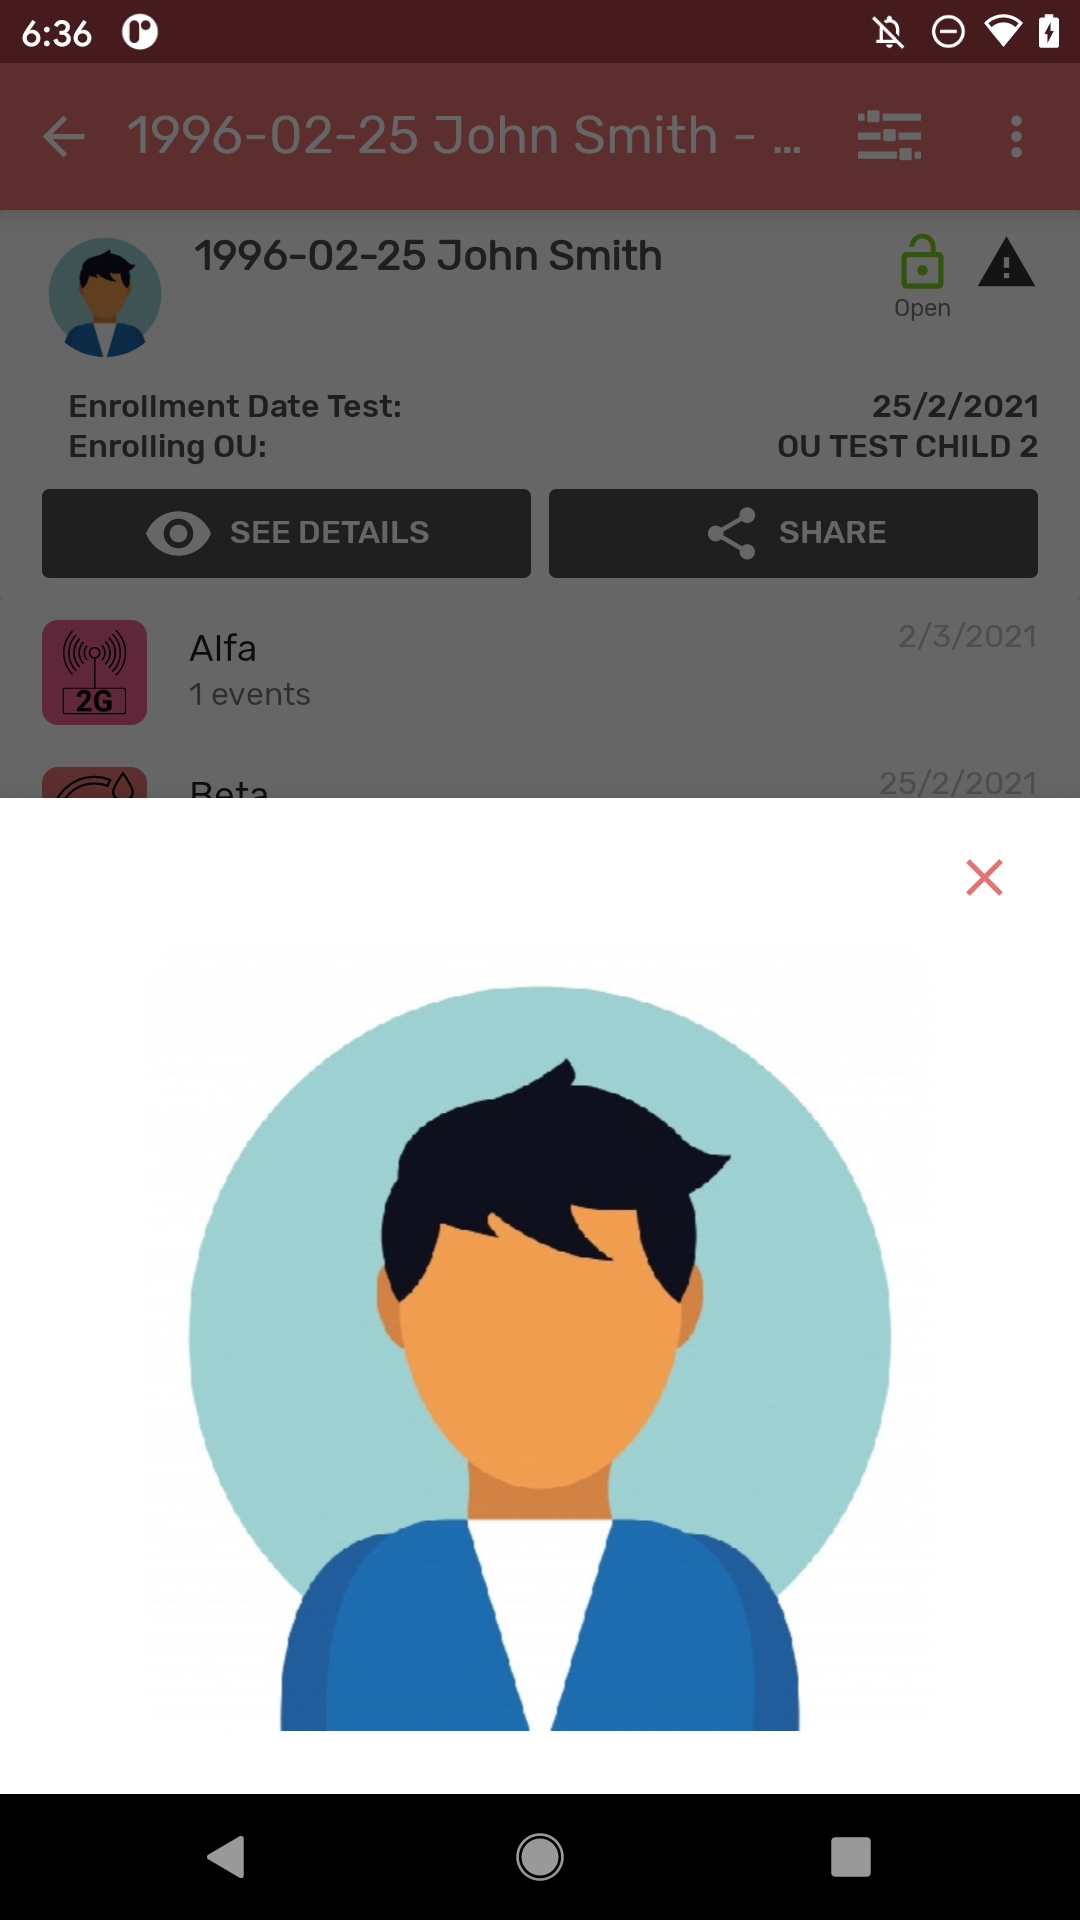
ValueType image has been implemented app side. This allows to pick an image for a data element or attribute and send it to the server. For TEIs, the first data element/attribute with this value type and marked as displayed in list will be used as the TEI profile image.
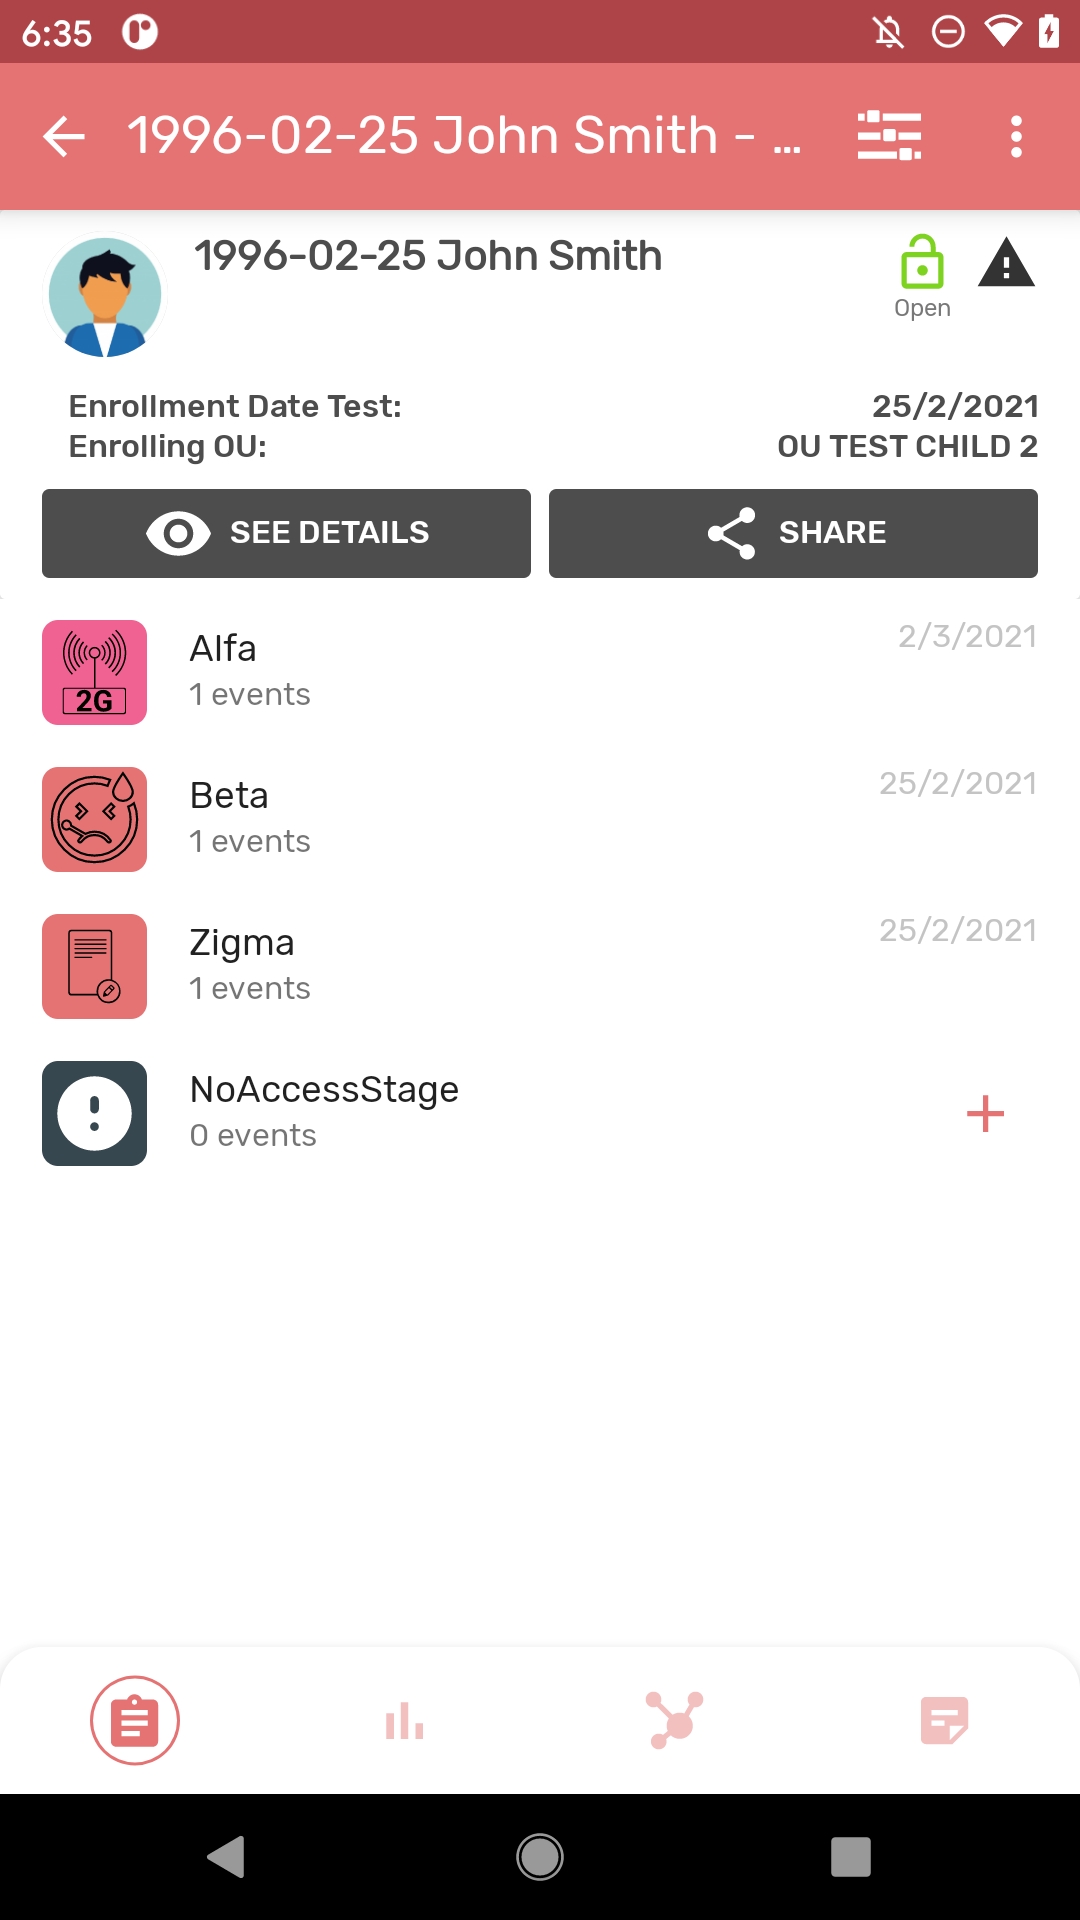
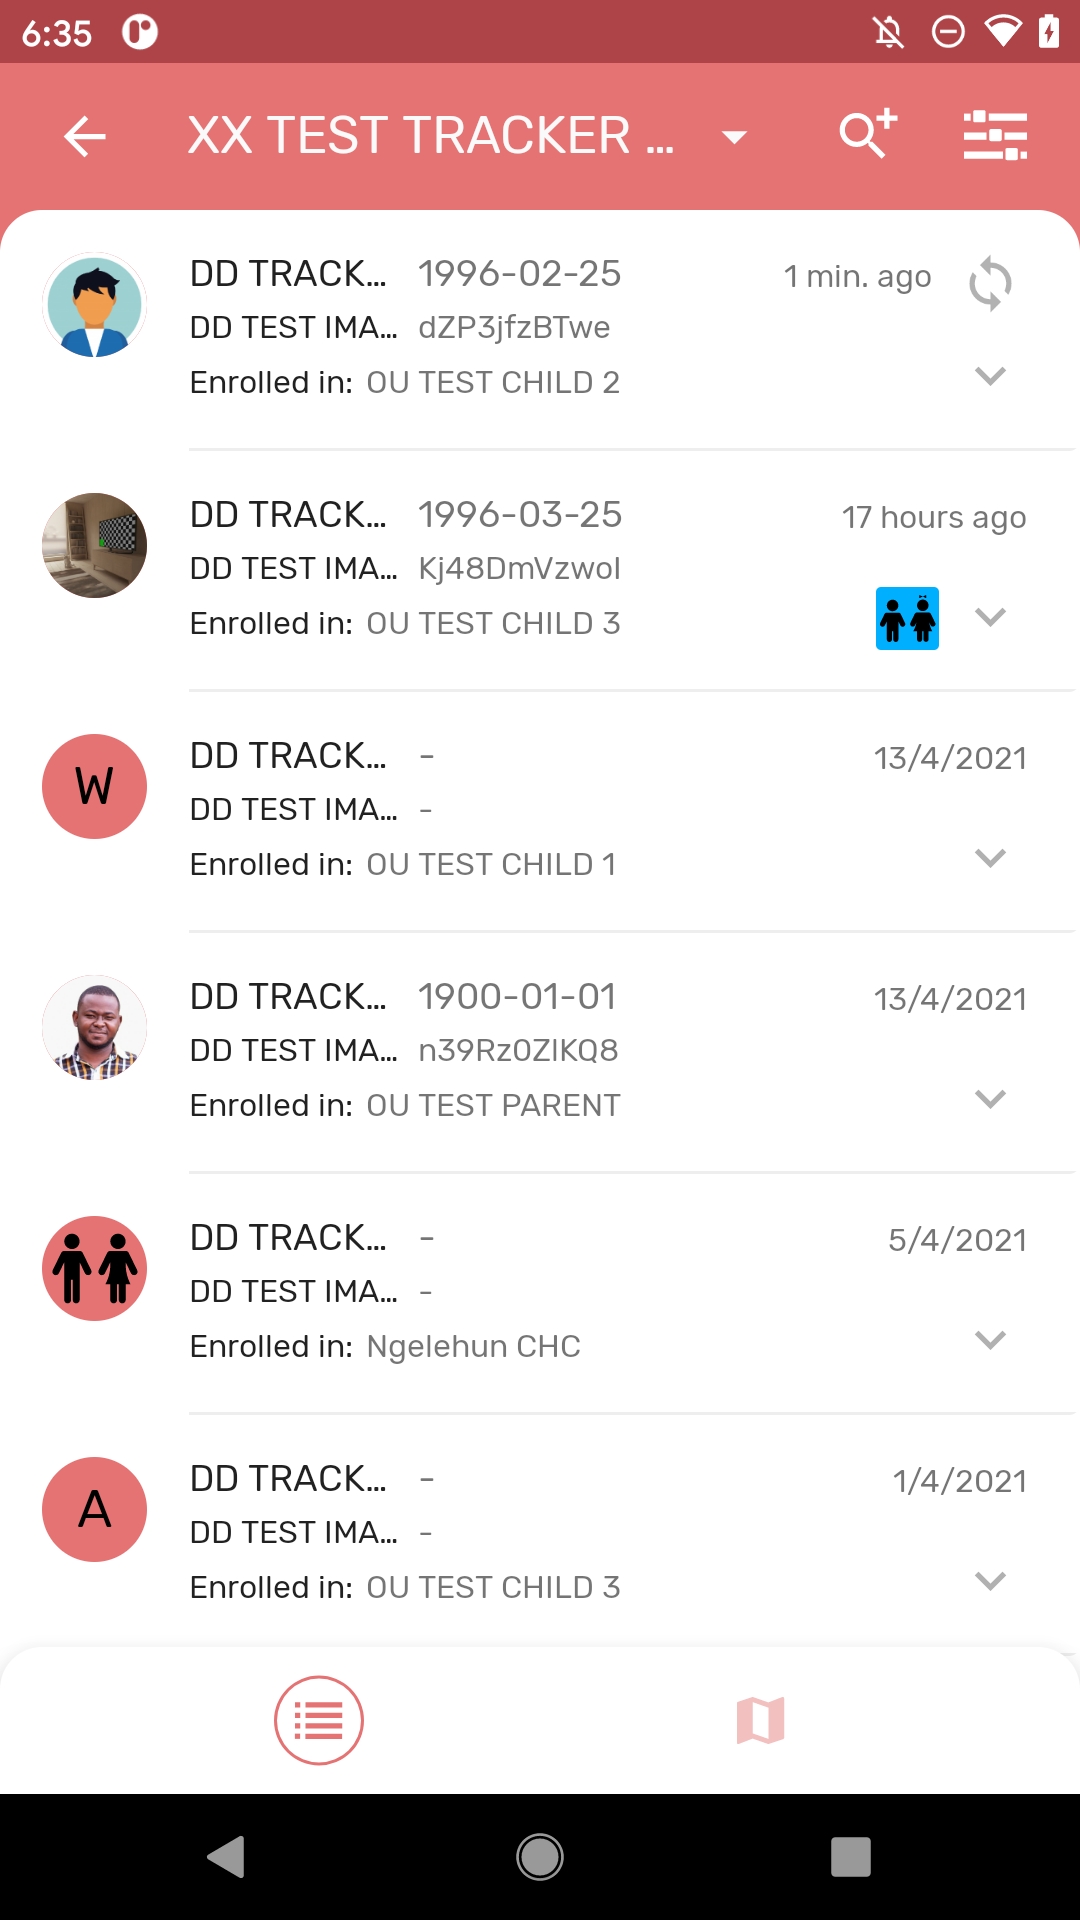
Open the TEI profile image by clicking on it.
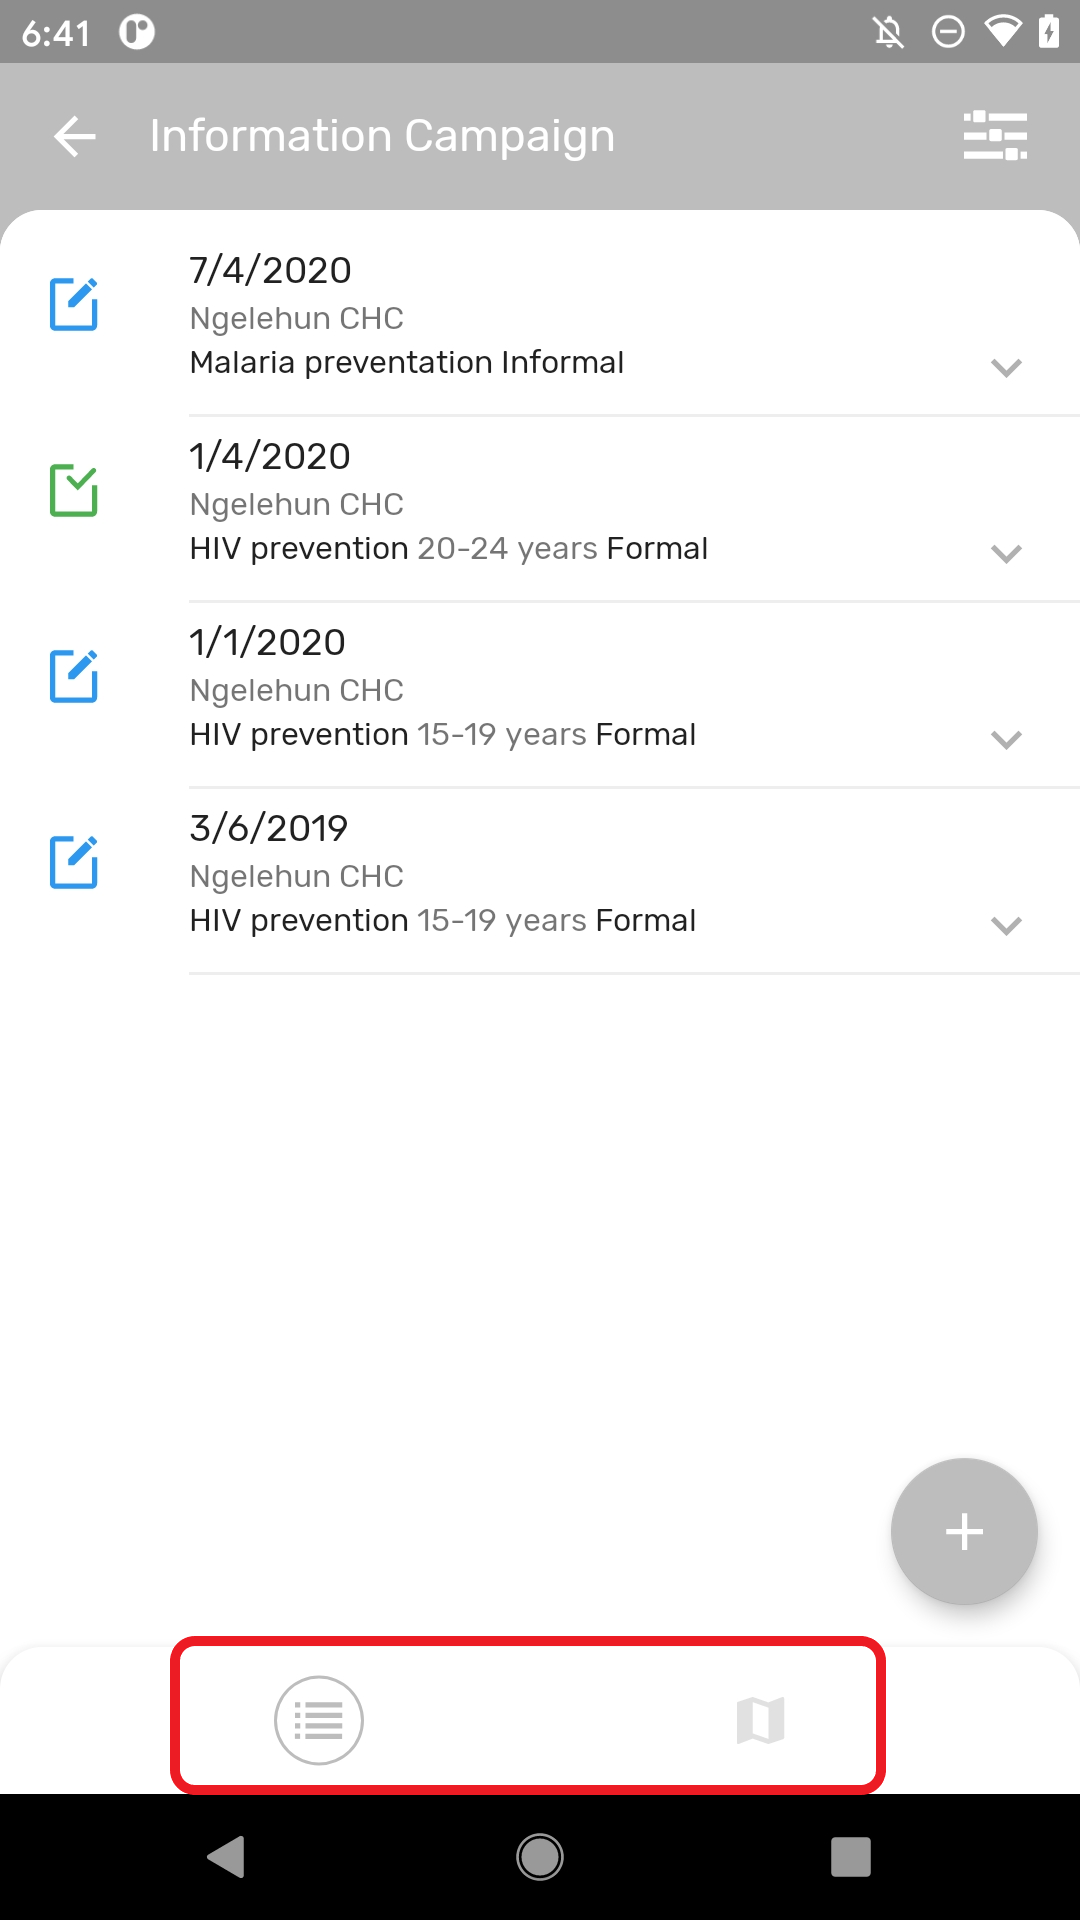
When a program stage or tracked entity type have a feature type (and for programs with registration the option displayFrontPageList is enabled) the listings can be switched to display the information in a map. Make the switch by clicking on the map icon in the navigation panel.
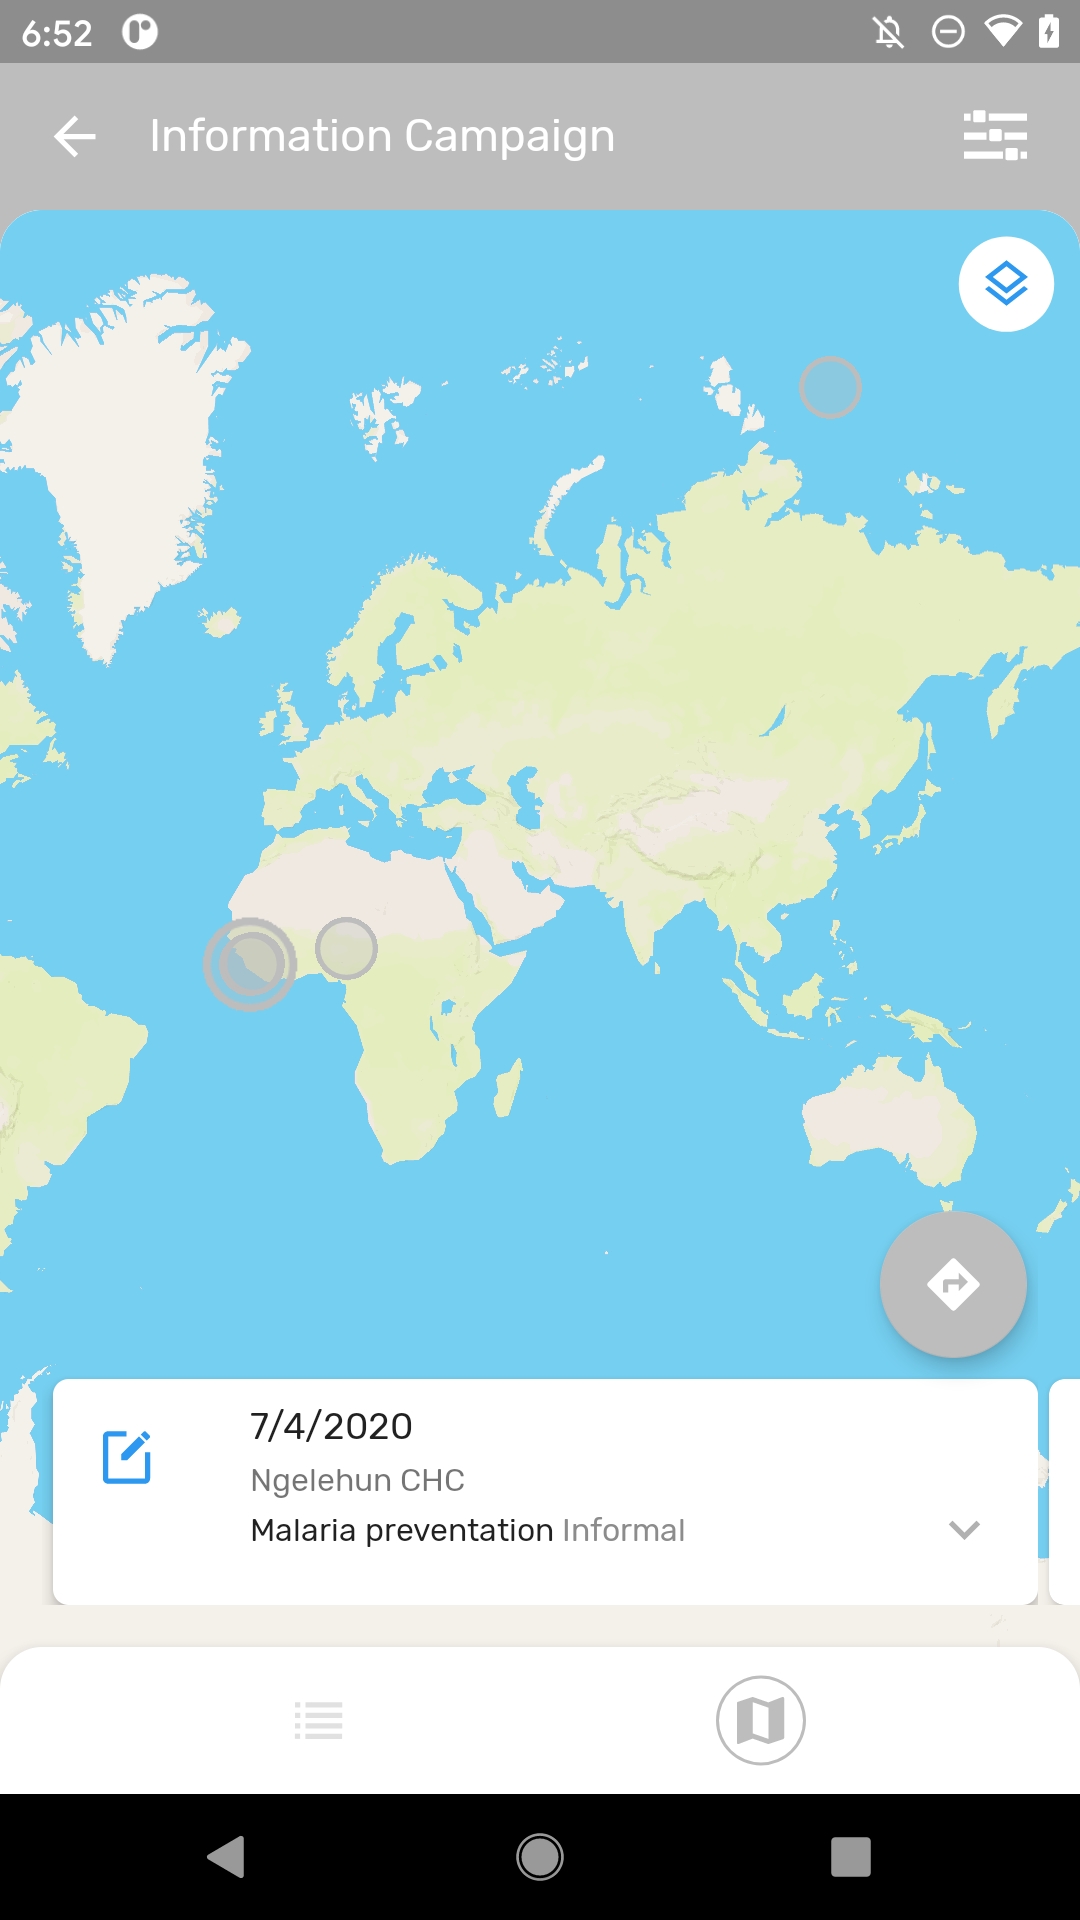
If the TEI has a profile image, the map will display it. 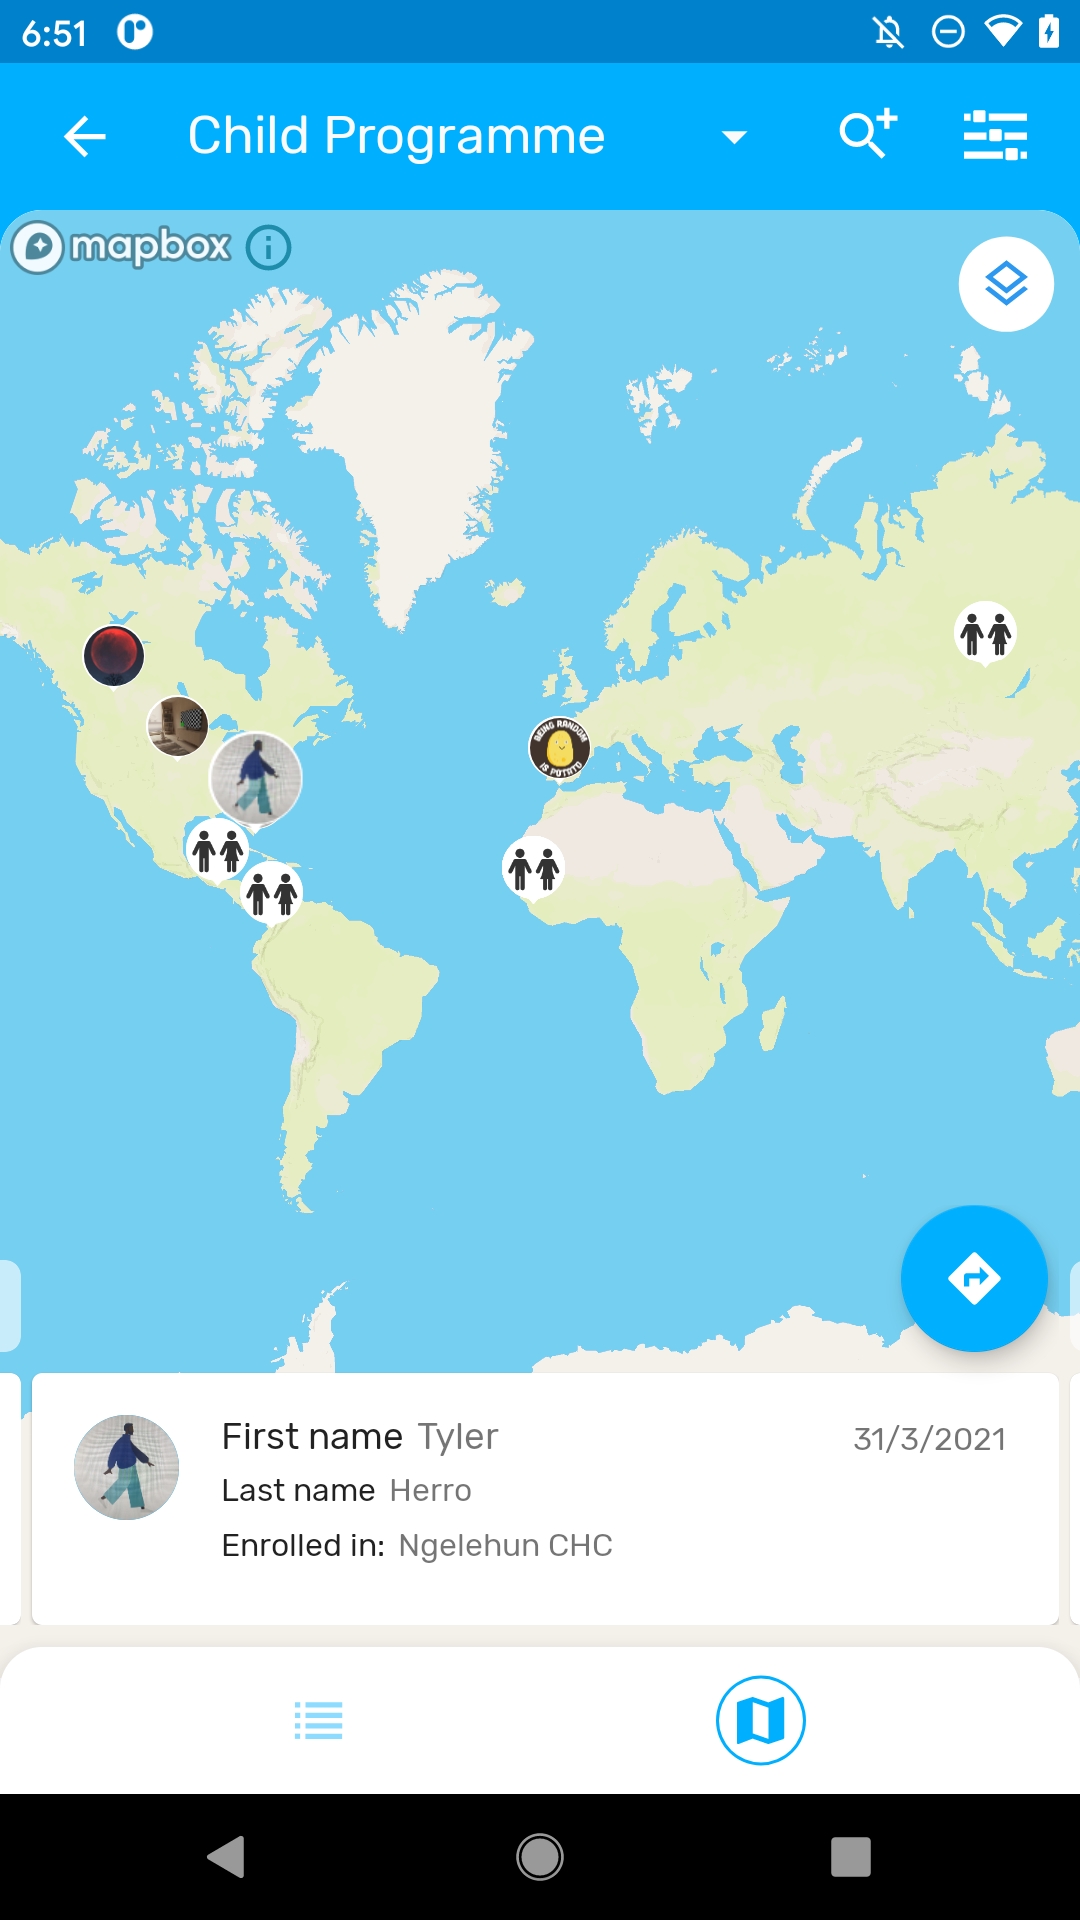
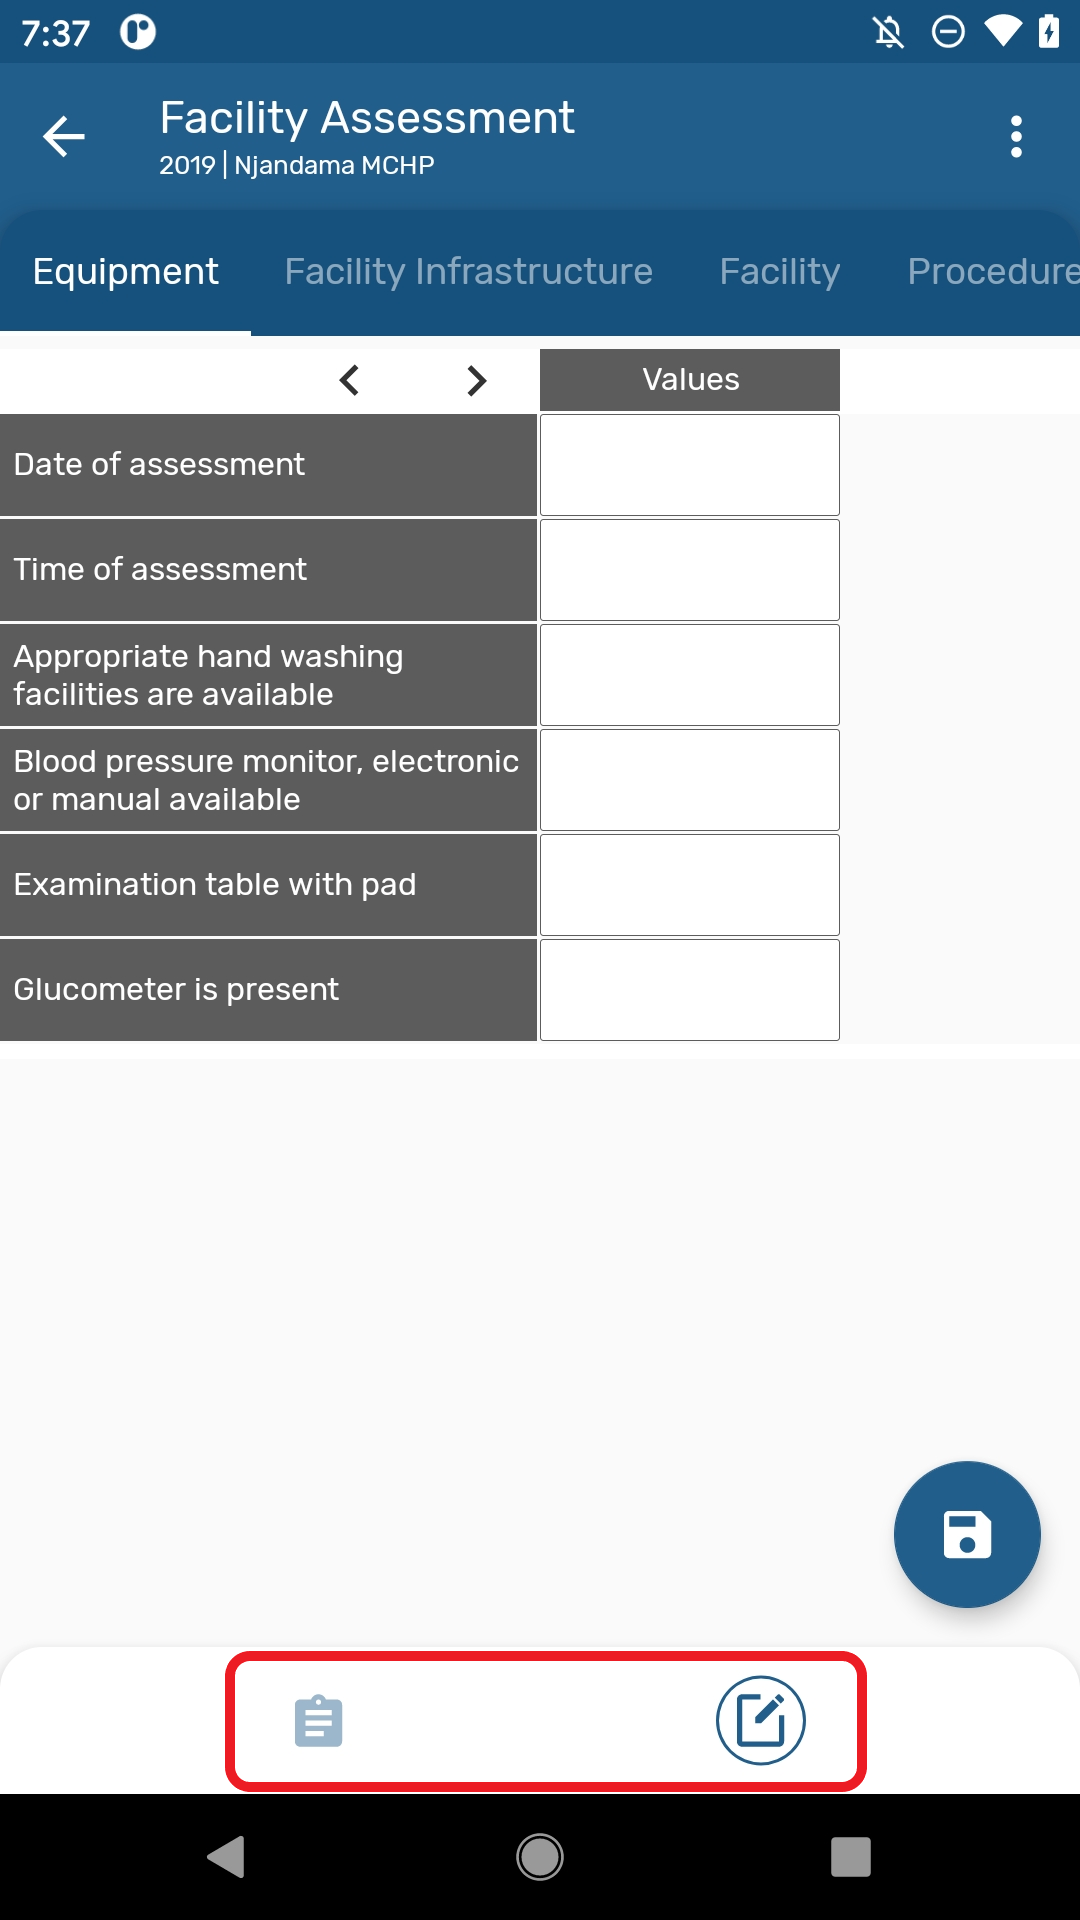
Use the new navigation bar to switch between the data entry form and the overview screen.
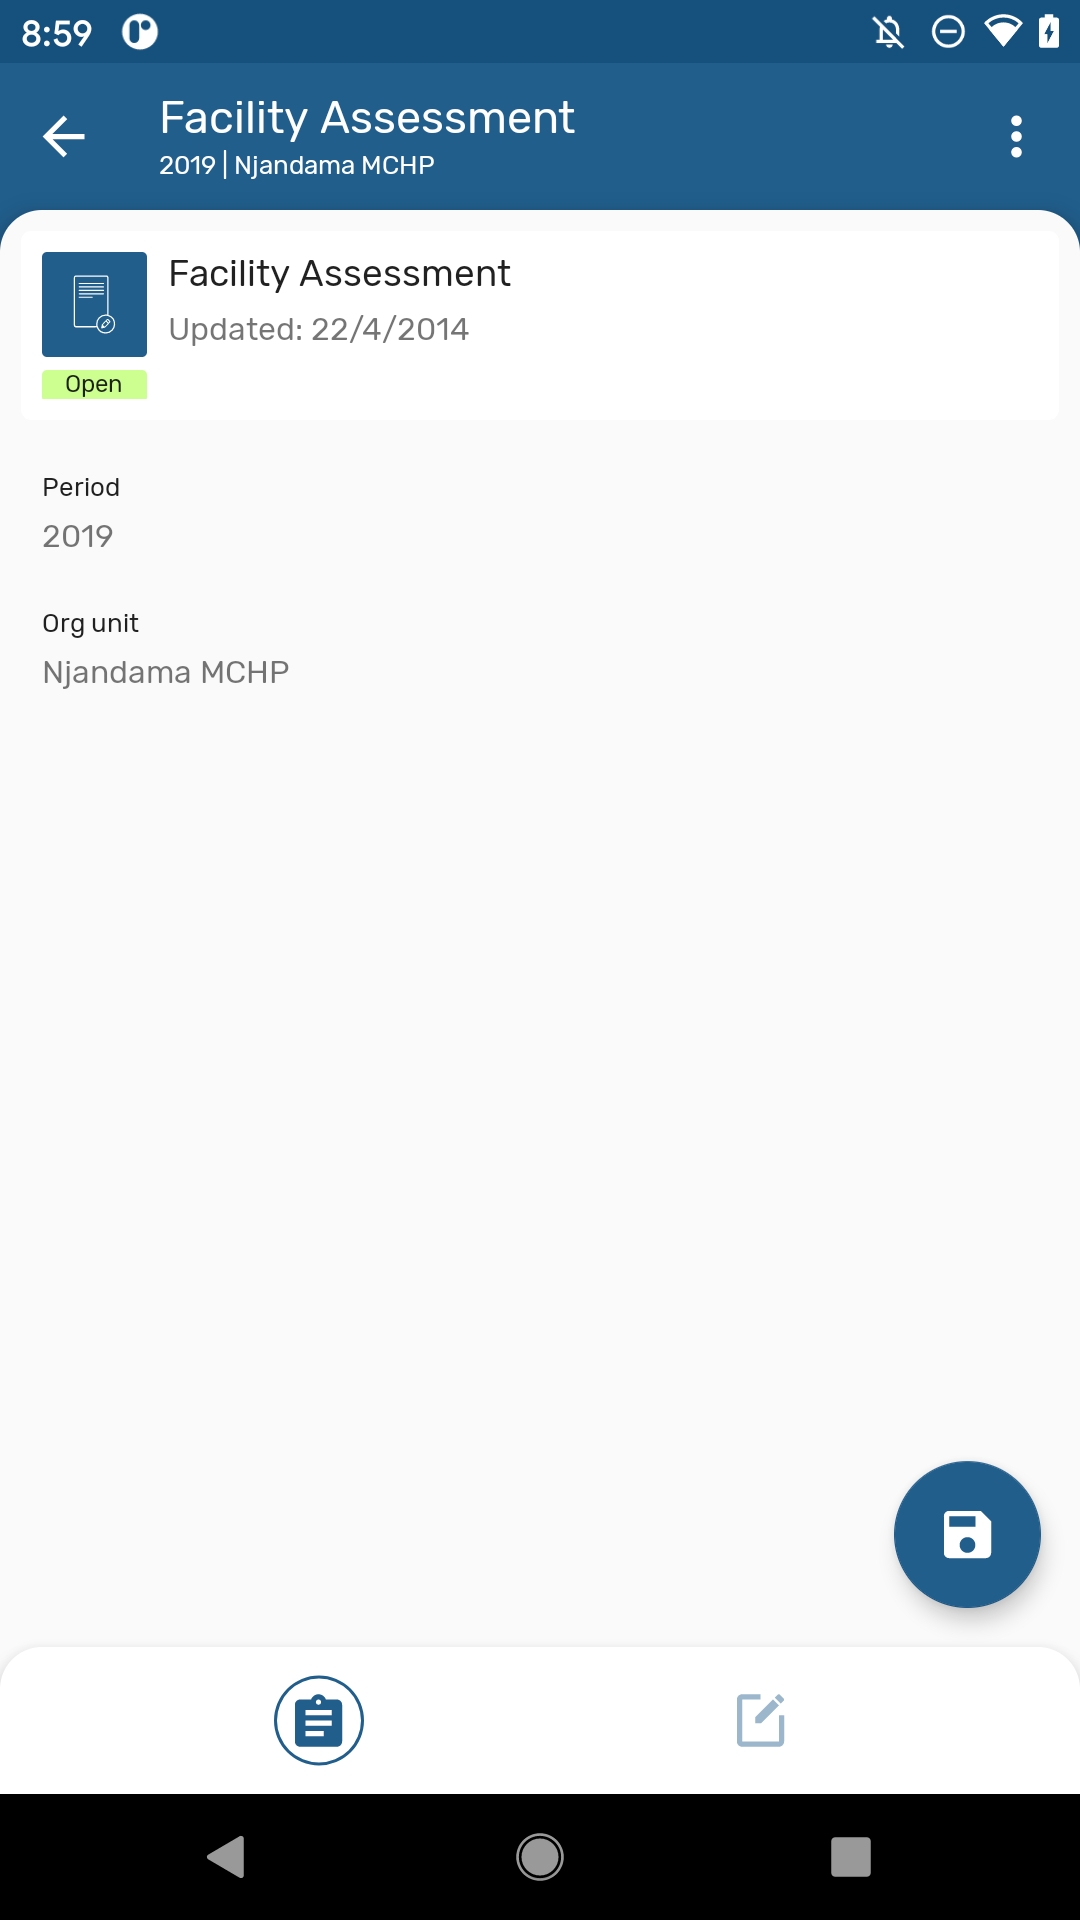
The new overview tab contains the following details:
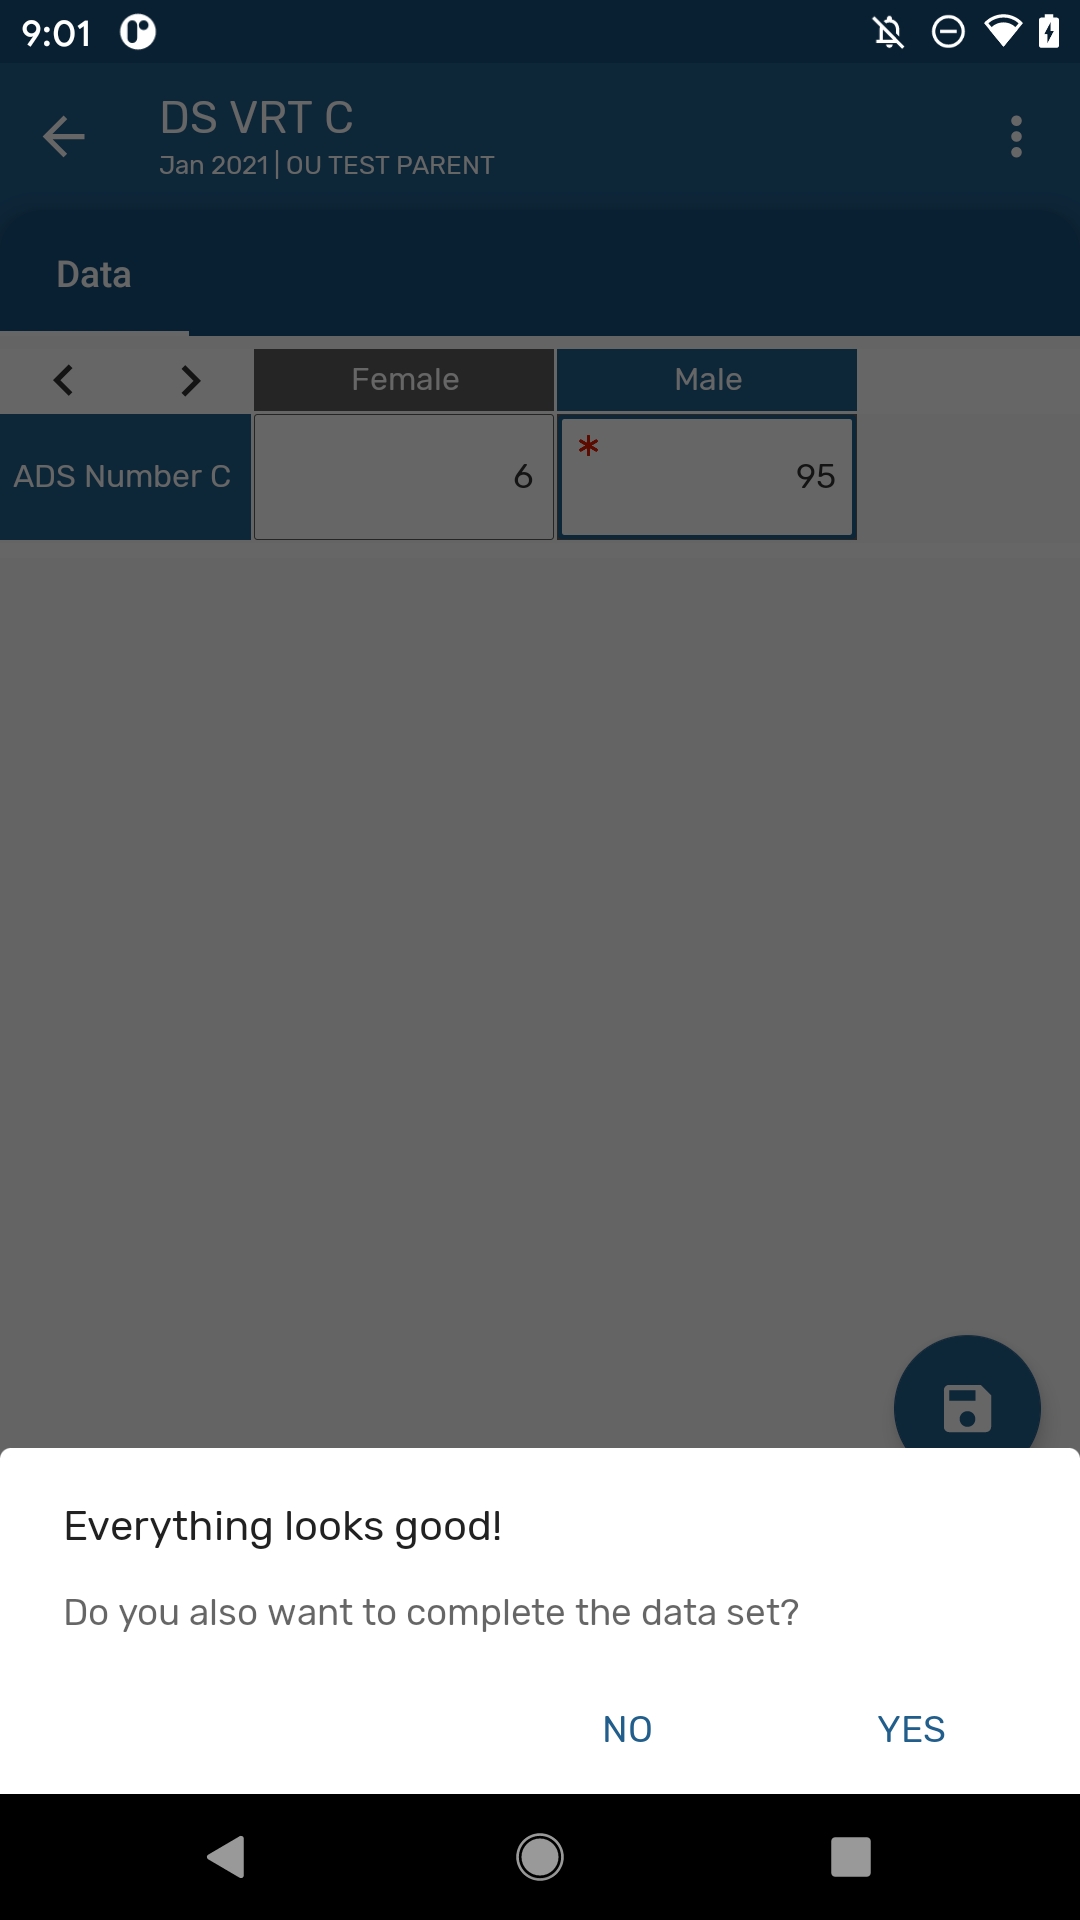
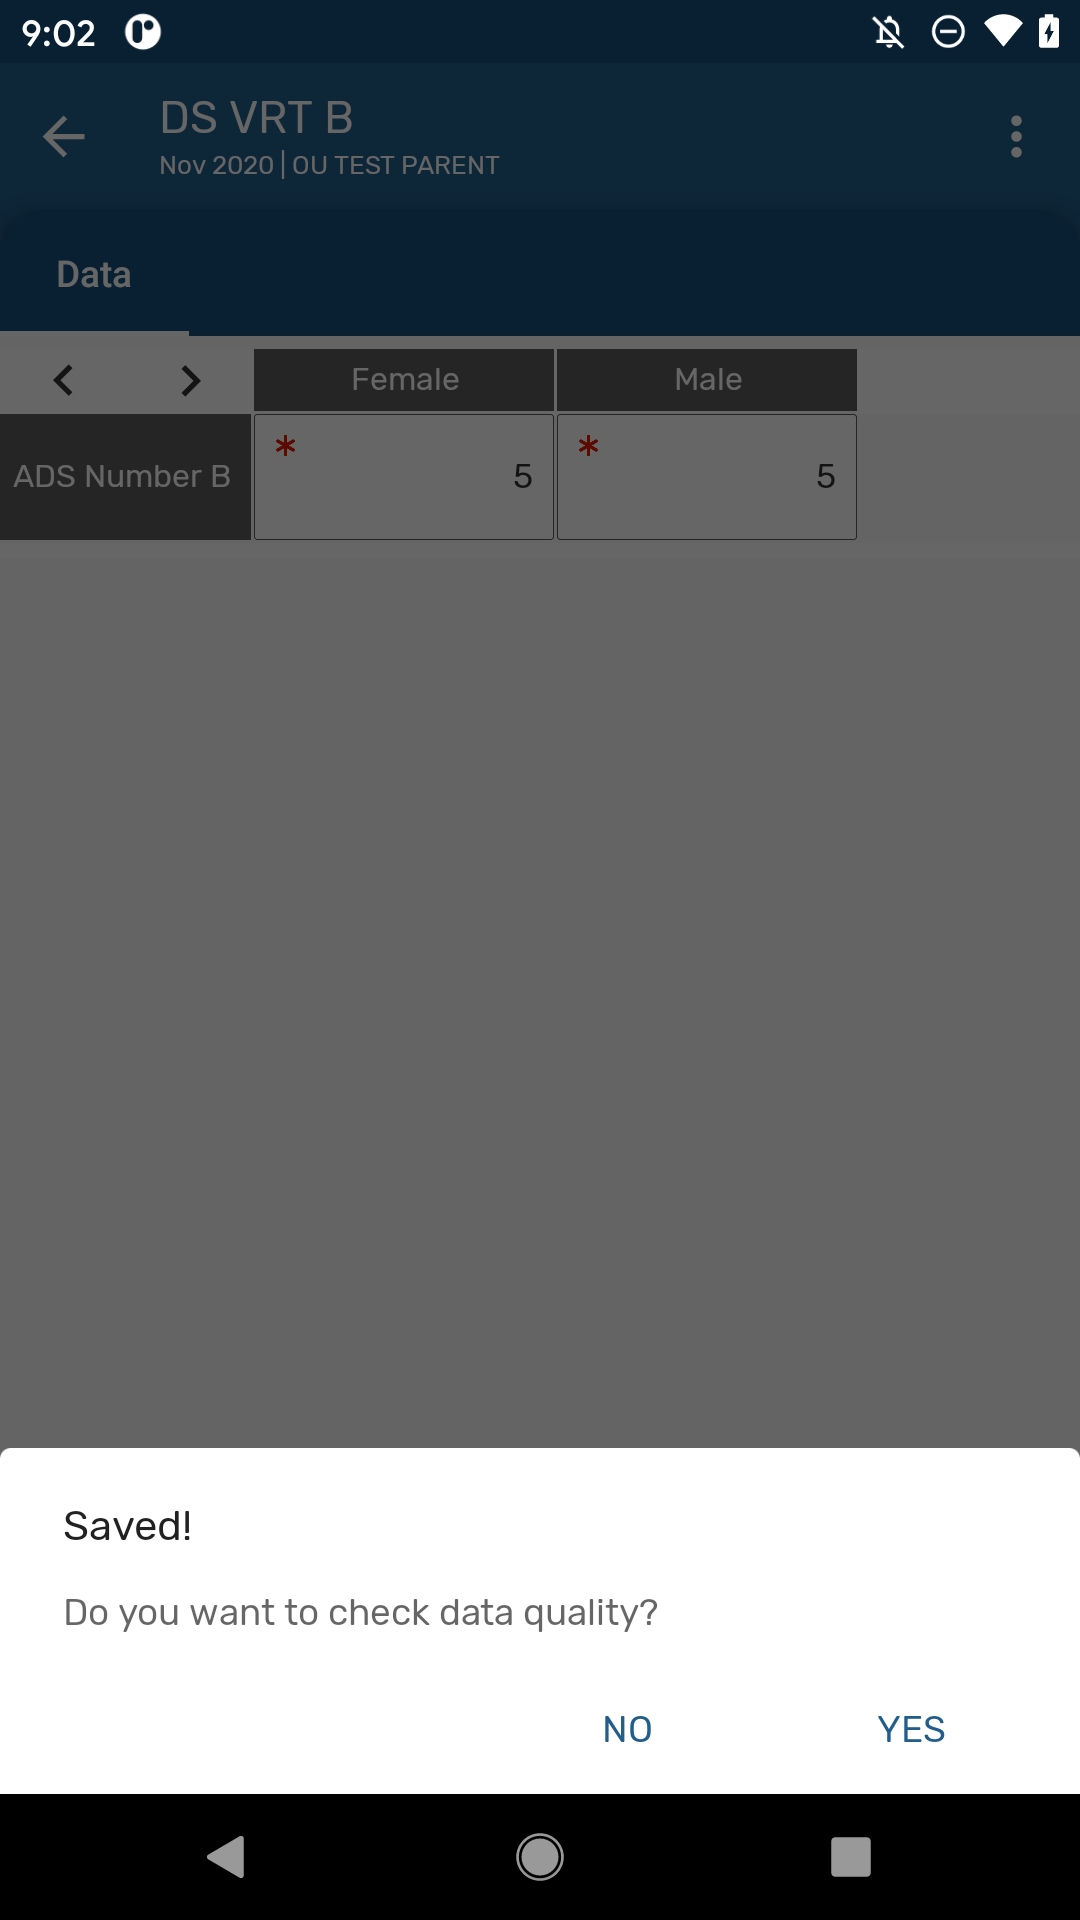
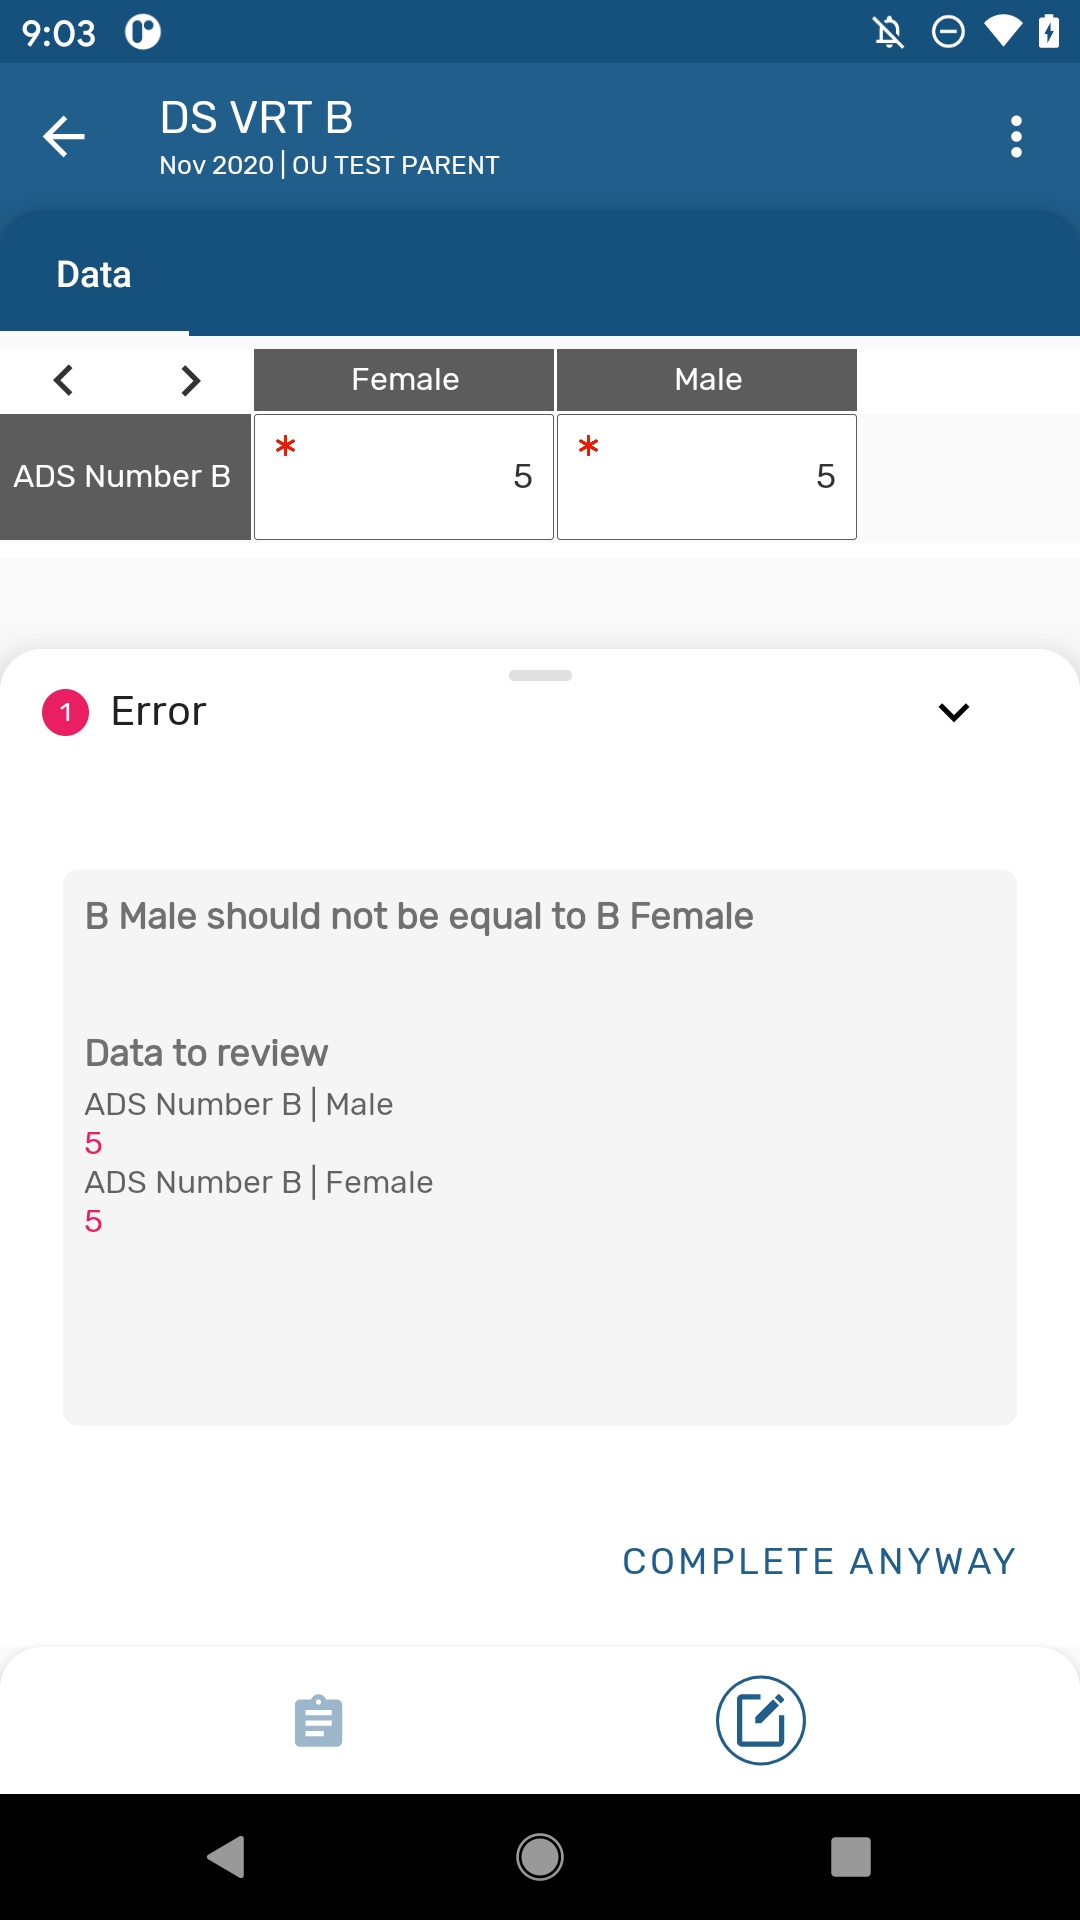
Validation rules and completion of data sets are integrated in the save button actions:

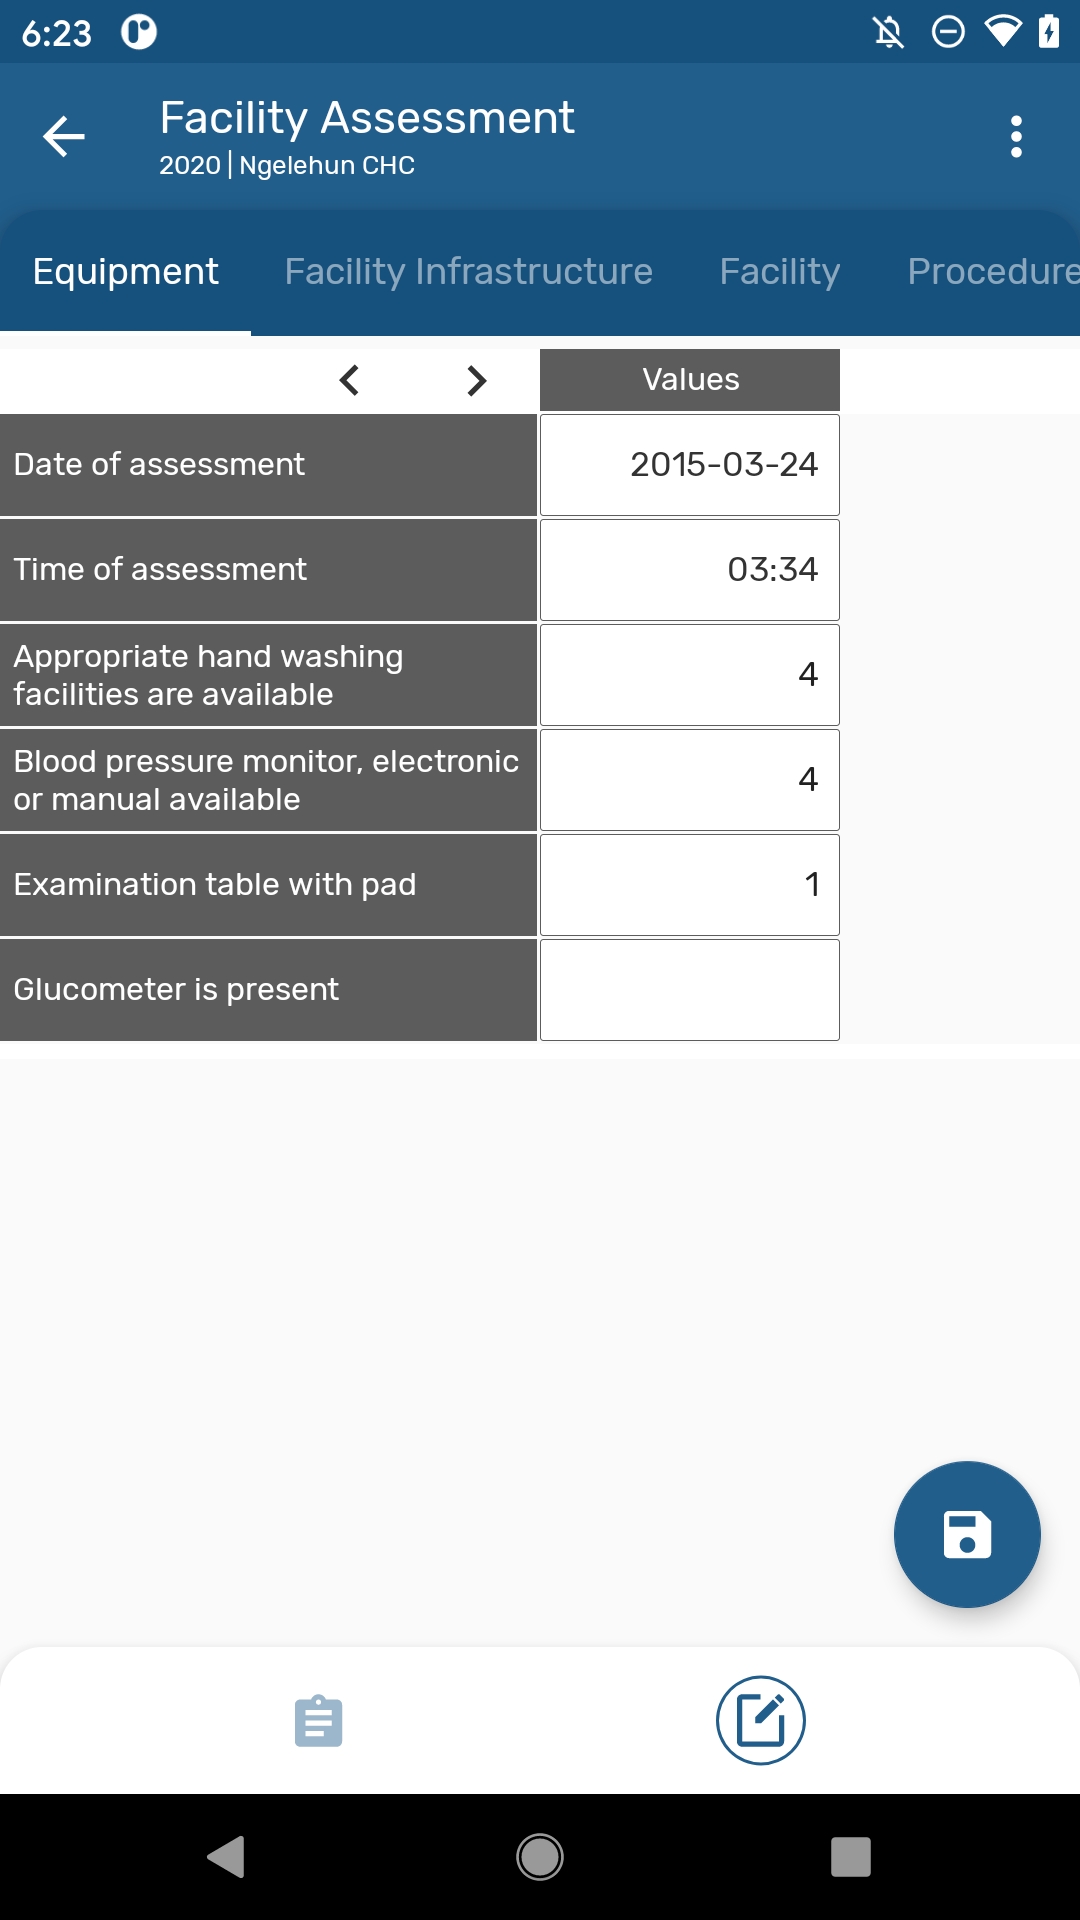
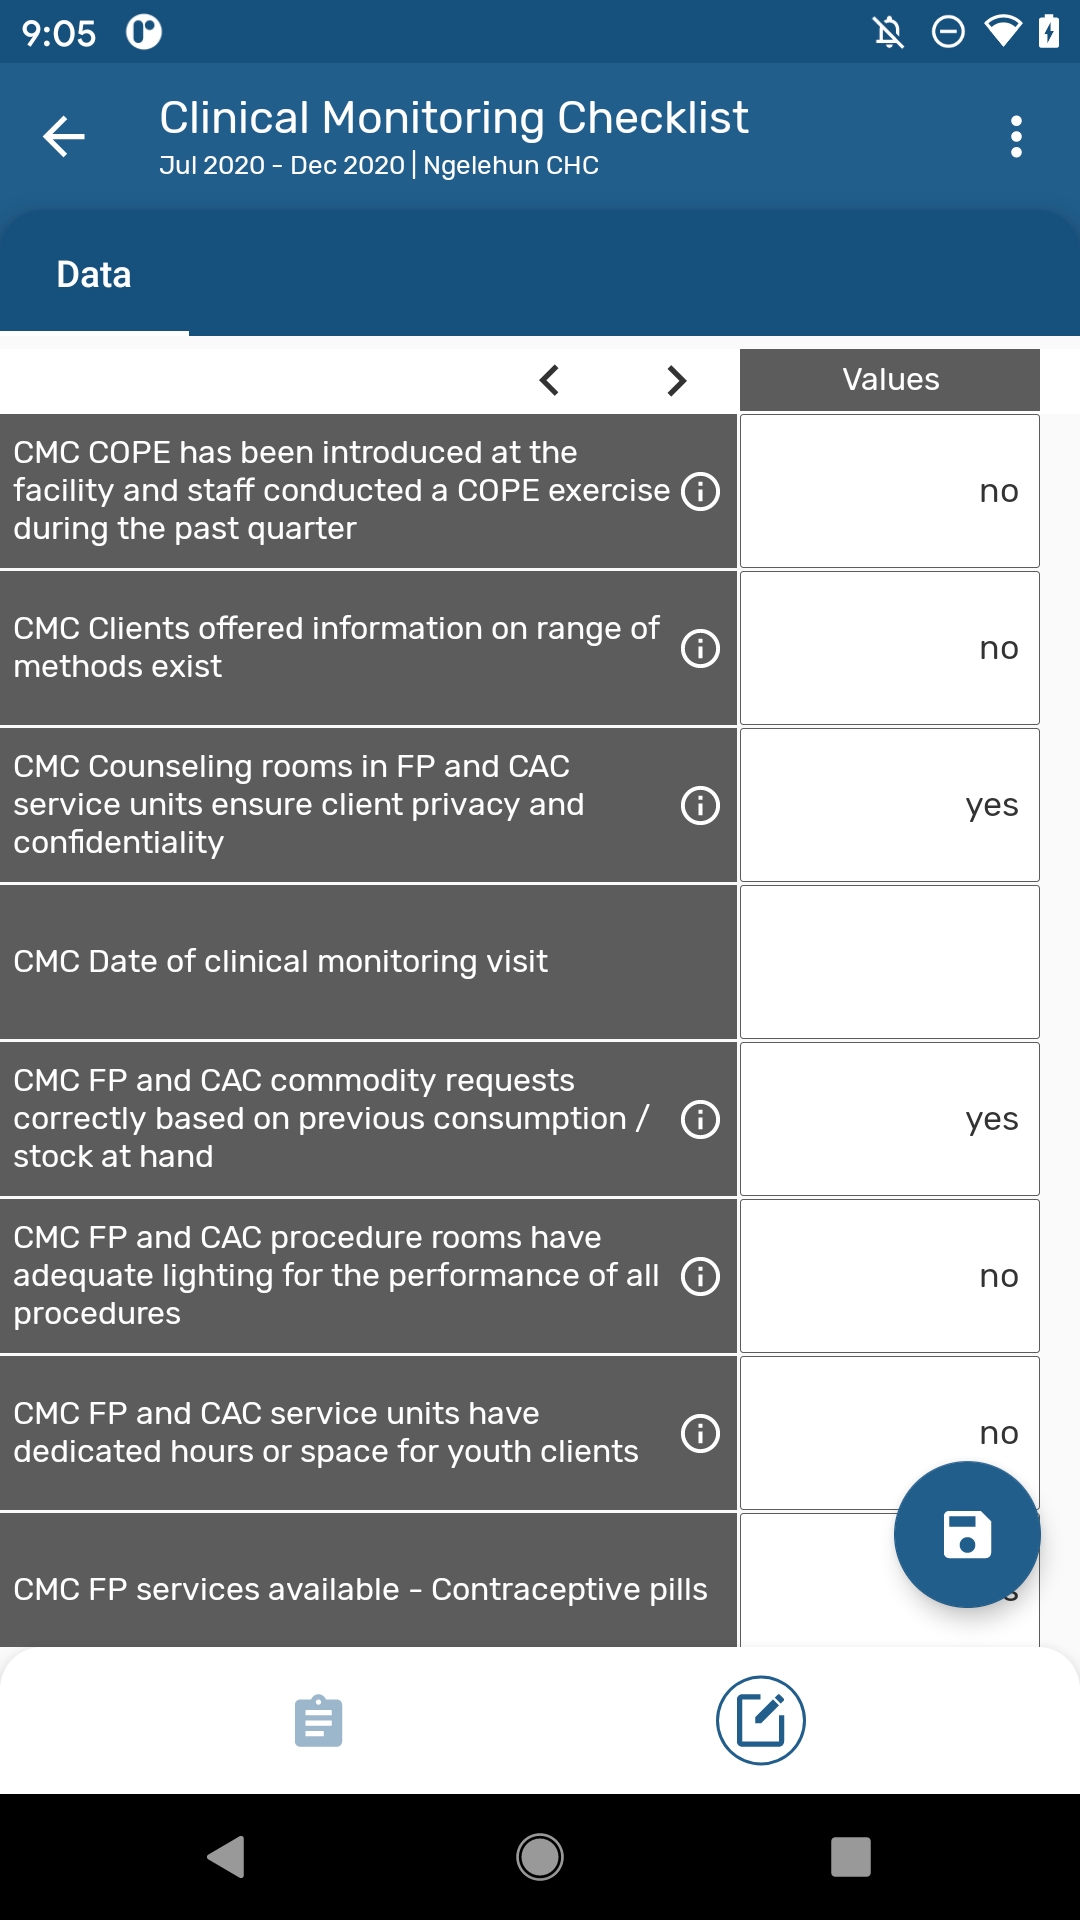
The length of the first column in datasets is now calculated to show the full text for the Data Elements names. Users can also adjust the width to adapt it better to their screen size.
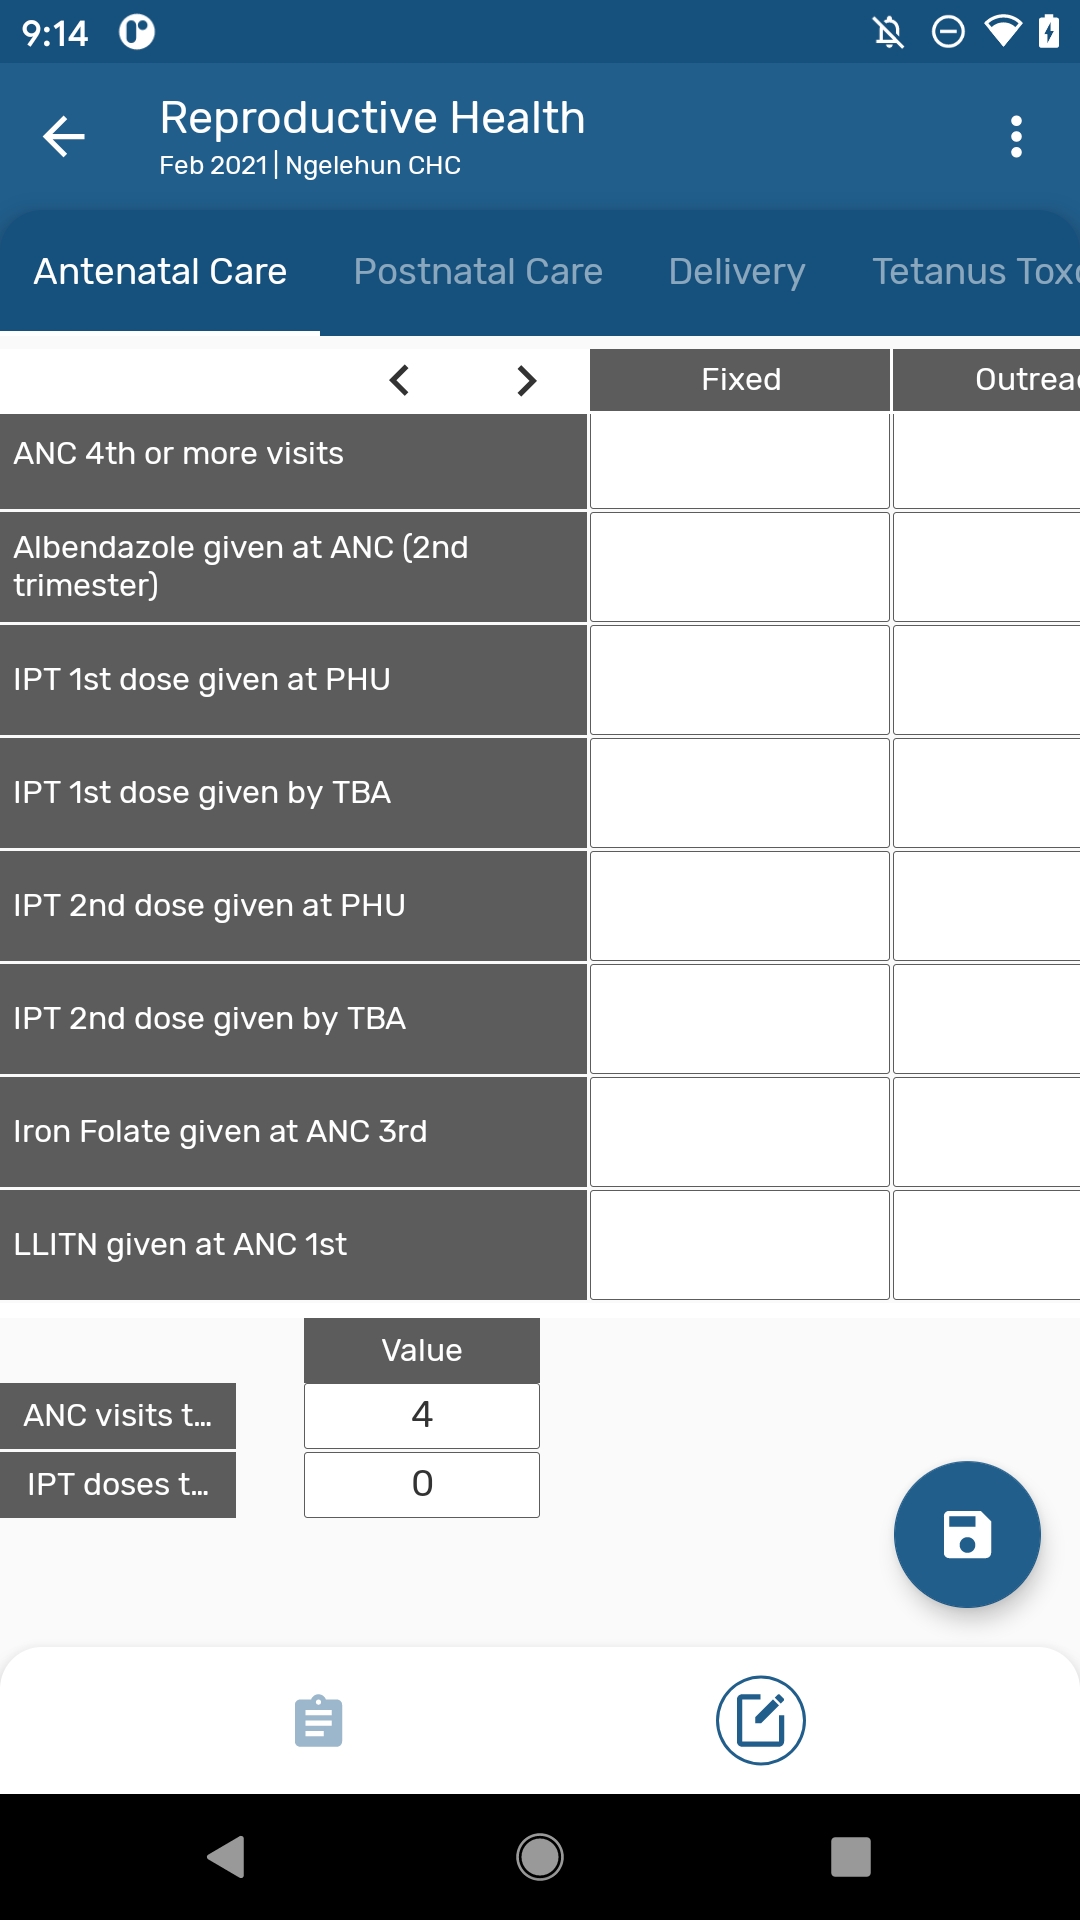
Indicators are now available in default and section forms and are displayed at the bottom of the data entry form.
The following is a comprehensive list of all features available for Data Sets in DHIS2 and notes on whether or not these have been implemented in the Android Capture app.
In the notes, ‘admin’ refers to someone who develops and configures a DHIS2 system, and ‘user’ refers to someone who uses apps to capture data, update it, and review reports.
| Legend | Description |
|---|---|
 | Feature implemented |
 | Feature not implemented (will be ignored) |
 | Not applicable |
 | Work in progress. Feature not completely implemented yet or with unexpected behaviour already reported. |
| Feature | Description of feature | Status | Notes on implementation |
|---|---|---|---|
| Period type | Determines the period covered by data-entry. | | |
| Expiry days | Sets the deadline (days after period) after which DHIS2 locks all data entry for the period (0 means no locks at all). Periods can still be opened, but cells will be greyed out. | | |
| Open future periods for data entry | This setting can be used to unlock the current period or all periods up to a certain point in the future. | | |
| Data input periods | Allows you to set a specific range of dates for a period's data-entry, and prevents data capture for periods outside of this date range. | | |
| Days after period to qualify for timely submission | Sets the deadline (days after period) after which DHIS2 treats data entry as 'late'. | | |
| [Attribute] category combination | Allows an admin to attach a Category (set of Options) to the Data Set, generating a separate data entry screen for each Option (This is called an Attribute Category Combination in DHIS2). | | |
| [Attribute] Category Combination option restrictions | If Attribute Category Combinations (see above) are used, then this features gives admins the ability to restrict which specific options are available in the drop-down. Each option can be restricted to a particular range of dates and/or organisation units, and that option will not be shown if data is being captured outside of these dates or org units. | | |
| Complete notification recipients | Sends a DHIS2 message to the selected User Group when the Data Set is marked 'complete'. | | |
| Send notification to completing user | Sends a DHIS2 message to the data-entry user when the Data Set is marked 'complete'. | | |
| All fields for data elements required | Where one or more Categories are used to disaggregate a data element, this setting forces the user to either complete all disaggregations, or to leave them all empty. | | |
| Complete only if validation passes | Only allows the Data Set to be marked complete if no Validation Rules are triggered. | | |
| Skip offline | Requires the user to add a 'comment' if a value is left blank (or Data Set cannot be 'completed'). Only allows Data set to be selected for data entry while connected to the internet (although once selected, data entry can continue offline). | | |
| Data element decoration | Shows the description of the Data Element when the mouse hovers over the Data Element Name. | | |
| Section forms - render sections as tabs | Displays each section in the form as a separate tab, instead of all together on the same page. | | |
| Section forms - render vertically | | ||
| Data Element - CatCombos | Enables an individual Data Element to be automatically disaggregated into one or more categories (eg both male/female and child/adult), with separate fields/values collected for each of these disaggregations. | | |
| Inline indicators / section form totals | Enables the default CatCombo for each data element to be overridden with a different CatCombo for this Data Set only. | | |
| Section forms - render sections as tabs | Adding indicators to Data Sets makes them available for use in section forms and custom forms; row and/or column totals can also be added to these forms. (Both are displayed on the screen alongside data capture cells, and update automatically as values are captured.) | | |
| Organisation unit assignment | Ensures the Data Set is only available for those organisation units to which it has been assigned. | | |
| Compulsory data elements | This allows the marking of specific Data Elements/CatCombos as ‘compulsory’, which means users must enter a value (they cannot be left blank). | | |
| Forms - default forms | DHIS2 automatically renders the form as table(s), with a new table started every time the Category Combinations change (= different column headings). | | |
| Forms - section forms | Form sections and section titles can be specified, giving you more control over the grouping and layout of the form (but it is still rendered automatically). This section form automatically overrides the default form if implemented. | | |
| Forms - custom forms | A custom HTML form can be designed, giving total control over layout, and enabling JavaScript code to be included within the form. This custom form automatically overrides the default and section forms if implemented. | | |
| Section forms - disable fields (grey) | With section forms, this enables you to individually 'grey out' fields (a whole data element, or specific CatCombo Options) so that users cannot enter data into it. | | |
| Multi-organisation unit forms | When this server setting is enabled, form layouts are changed to show multiple org units as rows, and all data elements/CatCombos as columns (ie very flat and wide form per org unit). | | |
| Data value pop-up: mark value for follow-up | Enables the user to mark this specific data value for follow-up (marked values can be reviewed in the Data Quality web app). | | |
| Data value pop-up: add comment to value | Enables the user to add a comment to this specific data value. | | |
| Data value pop-up: display data element history | Shows the history over time of this specific data element (i.e. previous 12 months' values). | | |
| Data value pop-up: display audit trail | Shows a history of previous edits to this specific data value. | | |
| Data value pop-up: min/max ranges (also accessible via Data Administration app) | This enables users to set minimum and maximum expected values for a data element, enabling DHIS2 to highlight values outside this range during data entry (but it does not prevent saving or 'completing'). You can set min/max ranges automatically/in-bulk (via the Data Administration app) or manually/individually (via the Data Entry app). | | |
| Print form / print blank form | Enables printing of a data-entry form, to permit data capture on paper, and data-entry later. | | |
| Save data | Data entered into the screen is not captured until 'saved' - until then, it is only held in memory, and is lost if power is switched off etc. | | |
| Complete data set | This enables user to mark data-entry for a period/org unit/etc as 'complete'. Note that this is just for data-entry tracking and timeliness purposes, and does not lock the data set or prevent further edits. | | |
| Data elements: validation rules | Enables the creation of rules (at the data element level) to enforce data quality, based on comparing different values/collections of values. (Eg number of patients seen in the month must be less than the number of visits for the month.) | | |
| Data sharing levels/Can capture data | Enables the user to add new values, edit values and delete values in the dataset. | | |
| Data sharing levels/Can view data | Enables the user to see values within the dataset. | | |
| Data sharing levels/No access | The user won’t be able to see the dataset. | | |
| Data approval workflow | If an admin selects a pre-configured Data Approval Workflow, this will be used to enforce an ‘approval’ or ‘acceptance and approval’ cascade, enabling users to sign-off and lock data. | | The process of the approval has to be done in web. Once a data set is approved, the data will not longer be editable in the app. |
| Missing values requires comment on complete | Any missing values will require a comment to justify their absence. | - |
Use the new navigation bar to move from one screen to another.
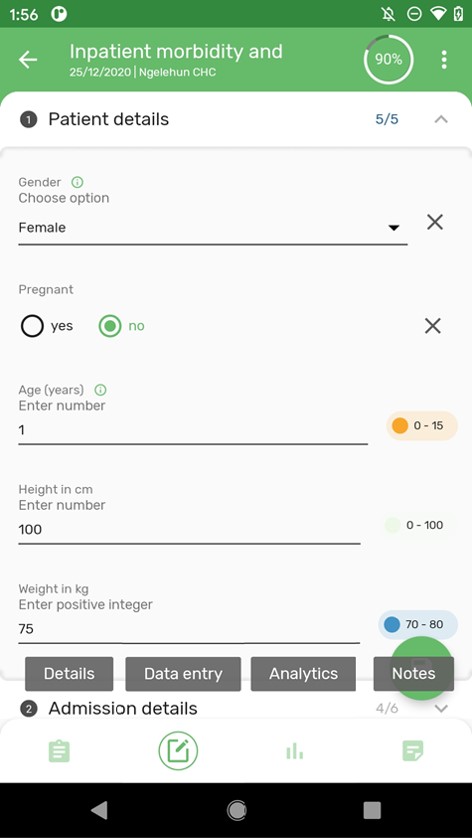
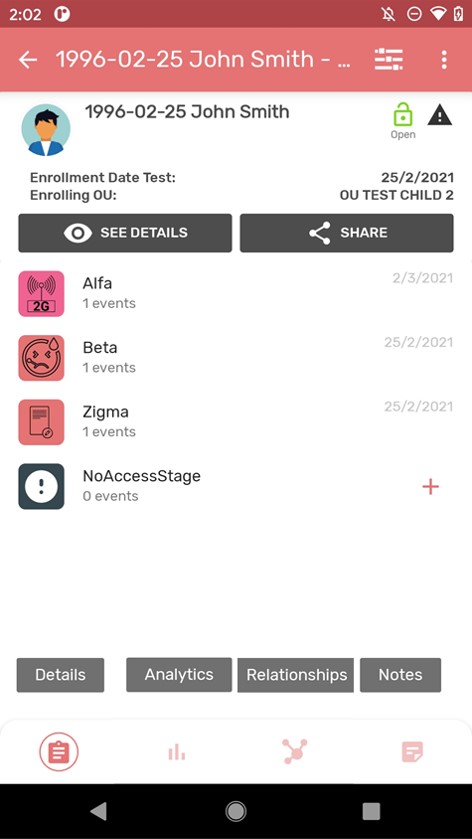
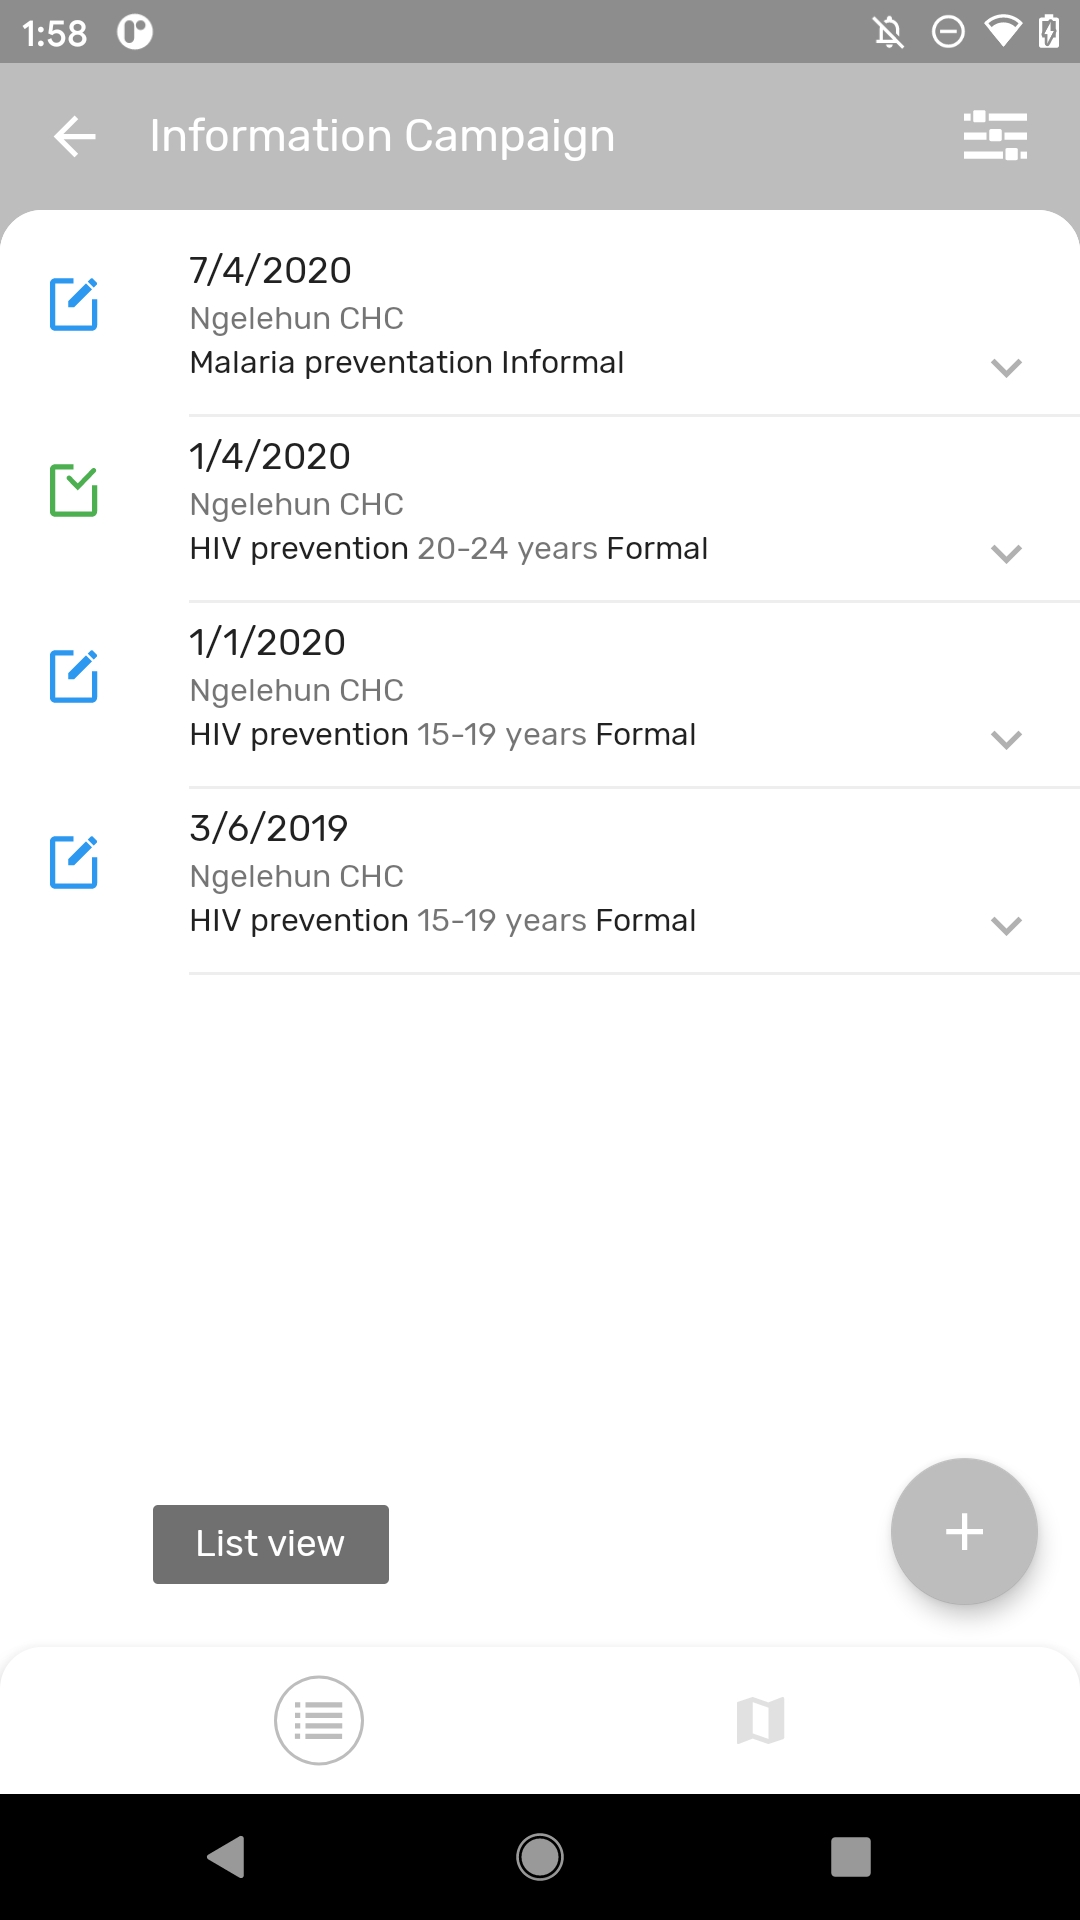
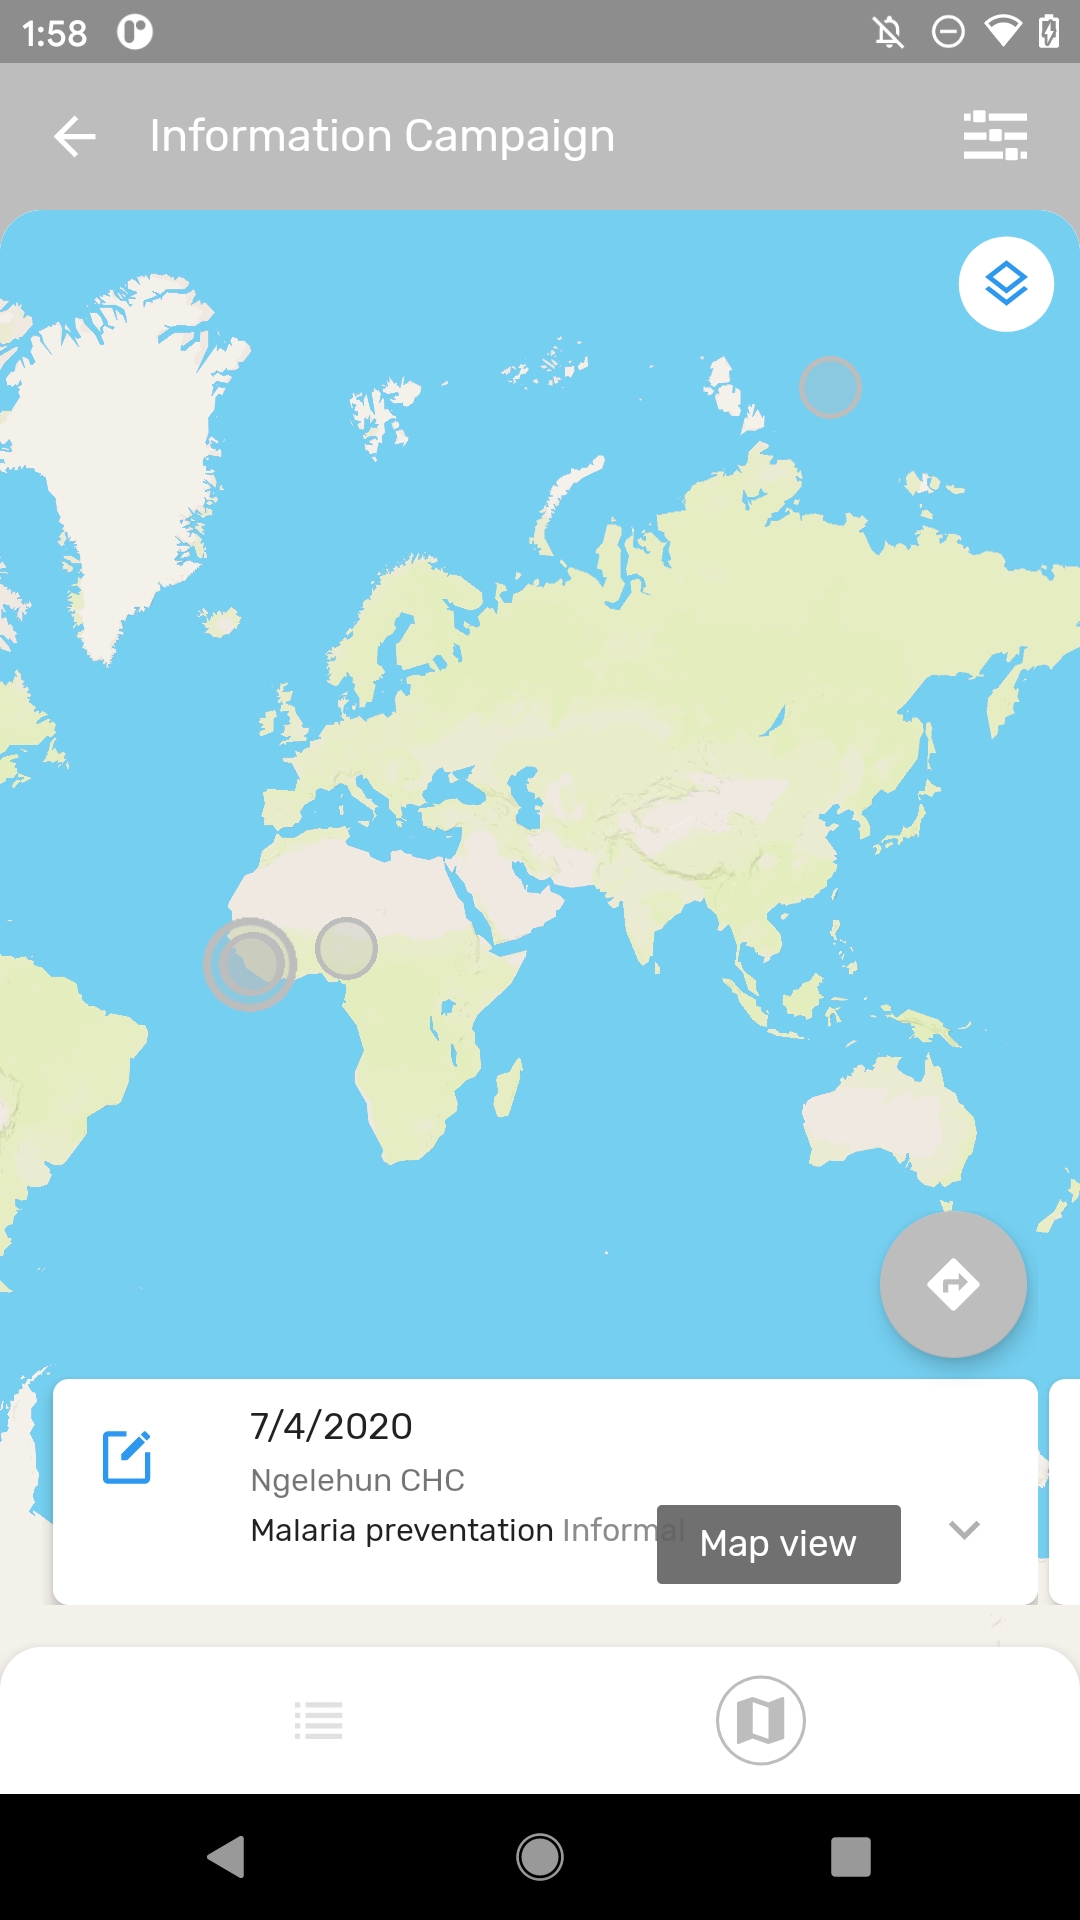
User must enter the event and then click the complete icon in the bottom right corner.
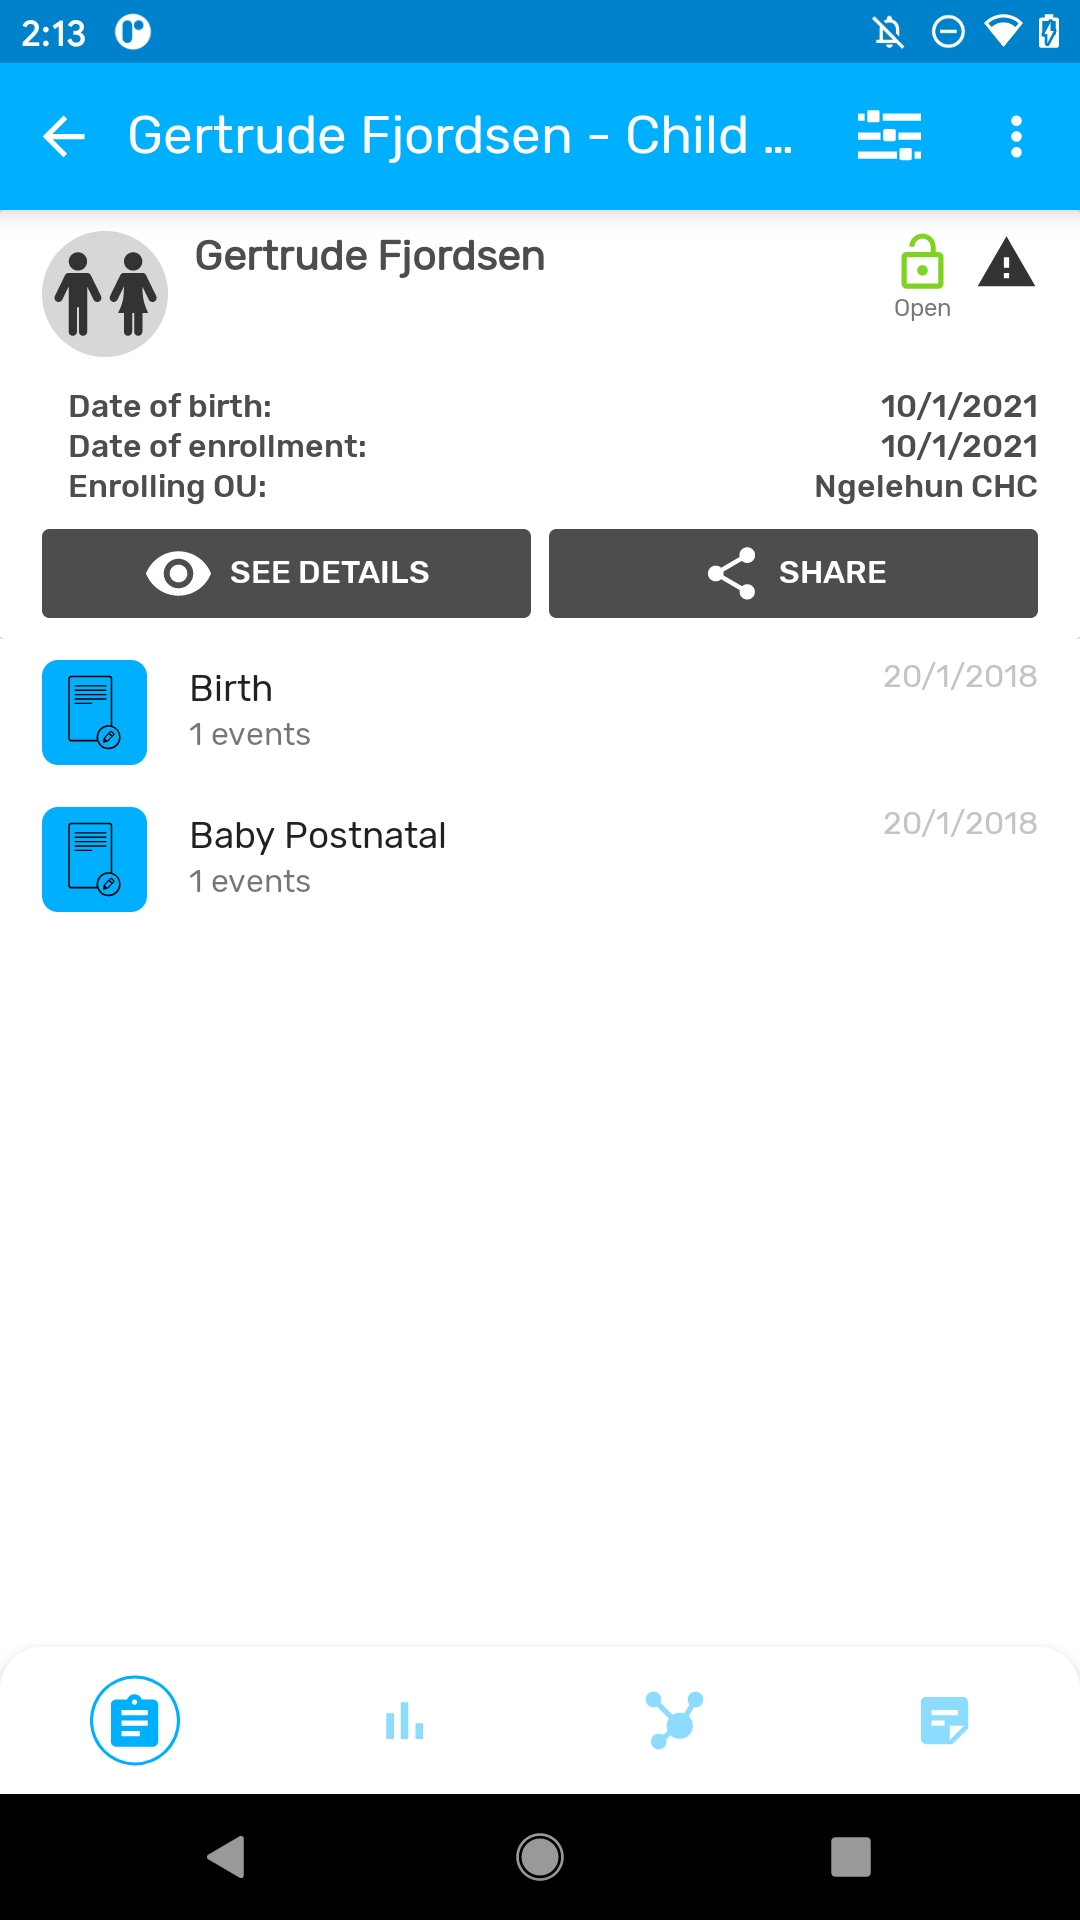
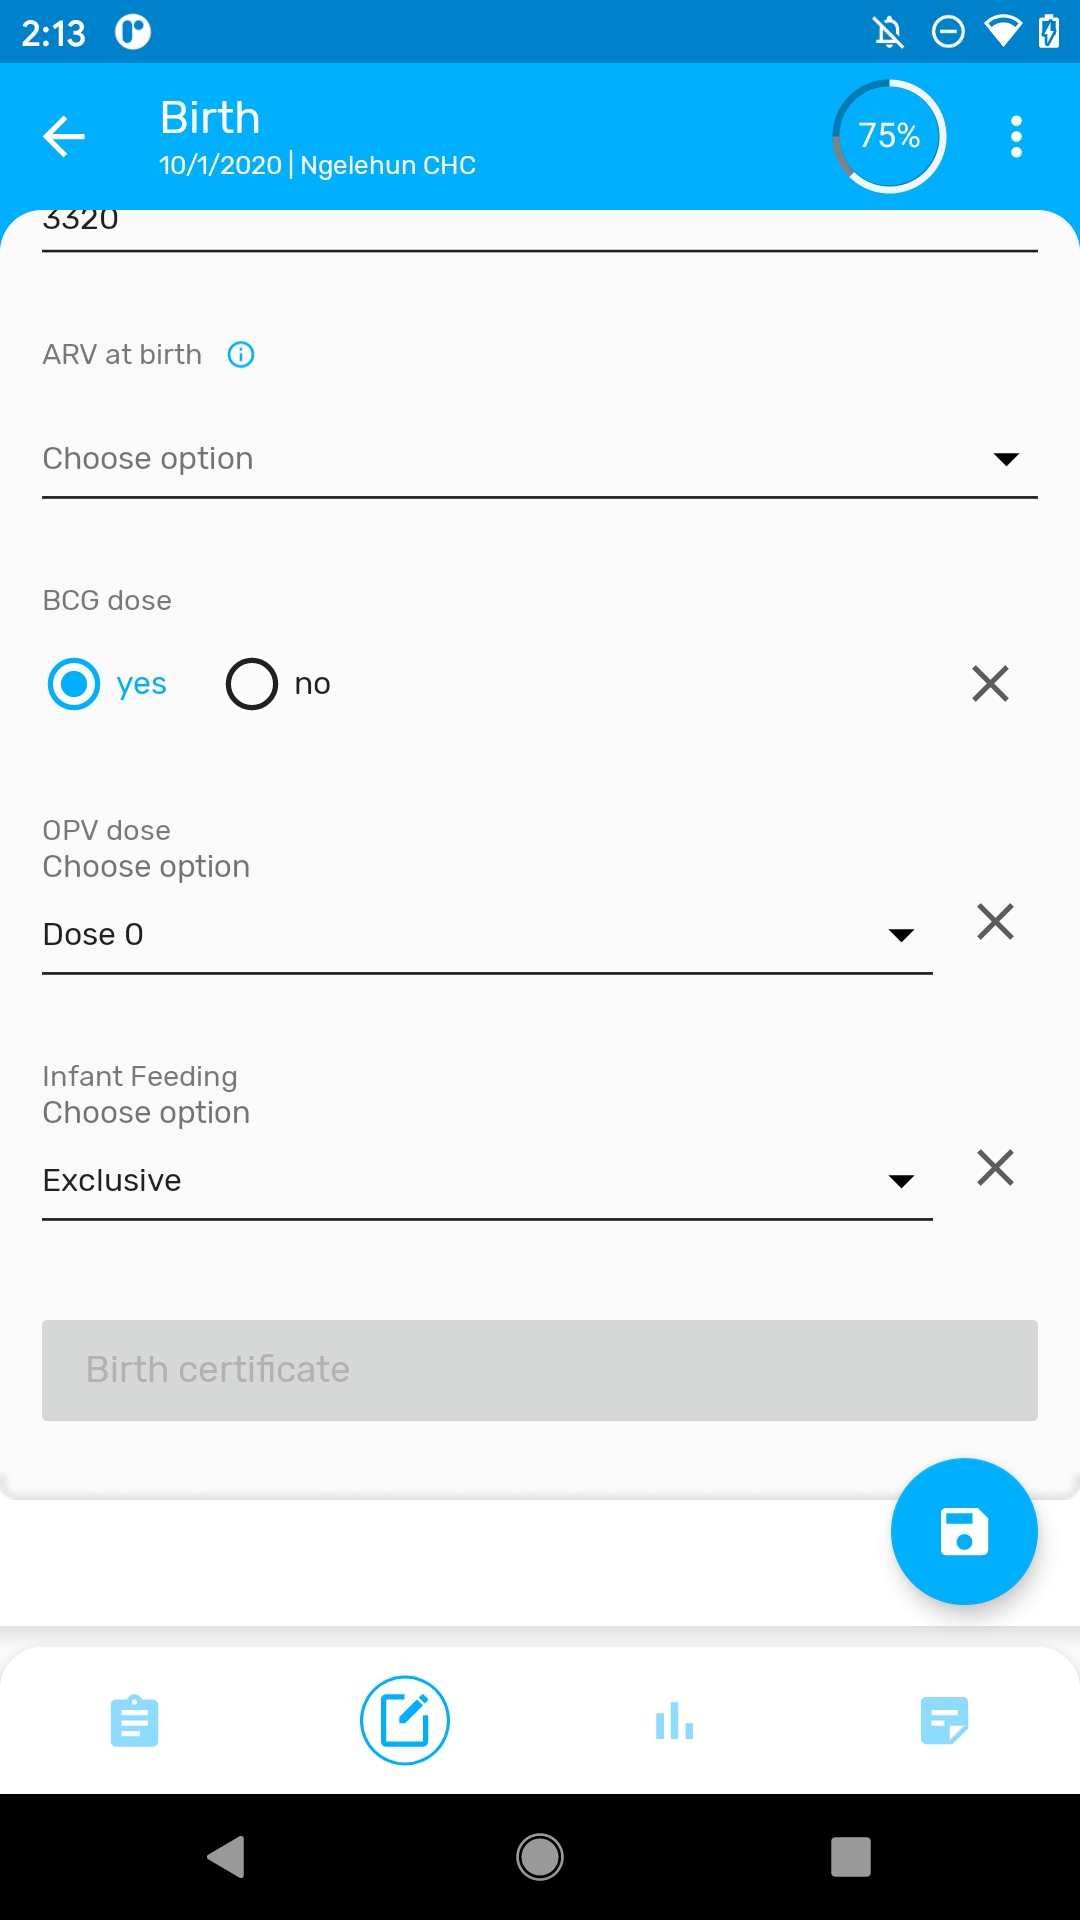
Two options will be presented:
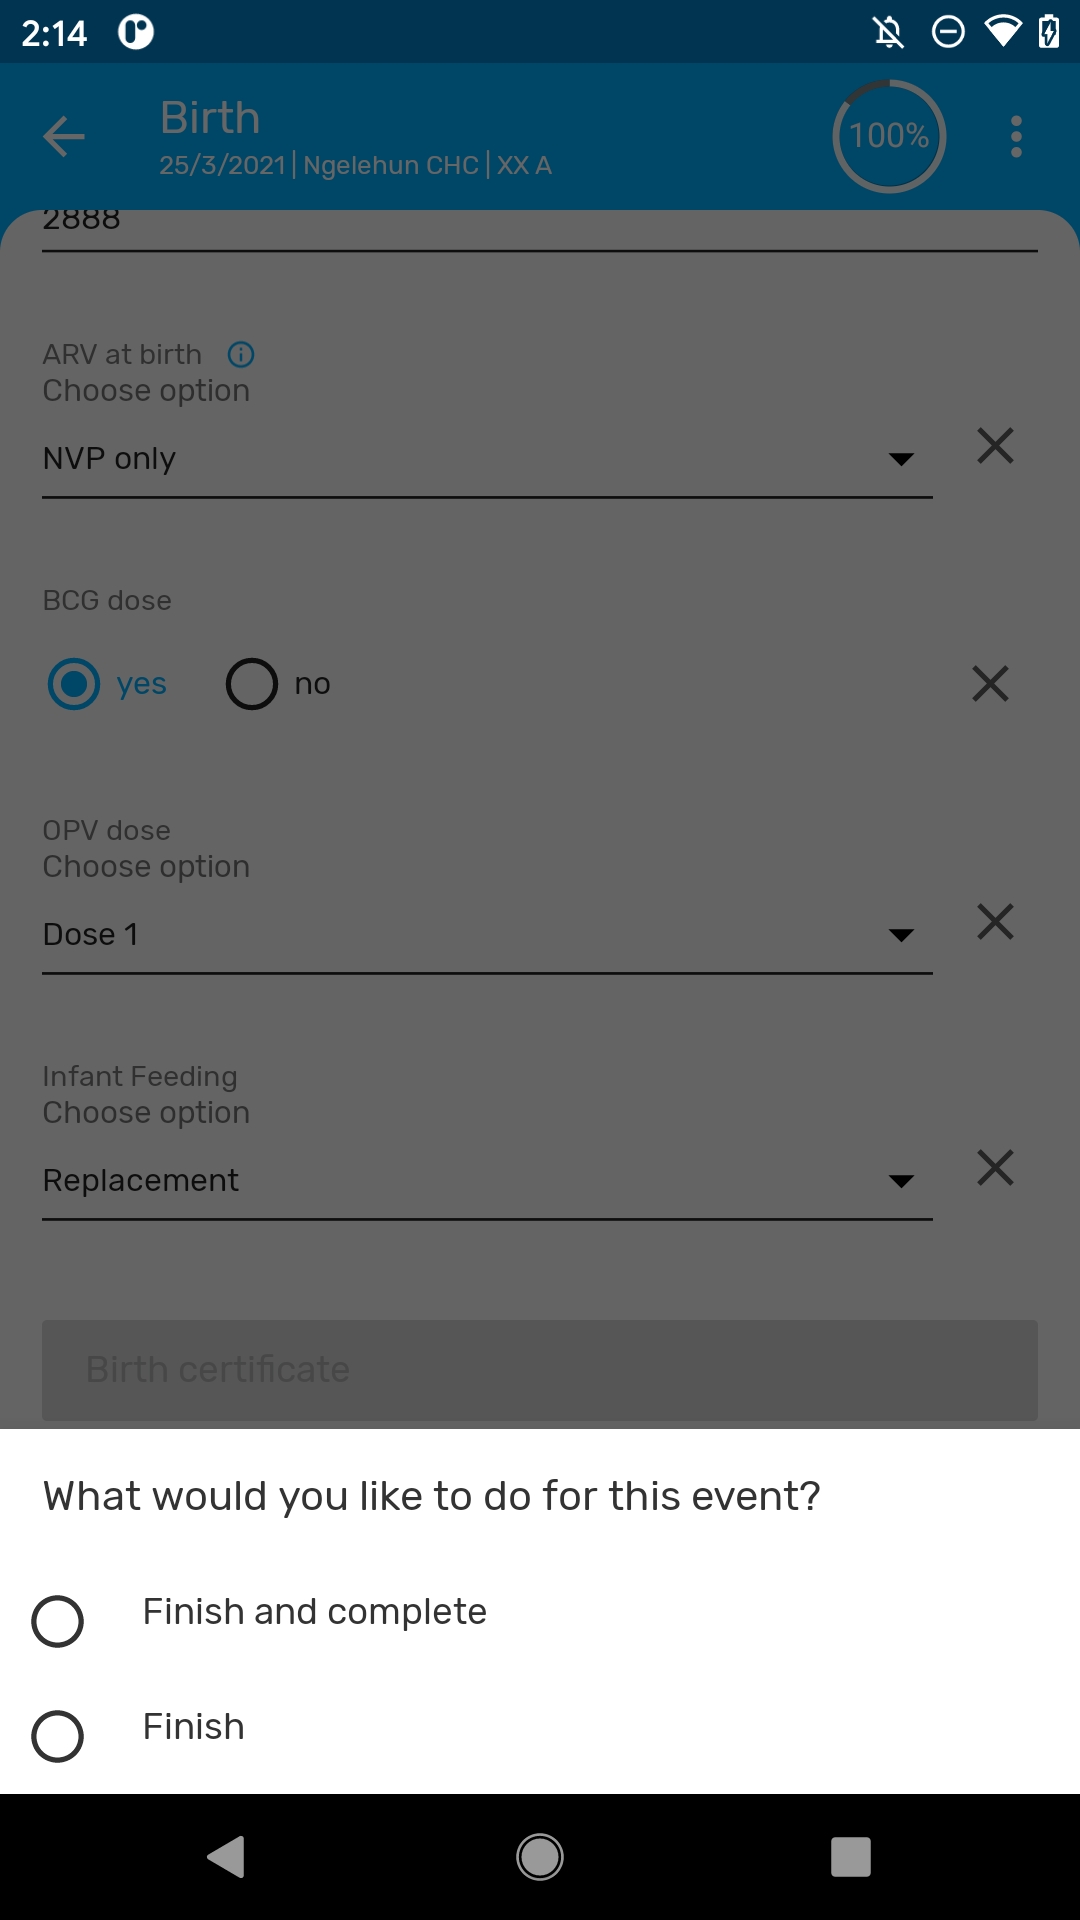
Note
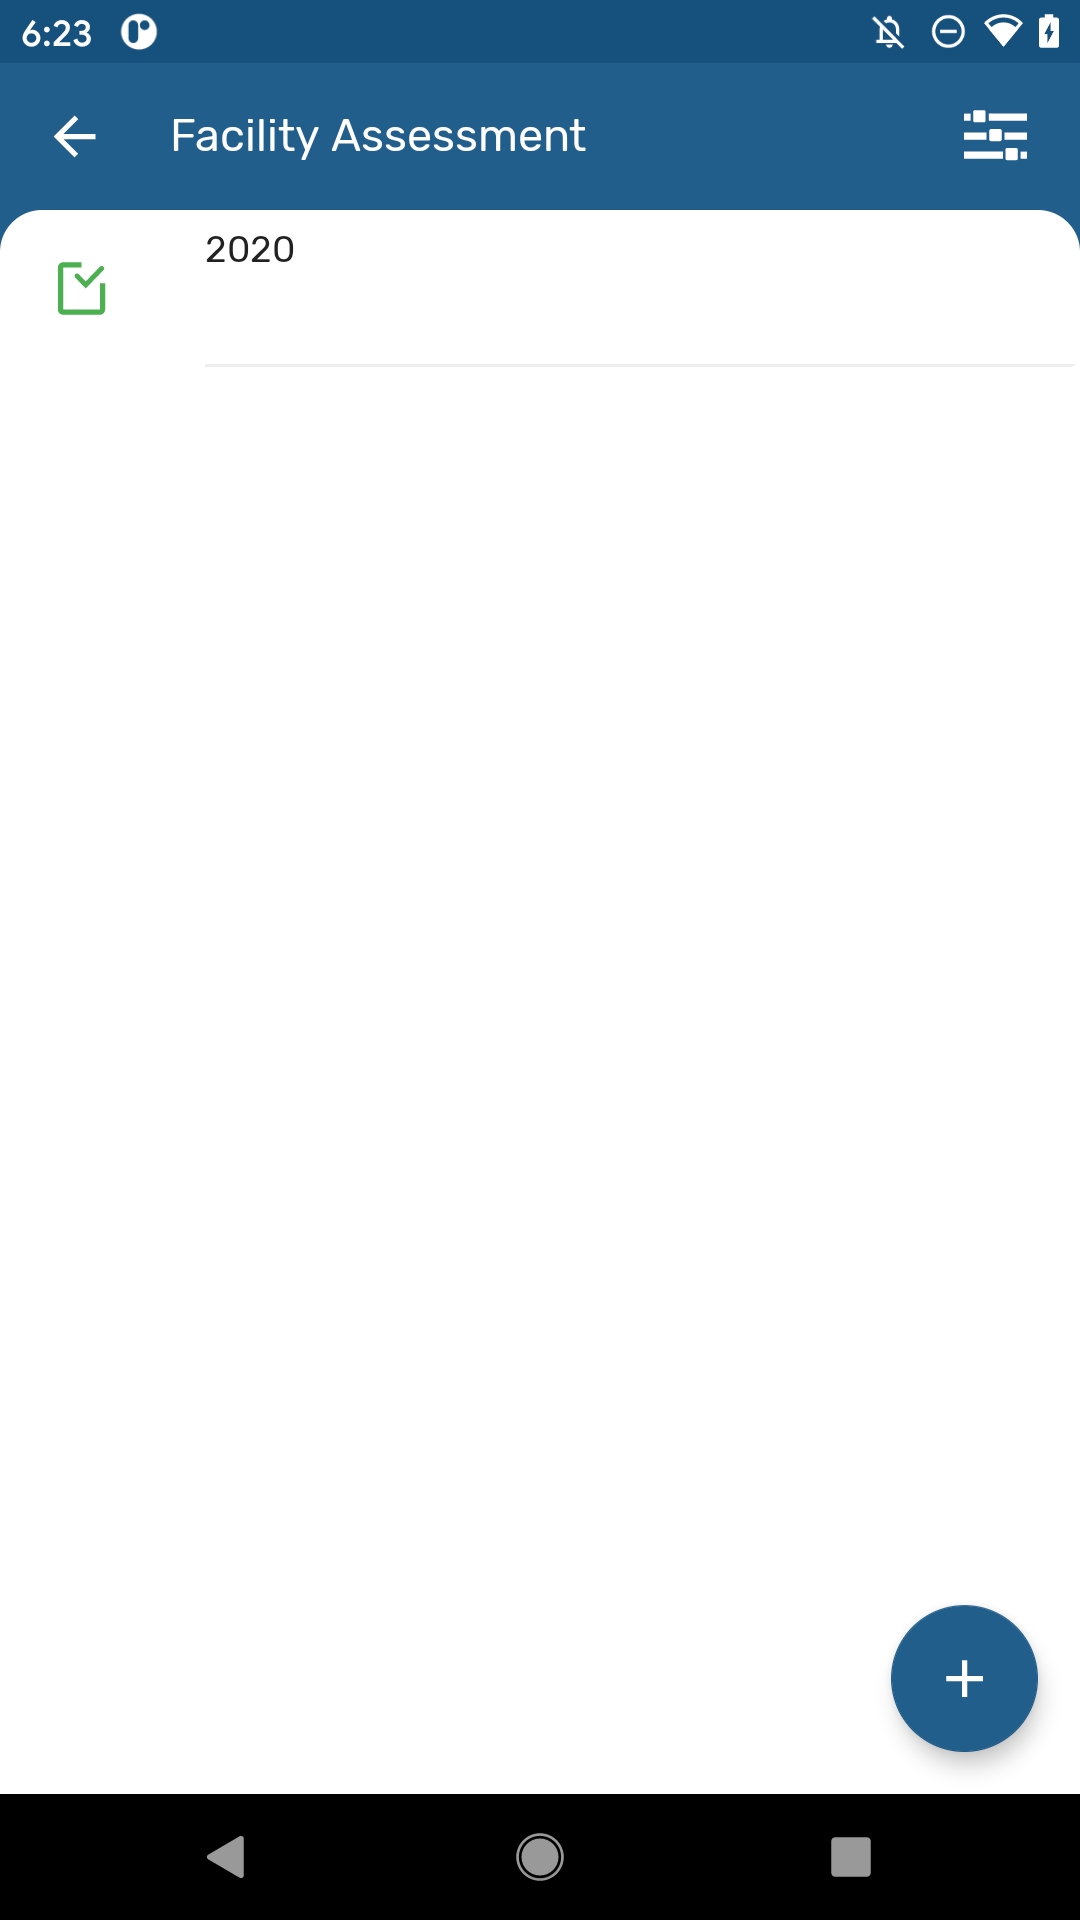
To verify if an event is completed look at the icon, it must be a green checked box.
Note
The app needs to take into consideration if the user has the correct authority (‘Uncomplete events’) to reopen a completed event.
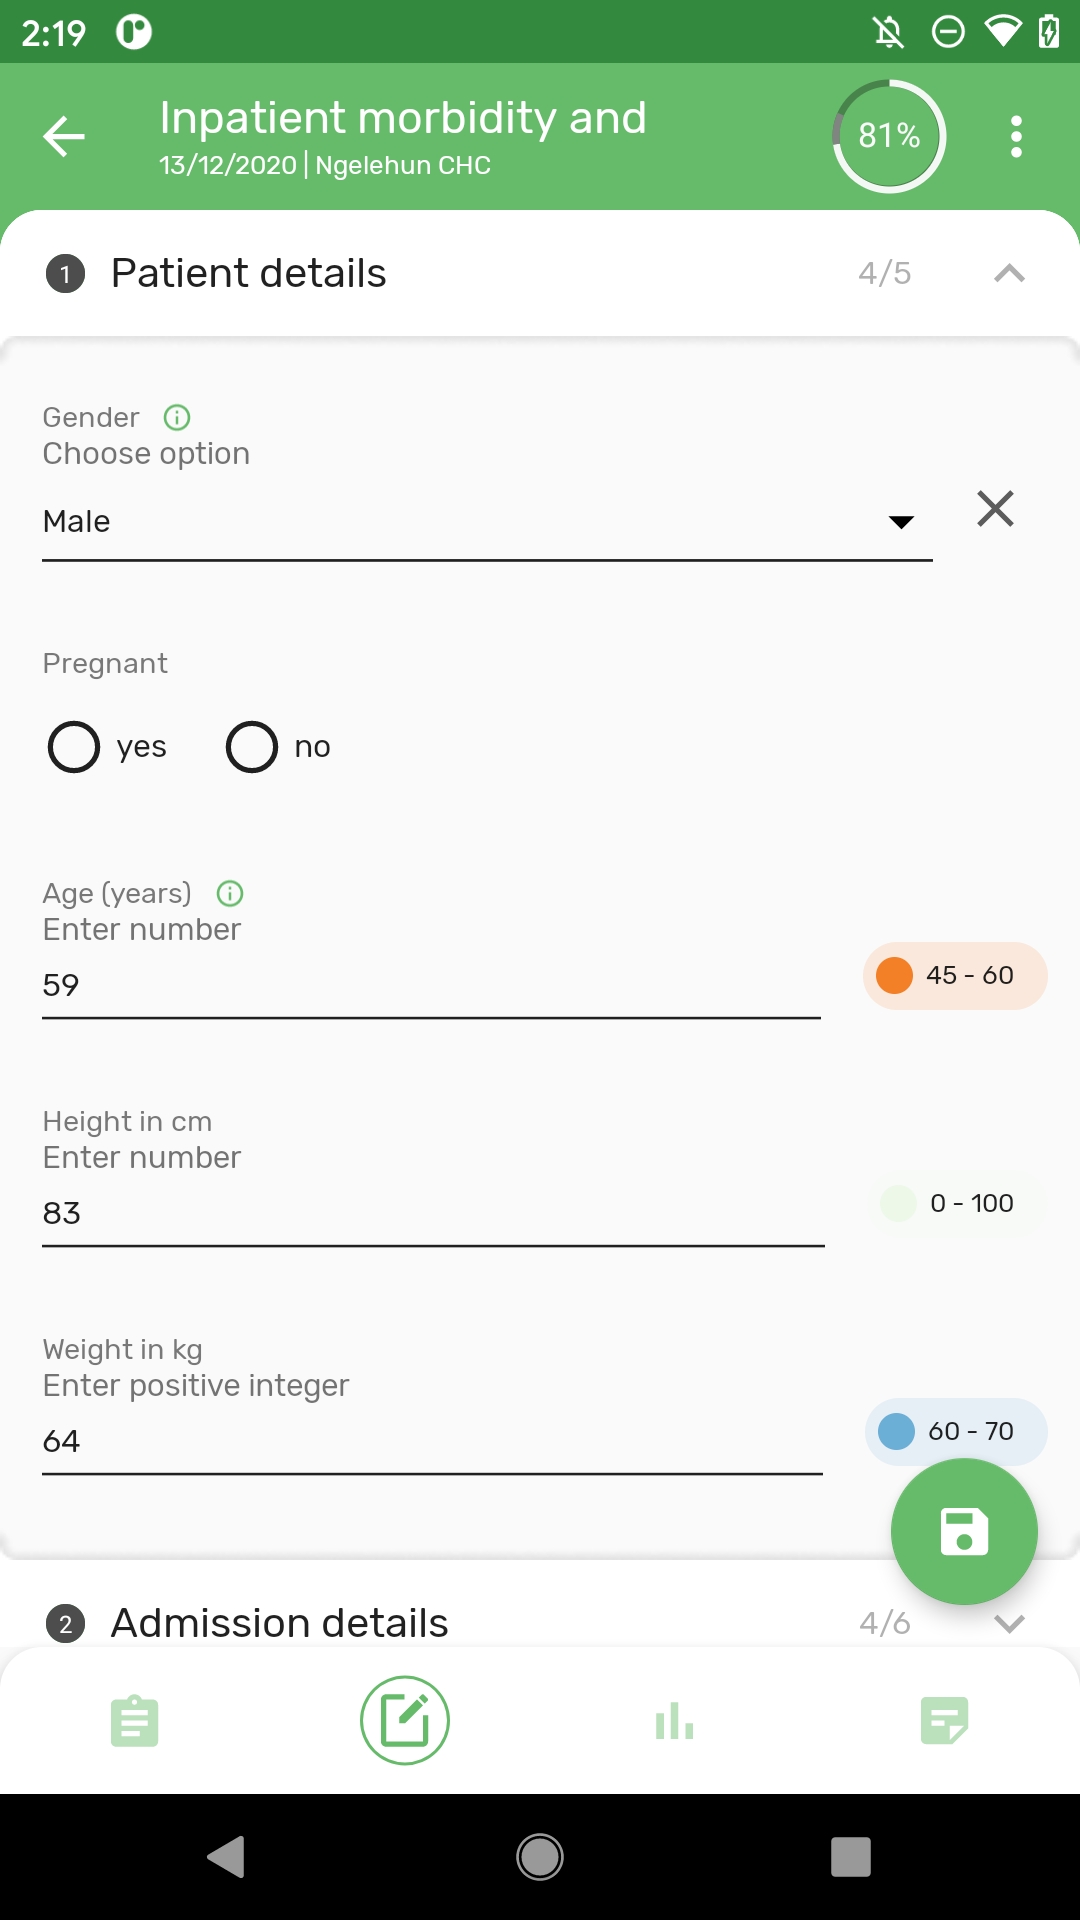
The percentage of data completed in each event is shown in the top right corner of an event when it is opened after first registration.
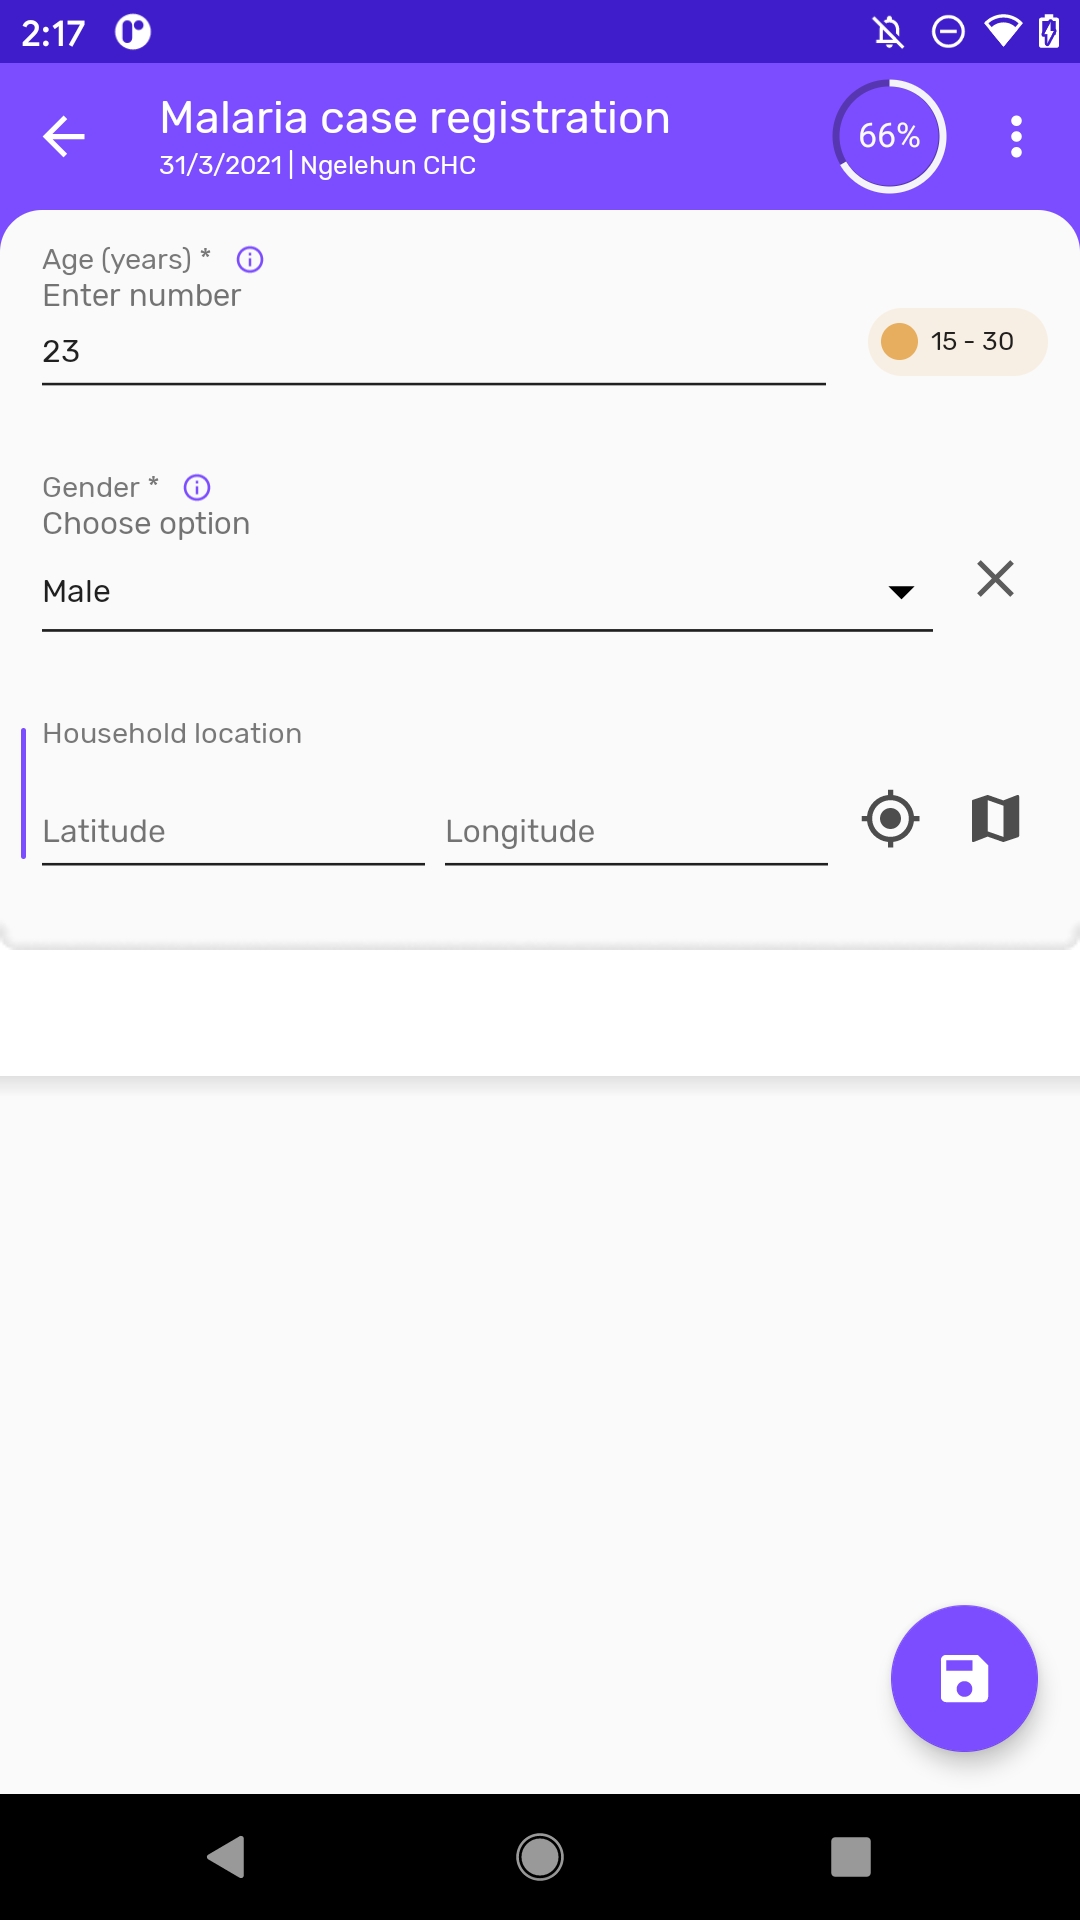
Note
The display for sections has been redesigned for a more simple user experience. In addition, the sections in enrollment form are now supported and are aligned with the design of the event sections.
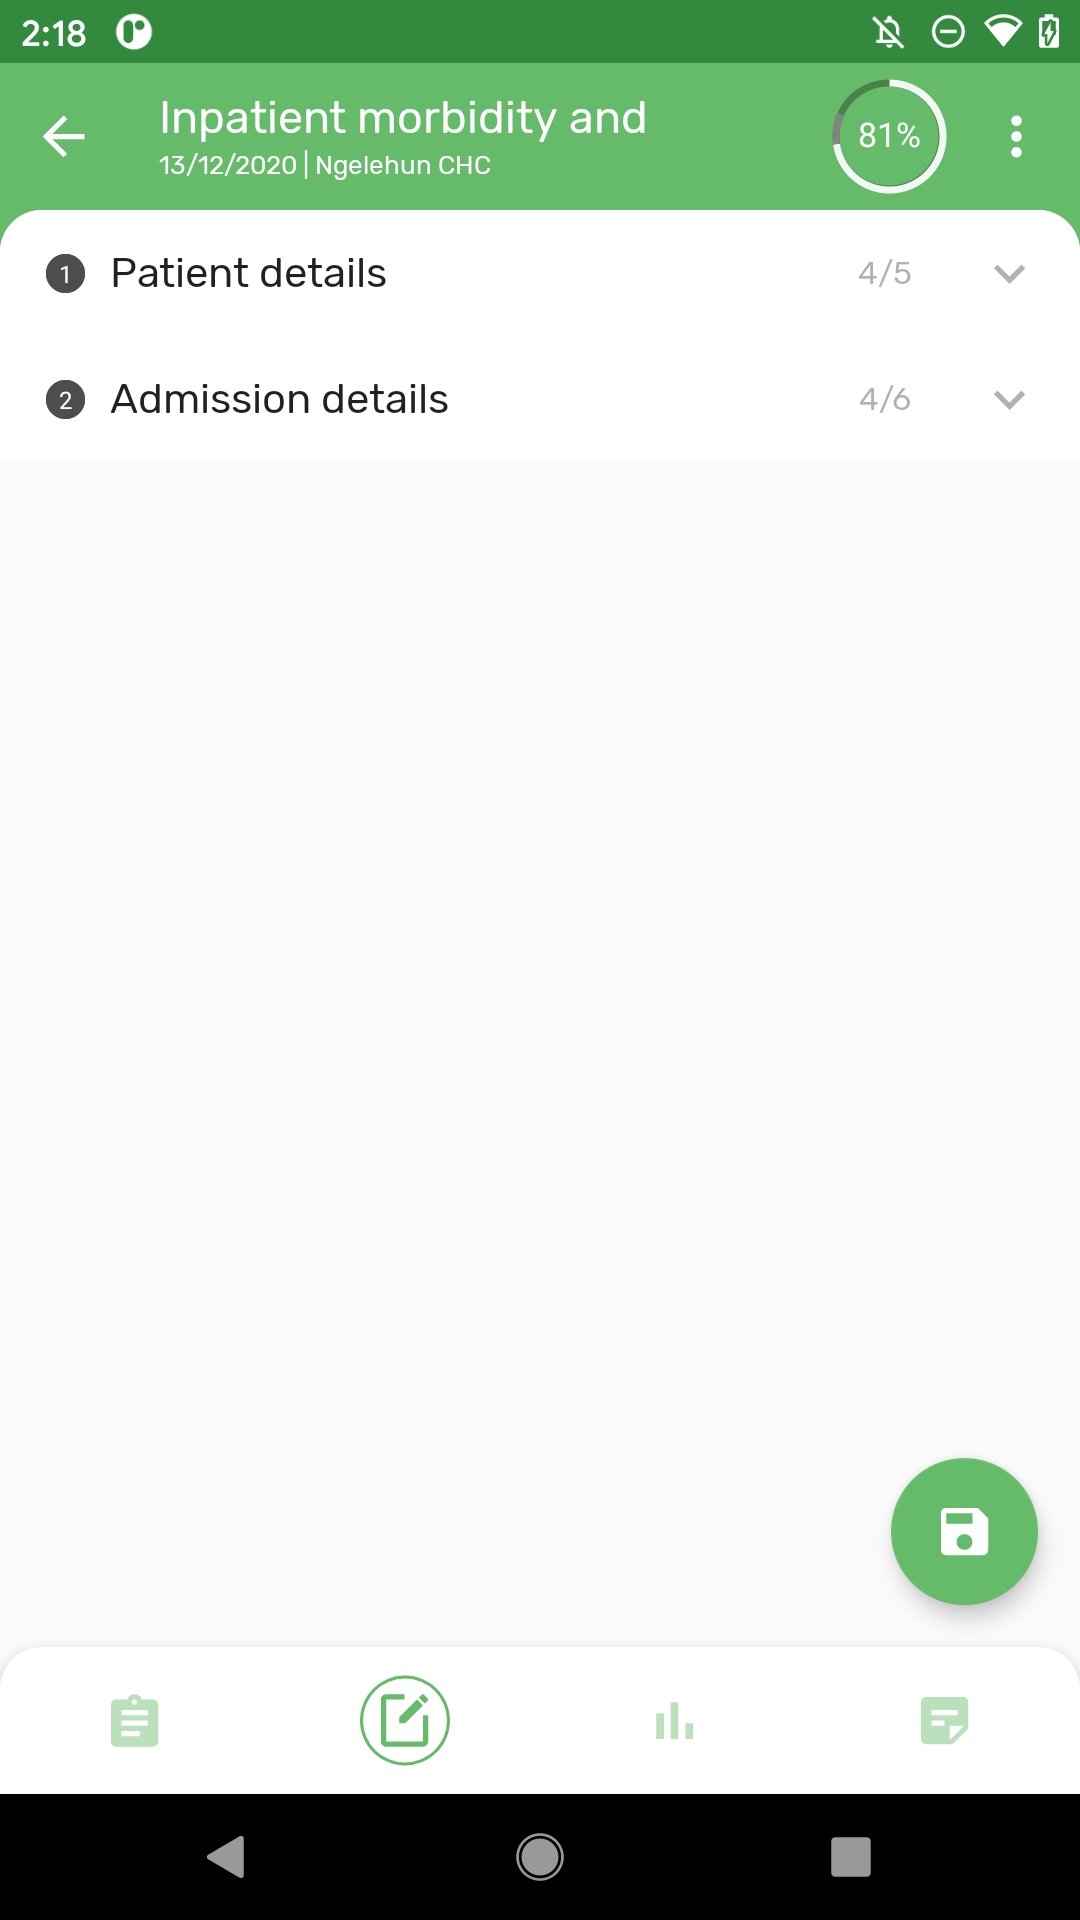
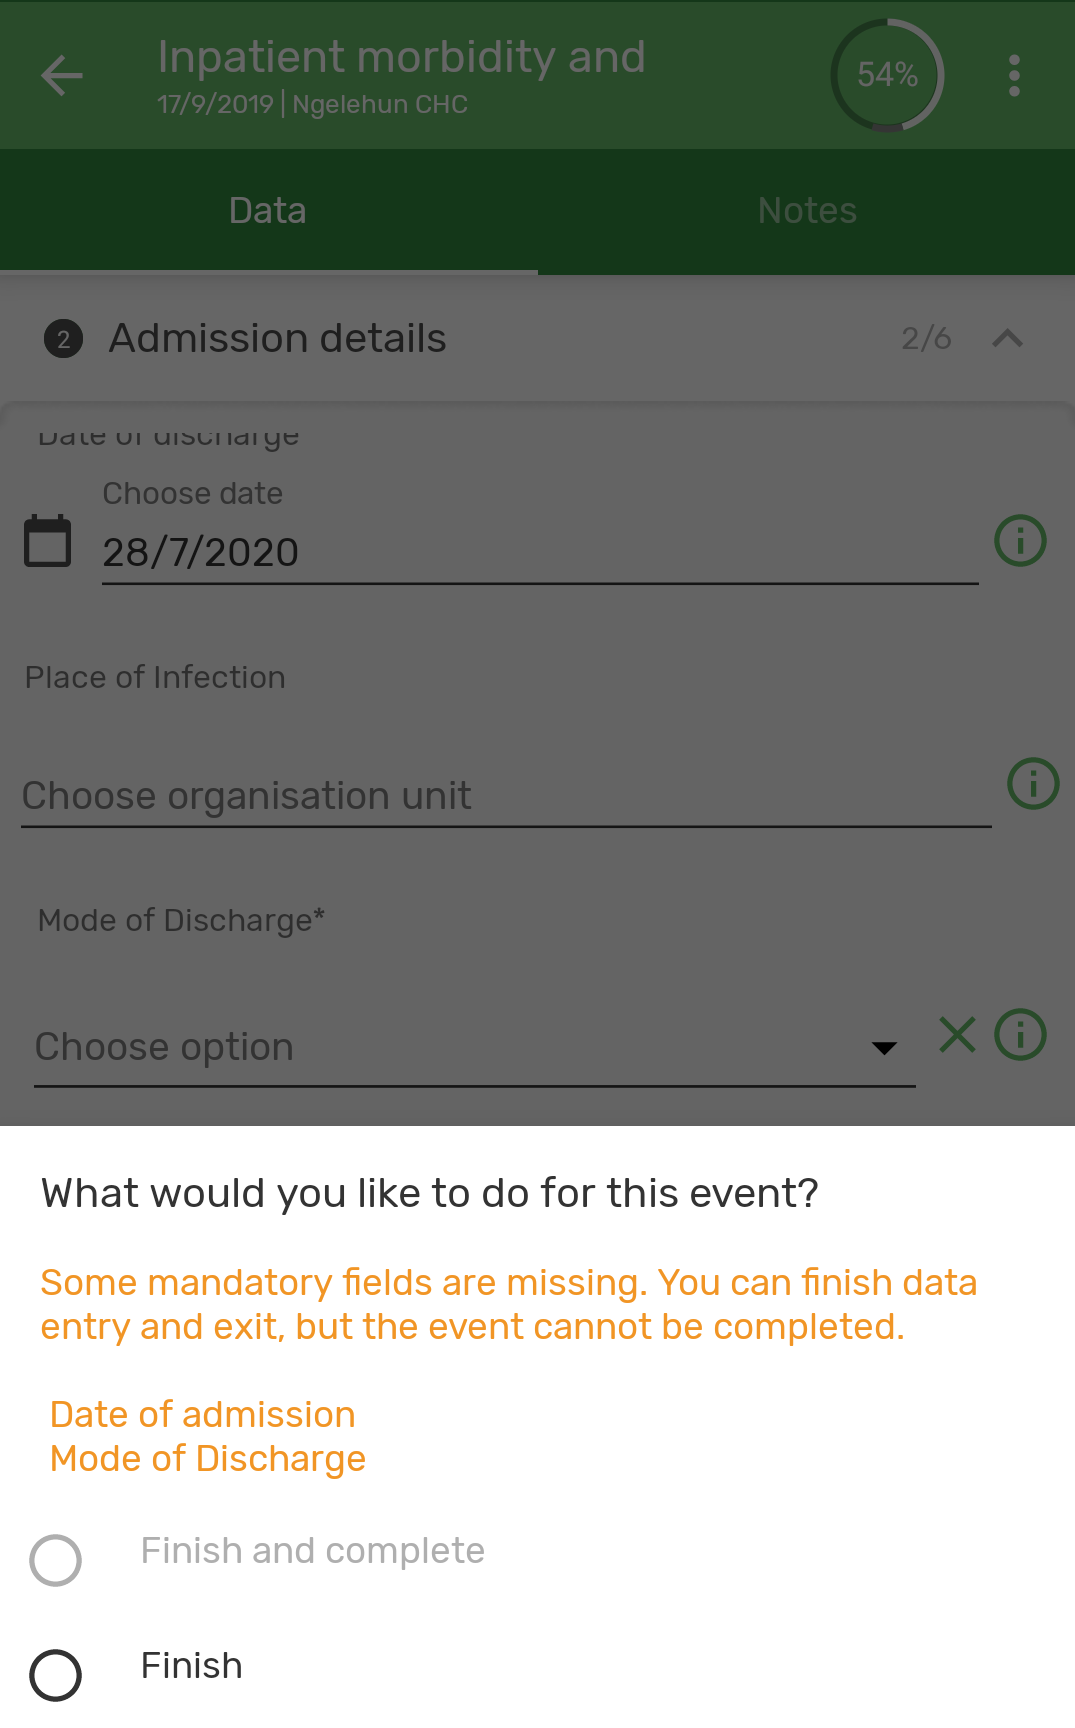
The app will now list the name of the mandatory fields missing when the user tries to complete an event or enrollment. The sections containing the missing fields will be highlighted to help the user find the missing fields.
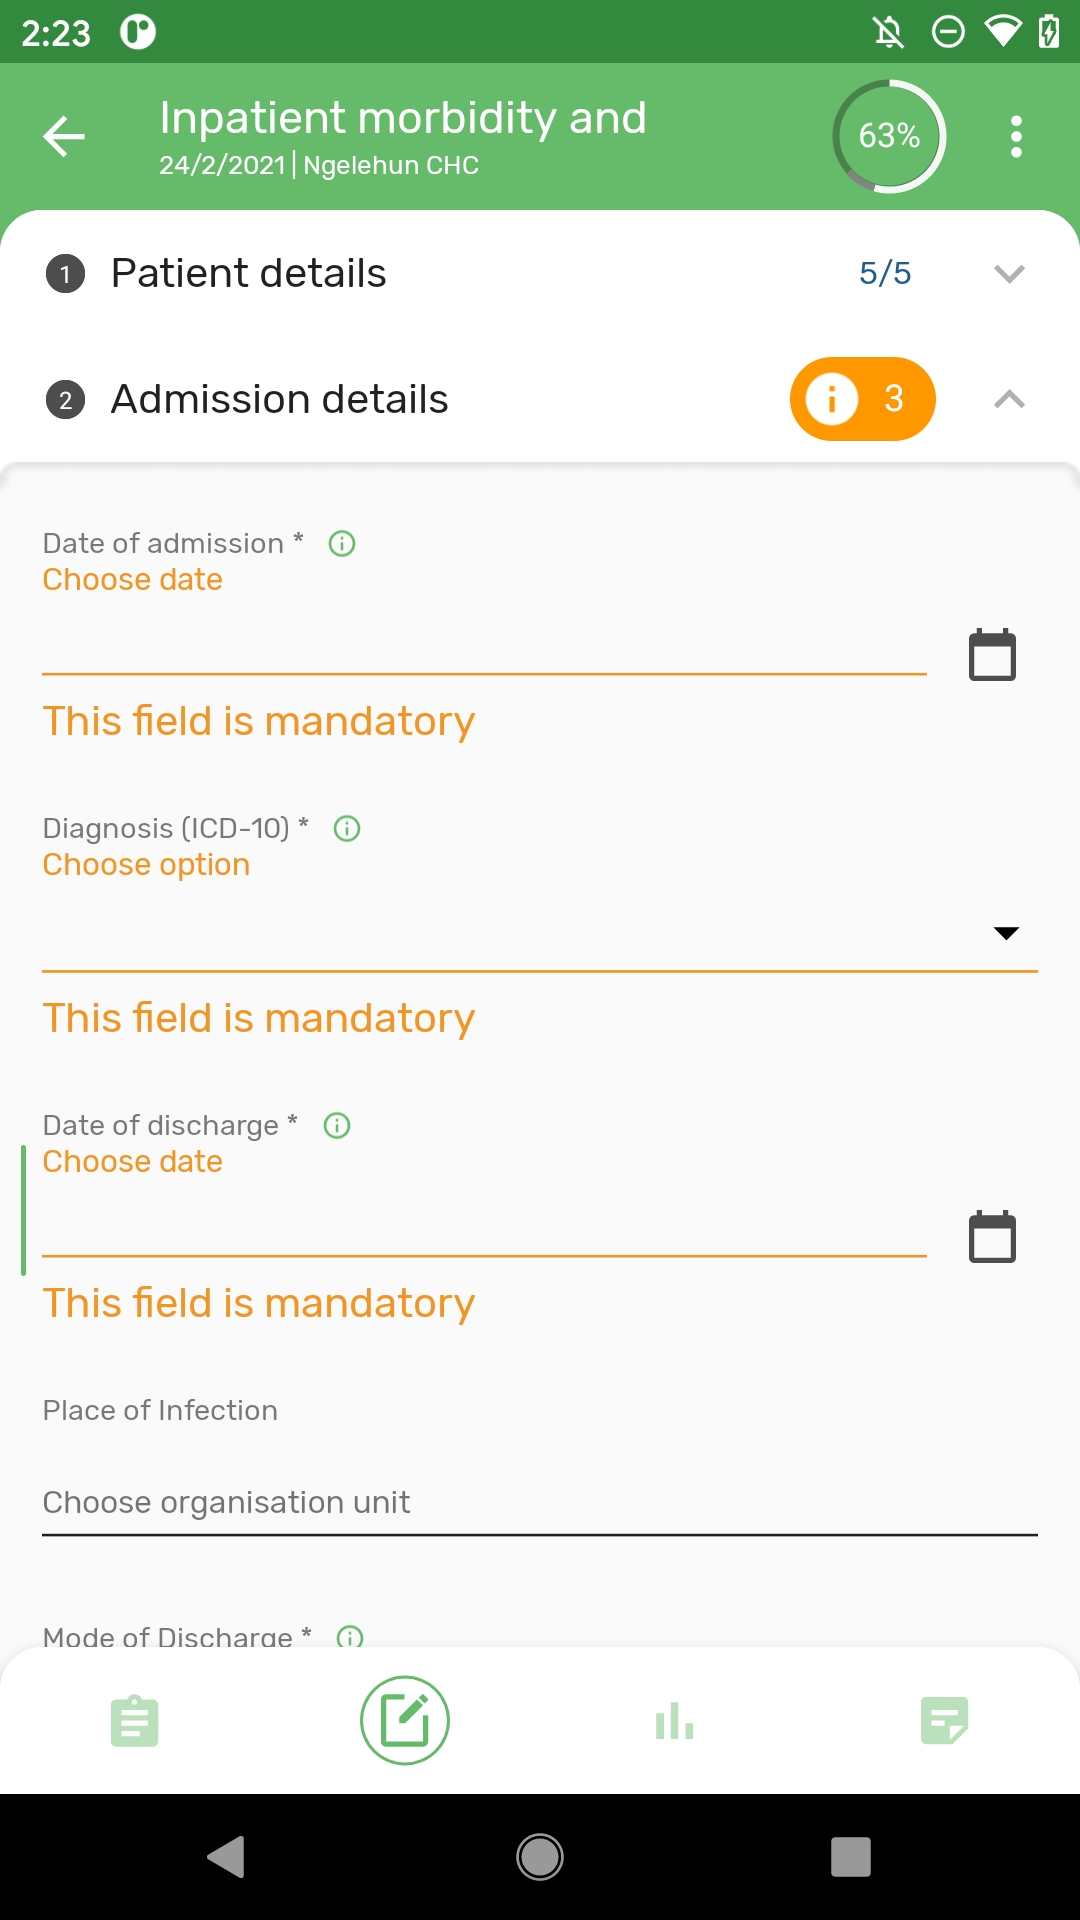
The errors and warnings are also shown as an indicator next to the section name.
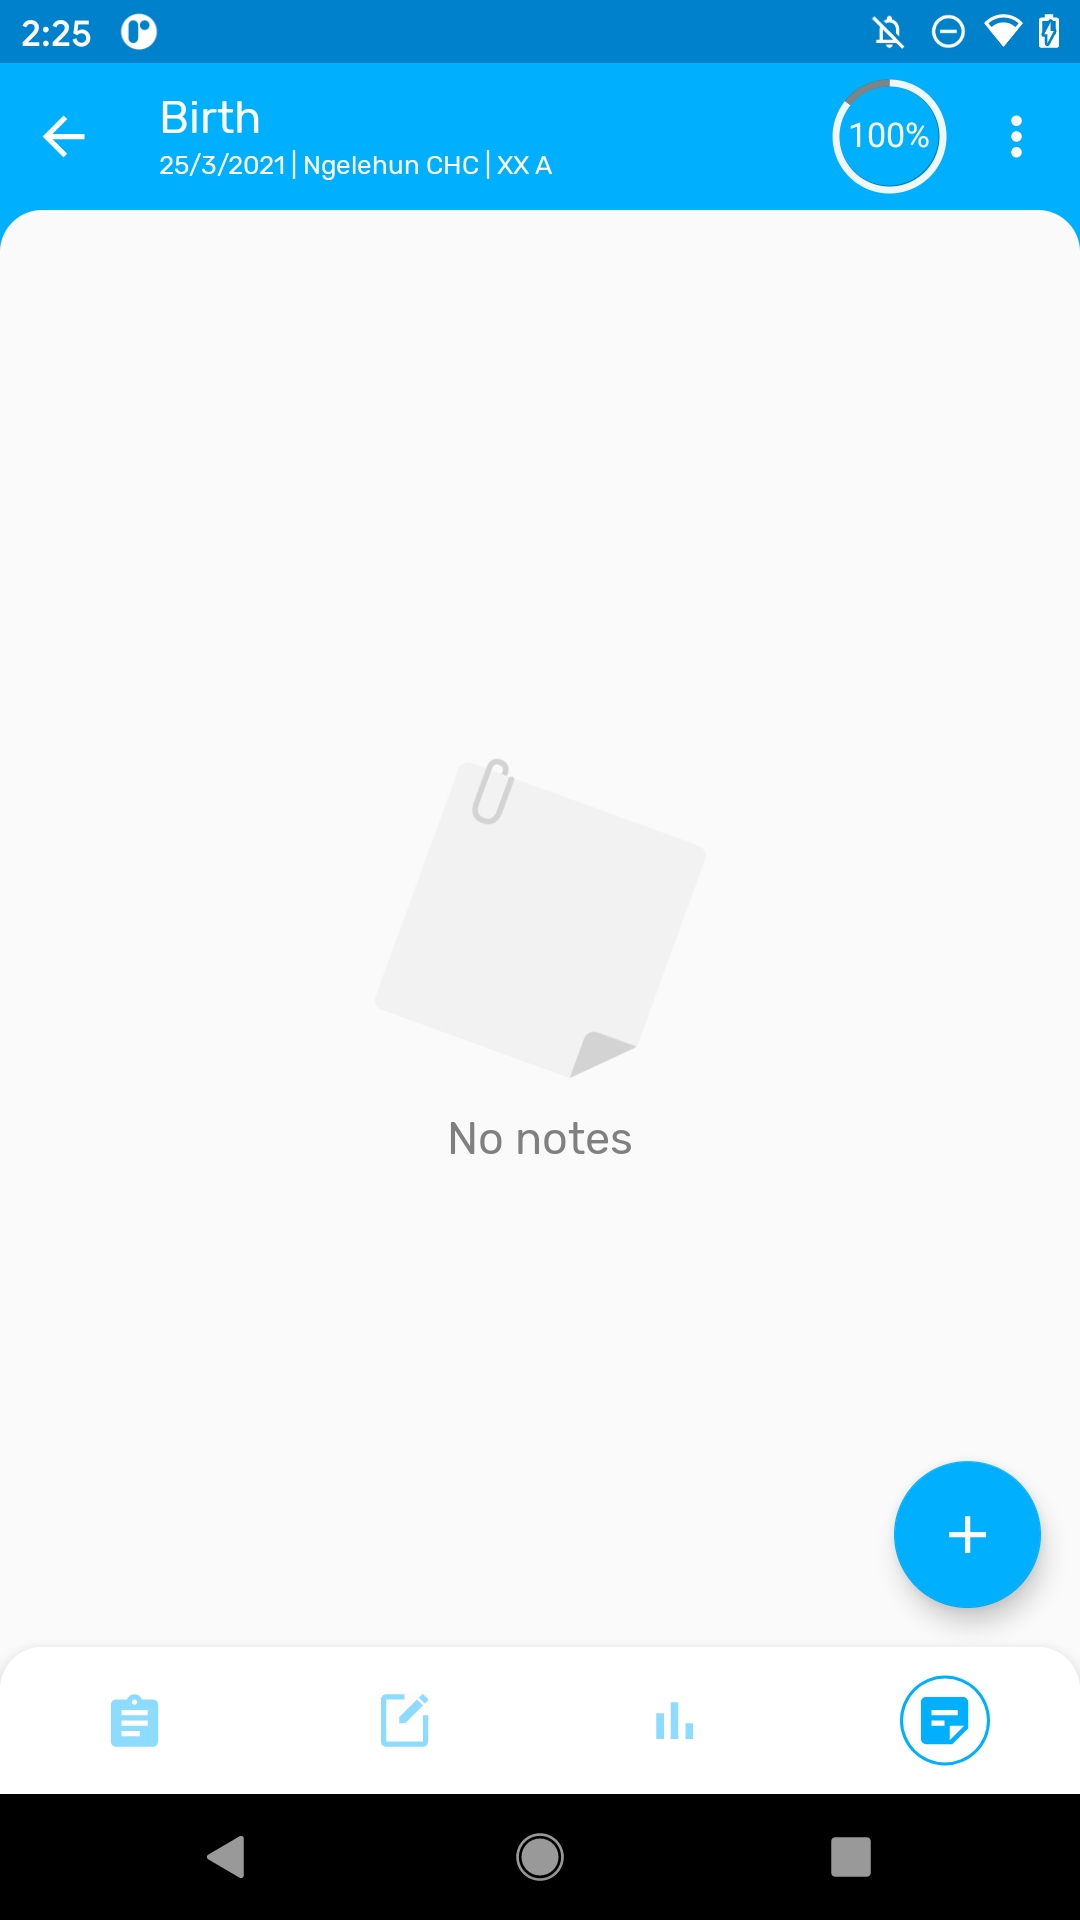
It is possible to add notes to events in single event programs and program stage events. Notes are available in a new tab at the data entry form.
The possible layers to display in maps are:
The user can select one or more layers to be displayed.
The maps will display coordinates and polygons.
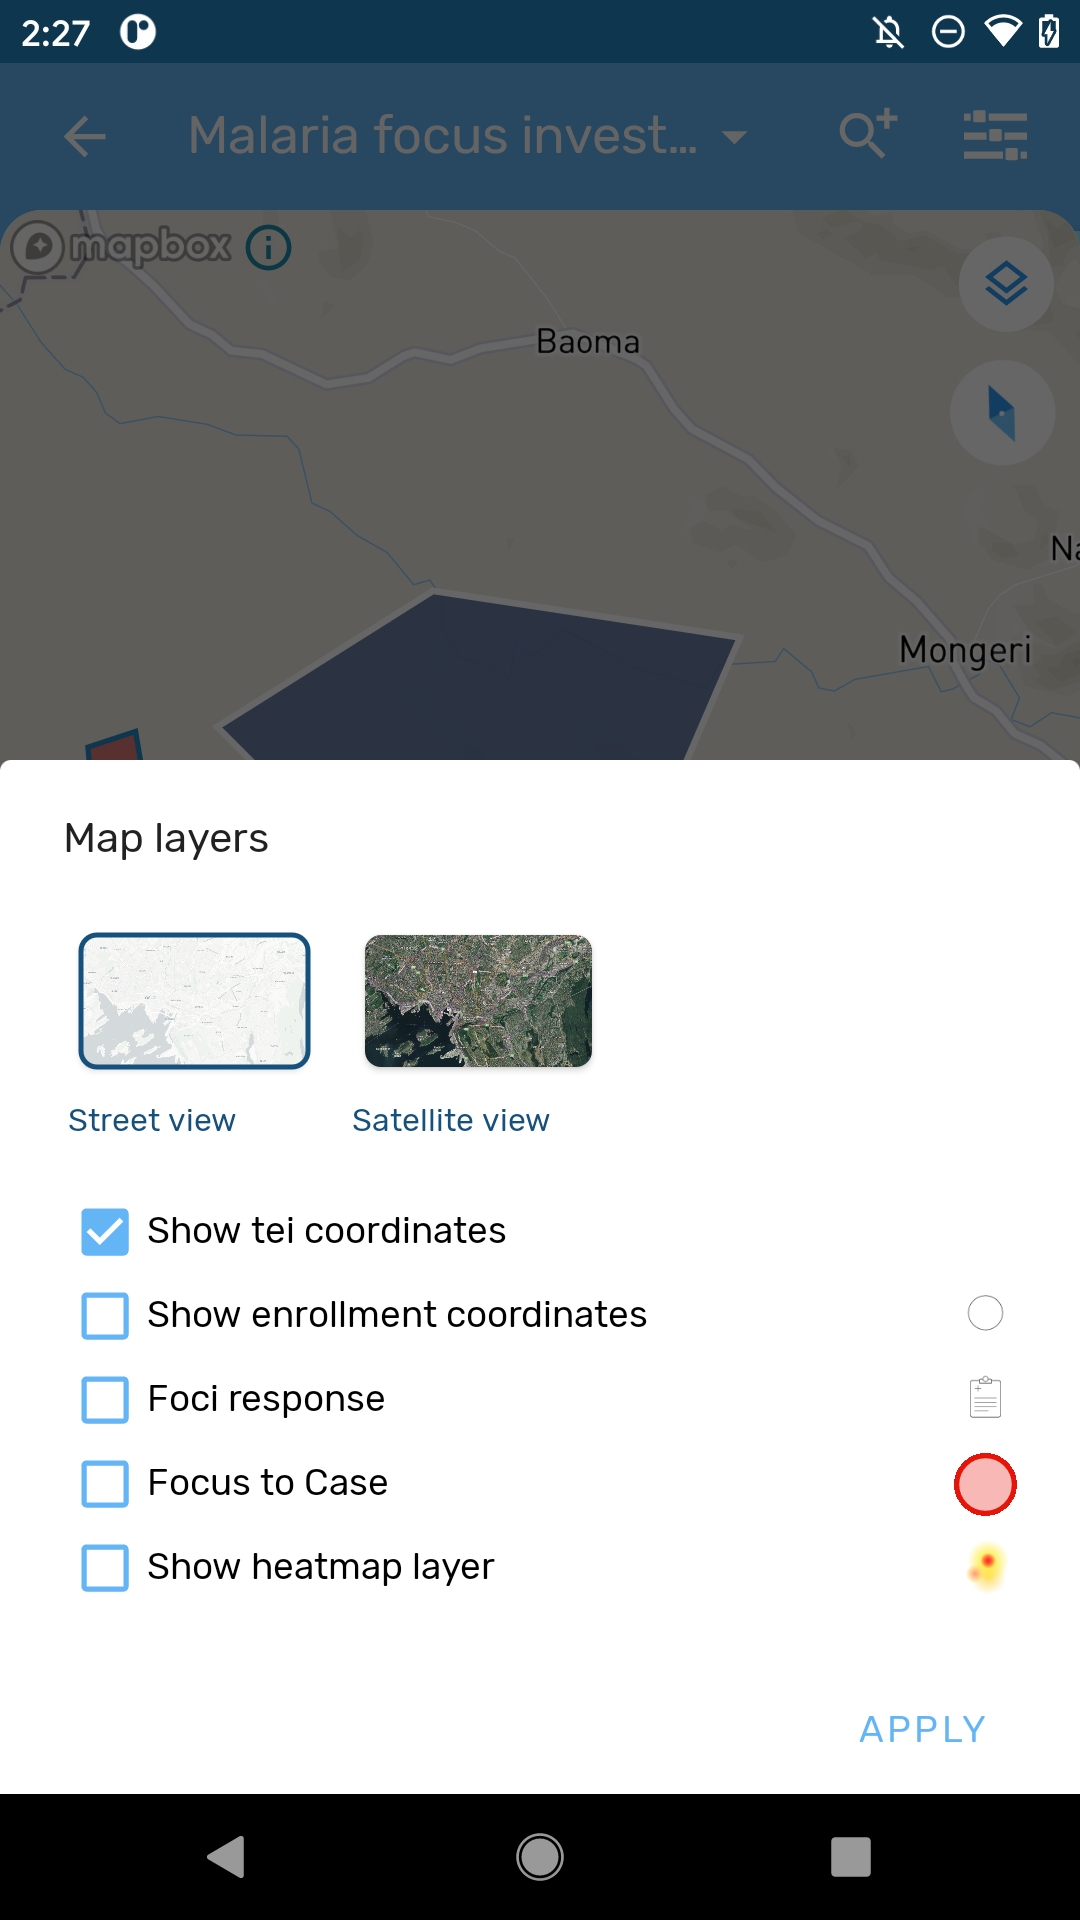
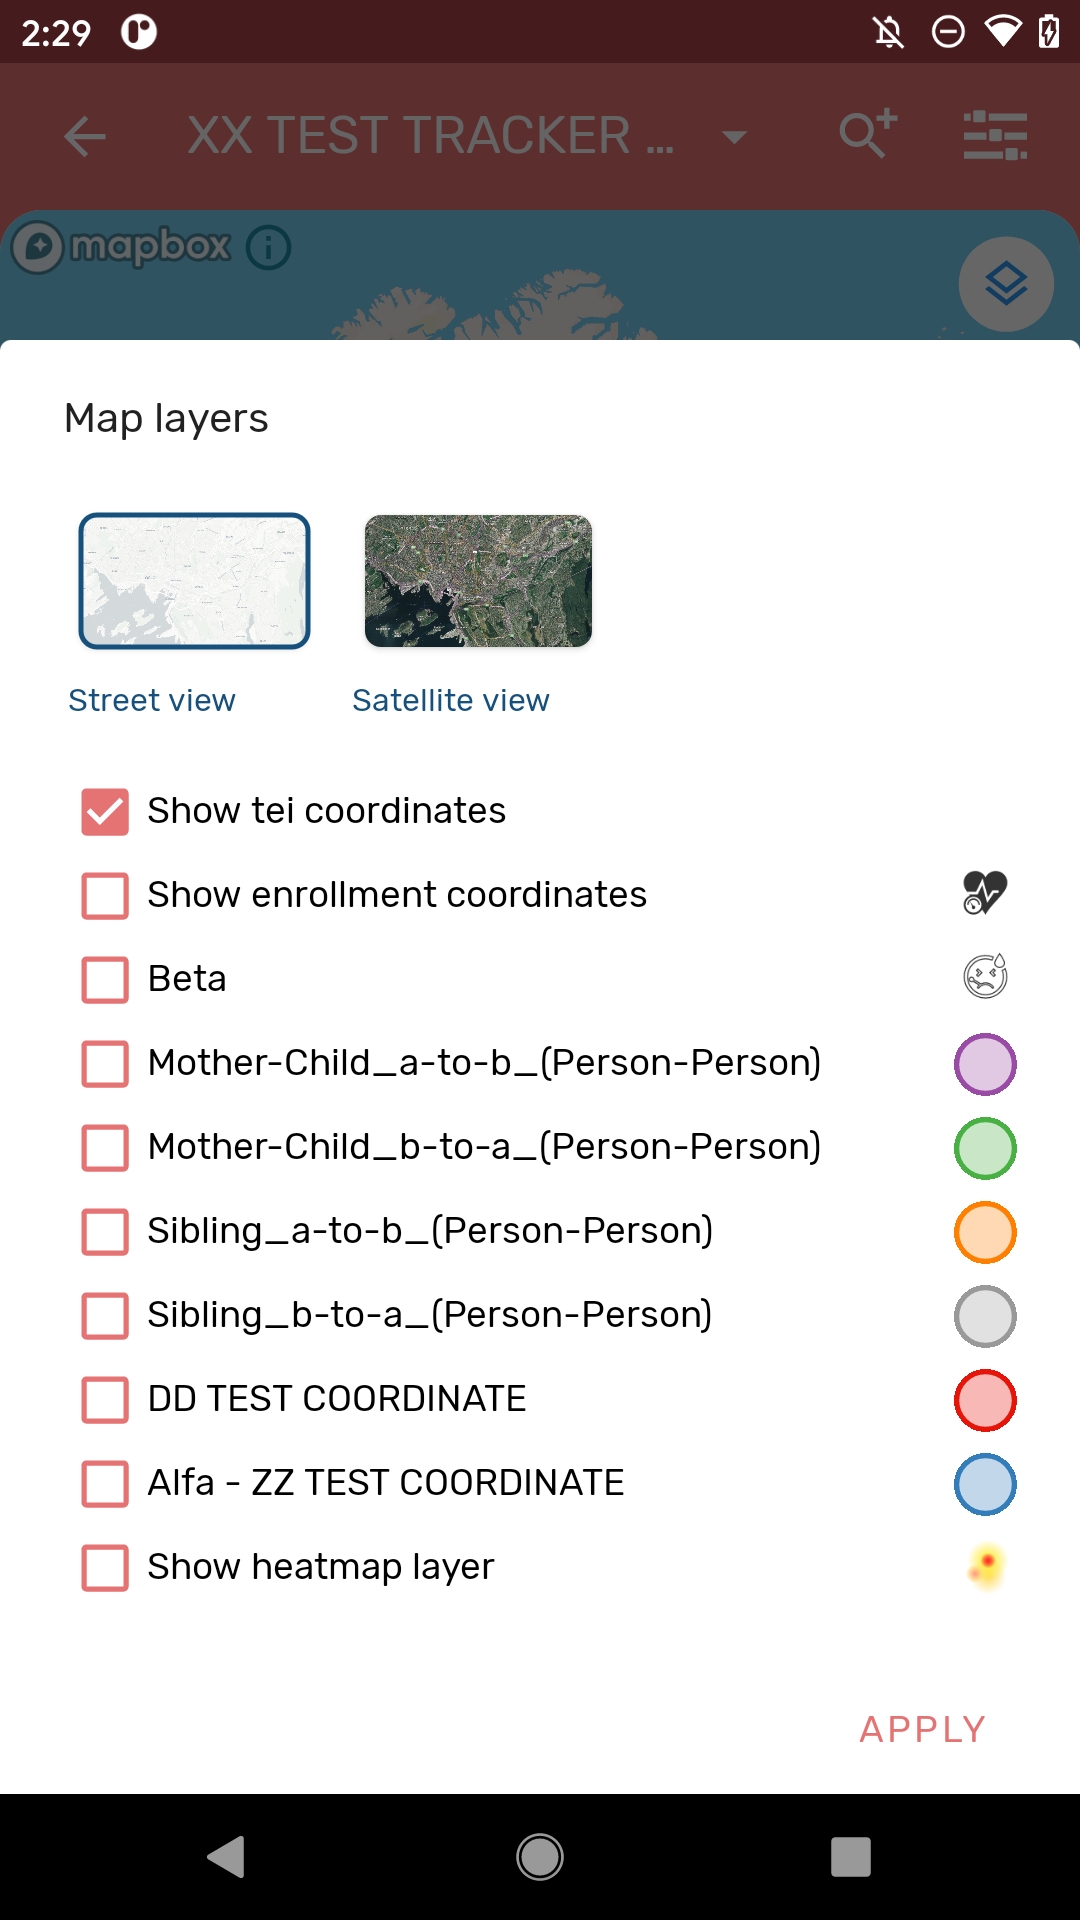
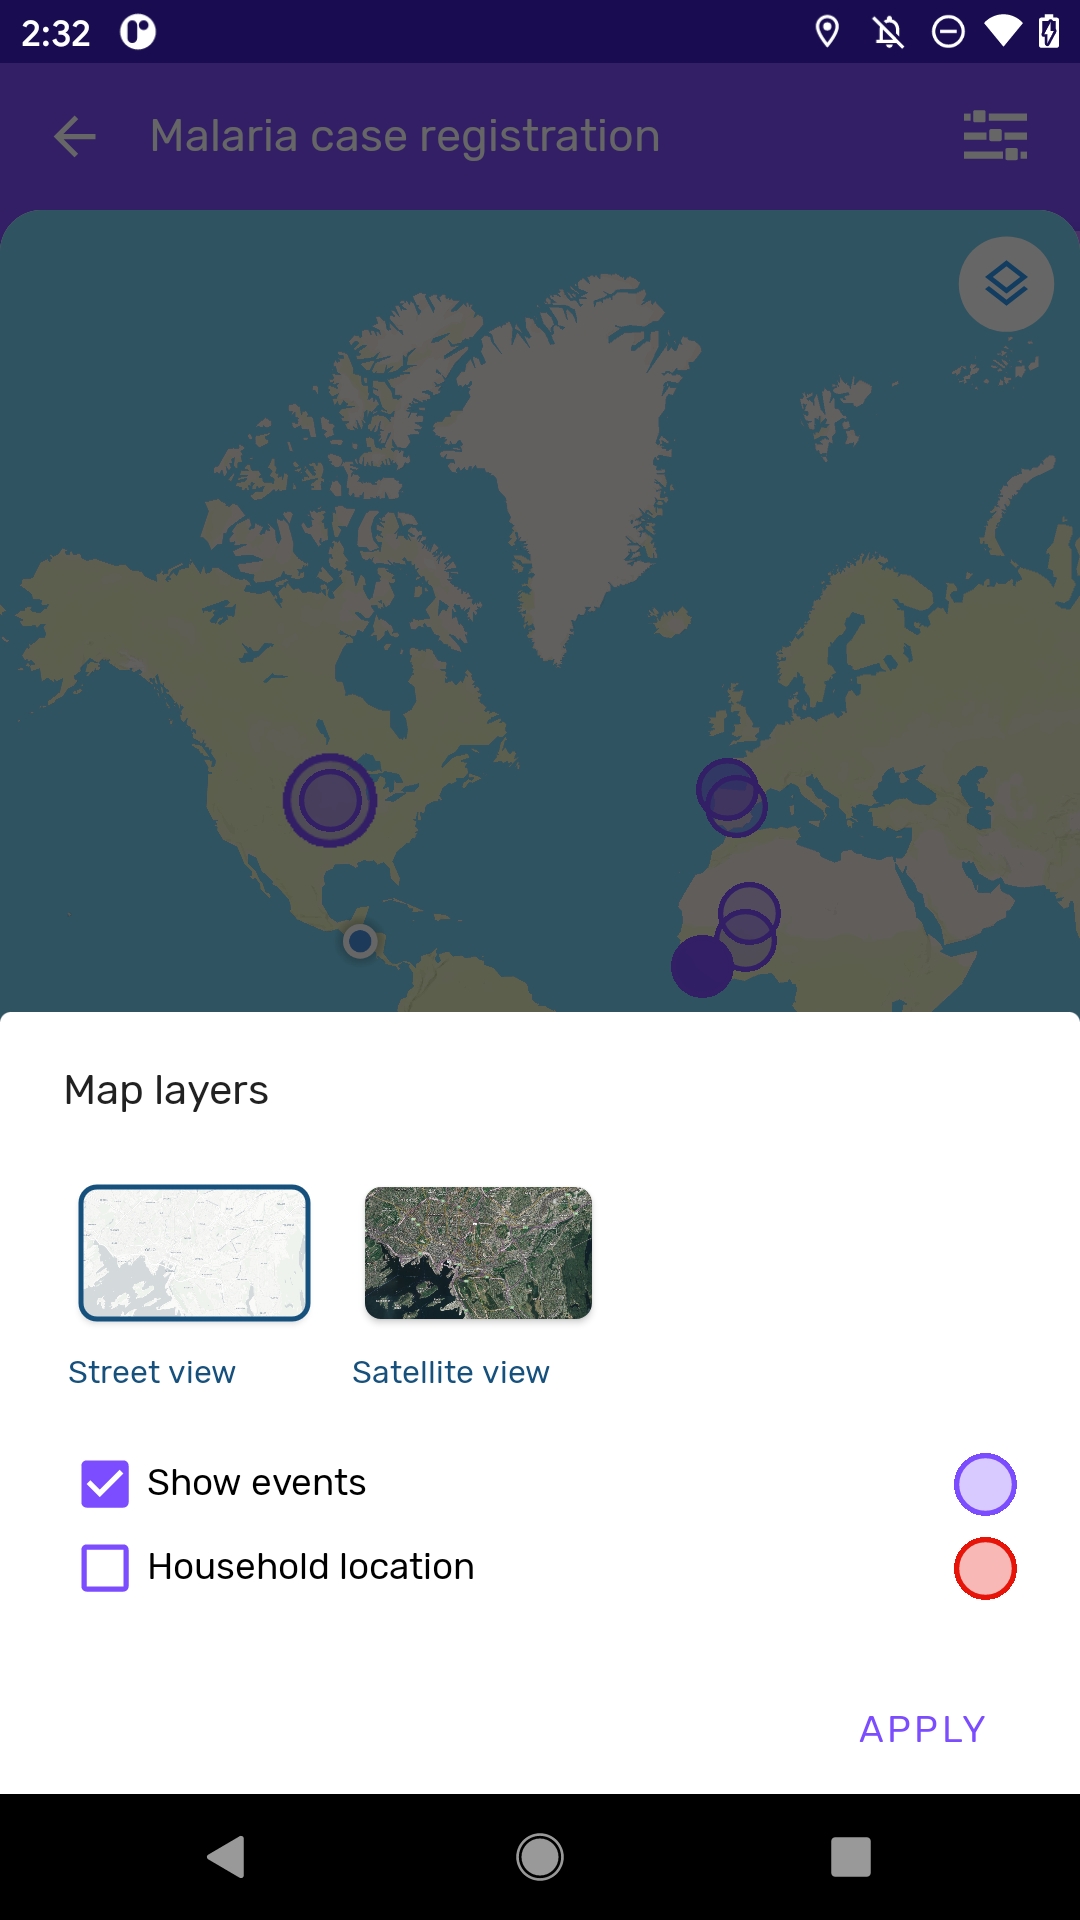
On the map view of the program, a carousel of cards is displayed, one for each enrolled TEI (Tracker programs) or Event(Event programs).
TEI cards on the carousel follow the same design as the TEI list view.
When scrolling horizontally the carousel, the map zooms into the selected coordinates. If coordinates field is empty a message is shown instead.
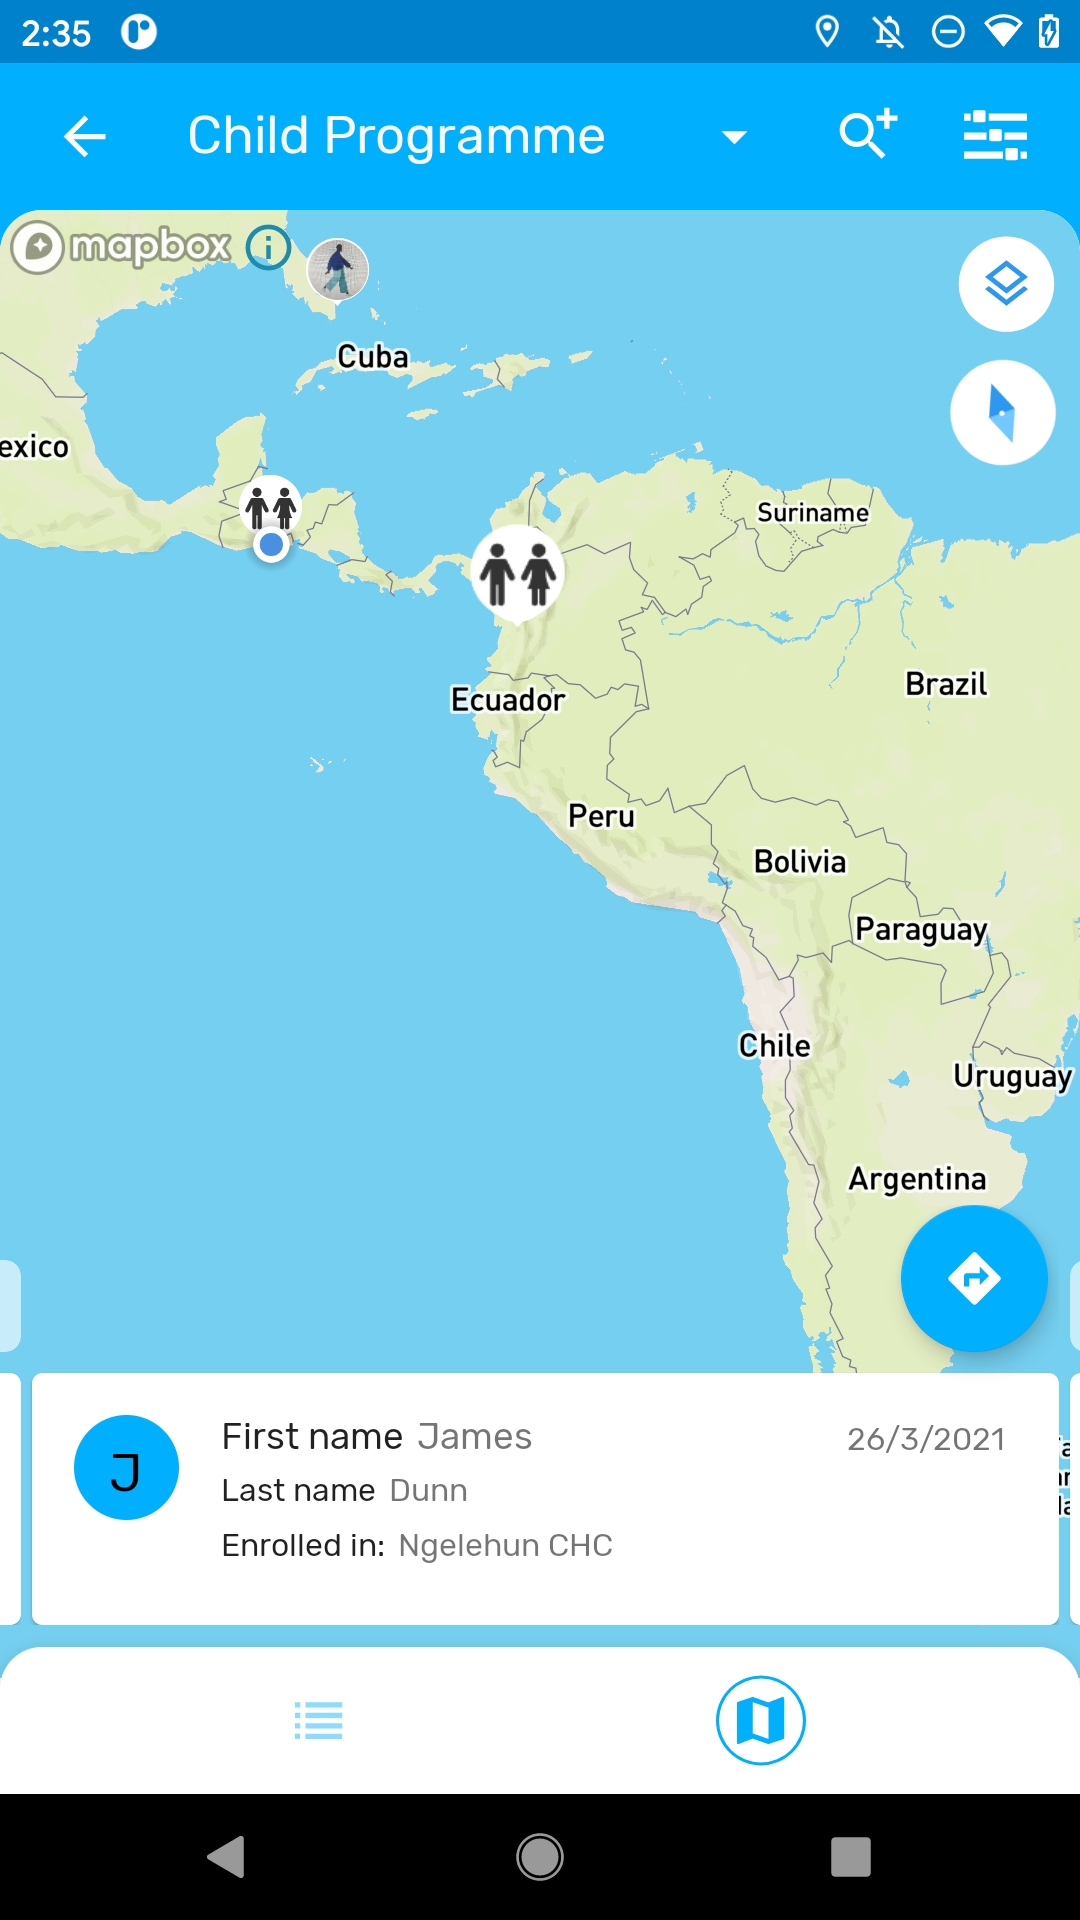
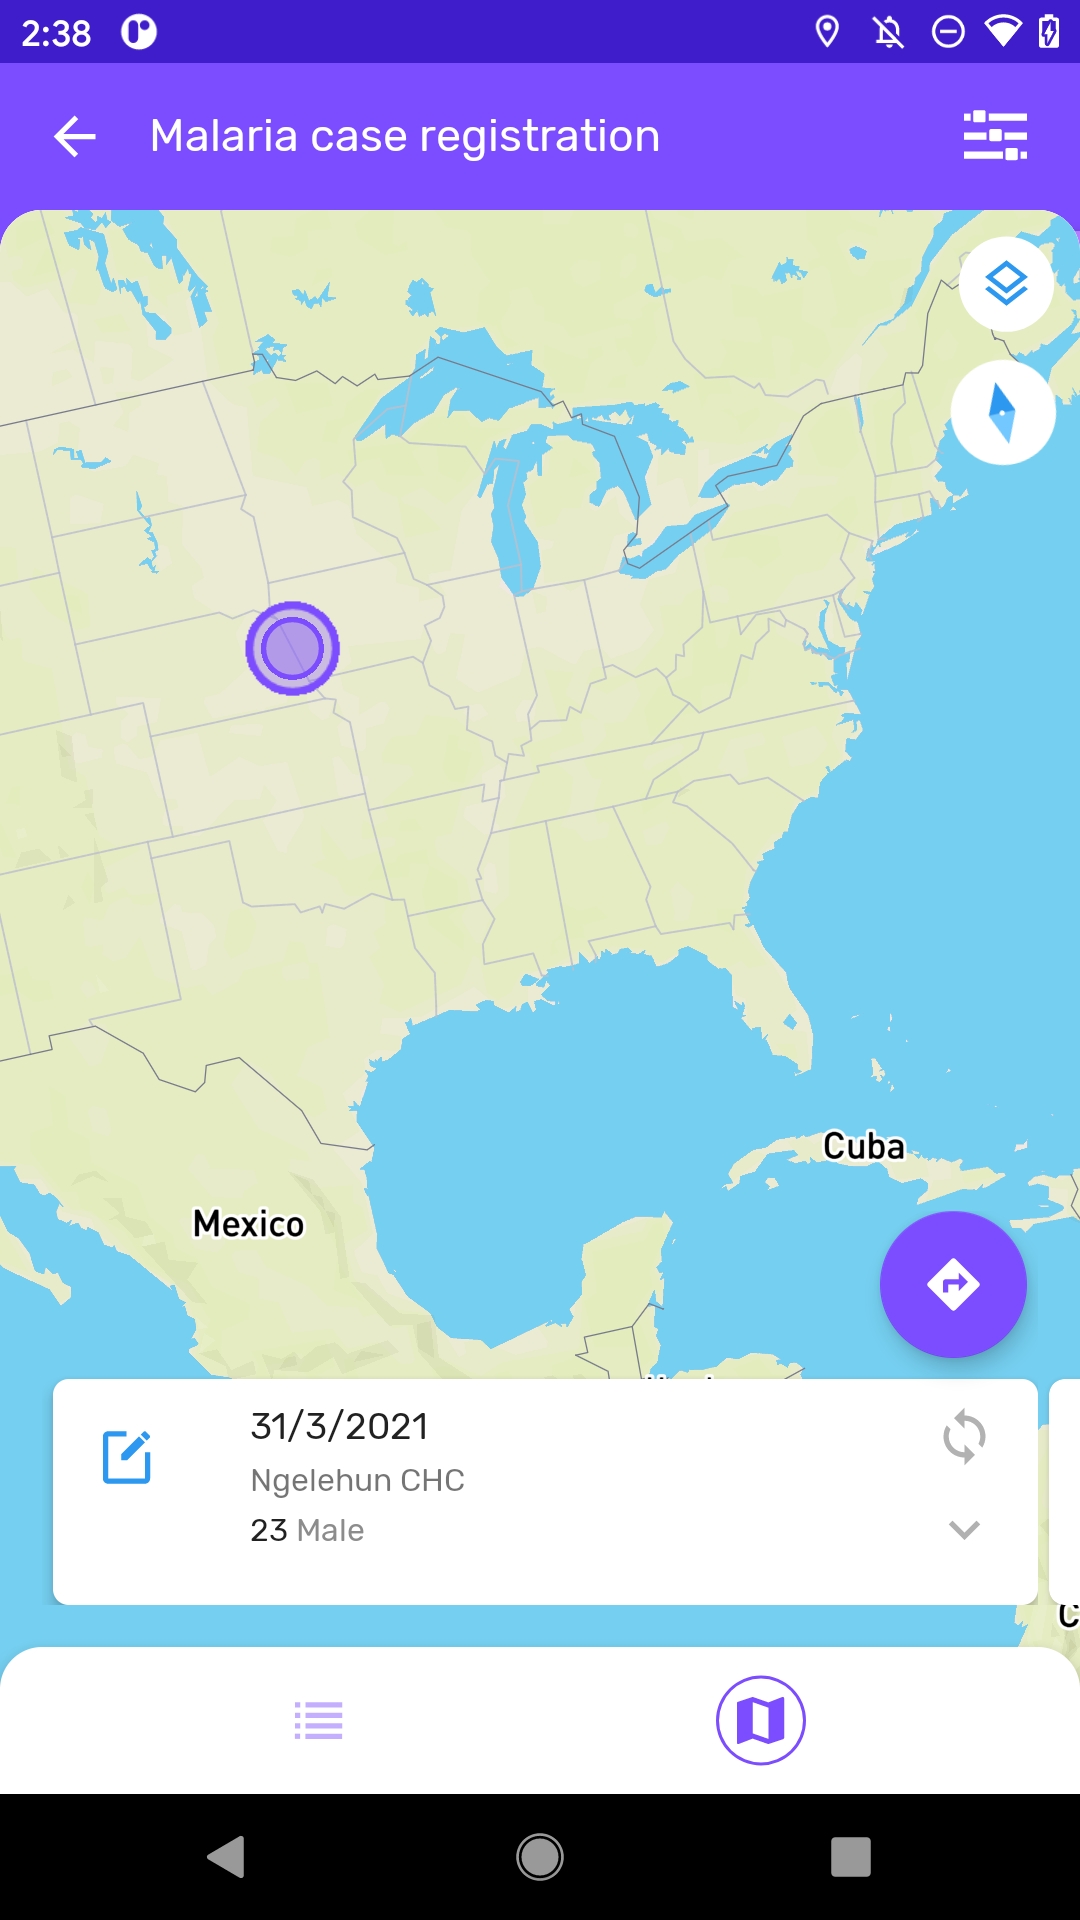
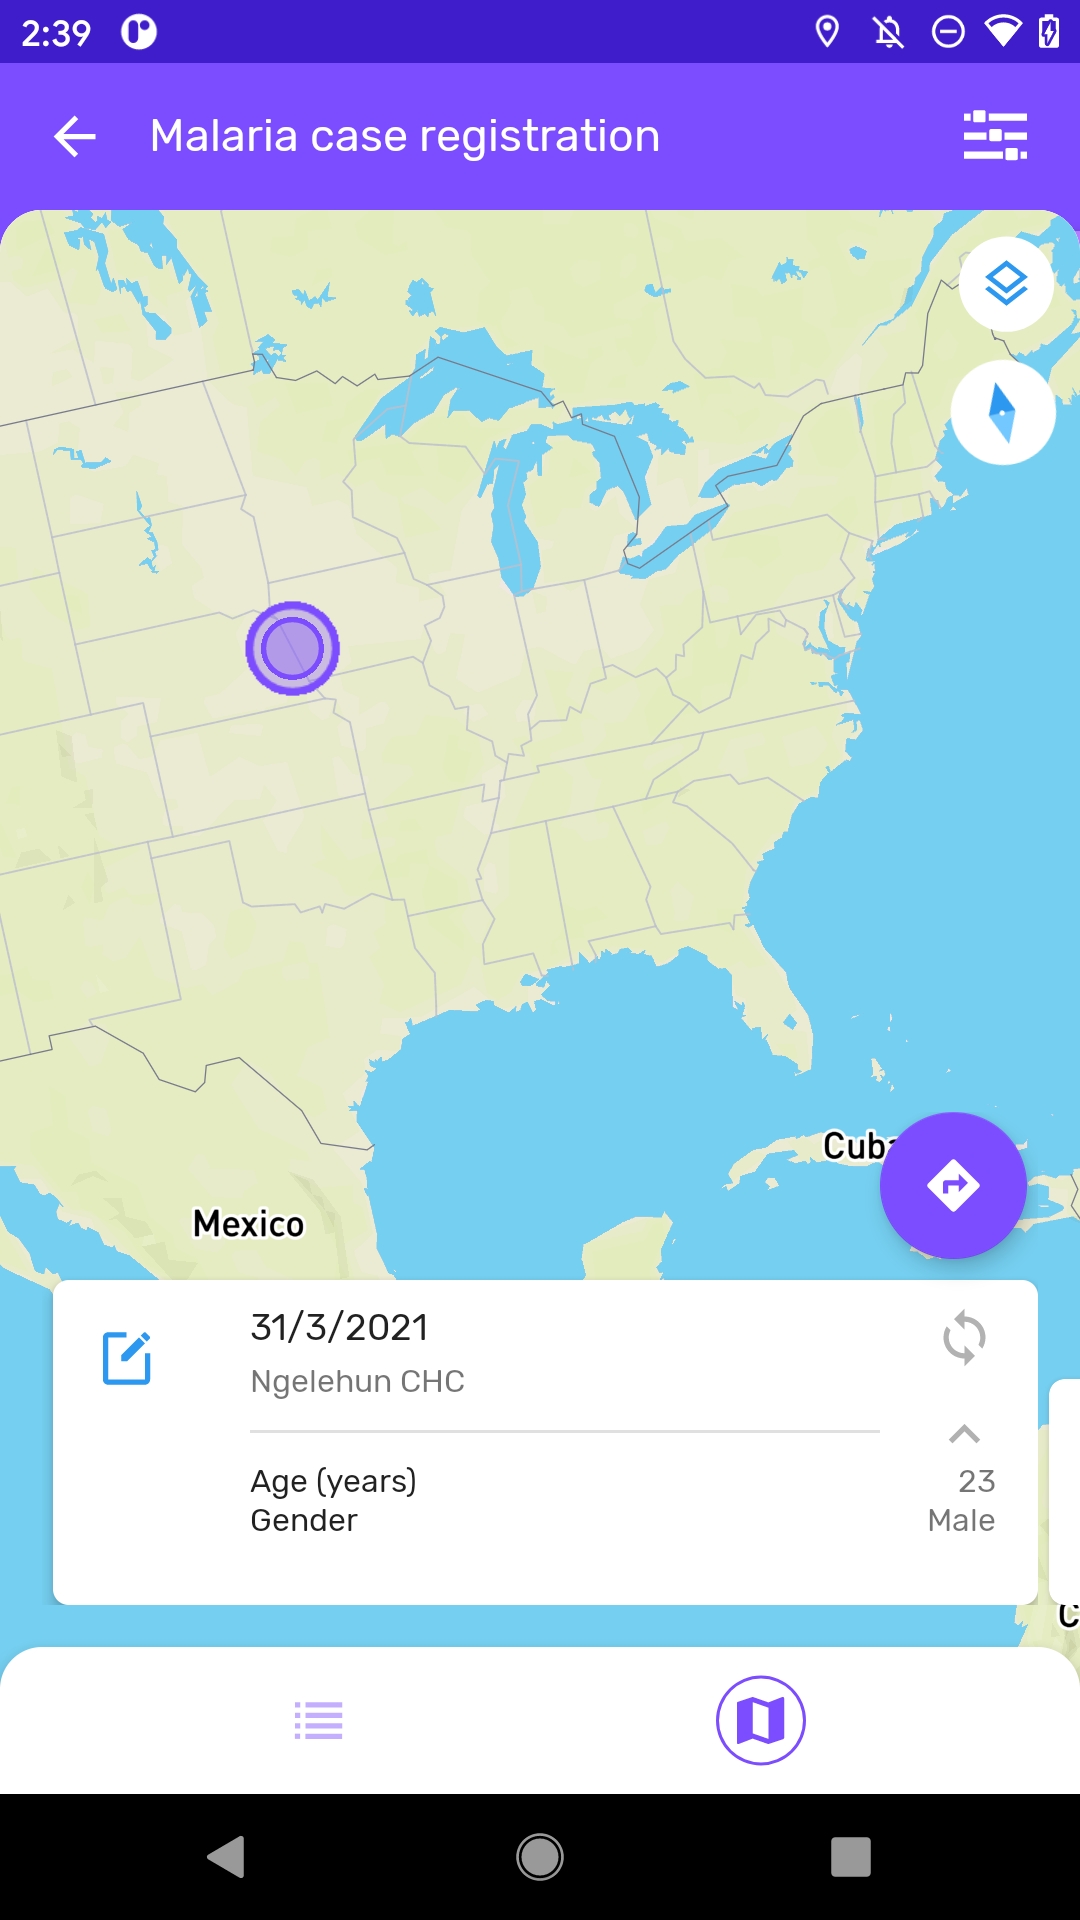
Each card displays Tracked Entity Attributes (for Tracker Programs) and Data Elements (for Event programs) configured as 'Display in list'.
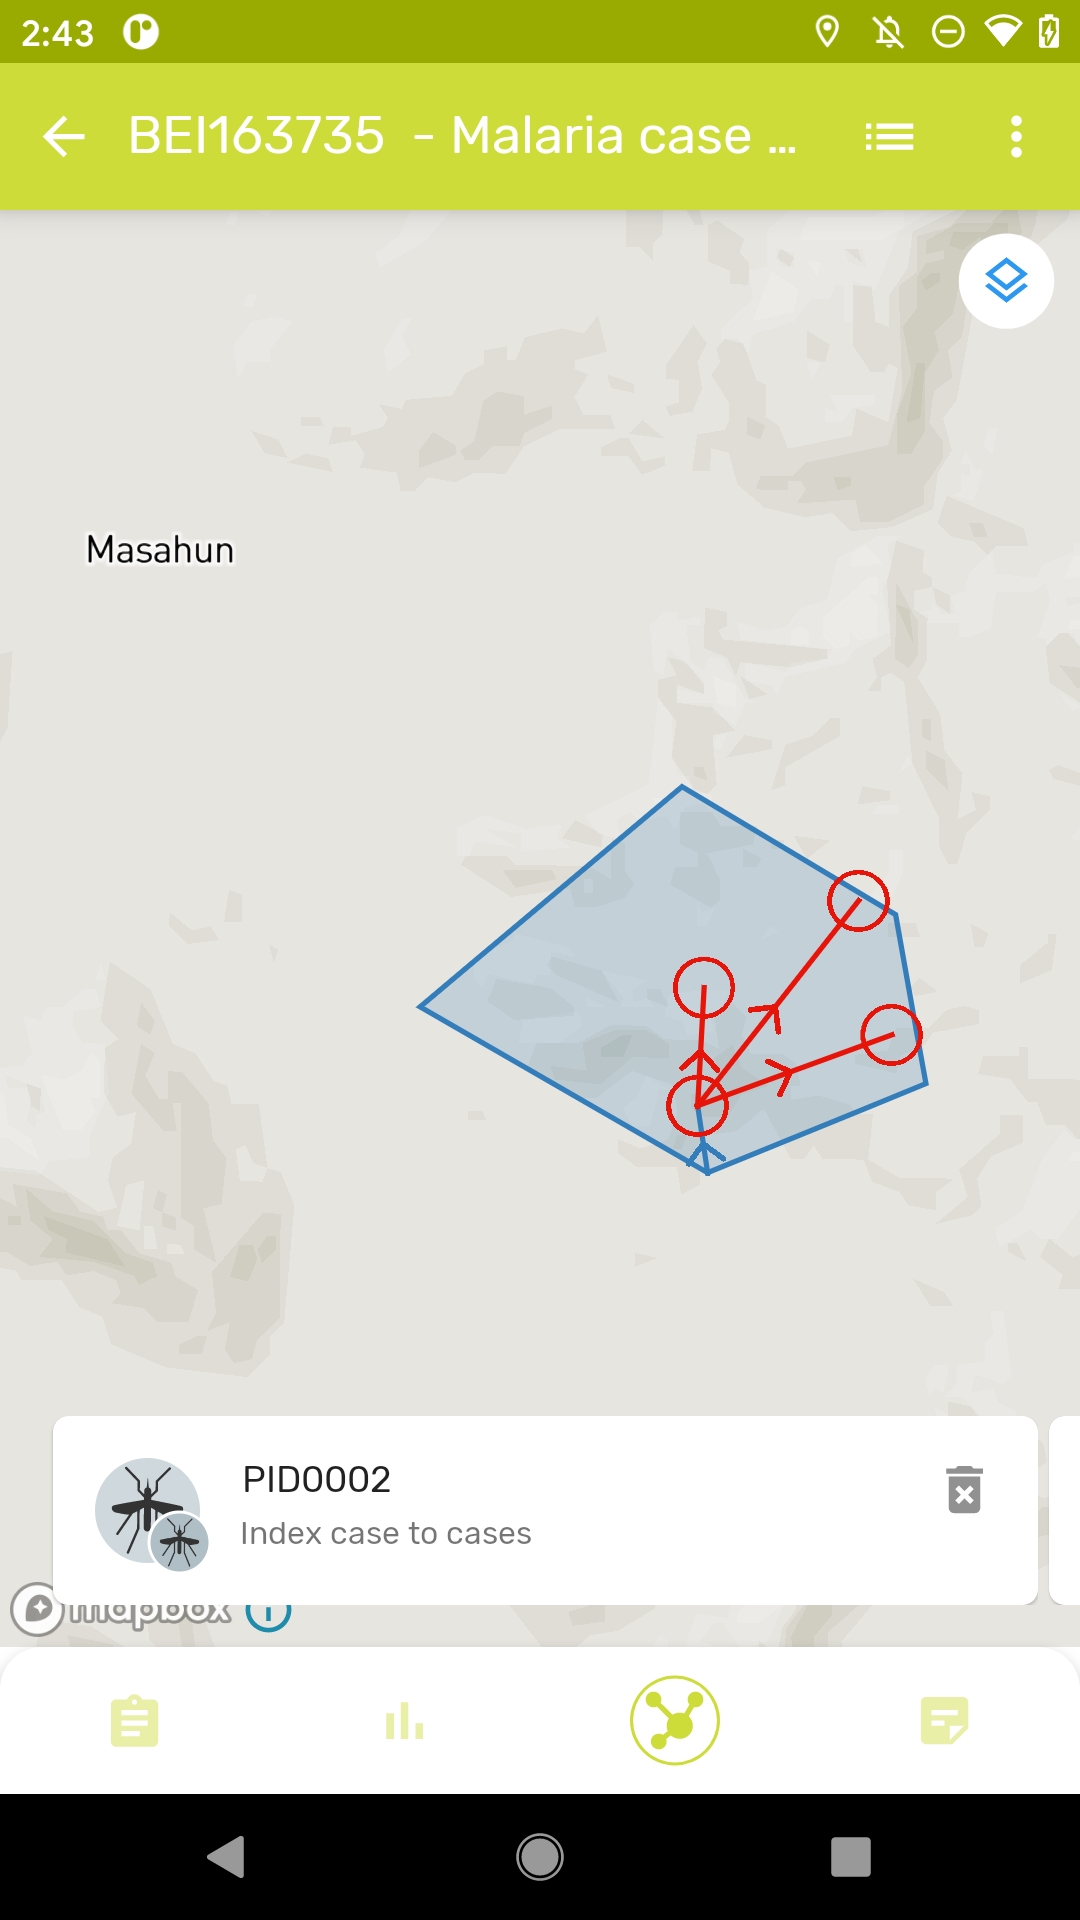
In tracker, the user can see relationships on a map by tapping the map icon on the relationships tab.
If the user grants location permissions to the App, the map will show the current location represented as a blue color dot.
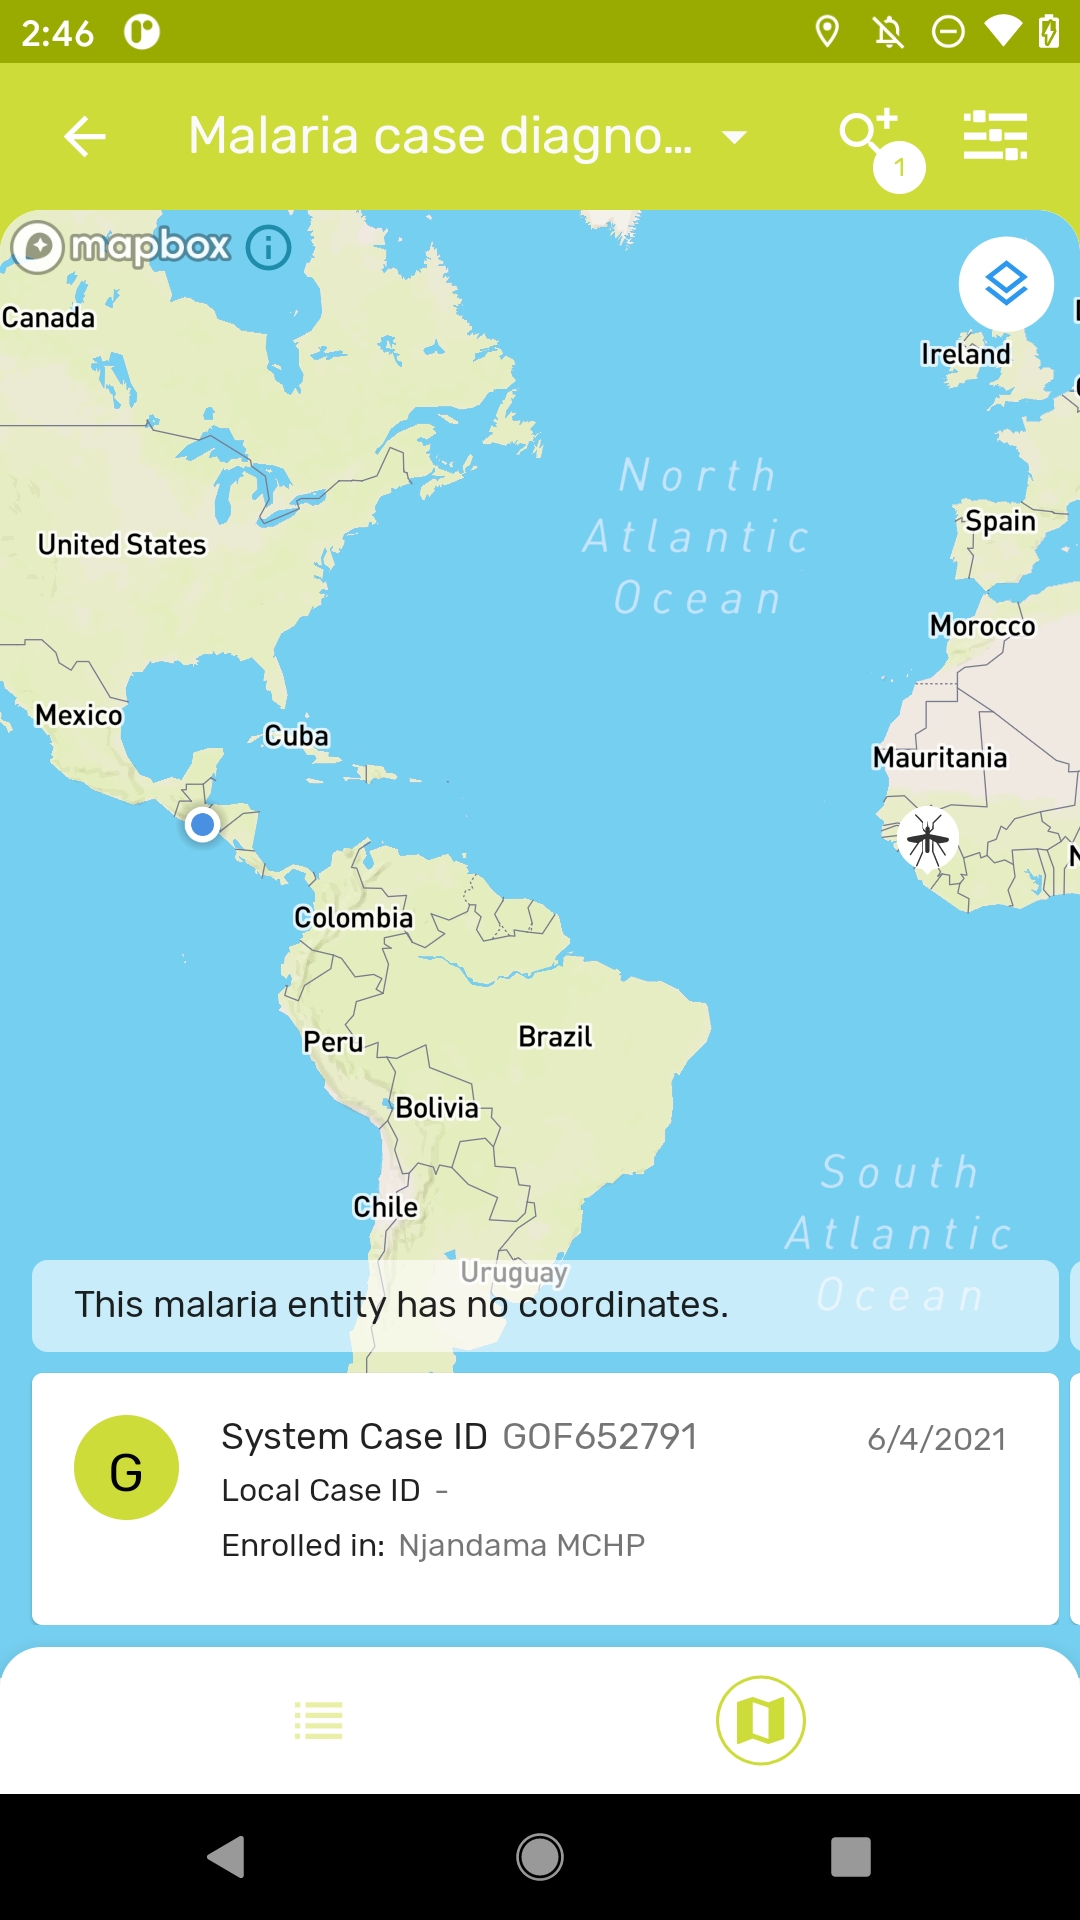
If the TEI or event has coordinates a navigation icon will be displayed at the top right of the card. Click to open the location in a maps App.
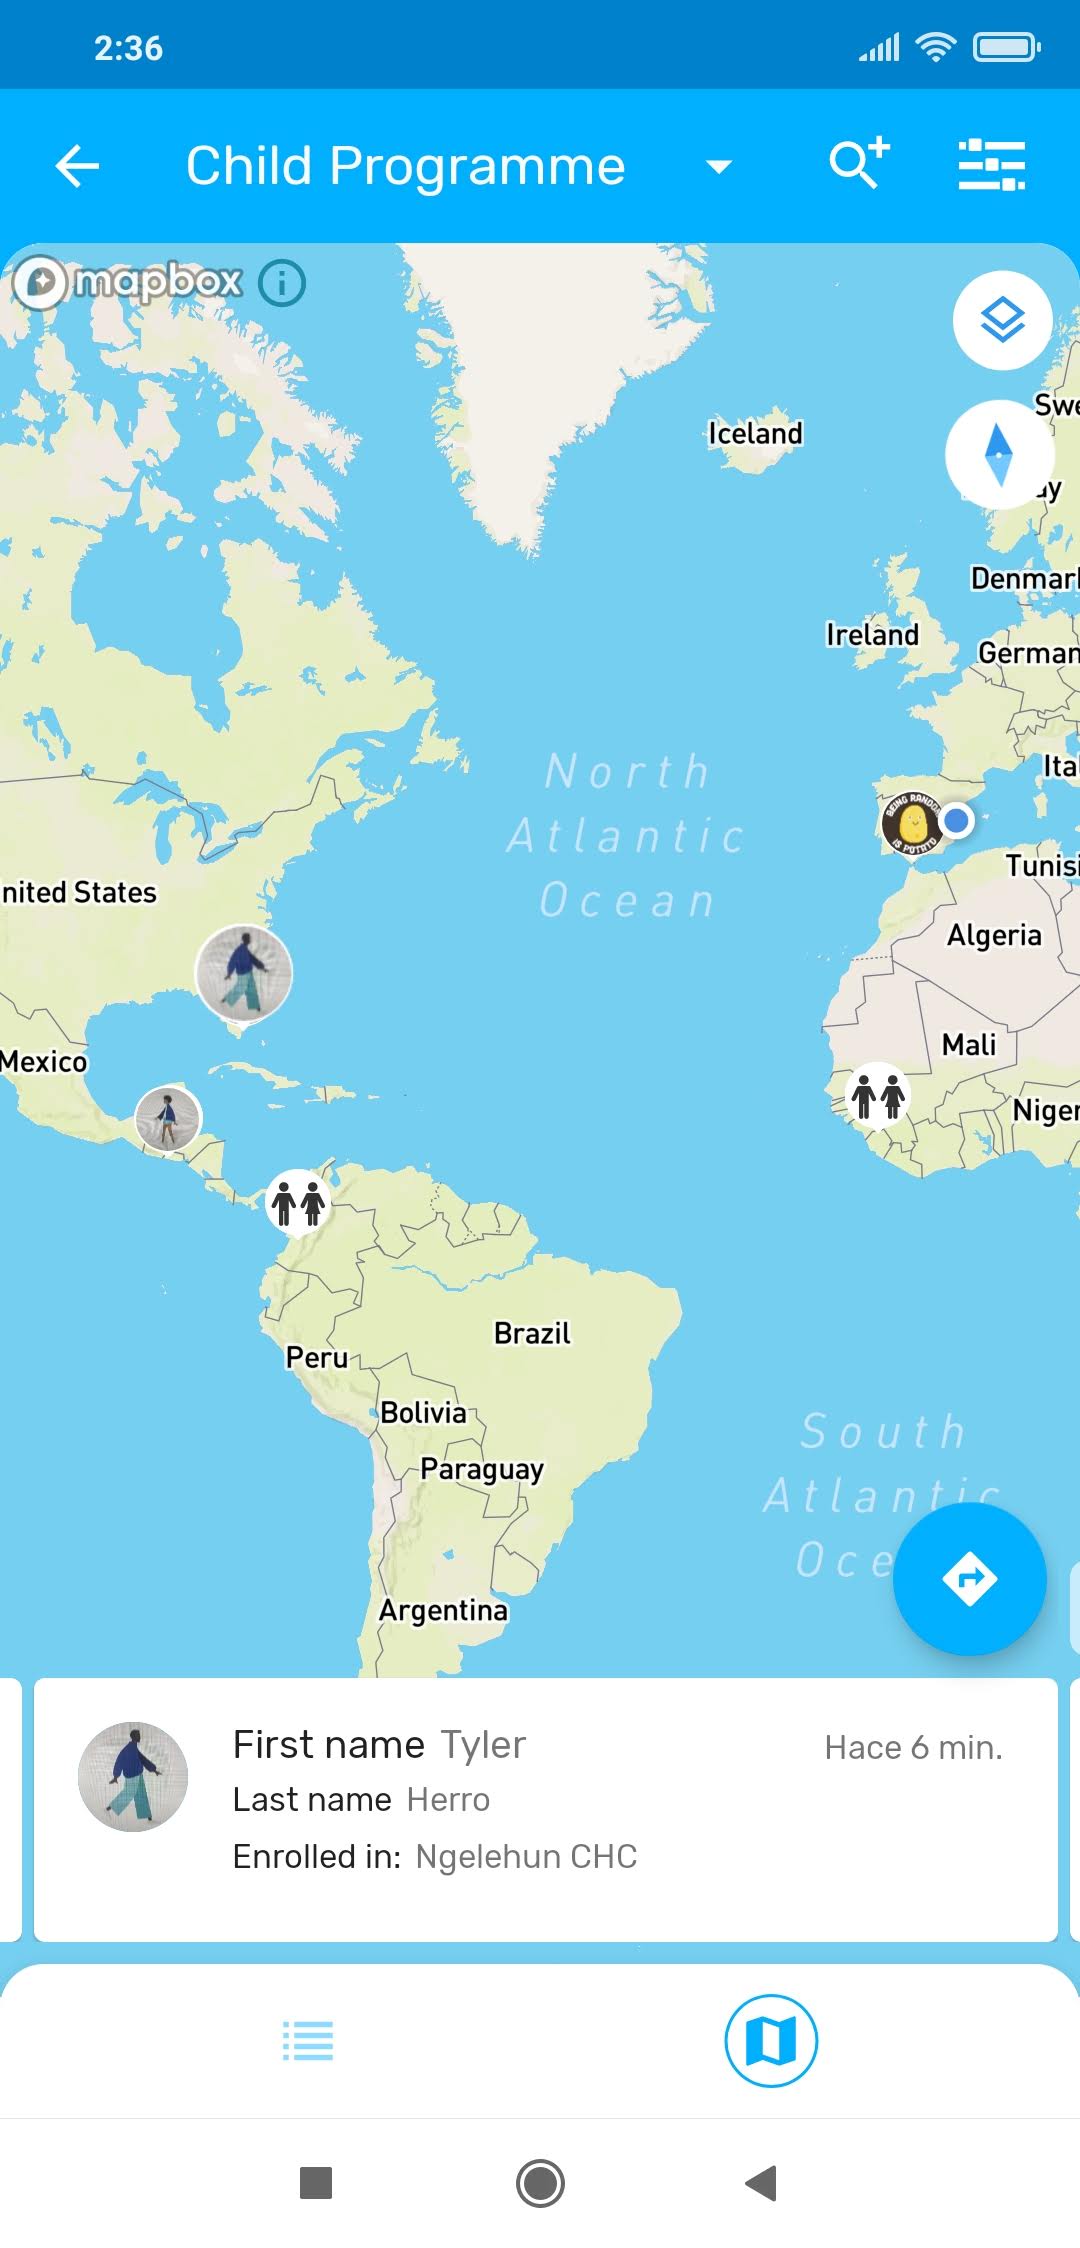
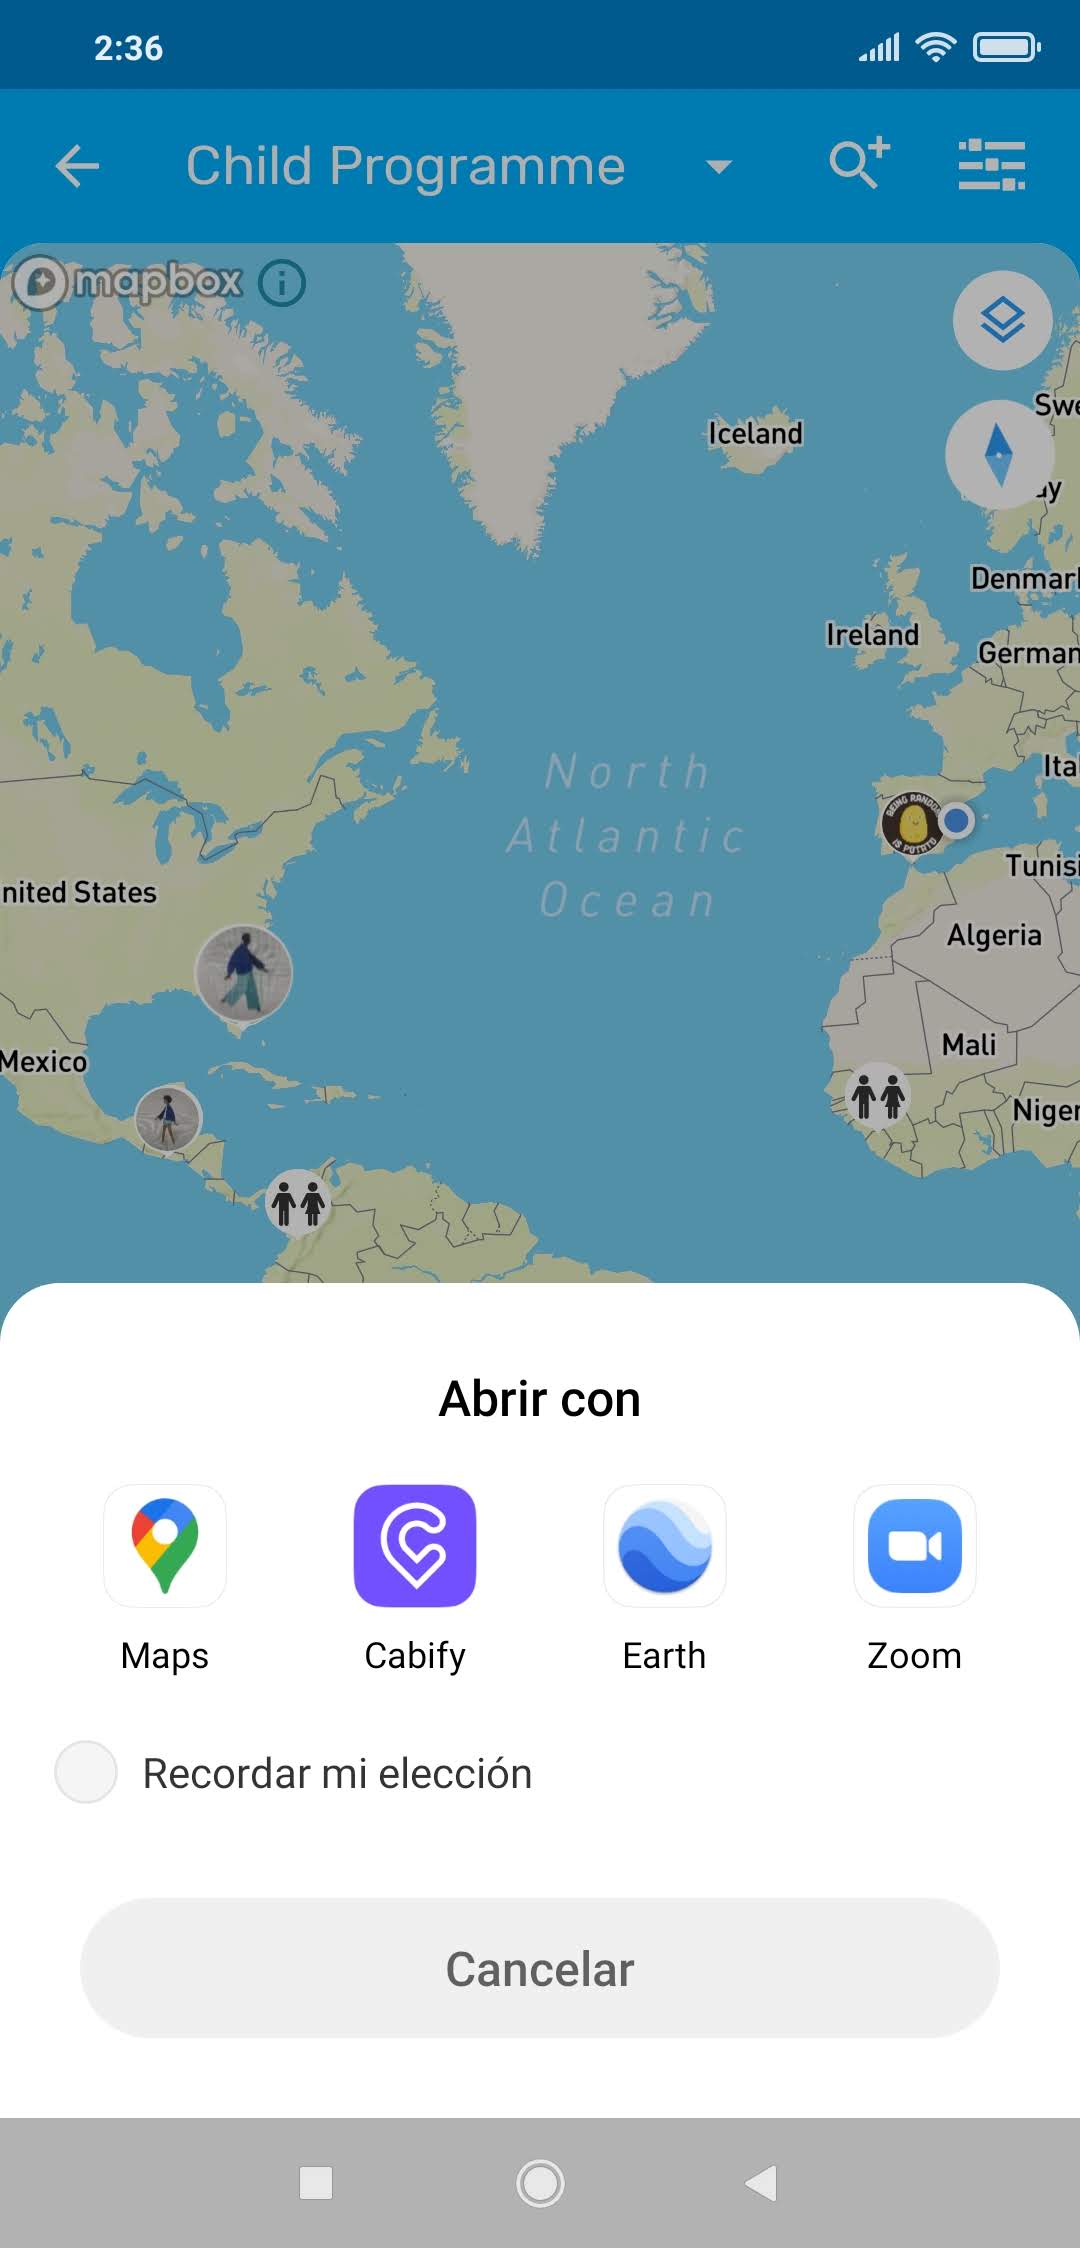
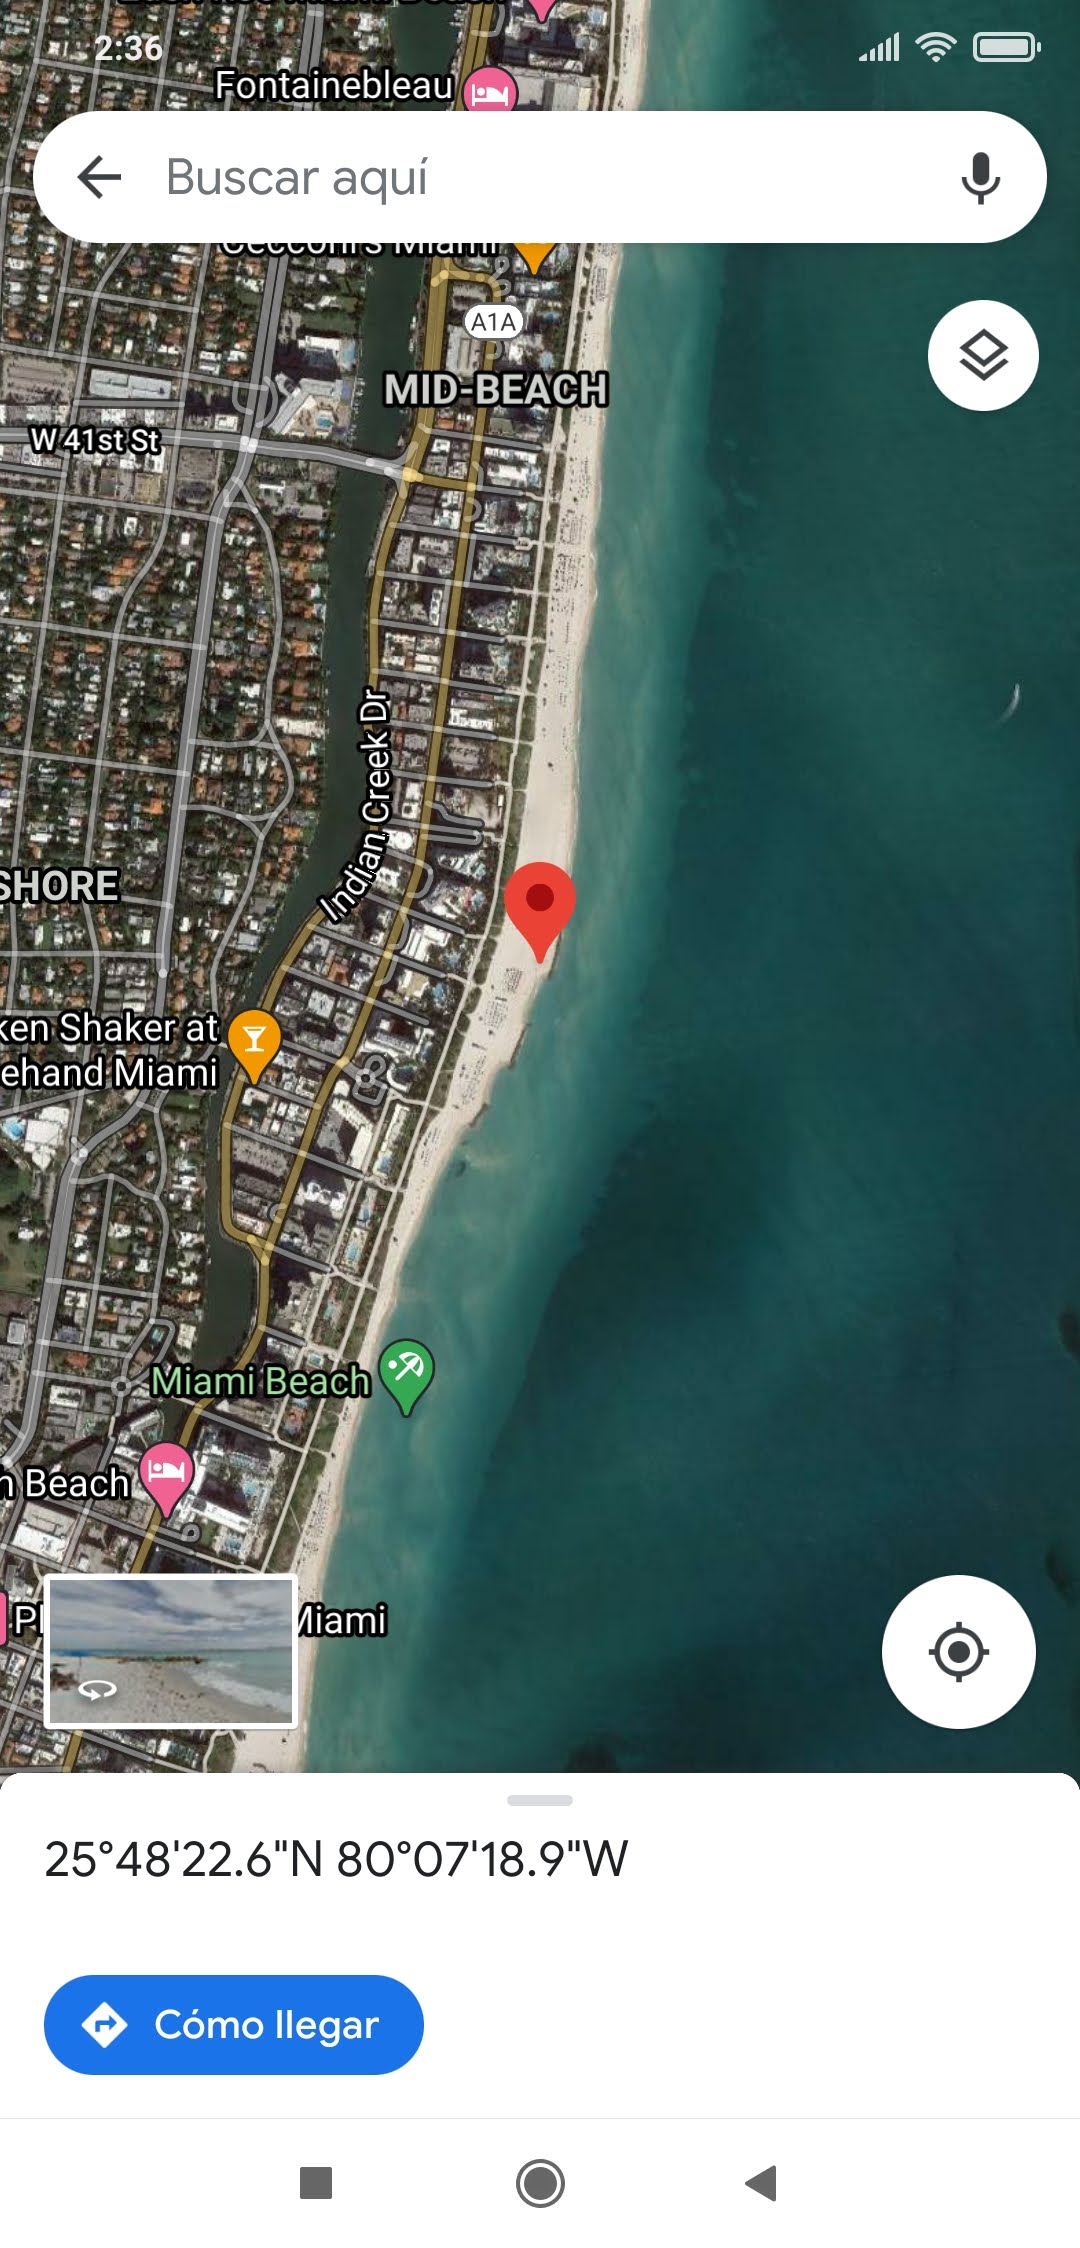
Working lists are now compatible with the Android app. Once a list is selected, the filters will be blocked and not allowed to change until the user resets the search.
Working lists are available in Event and Tracker Programs.
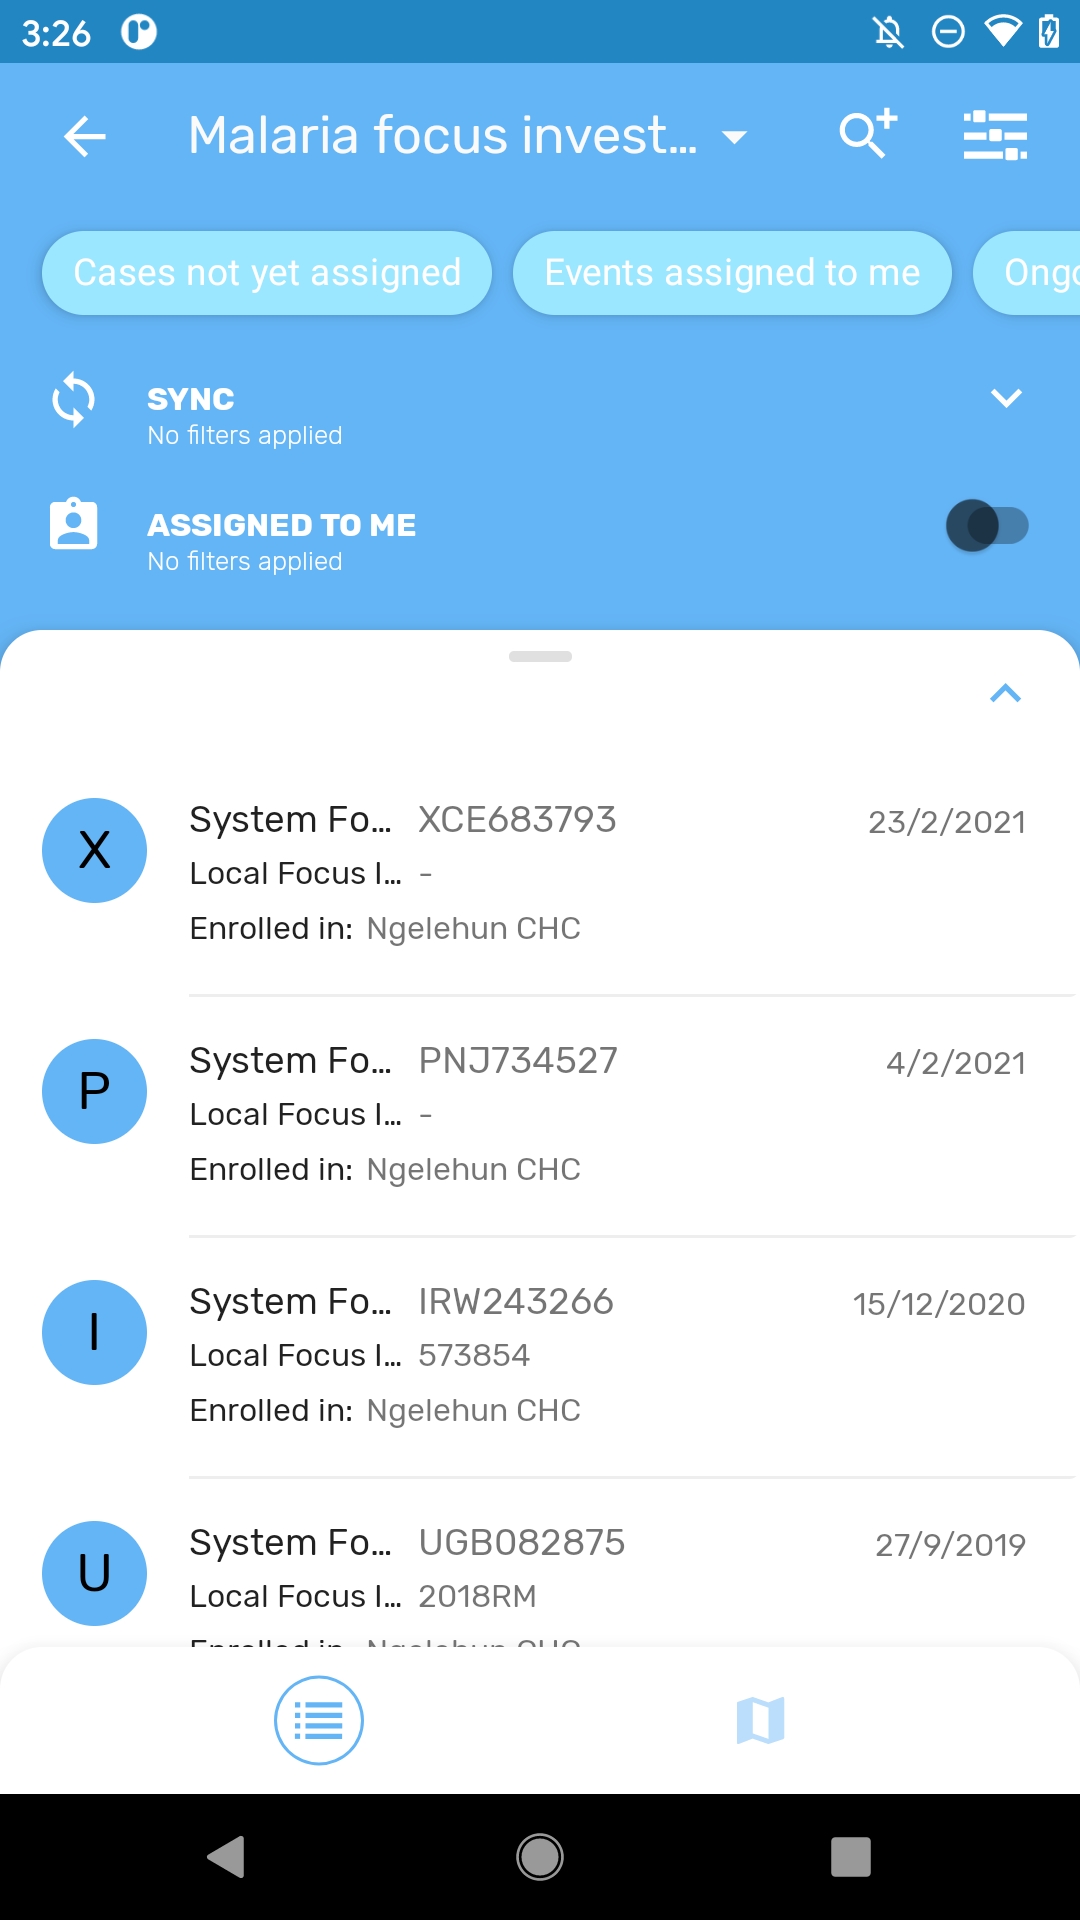
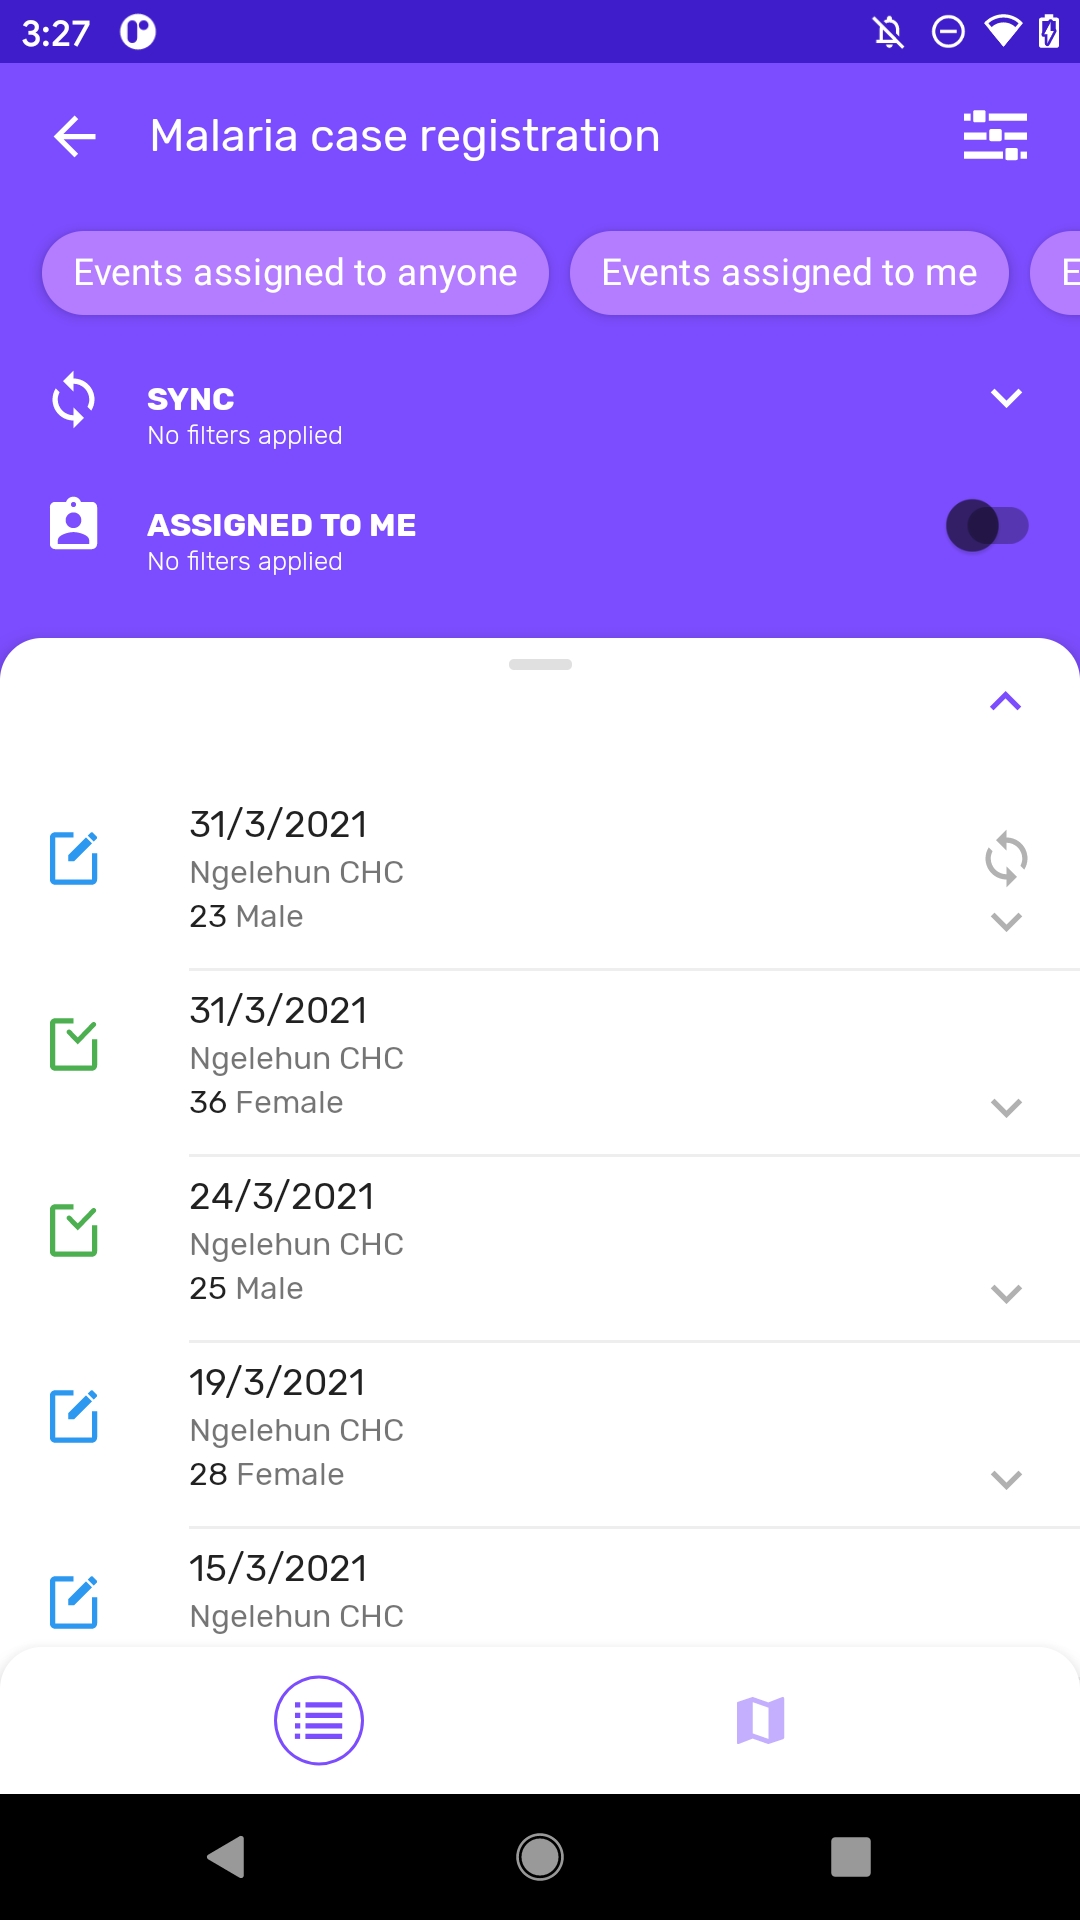
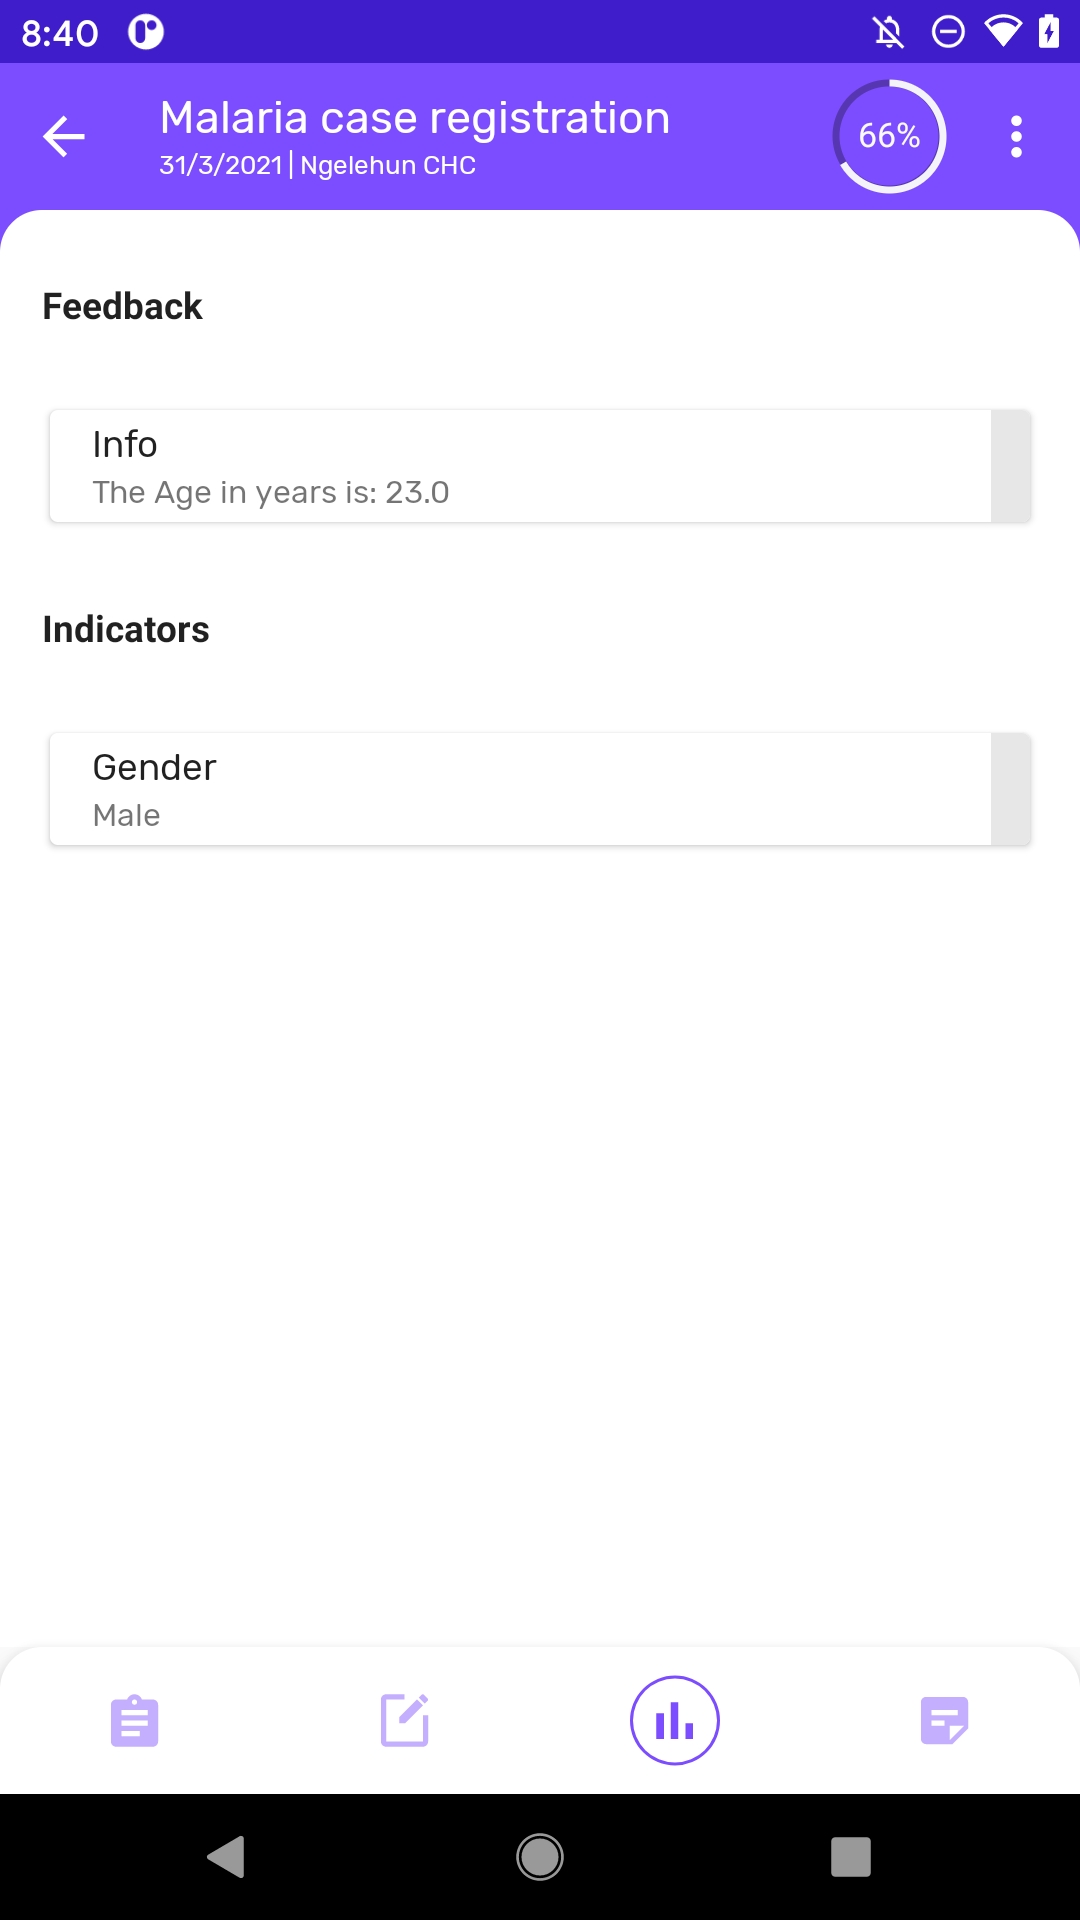
The new analytics tab now supports displaying text and key/value pair in feedback or indicator section.
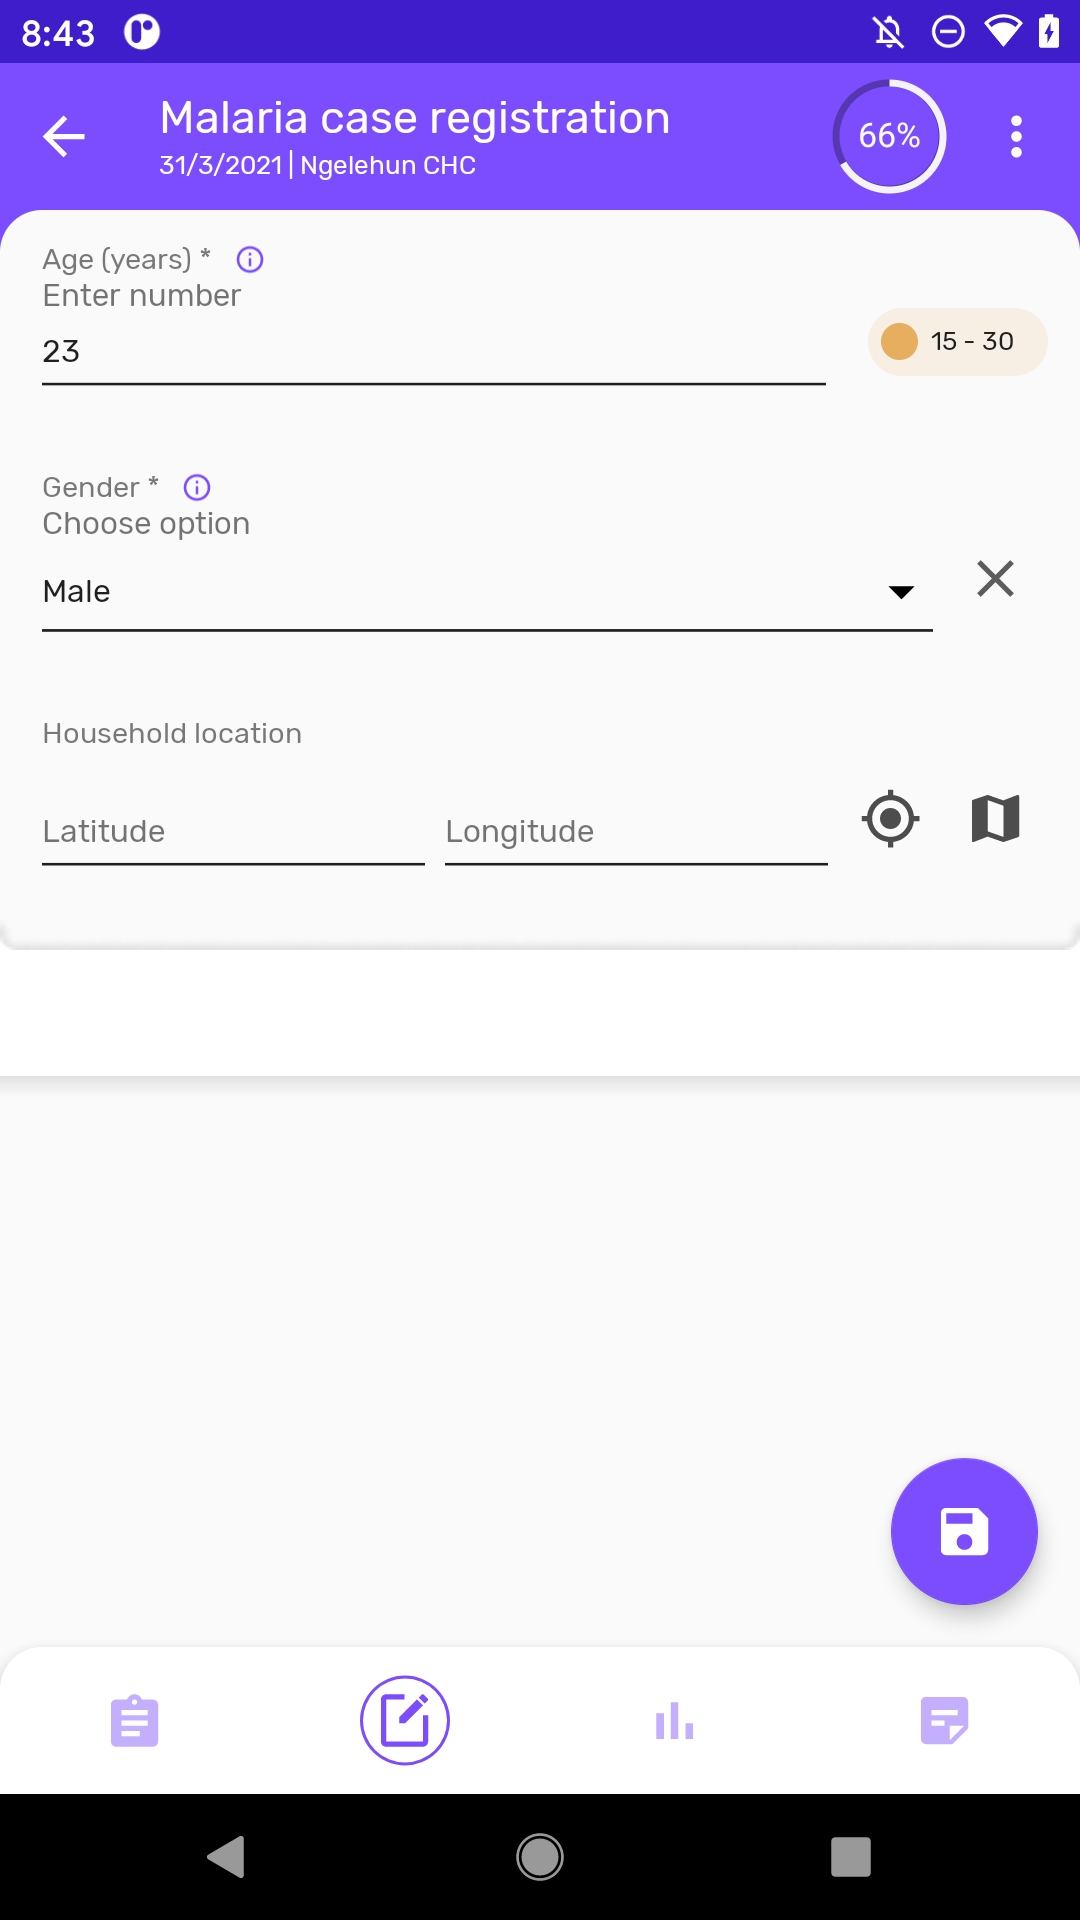
Legends are now available in Android App. It will be shown next to value with the respective color and label.
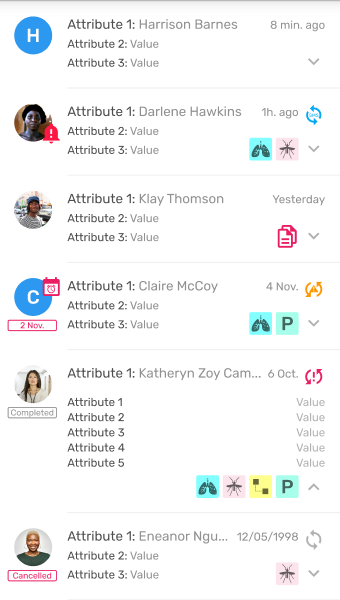
The new TEI Card design includes:
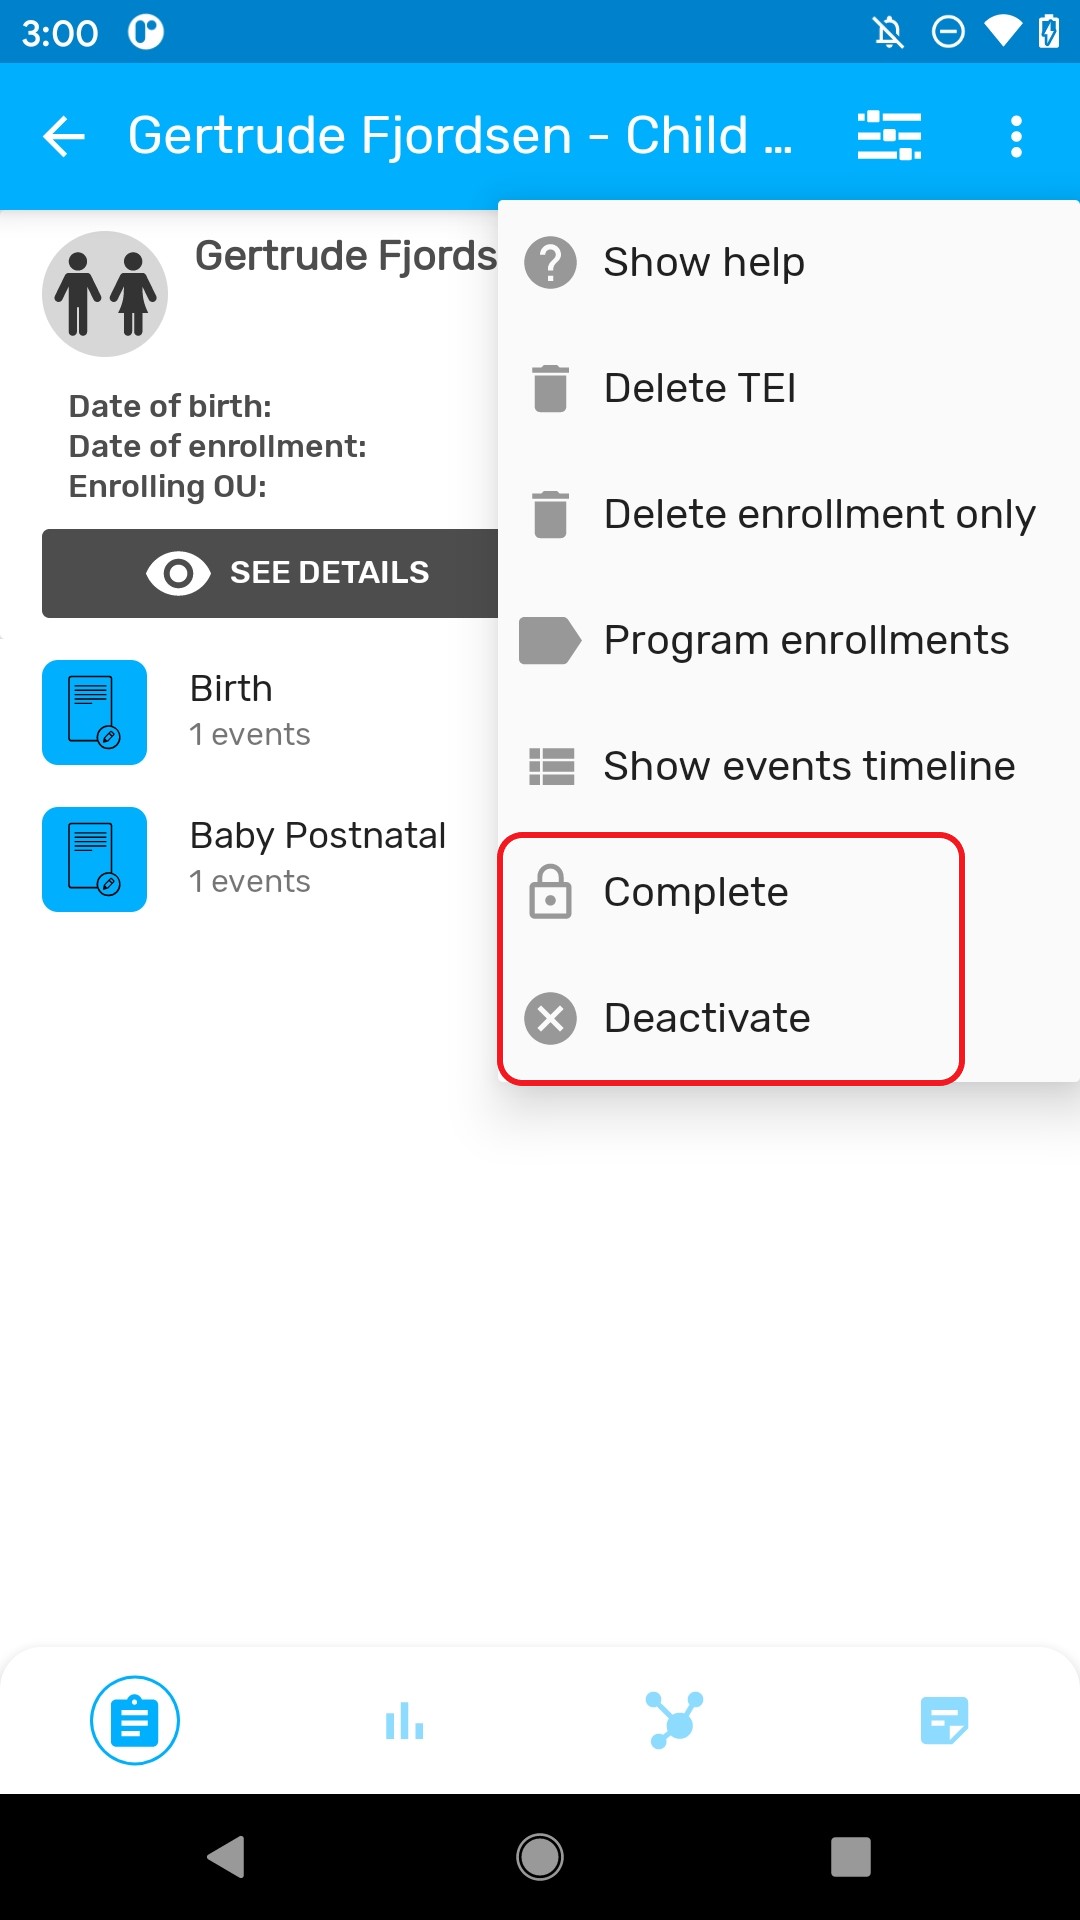
To complete or deactivate an enrollment, click on three dot menu in the right upper corner and select "Complete" or "Deactivate".
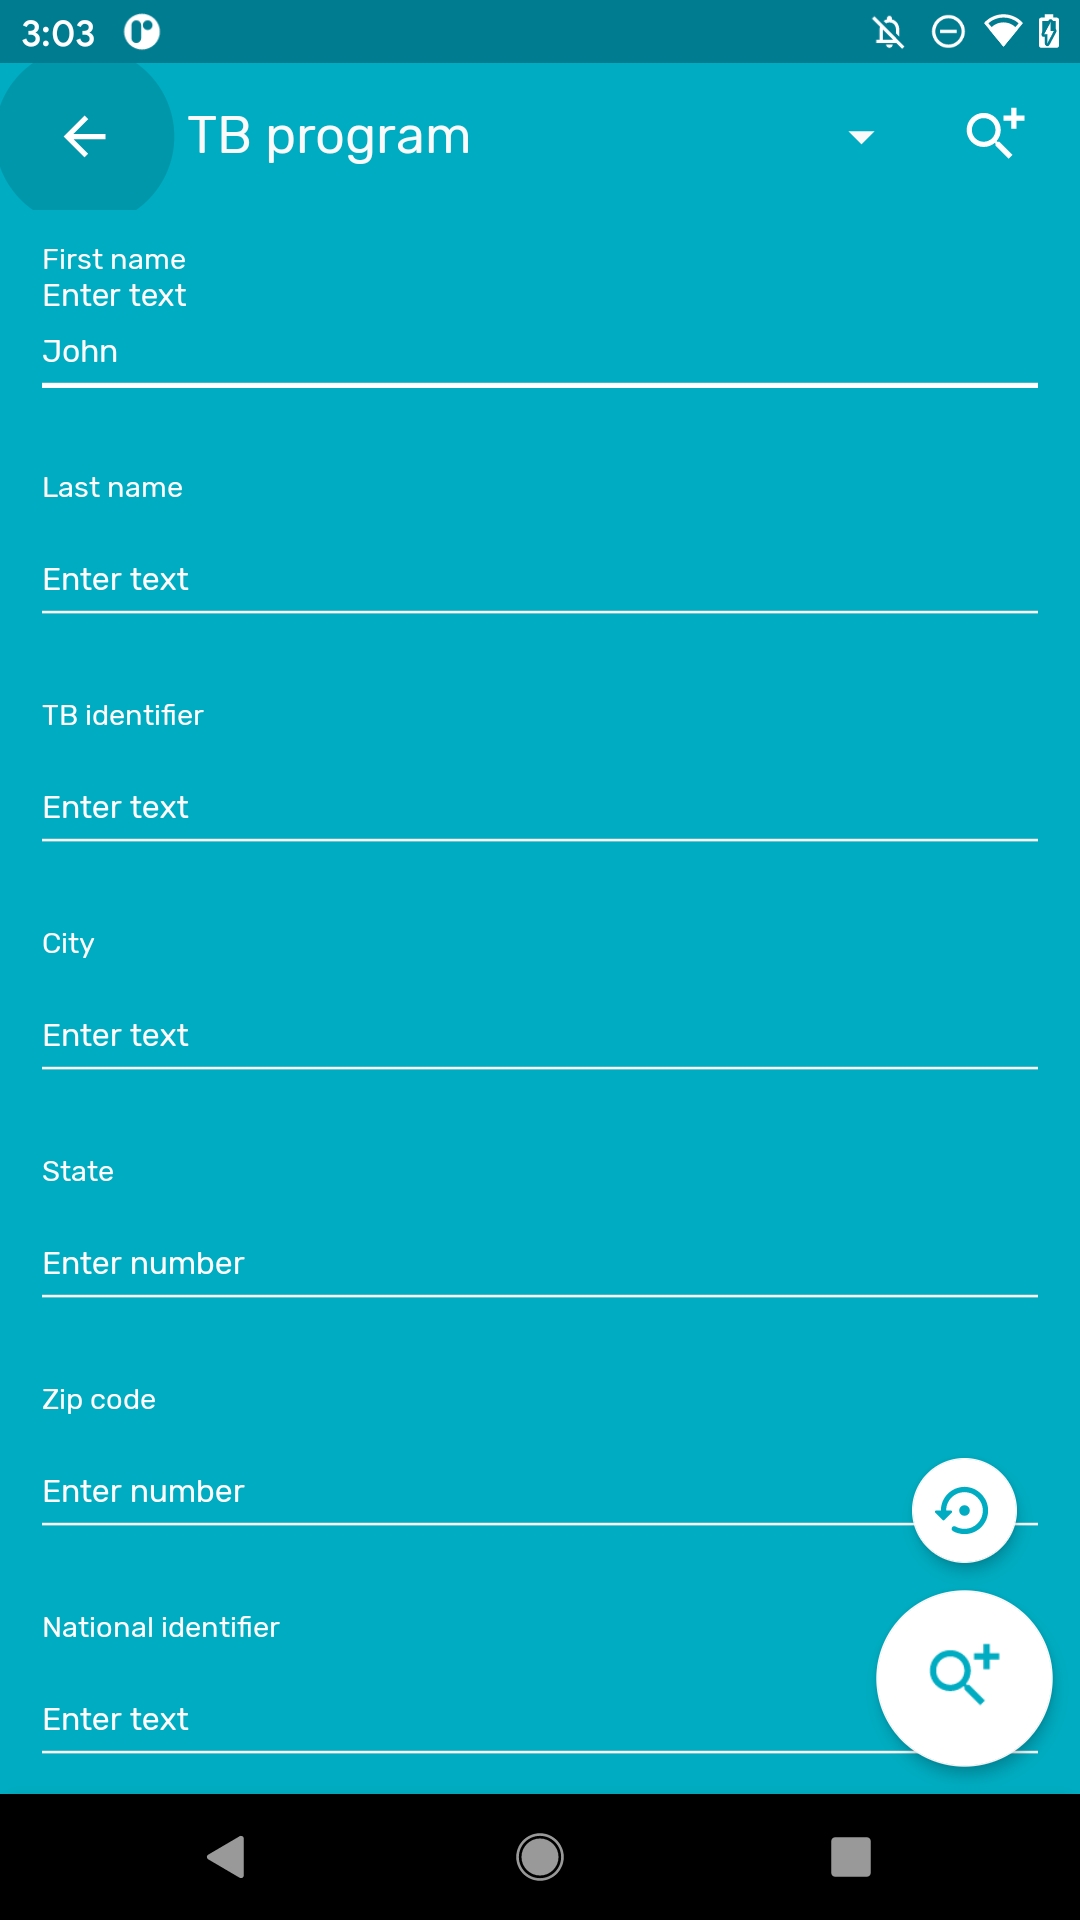
All tracker programs will take the user to the search screen. The search fields are used to look up for a specific entity, and the circled arrow to reset the search. All fields will be blank for the user to do a new search.
At first, the user is obligated to do a search. if there are no coincidences, the search button will change to an ‘Add’ button for the user to create a new enrollment.
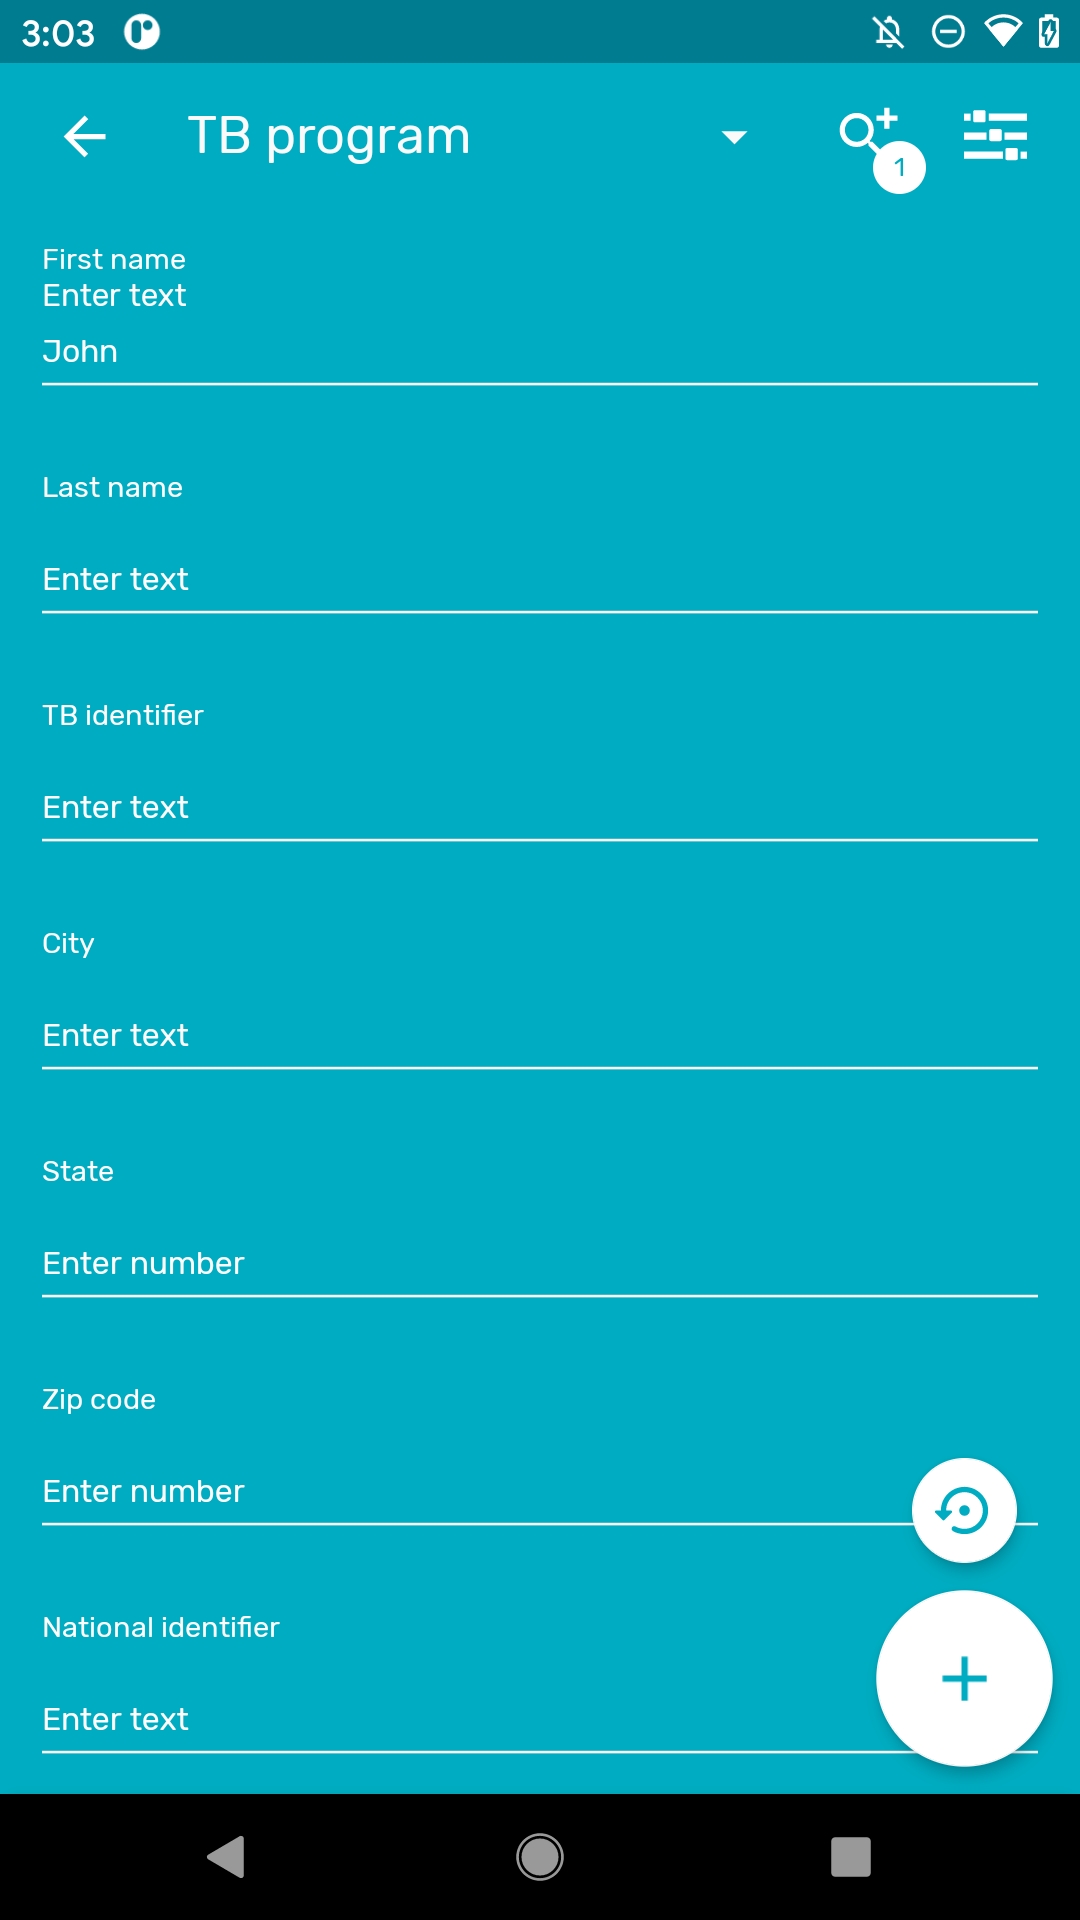
User is able to search across all program of one tracked entity type (TET). In the Search screen there is a drop down which shows all the programs available for the active TET (active TET is defined by the selection of the program in the home screen). That drop down should also have an option with TET name. (for example: person)
When the user selects that option, the search fields available will only be the TET attributes (no program specific attributes). Search restrictions do not apply, because they belong to the programs.
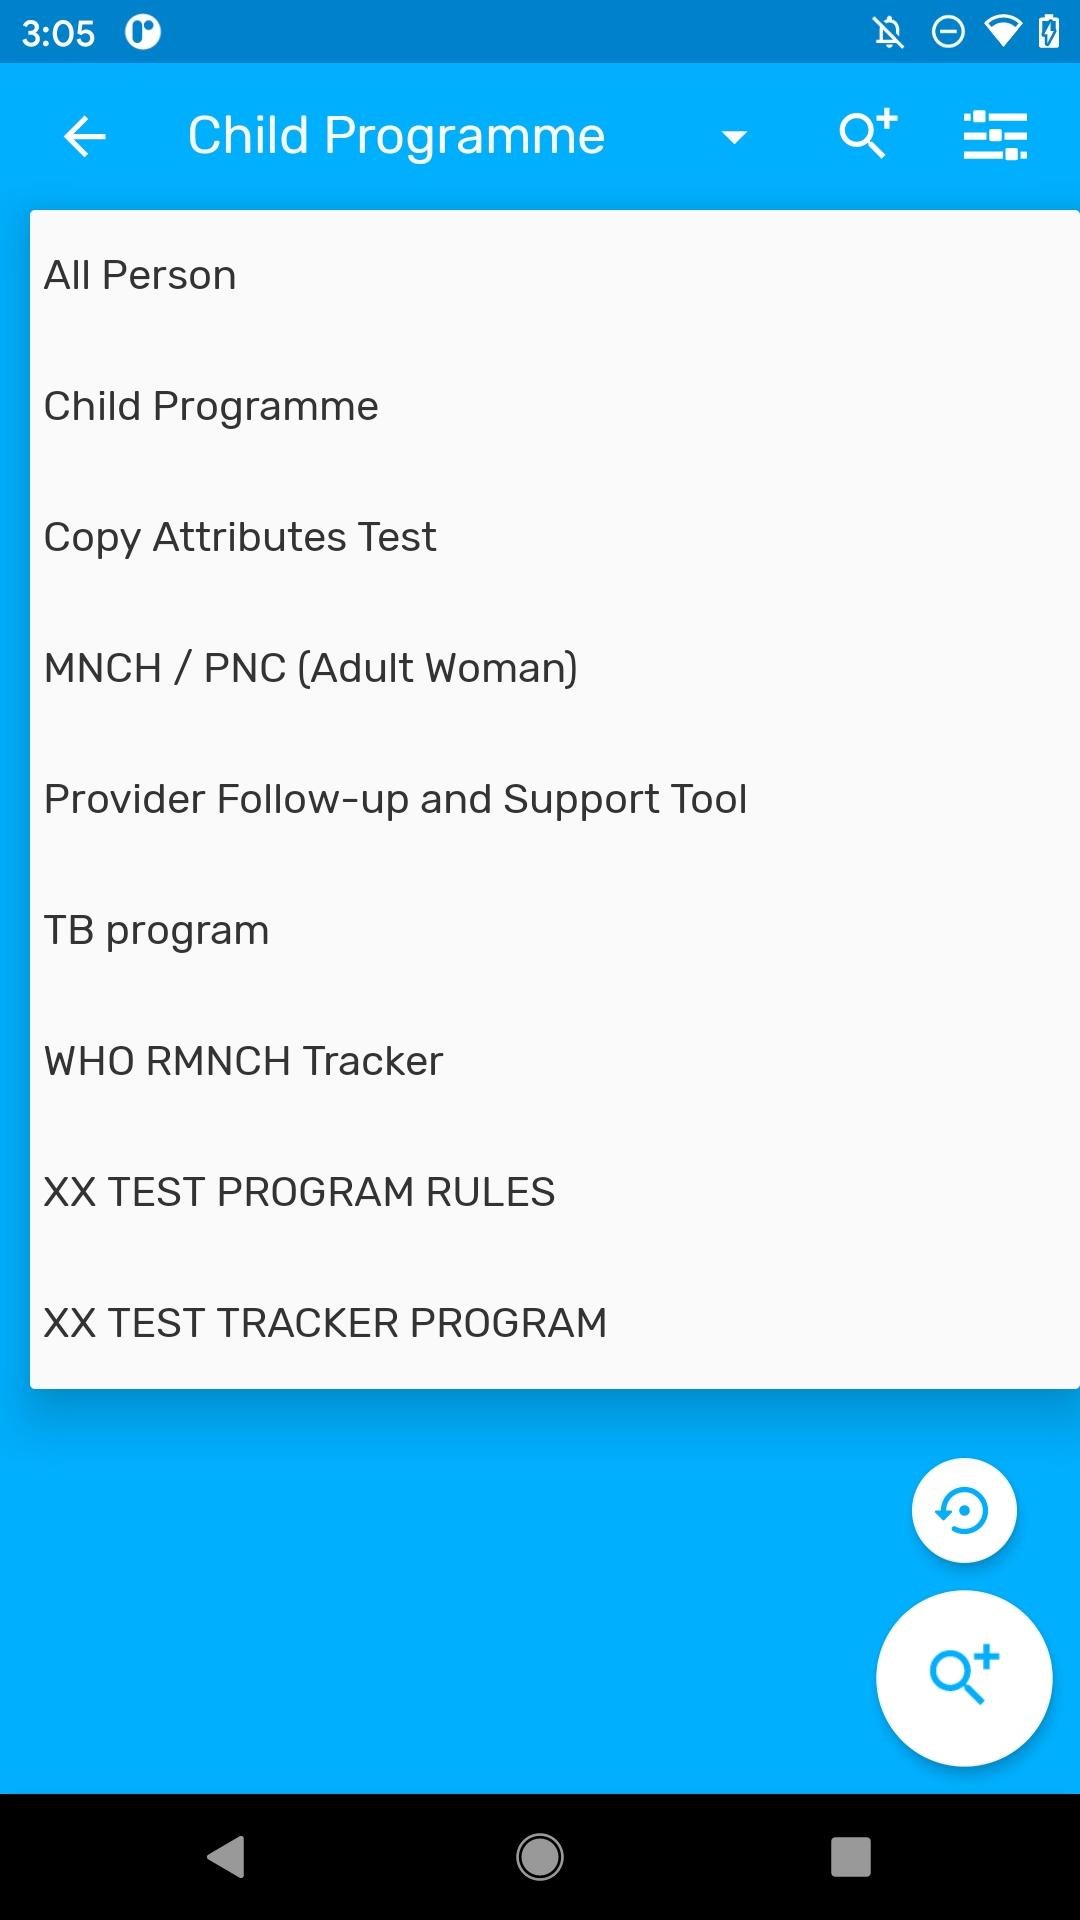
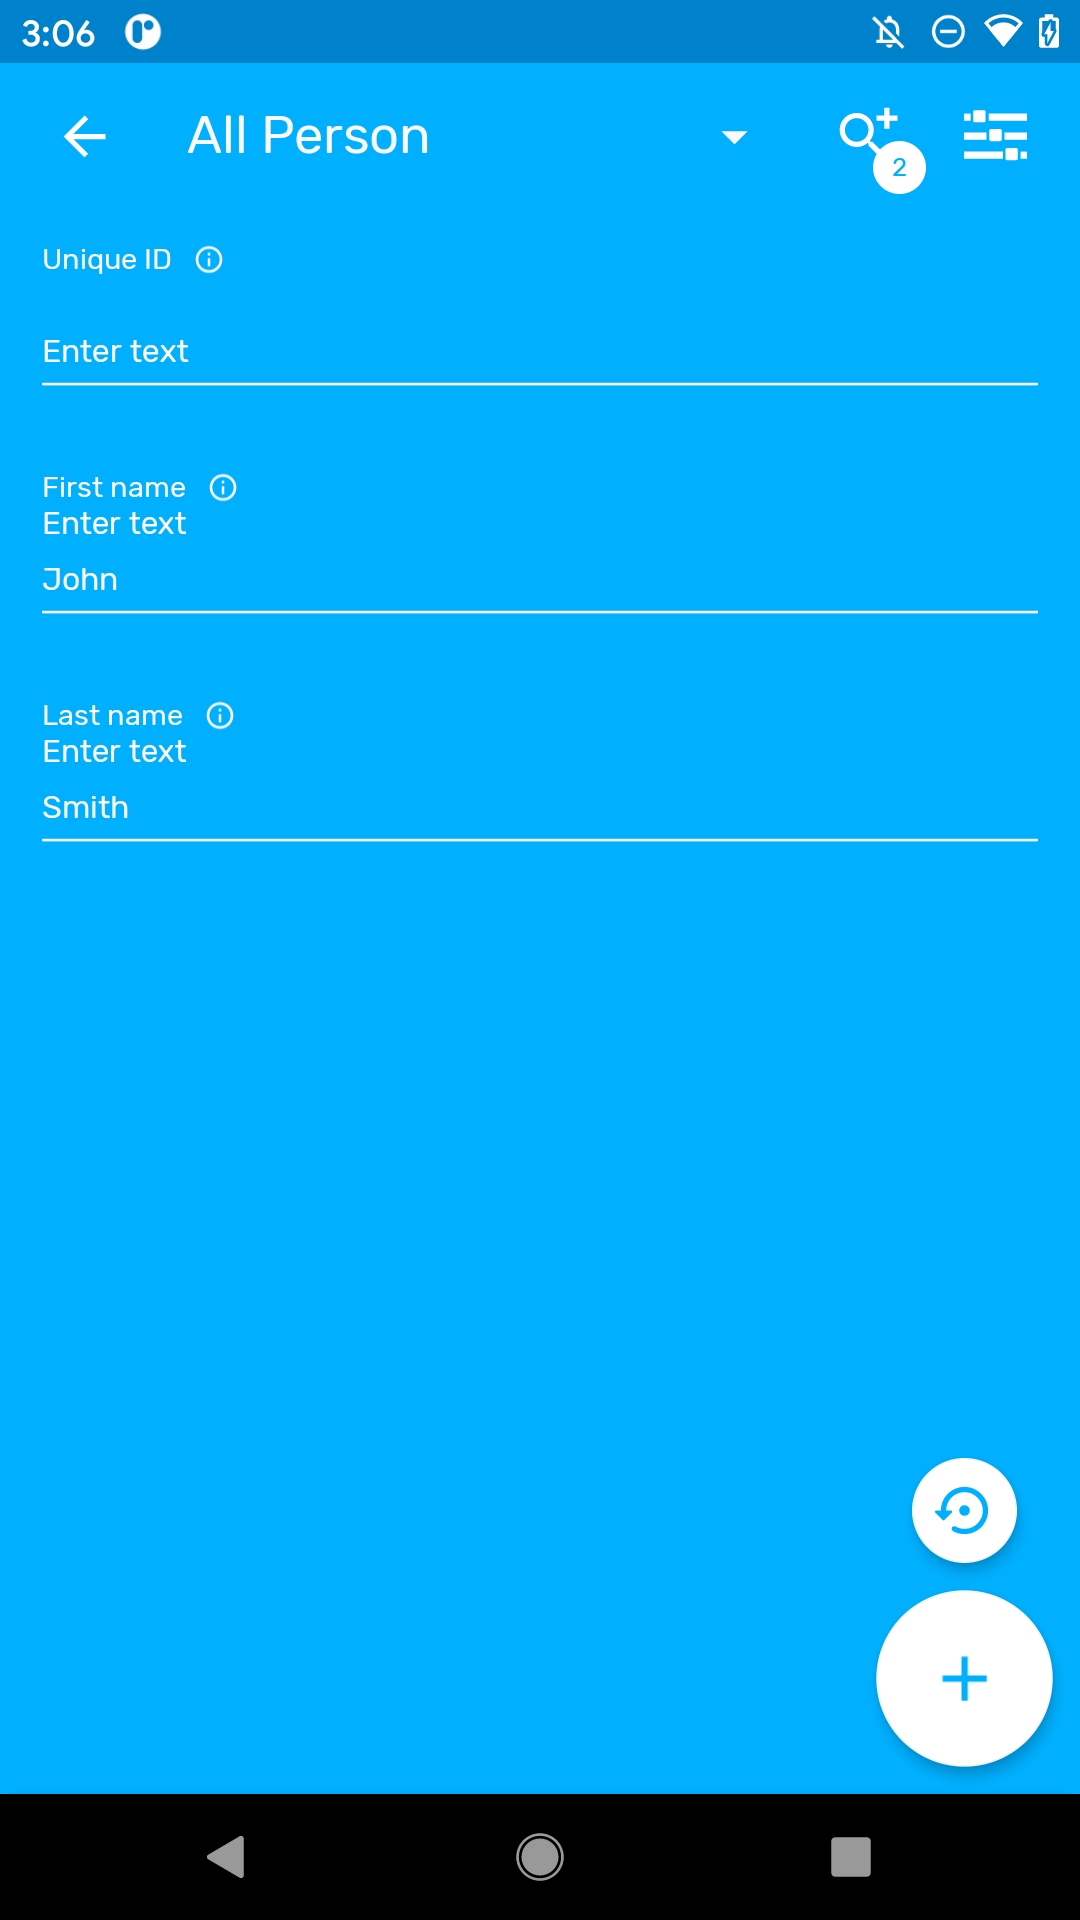
The search will return the found TEI's in the local database and also those in the Search OU of the user (when user is online). For those found online, the user will have to select them and the whole record will be downloaded.
Note
When configuring search org. units, make sure that your capture org. units are contained in your search org. units, to do that capture org. units have to be selected as well as search org. units.
User can see the TEI dashboard without any program by selecting the TEI in the list if the search was without program.
The dashboards will show the list of active enrollments.
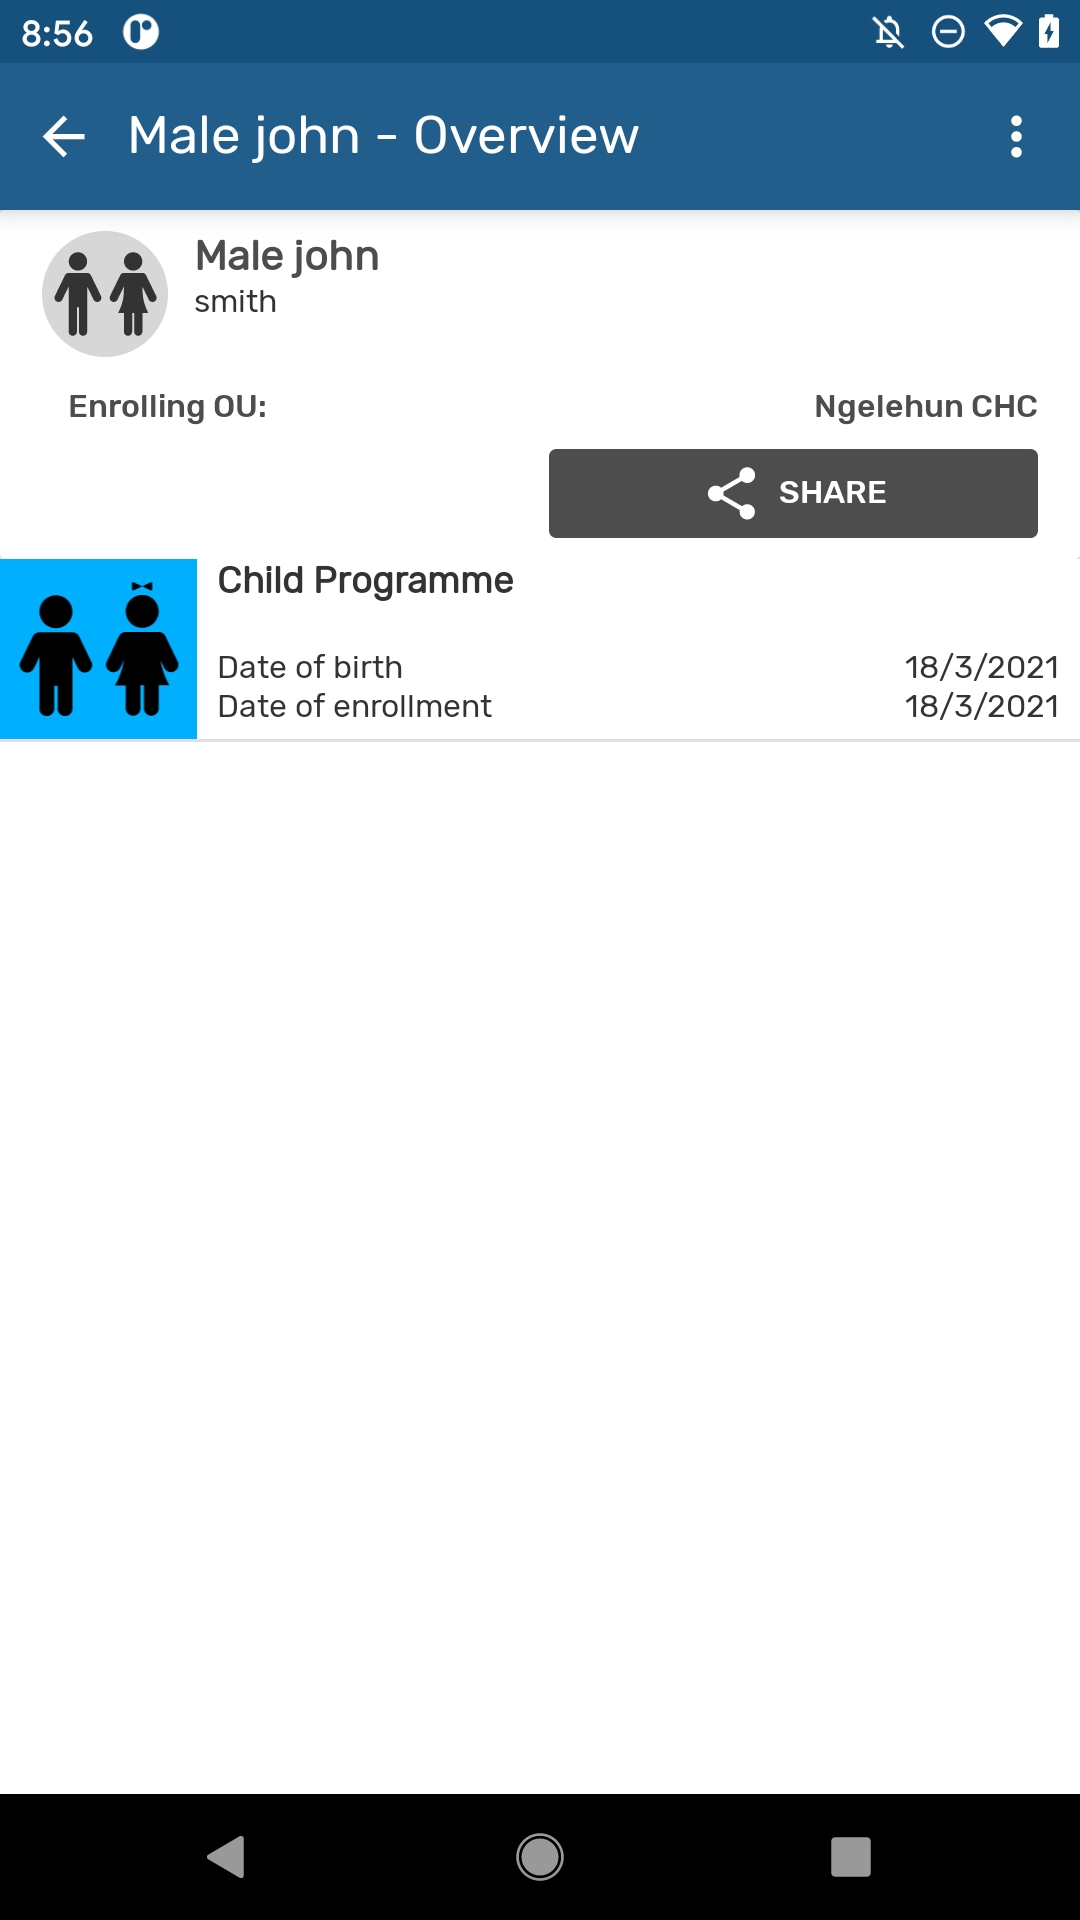
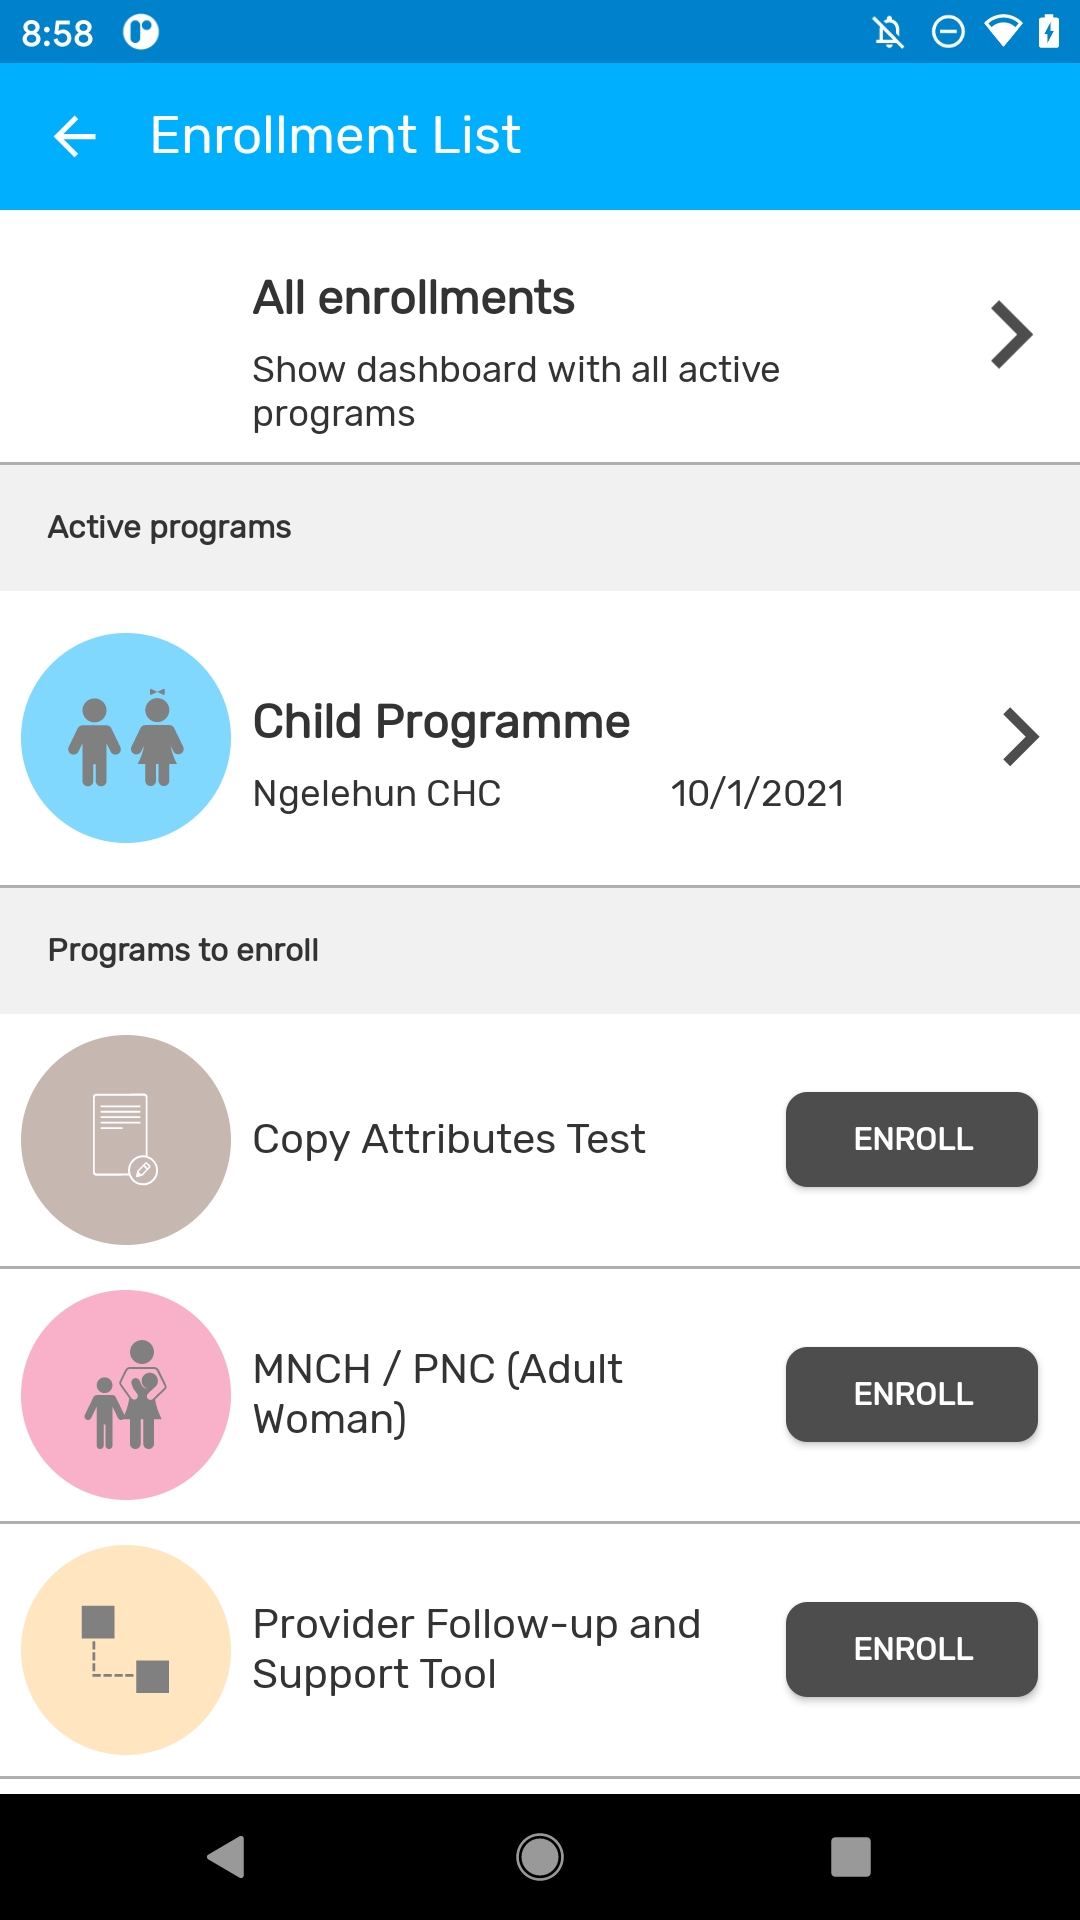
User is able to see the complete historical record of the TEI. Clicking on the top right corner menu, select "Program Enrollments" and a list of Active enrollments will be displayed, followed by a list of past enrollments (completed or cancelled), followed by the programs in which the TEI could be enrolled. User can also return to the 'TEI Dashboard without any program' by selecting 'All enrollments'.
Users should be able to navigate to the different enrollments from the list.
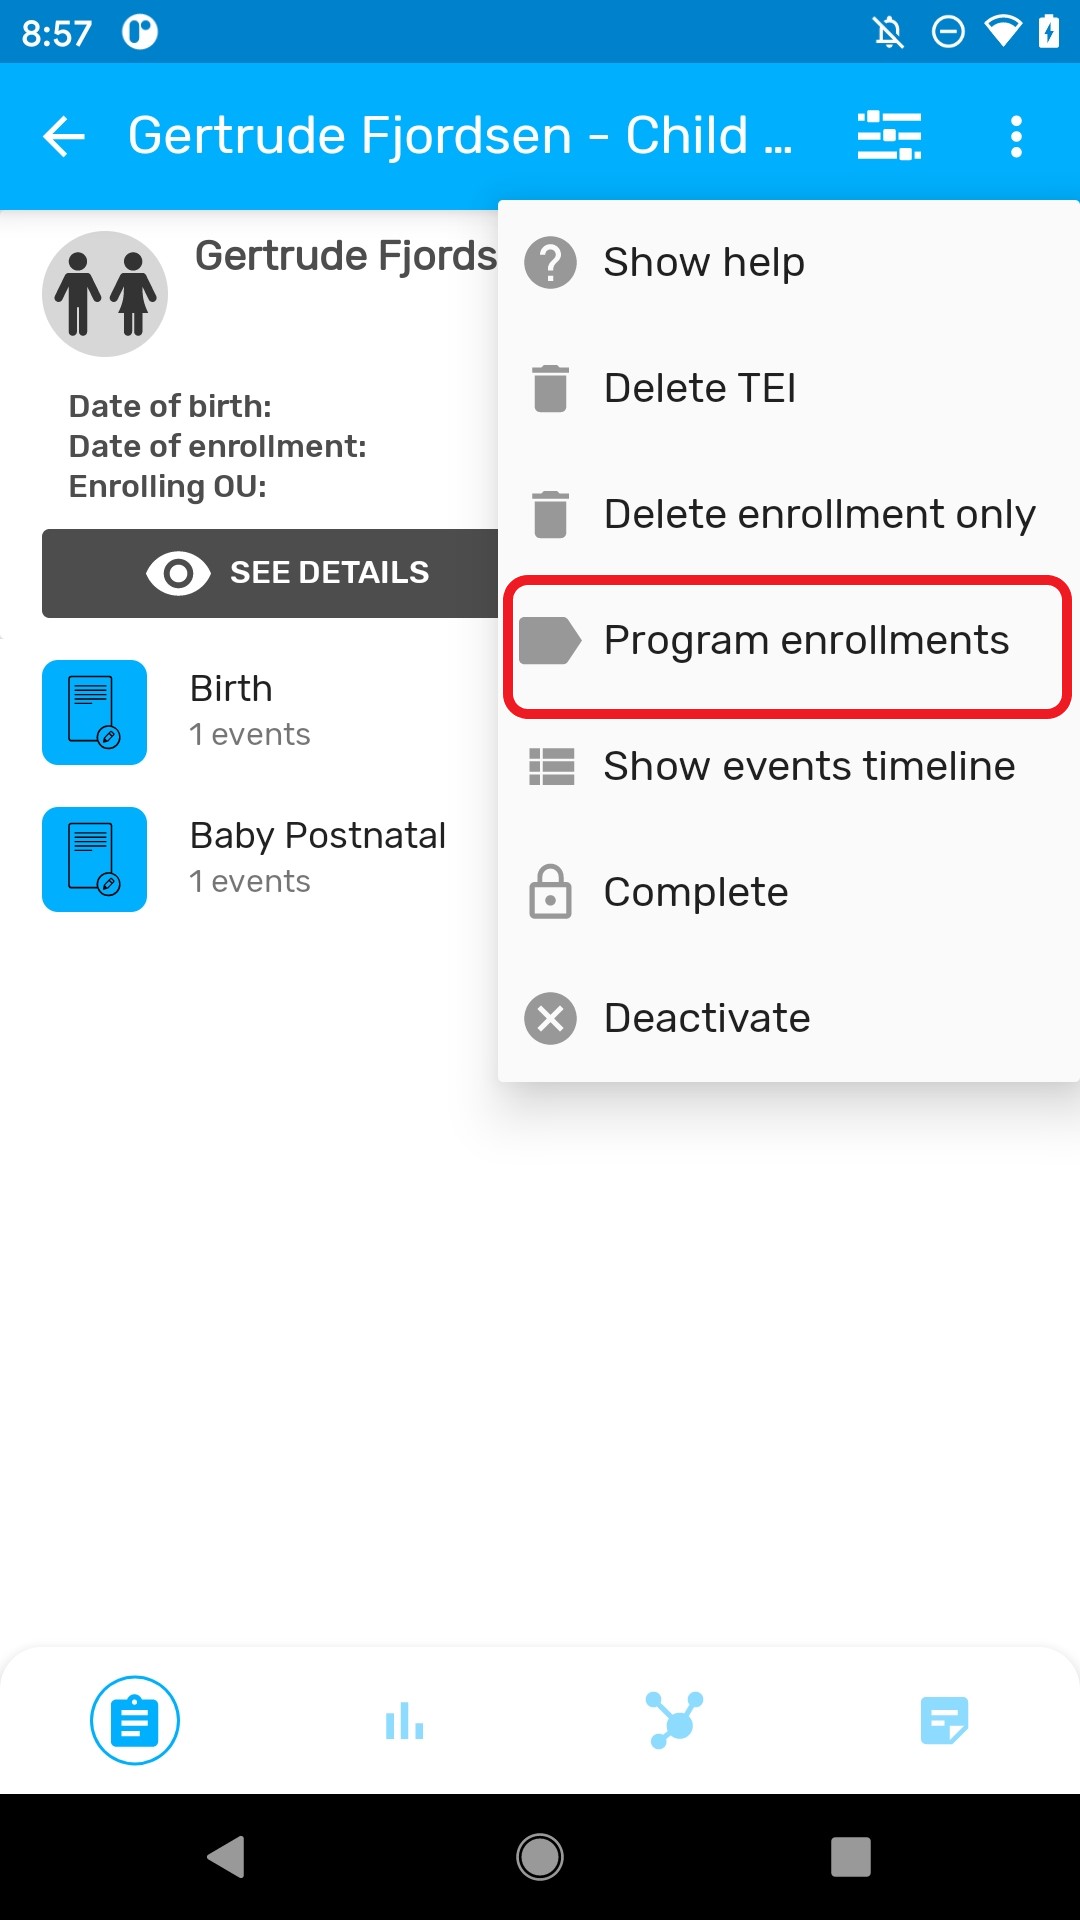
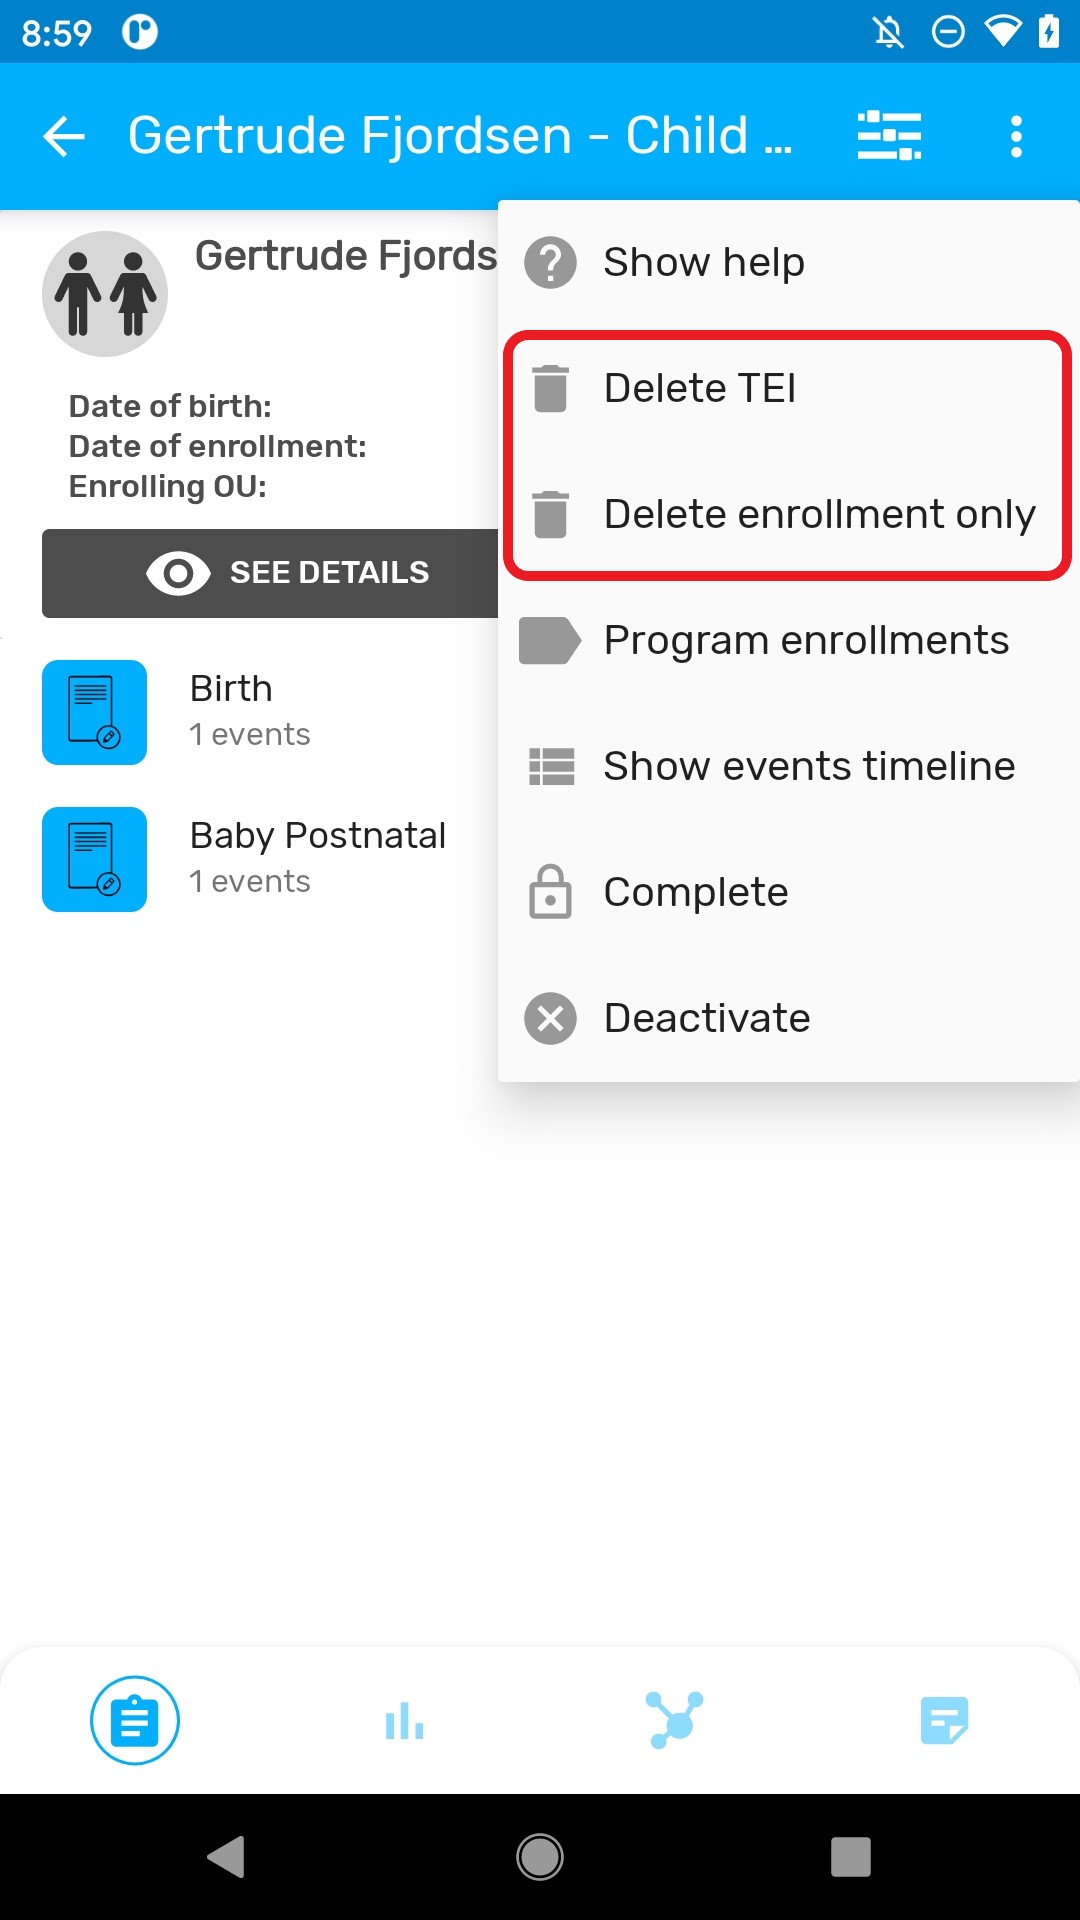
To delete a TEI or an enrollment, select In the TEI dashboard, the three dots menu.
Local TEI or Enrollment will be deleted from the database. Records that has been previously synced with the server will be marked for deletion if the user has the authority:
They will show in the TEI search list, but will not be accessible.
Note
When users enter a TEI and while it is not synced to the server they will be able to delete the TEI and the enrollment even if they have not been asigned these authorities. This is by design and to allow users rolling back in case of having entered wrong data (TEI and/or enrollment) and thus preventing it reaching the server and requiring another user with higher privileges to fix the issue.
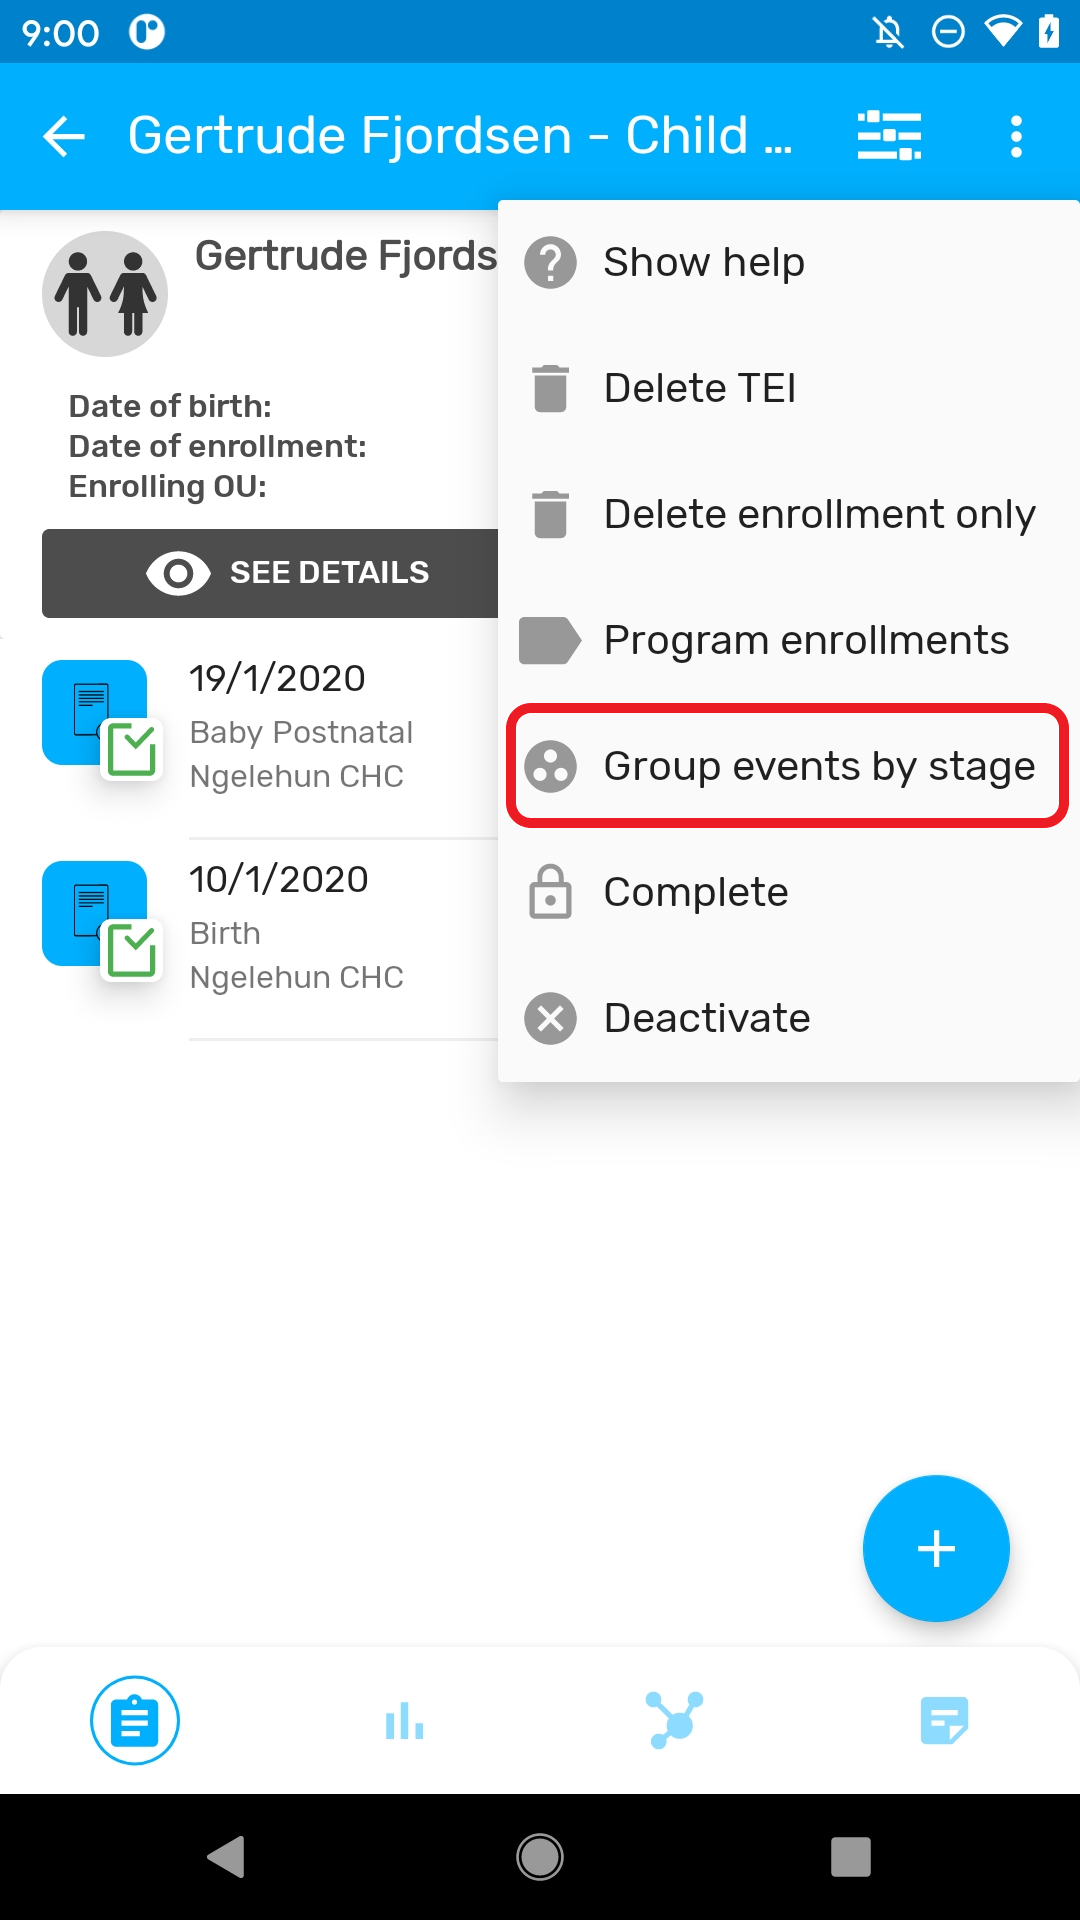
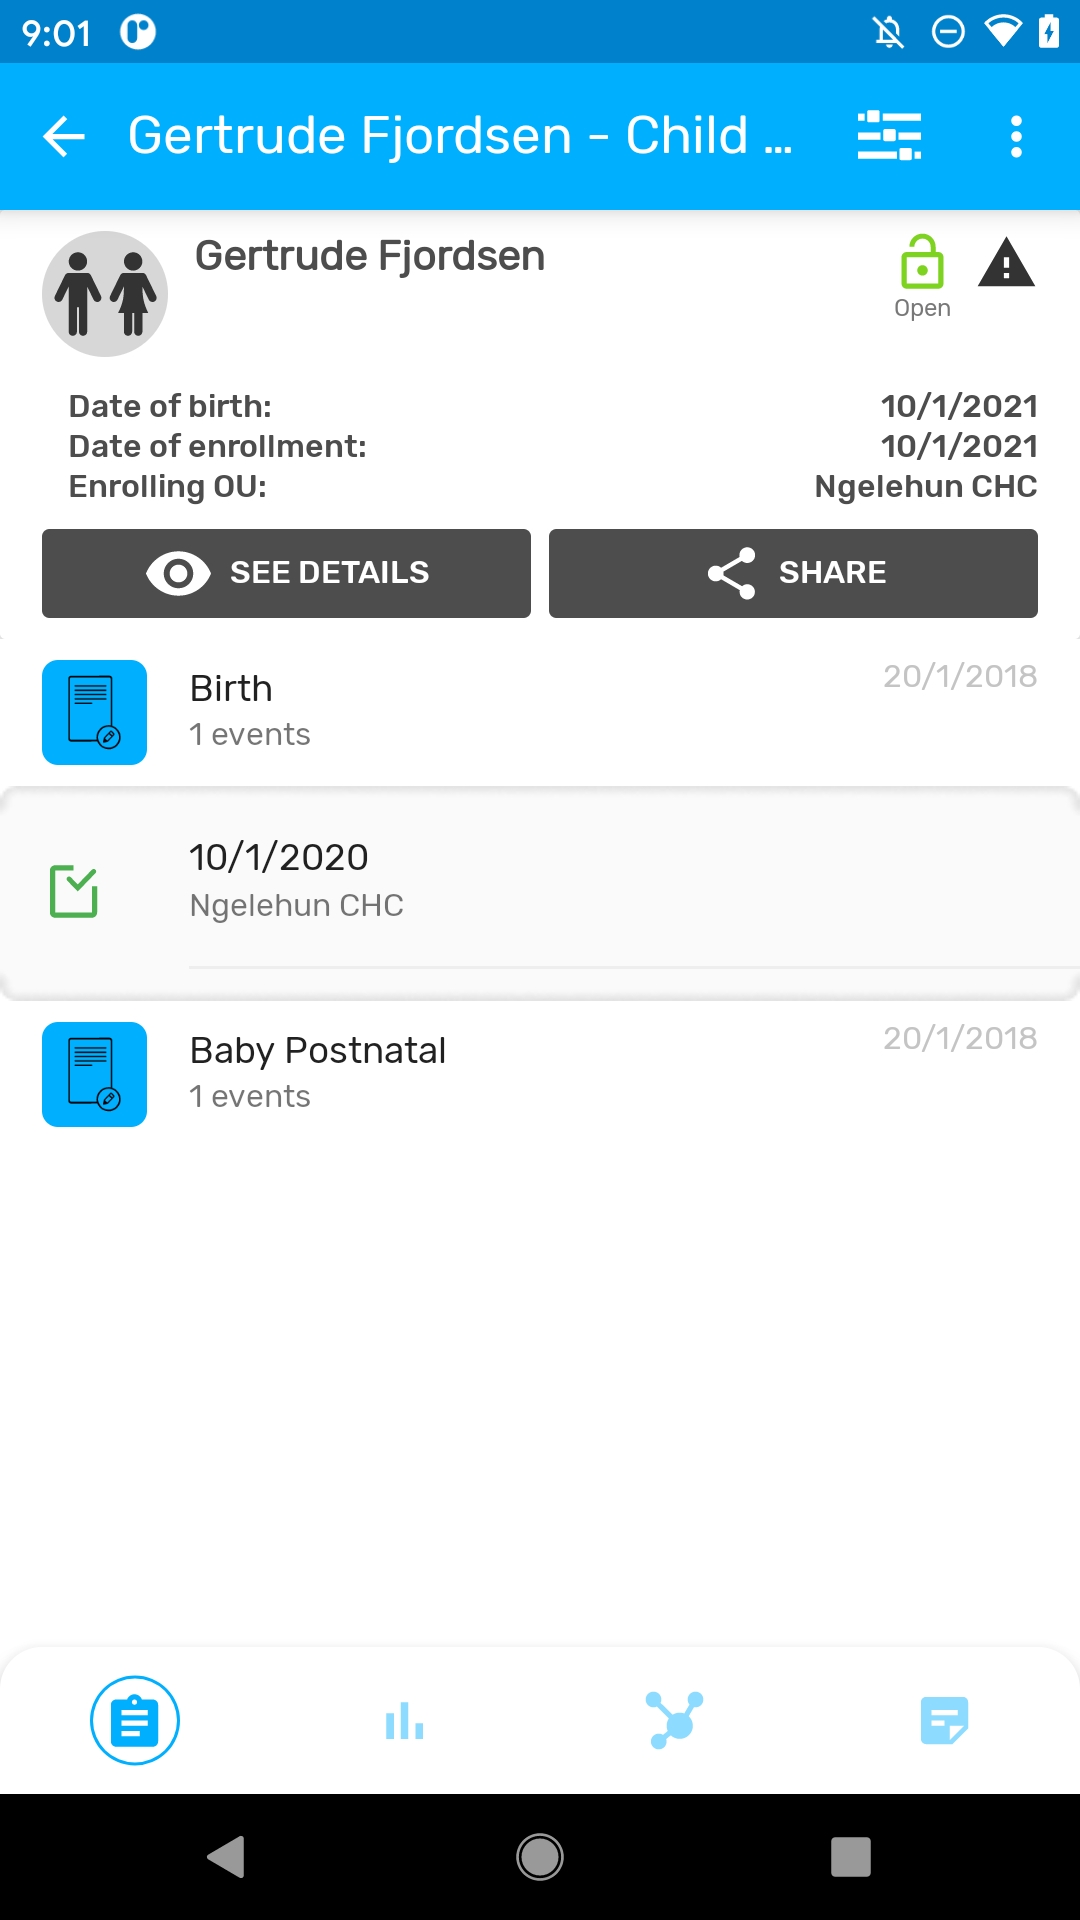
The TEI Dashboard offers now the possibility to change the list of events from the chronological view to a stage grouping view. The stage grouping view will group and collapse the events per program stage. Each program stage group can be expanded by the user and the events will be displayed chronologically.
When creating a new TEI for a relationship, inherit any program attribute marked with the inherit check in web.
This means that any existing attributes in the first TEI should have pass to the new TEI and be shown in the registration form.
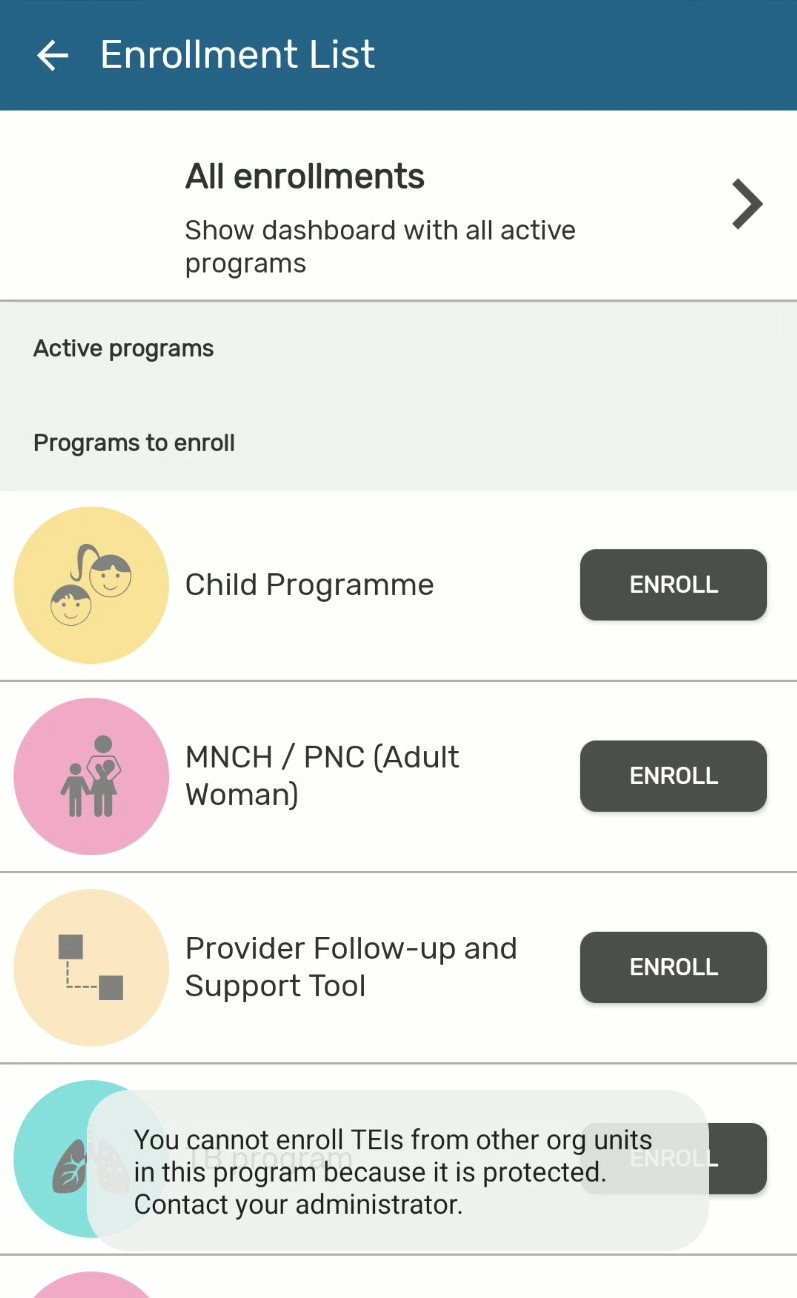
The ‘breaking the glass’ feature is not yet supported in DHIS2 Android Capture App. If the program is configured as ‘Protected’, the default behavior for Android will be the same as if the program is configured as ‘closed.’ This means that an Android user will not be able to read or edit enrollments of a TEI outside of their capture org units. TEIs registered in a Search OU will be returned by the TE Type search but if the program is closed or protected the user will not be allowed to see or create a new enrollment. If Android users must be able to access TEI outside of their data capture org unit, the program should be configured with access level ‘Open.’
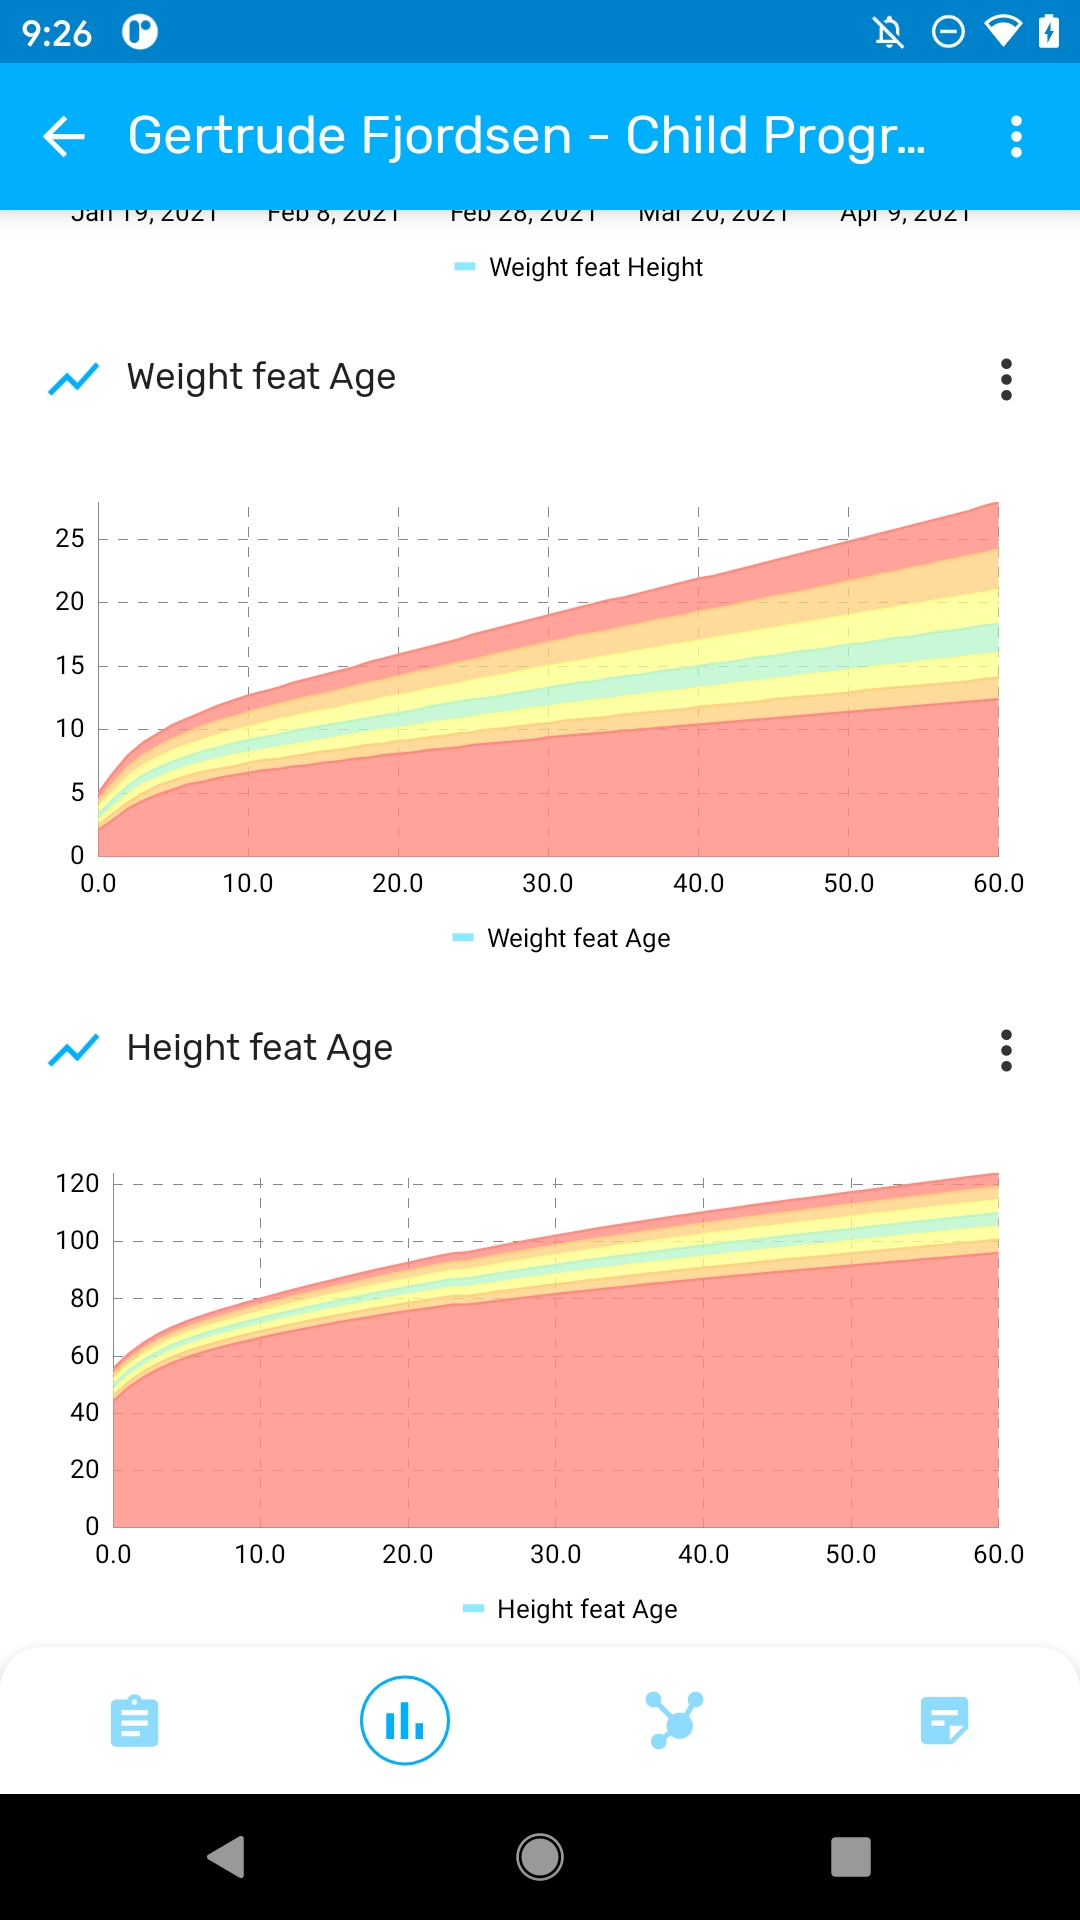
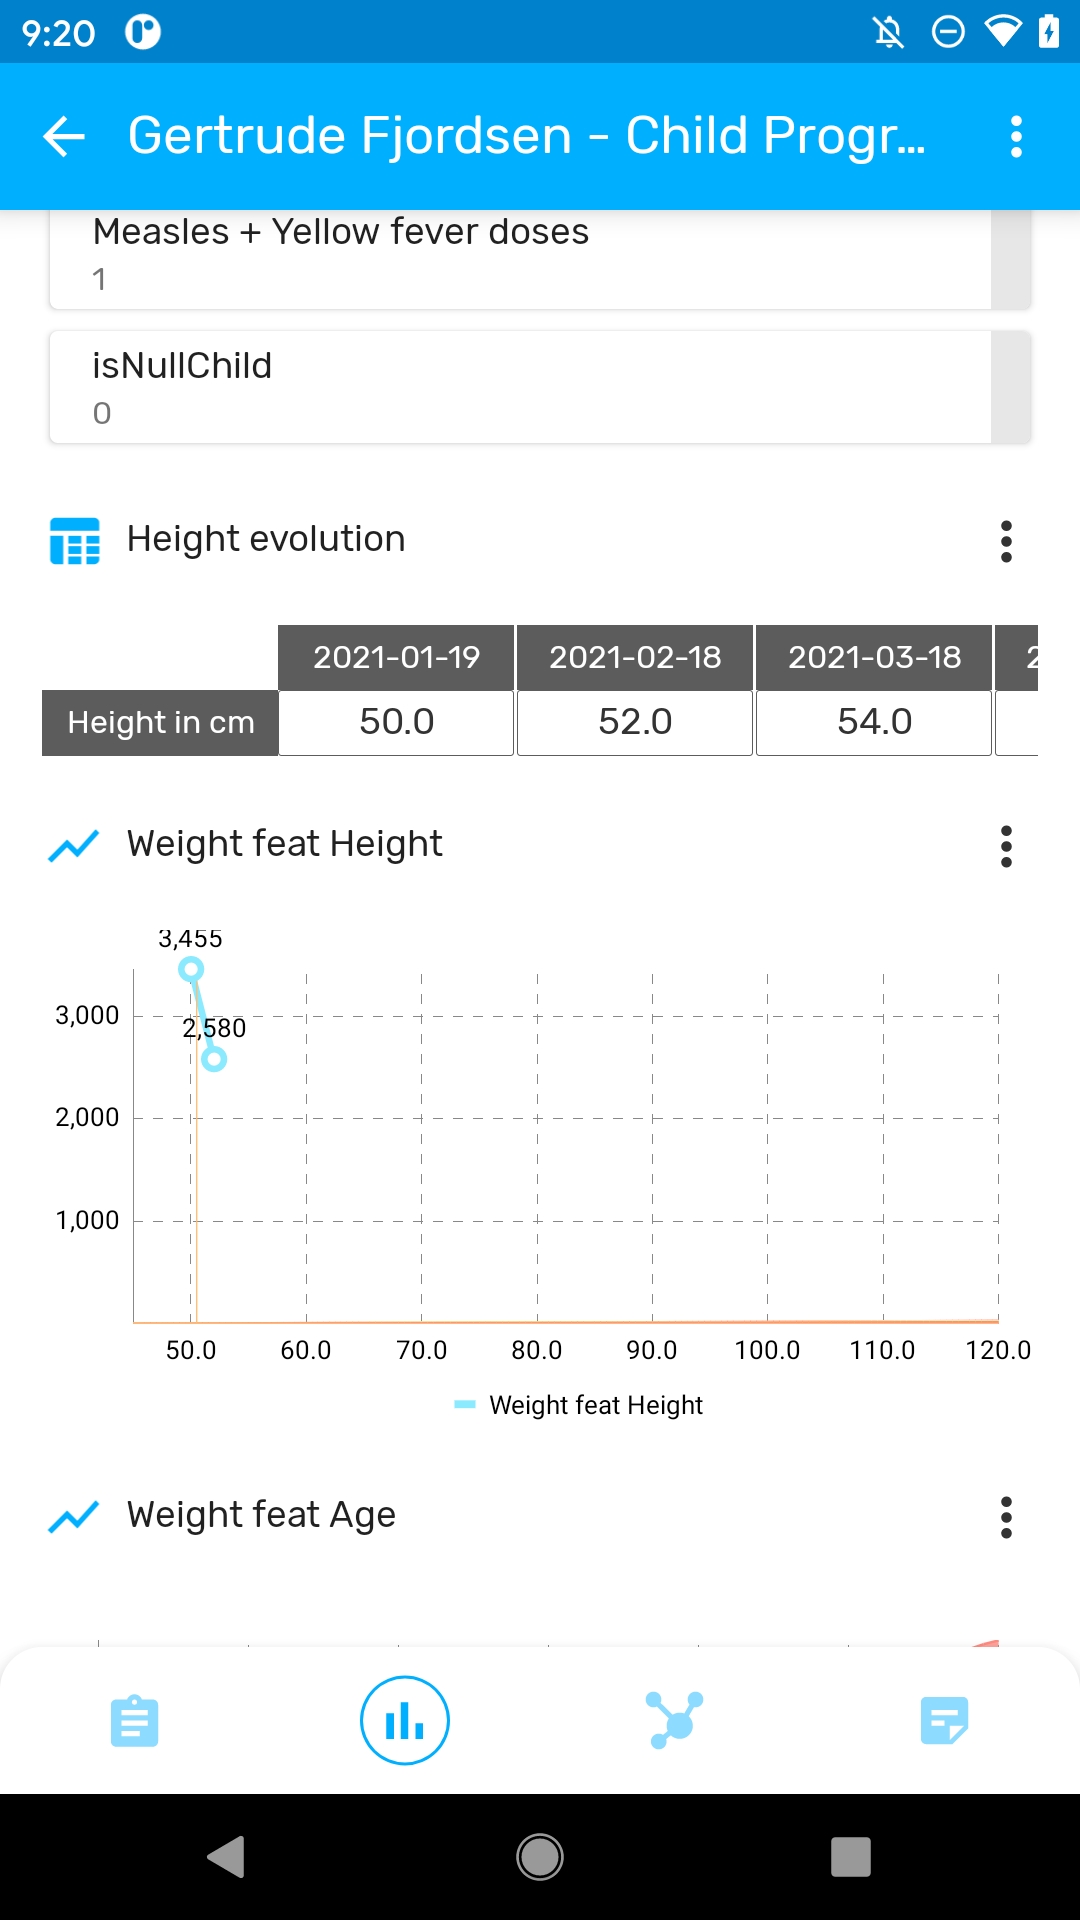
It is possible to display the evolution in data elements as charts, values or tables. These data elements must be a numeric value type and configured in a repeatable stage.
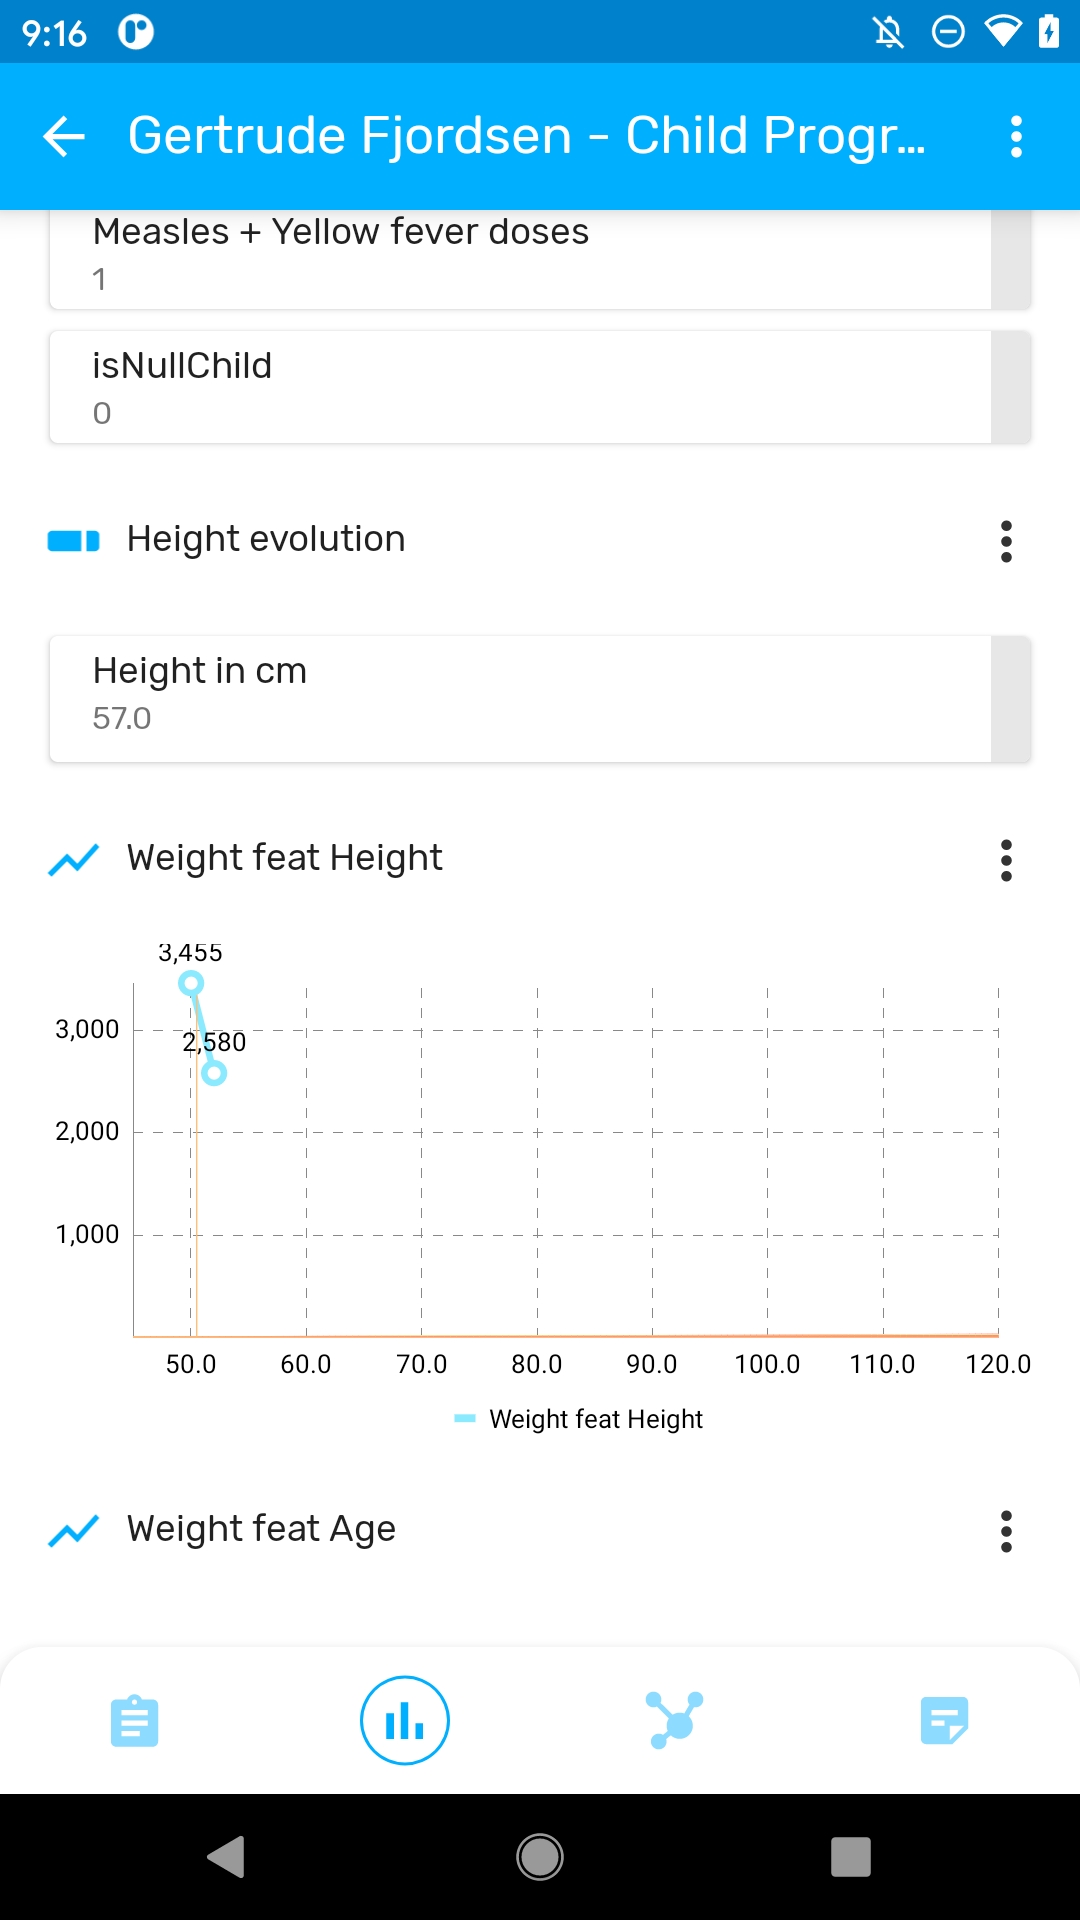
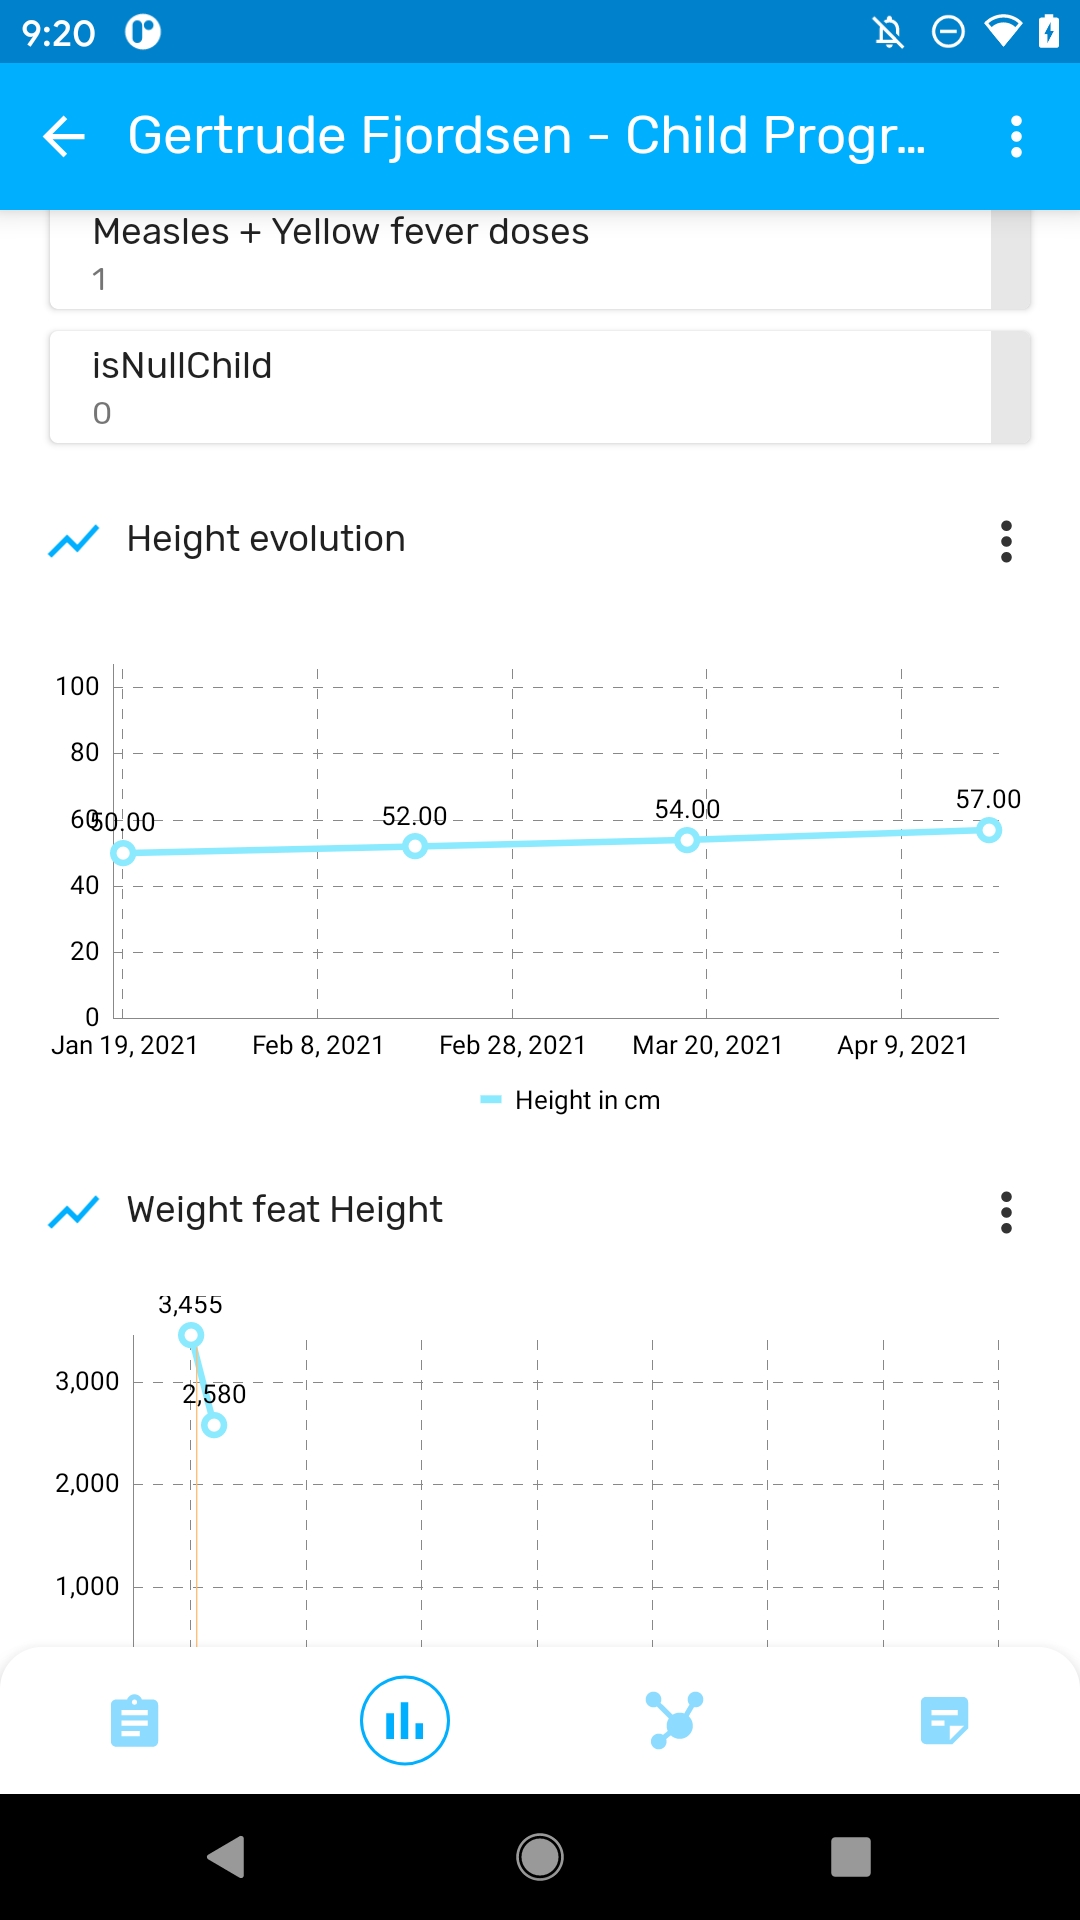
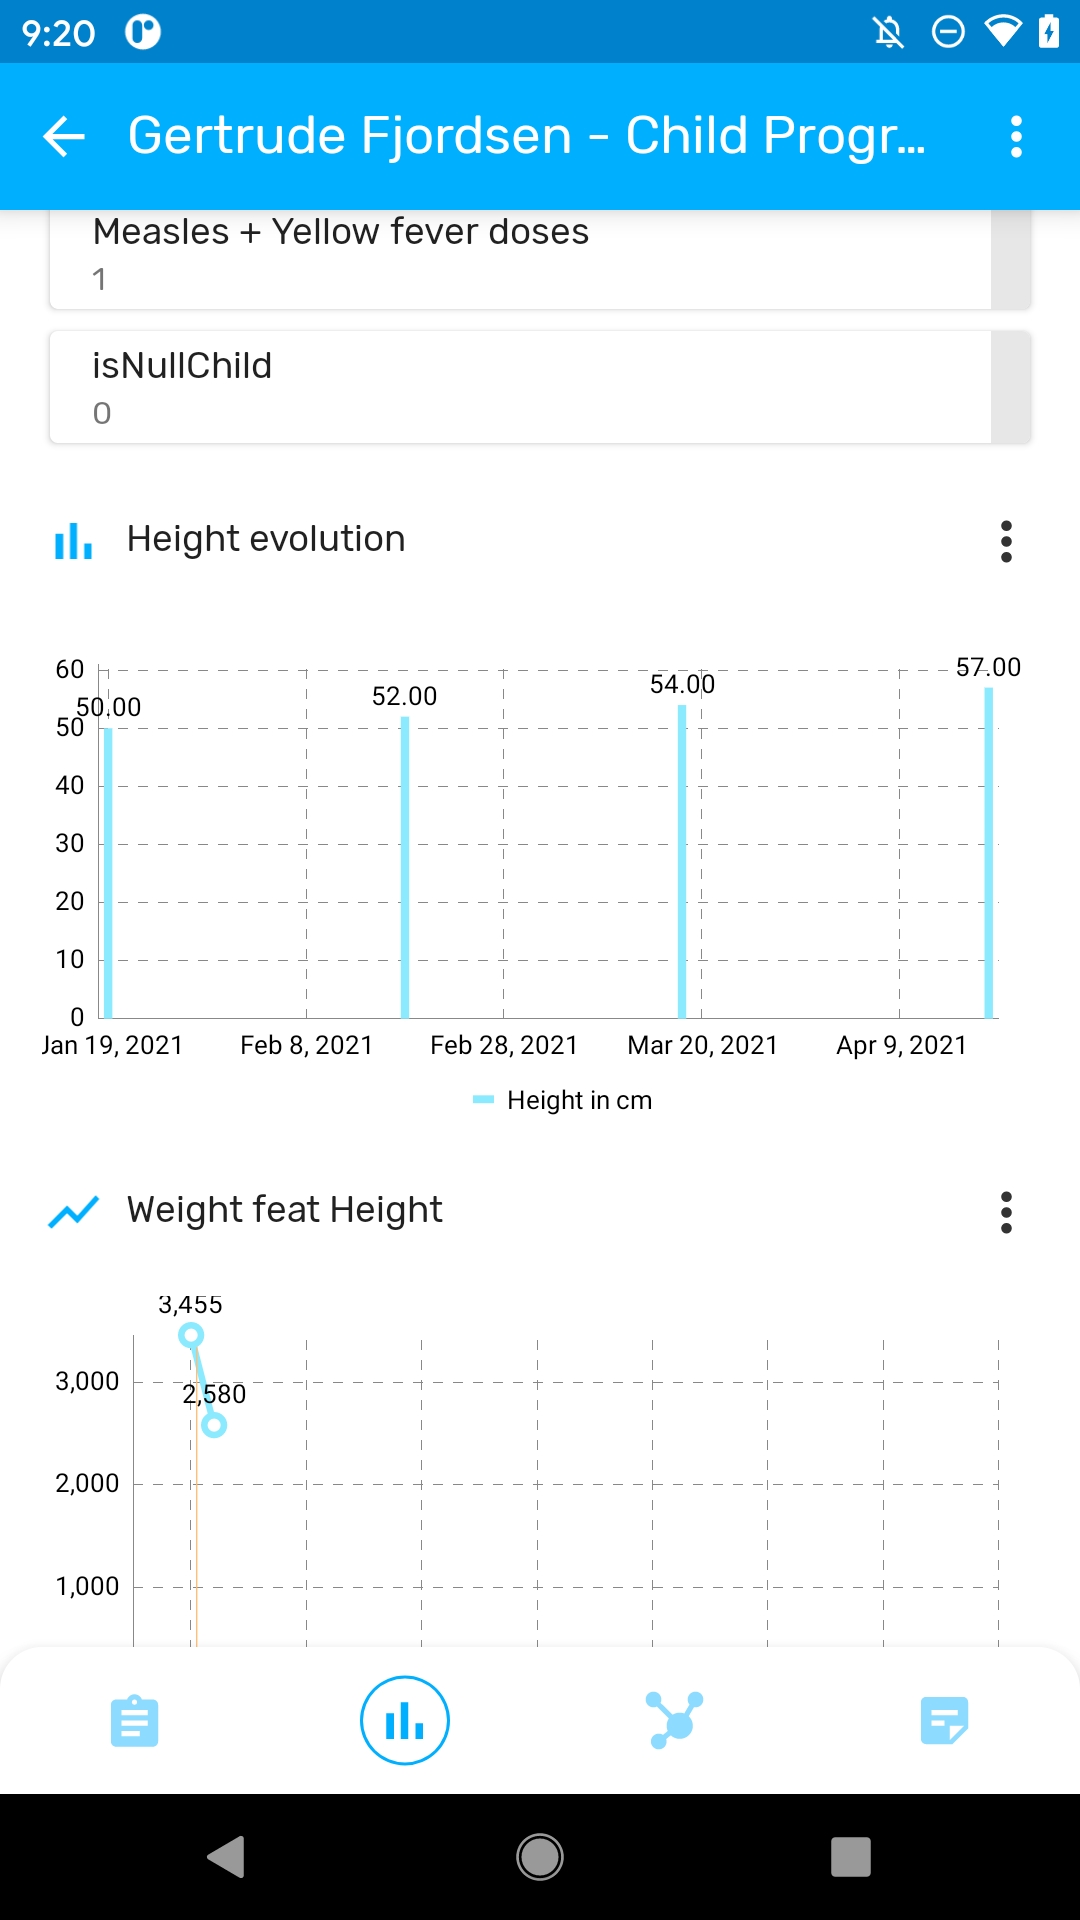
The Nutrition Growth charts are shown according to the WHO standards. This option will render a background image and apply the axis (0 to 5 monthly)according to the WHO model.
The following is a comprehensive list of all features available for Programs with and without registration in DHIS2, and notes on whether or not these have been implemented in the Android Capture app.
In the notes, ‘admin’ refers to someone who develops and configures a DHIS2 system, and ‘user’ refers to someone who uses apps to capture data, update it, and review reports.
| Legend | Description |
|---|---|
| Feature implemented |
| Feature not implemented (will be ignored) |
| Not applicable |
| Work in progress. Feature not completely implemented yet or with unexpected behaviour already reported. |
| Feature | Description of feature | Program with registration | Program without registration | Notes on implementation | | --- | --- | :-: | :-: | --- | --- | | Data entry method for option sets | Enables an admin to choose how options will be displayed on-screen across the entire program (ie either as drop-down lists or as radio buttons) | | | This will be replaced by the new rendering options. | | Combination of categories
(Attribute CatCombo) | Allows an admin to attach a Category (set of Options) to the Program, requiring users to categorize each enrolment. (This is called an Attribute Category Combination in DHIS 2.) | | | | | Data approval workflow | If an admin selects a pre-configured Data Approval Workflow, this will be used to enforce an ‘approval’ or ‘acceptance and approval’ cascade, enabling users to sign-off and lock data. | | | | | Display front page list | If this option is ticked, the landing page displays a list of active enrolments once an Org Unit and Program have been chosen. (Attributes shown are those ticked as ‘display in list’.) | | | | | First stage appears on registration page | When this option is chosen, then during Program enrolment, the screen for the first Program Stage is also shown (enrolment and the first event are captured together on one screen). | | | In Android, this is implemented by opening automatically the event after enrollment is completed, instead of adding the form to the same screen. | | Completed events expiry days | Enables admins to lock data-entry a certain number of days after an event has been completed. | | | | | Expiry period type + expiry days | Enables admins to set a period (eg weekly, monthly), and to lock data-entry a certain number of days after the end of the period. | | | | | Allow future enrolment dates | If ticked, this enables a user to enter future Enrolment dates during enrolment in a Program; otherwise users are restricted to today or past dates. | | | | | Allow future incident dates | If ticked, this enables a user to enter future Incident dates during enrolment in a Program; otherwise users are restricted to today or past dates. | | | | | Only enrol once (per tracked entity instance lifetime) | If ticked, prevents a TEI (eg person) from being enrolled in this Program more than once. | | | | | Show incident date | If ticked, both Enrolment and Incident dates are shown to the user for data capture; otherwise, only the Enrolment date is shown/captured. | | | | | Description of incident date | Allows an admin to customize the label that is used for the incident date. | | | | | Description of enrolment date | Allows an admin to customize the label that is used for the enrollment date. | | | | | Capture coordinates (enrolment) | Enables users to capture geographical coordinates during enrolment in the program. | | | | | Capture Polygon (enrolment) | Enables users to capture locations (enclosed areas) during enrolment in the program. | | | | | TEI Coordinates | Enables users to capture geographical coordinates for the TEI during the enrolment in the program. | | | | | Relationships: create and update | Enables users to create and update relationships. | | | | | Relationships - shortcut link to add a relative | This enables admins to add a link for one specific relationship to the Dashboard, enabling users to directly create a linked TEI (eg "child" patient). | | | | | Attributes: display in list | This setting determines whether an Attribute can be viewed in lists such as search results, and whether it can be seen in the shortlist of Attributes shown under "Profile" in the Dashboard. | | | The first three attributes will be shown | | | Attributes: mandatory | This enables an admin to mark an Attribute as "mandatory";, meaning the enrolment can’t be saved until a value is captured. | | | | | Attributes: date in future | For date Attributes, this enables an admin to either prevent or allow future dates to be captured. | | | | | Registration form - default | The default data entry form simply lists all attributes defined for the TEI. | | | | | Registration form - custom | This enables an admin to define a custom layout (using HTML) for the registration form. | - | | Custom layouts are not supported in the Android App | | | Program notifications | You can set up automated notifications for when program enrolments or completions occur, or at a set interval before/after incident or enrolment dates. These can be sent as internal DHIS 2 messages, emails or SMSs. | | | This functionality is executed on the server side, once data is received. Will not work when the app is working offline. | | | Activate/deactivate enrolment | Deactivating a TEI dashboard will cause the TEI to become “read-only”. This means you cannot enter data, enrol the TEI or edit the TEI profile. | | | | | Complete allowed only if validation passes | Select check box to enforce that an event created by this program is only completed when all validation rules have passed. | | | | | Org unit opening/closing dates | Enables an admin to set opening and closing dates for an Org Unit, which blocks users from adding or editing events outside of these dates. | | | | | Data sharing levels/Can capture data | Enables the user to add new event, edit data and delete events in the program. | | | | | Data sharing levels/Can view data | Enables the user to see list of events within the program. | | | | | Data sharing levels/No access | The user will not be able to see the program | | | |
| Feature | Description of feature | Program with registration | Program without registration | Notes on implementation |
|---|---|---|---|---|
| Event form - default | The default data entry form simply lists all attributes belonging to a program registration | | | |
| Event form - section forms | Sections forms allow you to split existing forms into segments | | | |
| Event form - custom | Define a custom event form as a HTML page. | | | Custom layouts are not supported in the Android App. |
| Program stage notifications | You can set up automated notifications for when the program stage is completed, or at a set interval before/after scheduled event dates. These can be sent as internal DHIS 2 messages, emails or SMS messages. | | | This functionality is executed on the server side, once data is received. Will not work when the app is working offline. |
| Repeatable | If Repeatable Is ticked, this stage can be repeated during one program enrollment. If t is not, then the stage can only happen once during a program enrollment. | | | |
| Repeatable | If Repeatable Is ticked, this stage can be repeated during one program enrollment. If t is not, then the stage can only happen once during a program enrollment. | | | |
| Repeatable + Standard interval days | The system will suggest the due date as the calculation of the last event + standard interval dates. | | | |
| Period type | Enables an admin to configure a set of periods (e.g. weeks or months) for each event in the program stage, instead of just a date. When creating events, users are then asked to choose a period (instead of a date) for each new event they create within that program stage. | | | |
| Auto-generate event | If ticked, a "booking" is generated for this Program Stage upon enrolment, based on the "Scheduled days from start". | | | |
| Generate events based on enrolment date (not incident date) | Check on it for auto-generating due dates of events from program-stages of this program based on the enrollment date. If it is not checked, the due dates are generated based on incident date. | | | |
| Open data entry form after enrolment + report date to use | If selected, once an enrolment is complete, an event’s data entry form should open directly afterwards. | | | |
| Ask user to complete program when stage is complete | If selected, upon completing the program stage the user should be asked to complete the program. (This setting is ignored if "Ask user to create new event" is also ticked.) | | | |
| Ask user to create new event when stage is complete | If selected, when the Program Stage is completed the user is prompted to book. | | | |
| Hide due date | Only shows the actual date for events, hiding the due date. | | | |
| Capture coordinates (event)/Feature Type-Point | Enables the user to capture geographical coordinates when each event is created particularly useful in devices that have GPS (eg Android), as instead of having to type in coordinates, the user can automatically populate them with the press of a button. | | | |
| Capture Polygon (event)/Feature Type-Polygon | Enables users to capture locations (enclosed areas) when each event is created. A Polygon must contain at least 4 points. | | | |
| Description of report date | Allows an admin to customize the label that is used for the event’s date. | | | |
| Data elements-compulsory | This enables an admin to mark a data element as "compulsory", meaning an event can not be saved until a value is captured. | | | |
| Data elements-allow provided elsewhere | On the form, this places a tick-box next to the selected data element, and enables previous data to be pulled into the data element. | | | |
| Data elements-display in reports | Displays the value of this data element into the single event without registration data entry function. | | | |
| Data elements-date in future | For date Data Elements, this enables an admin to either prevent or allow future dates to be captured. | | | |
| Data elements-render options as radio | Enables an admin to choose how options will be displayed on-screen for each Data Element (i.e. either as drop-down list or as radio buttons). | | | |
| Block entry form after completed | Prevents all edits to events after they have been completed. | | | |
| Event comments | Enables the user to add overall comments to an event. These comments are cumulative (new comments are added below existing comments). | | |
| Feature | Description of feature | Status | Notes on implementation | | --- | --- | :-: | --- | --- | | Messaging | Enables users to send ad-hoc free-text messages to TEIs (e.g. patients) via SMS or email. | | | | Mark for follow-up (button with exclamation triangle) | Enables a user to mark a TEI (e.g. patient) as requiring follow-up. | | | | Display TEI audit history | Enables a user to see a history of all edits to Attributes for this TEI (e.g. patient). | - | | | Inline Program Indicators | If a program indicator "display in form" box is ticked, the indicator appears on the Tracker Capture dashboard, and is updated live as data capture occurs. | | | | | Delete events | Enables the user to delete an event. | | | | Schedule events | In the event generation dialogue, the user should also see the option to schedule an event. The process is like creating an event, but the user will be sent back to the TEI dashboard after the event is scheduled. | | | | Referral of patients | In the event generation dialogue, the user should also see the option to refer a patient. The process is like creating/scheduling an event, but the user can change the org unit and has to specify if is a one-time or permanent referral. One time will just create the event in the specified OU. | | | | Reset search fields | User is able to clean up the search fields by pressing on the rounded arrow icon on the top right corner of the search screen. | | | | Search screen for all TE Type | User is able to search across all program of one tracked entity type (TET). In the Search screen there is a drop down which shows all the programs available for the active TET (active TET is defined by the selection of the program in the home screen). That drop down should also have an option with TET name. (Person in our server). When the user selects that option, the search fields available will only be the TET attributes (no program specific attributes). All search restrictions do not apply, because they belong to the programs. | | | | TEI Dashboard without program | User can see the TEI dashboard without any program by selecting the TEI in the list if the search was without program. The dashboards will show the TET attributes in the details card followed by a list of active enrollments. | | | | TEI enrollment history and new enrollment | User is able to see the complete historical record of the TEI. By clicking on the top right corner icon they will see a list of Active enrolments, followed by a list of past enrolments (completed or cancelled), followed by the programs in which the TEI could be enrolled. Users should be able to navigate to the different enrolments from the list. | | | | Access level-Breaking the glass | If the program is configured with access level protected, and the user searches and finds tracked entity instances that is owned by organisation unit that the user does not have data capture authority for, the user is presented with the option of breaking the glass. The user will gove a reason for breaking the glass, then gain temporary ownership of the tracked entity instance. | | |
| Feature | Description of feature | Status | Notes on implementation | | --- | --- | :-: | --- | --- | | Events listing (grid) | A listing of existing events that is displayed once a program is selected. | | | | Sort and filter events in grid | Allows the user to sort listed events, or to filter events based on keywords or specific ranges of dates/numbers. | | Events are sorted chronologically. The user can filter by period and organisation unit. | | | Edit events in grid | Allows the user to directly edit the data elements shown in the events listing/grid. | | | | View event audit history | Enables the user to see a history of all changes to the event’s data elements. | | | | Show/hide columns (in event list/grid) | Enables the user to modify the data elements shown in the event listing/grid (applies to that user only). | | | | Field completion percentage | The percentage of data completed in each event is shown in the top right corner of an event when it is opened after first registration. The percentages should be adapted to the effects of the program rules in the forms. | | The percentage of completion does not take into account the not-supported value types in the forms. | | | Delete events | Enables the user to delete an event. | | |
The following is a comprehensive list of all Program rule components (variable types and actions) available in DHIS 2, and notes on whether or not these have been implemented in the Android Capture app.
Any issues around using a particular feature with Android are highlighted with an exclamation mark !.
| legend | description |
|---|---|
| Value type implemented |
| Value type not implemented, but will be safely ignored (if not compulsory) |
| Not applicable |
| Work in progress. Feature not completely implemented yet or with unexpected behavior already reported |
| Variable type | Description of variable type | Program with registration | Program without registration | Notes on implementation |
|---|---|---|---|---|
| Data element from the newest event for a program stage | This source type works the same way as "Data element from the newest event in the current program", except that it only evaluates values from a specific program stage. | | | |
| Data element from the newest event in the current program (with registration) | This source type is populated with the newest data value collected for the specified data element within the enrollment. | | | |
| Data element from the newest event in the current program (without registration) | This program rule variable will be populated with the newest data value found within the 10 newest events in the same organization unit. | | | |
| Data element in current event (with registration) | Variable takes the data element’s value from the current event. | | | |
| Data element in current event (without registration) | Contains the data value from the same event that the user currently has open. | | | |
| Data element from previous event (with registration) | Program rule variables with this source type will contain the newest value from all previous events for the specified data element. The event currently open is not evaluated. | | | |
| Data element from previous event (without registration) | This program rule variable will be populated with the newest data value found within the 10 events preceding the current event date (i.e. not including the current event). | | | |
| Tracked entity attribute | Populates the program rule variable with a specified tracked entity attribute for the current TEI (e.g. current patient). | | | |
| Calculated value | Calculated value. | | |
| Action | Description of action | Program with registration | Program without registration | Notes on implementation |
|---|---|---|---|---|
| Hide Field | Hides an individual data element if the rule is true. | | | ! If you change the value after the field is hidden, it will revert the action depending on the value type rule engine default value. We recommend its use combined with the hasvalue function. |
| Hide Section | Hides a whole section and its data elements if the rule is true. | | | |
| Hide Option | Hide a single option for an option set in a given data element/tracked entity attribute. When combined with show option group the hide option takes precedence | | | |
| Hide Option Group | Hide all options in a given option group and data element/tracked entity attribute. When combined with show option group the hide option takes precedence | | | |
| Show option group | Used to show only options from a given option group in a given data element/tracked entity attribute. To show an option group implicitly hides all options that is not part of the group(s) that is shown. | | | |
| Assign Value | Assigns a value to a specified data element or attribute if the rule is true. | | | To assing text, it must be in single quotes. For example: '2+2' will show the text 2+2 and 2+2, without the single quotes will show 4. |
| Show Warning | Shows pop-up warning to the user if rule is true; does not prevent the user from continuing. | | | |
| Warning on Complete | Shows a pop-up warning to the user if, at the point "complete" is clicked, a rule is true; this does not prevent the user from continuing. | | | |
| Show Error | Shows a pop-up error message to the user as soon as a rule is true, and prevents user from continuing until rule is no longer true. | | | The value is not saved, but the text is not cleared so that the user can fix it easily. |
| Error on Complete | Shows a pop-up warning to the user if, when "complete"; is clicked, a rule is true, and prevents user from continuing until rule is no longer true. | | | |
| Make Field Mandatory | Sets a data element as "mandatory"; if rule is true. | | | |
| Display Text (Event Programs) | Used to display information that is not an error or a warning, for example feedback. | | | Independently from the source variable type, text will be displayed in the form as the last element of the last section. Text will be displayed as the messages in the indicators tab. |
| Display Text (Tracker Programs) | Used to display information that is not an error or a warning, for example feedback. | | | 1. Program rule configured as "Trigger rule only for program stage". Text will be displayed ONLY in the form as the last element of the last section. Text will be displayed as the messages in the indicators tab. -> If the program rule uses any variable type which is not from the current stage, the rule will not be able to evaluate and the message will not be shown.2. Program rule NOT configured as "Trigger rule only for program stage". Text will be displayed ONLY in the indicators tab and NOT in the form.→ If the program rule uses any variable of type Current event, the rule will not be able to evaluate and the message will not be shown. |
| Display Key Value/Pair (Event Programs) | Used to display information drawn from a data element. | | | Variable Type: _ Data element from the newest event in the current program_ Data element from previous event_ Data element in current event_ Built-in variableKey/Value Pair will be displayed in the form ONLY in the specified section. |
| Display Key Value/Pair (Tracker Programs) | Used to display information drawn from a data element. | | | 1. Variable Type:_ Data element in current eventKey/Value Pair will be displayed in the form ONLY in the specified section.2. Variable Type:_ Data element from the newest event in the current program_ Data element from previous event_ Data element from the newest event for a program stage_ Tracked entity attribute_ Built-in variableKey/Value Pair will be displayed ONLY in the indicators tab and NOT in the form. |
| Hide Program Stage | Hides a whole program stage from the user if the rule is true. | | | Action rule only supported for **Data element from the newest event in the current program type and tracked entity ** attribute variables. |
| Send Message | Send Message triggers a notification based on provided message template.This action will be taken whenever there is a change in data value. However this behaviour can be controlled by providing event-enrollment status in program rule expression | | | This feature is executed on the server side. |
| Schedule Message | Schedule Message will schedule notification at date provided by Expression in the data field. | | | This feature is executed on the server side. |
| Action | Description of Action | Data Element from the Newest Event in the Current Program (with registration) | Data Element from the Newest Event in the Current Program (without registration) | Data Element from Previous Event (with registration) | Data Element from Previous Event (without registration) | Data Element from the Newest Event for a Program Stage (with registration) | Tracked Entity Atribute (with registration) | Notes on implementation |
|---|---|---|---|---|---|---|---|---|
| Hide Field | Hides an individual data element if the rule is true. | | | | | | | |
| Hide Section | Hides a whole section and its data elements if the rule is true. | | | | | | | |
| Hide Option | Hide a single option for an option set in a given data element/tracked entity attribute. When combined with show option group the hide option takes precedence. | | | | | | | |
| Hide Option Group | Hide all options in a given option group and data element/tracked entity attribute.When combined with show option group the hide option takes precedence. | | | | | | | |
| Assign Value | Assigns a value to a specified data element or attribute if the rule is true. | | | | | | | To assing text, it must be in single quotes. For example: '2+2' will show the text 2+2 and 2+2, without the single quotes will show 4. |
| Show Warning | Shows pop-up warning to the user if rule is true; does not prevent the user from continuing. | | | | | | | |
| Warning on Complete | Shows a pop-up warning to the user if, at the point "complete" is clicked, a rule is true; this does not prevent the user from continuing. | | | | | | | |
| Show Error | Shows a pop-up error message to the user as soon as a rule is true, and prevents user from continuing until rule is no longer true. | | | | | | | The rule will let the user to finish the enrollment but will prevent from completing the events until rule is no longer true. The value is not saved, but the text is not cleared so that the user can fix it easily. |
| Error on Complete | Shows a pop-up warning to the user if, at the point "complete" is clicked, a rule is true; this does not prevent the user from continuing. | | | | | | | |
| Make Field Mandatory | Sets a data element as "mandatory" if rule is true. | | | | | | | |
| Display Text (Event Programs) | Used to display information that is not an error or a warning, for example feedback. | | | | | | | Independently from the source variable type, text will be displayed in the form as the last element of the last section. Text will be displayed as the messages in the indicators tab. |
| Display Text (Tracker Programs) | Used to display information that is not an error or a warning, for example feedback. | | | | | | | 1. Program rule configured as "Trigger rule only for program stage". Text will be displayed ONLY in the form as the last element of the last section. Text will be displayed as the messages in the indicators tab. -> If the program rule uses any variable type which is not from the current stage, the rule will not be able to evaluate and the message will not be shown.2. Program rule NOT configured as "Trigger rule only for program stage". Text will be displayed ONLY in the indicators tab and NOT in the form.→ If the program rule uses any variable of type Current event, the rule will not be able to evaluate and the message will not be shown. |
| Display Key Value/Pair (Event Programs) | Used to display information drawn from a data element. | | | | | | | Variable Type: _ Data element from the newest event in the current program_ Data element from previous event_ Data element in current event_ Built-in variableKey/Value Pair will be displayed in the form ONLY in the specified section. |
| Display Key Value/Pair (Traker Programs) | Used to display information drawn from a data element. | | | | | | | 1. Variable Type:_ Data element in current eventKey/Value Pair will be displayed in the form ONLY in the specified section.2. Variable Type:_ Data element from the newest event in the current program_ Data element from previous event_ Data element from the newest event for a program stage_ Tracked entity attribute_ Built-in variableKey/Value Pair will be displayed ONLY in the indicators tab and NOT in the form. |
| Hide Program Stage | Hides a whole program stage from the user if the rule is true. | | | | | | | Action rule only supported for **Data element from the newest event in the current program variable ** type. If the event is auto-generated, the rule will not apply. |
| Send Message | Send Message triggers a notification based on provided message template.This action will be taken whenever there is a change in data value. However this behaviour can be controlled by providing event-enrollment status in program rule expression | | | | | | | This feature is executed on the server side. |
| Schedule Message | Schedule Message will schedule notification at date provided by Expression in the data field. | | | | | | | This feature is executed on the server side. |
| Function | Description of function | Status | Notes on implementation |
|---|---|---|---|
| d2:ceil | Rounds the input argument up to the nearest whole number. | | |
| d2:floor | Rounds the input argument down to the nearest whole number. | | |
| d2:round | Rounds the input argument to the nearest whole number. | | |
| d2:modulus | Produces the modulus when dividing the first with the second argument. | | |
| d2:zing | Evaluates the argument of type number to zero if the value is negative, otherwise to the value itself. | | |
| d2:oizp | Evaluates the argument of type number to one if the value is zero or positive, otherwise to zero. | | |
| d2:concatenate | Produces a string concatenated string from the input parameters. Supports any number of parameters. | | Use d2:concatenate function instead of using "+" as the expression evaluator in the app will be adding numbers if it can. |
| d2:daysBetween | Produces the number of days between the first and second argument. If the second argument date is before the first argument, the return value will be the negative number of days between the two dates. The static date format is 'yyyy-MM-dd'. | | |
| d2:weeksBetween | Produces the number of full weeks between the first and second argument. If the second argument date is before the first argument, the return value will be the negative number of weeks between the two dates. The static date format is 'yyyy-MM-dd'. | | |
| d2:monthsBetween | Produces the number of full months between the first and second argument. If the second argument date is before the first argument the return value will be the negative number of months between the two dates. The static date format is 'yyyy-MM-dd'. | | |
| d2:yearsBetween | Produces the number of years between the first and second argument. If the second argument date is before the first argument, the return value will be the negative number of years between the two dates. The static date format is 'yyyy-MM-dd'. | | |
| d2:addDays | Produces a date based on the first argument date, adding the second argument number of days. | | |
| d2:count | Counts the number of values that is entered for the source field in the argument. | | |
| d2:countIfValue | Counts the number of matching values that is entered for the source field in the first argument. Only occurrences that matches the second argument is counted. | | |
| d2:countIfZeroPos | Counts the number of values that is zero or positive entered for the source field in the argument. The source field parameter is the name of one of the defined source fields in the program. | | |
| d2:hasValue | Returns the number of numeric zero and positive values among the given object arguments. Can be provided with any number of arguments. | | |
| d2:validatePattern | Evaluates to true if the input text is an exact match with the supplied regular expression pattern. The regular expression needs to be escaped. | | |
| d2:left | Evaluates to the left part of a text, num-chars from the first character. | | |
| d2:right | Evaluates to the right part of a text, num-chars from the last character. | | |
| d2:substring | Evaluates to the part of a string specified by the start and end character number. | | |
| d2:split | Split the text by delimiter, and keep the nth element (0 is the first). | | |
| d2:length | Find the length of a string. | | |
| d2:zpvc | Returns the number of numeric zero and positive values among the given object arguments. Can be provided any number of arguments. | | |
| d2:inOrgUnitGroup* | Evaluates whether the current organization unit is in the argument group. The argument can be defined with either ID or organization unit group code. | | |
| d2:hasUserRole** | Returns true if the current user has this role otherwise false. | | |
| d2:zScoreWFA*** | Function calculates z-score based on data provided by WHO weight-for-age indicator. Its value varies between -3.5 to 3.5 depending upon the value of weight. | |
Notes
* Available in DHIS 2 v2.30
** Available in DHIS 2 v2.31 onwards
*** Available in DHIS 2 v2.32
Available in DHIS2 v2.30
| Variable | Description of function | Status | Notes on implementation |
|---|---|---|---|
| V{current_date} | Contains the current date whenever the rule is executed. | | |
| V{event_date} | Contains the event date of the current event execution. Will not have a value at the moment the rule is executed as part of the registration form. | | |
| V{event_status} | Contains status of the current event or enrollment. | | |
| V{due_date} * | This variable will contain the current date when the rule is executed. Note: This means that the rule might produce different results at different times, even if nothing else has changed. | | |
| V{event_count} | Contains the total number of events in the enrollment. | | |
| V{enrollment_date} * | Contains the enrollment date of the current enrollment. Will not have a value for single event programs. | | |
| V{incident_date} * | Contains the incident date of the current enrollment. Will not have a value for single event programs. | | |
| V{enrollment_id} * | Universal identifier string(UID) of the current enrollment. Will not have a value for single event programs. | | |
| V{event_id} | Universal identifier string(UID) of the current event context. Will not have a value at the moment the rule is executed as part of the registration form. | | |
| V{orgunit_code} | Contains the code of the orgunit that is linked to the current enrollment. For single event programs the code from the current event Org Unit will be used instead. | | |
| V{environment} | Contains a code representing the current runtime environment for the rules. The possible values is "WebClient", "AndroidClient" and "Server". Can be used when a program rule is only supposed to run in one or more of the client types. | | |
| V{program_stage_id} | Contains the ID of the current program stage that triggered the rules. This can be used to run rules in specific program stages, or avoid execution in certain stages. When executing the rules in the context of a TEI registration form the variable will be empty. | | |
| V{program_stage_name} | Contains the name of the current program stage that triggered the rules. This can be used to run rules in specific program stages, or avoid execution in certain stages. When executing the rules in the context of a TEI registration form the variable will be empty. | |
Notes
* Only applies to tracker
As the web and the Android application are currently using a different program rule engine there might be programs rule that work in one system and not in the other. In general terms it can be said that the Android program rule engine is more strict and so, some Program Rules that work in the web version of DHIS2 will fail in Android. This subsection describes the main differences and how to adapt the rules in order to have them working in both systems.
DHIS2 web version considers the type boolean as 0 or 1 (which can be evaluated to true or false), however Android evaluates them only as true or false. While this makes possible the addition of booleans in web, it will fail in Android; in order to fix this an additional program rule variable is needed to transform the boolean into an number that can be operated. Check the table below for examples and possible solutions.
For the examples below consider the following:
| Program Rule Condition(s) | Program Rule Action(s) | Web version | Android version | Comment |
|---|---|---|---|---|
| d2:hasValue('yn_prv1') || d2:hasValue('yn_prv2') | Assign fixed value to DE | | | |
| #{yn_prv1} || #{yn_prv2} | Assign fixed value to DE | | | |
| d2:hasValue('yn_prv1') || d2:hasValue('yn_prv2') | Assign value to DE: #{yn_prv1} + #{yn_prv2} + 1 | |  | Crashes in Android whenver a boolean is marked as the expression would result in true+false+1 |
| PR1: #{prv_boolean_one} PR2: #{prv_boolean_two} PR3: #{prv_boolean_one} || #{prv_boolean_two} | PRA1. Assign value "1" to PRV "#{prv_bool_one_to_number}" PRA2. Assign value: "1" to PRV "#{prv_bool_two_to_number}" PRA3. Assign value to DE: "#{prv_bool_one_to_number} + #{prv_bool_two_to_number} + 1" | | | There are 2 variables for boolean, one gets the value via a PRV definition “value form DE” and the other one via a PRA. If a boolean is not marked it is counted as string instead of a number |
| Four PR to assign 1 or 0 to the booleans and an additional for the addition. Priorities go from top to bottom PRC1: !d2:hasValue('prv_boolean_one') || !#{prv_boolean_one} PRC2: d2:hasValue('prv_boolean_one') && #{prv_boolean_one} PRC3: !d2:hasValue('prv_boolean_two') || !#{prv_boolean_two} PRC4: d2:hasValue('prv_boolean_two') && #{prv_boolean_two} PRC5: true | PRA1: Assign value: "0" to PRV "#{prv_bool_one_to_number}" PRA2: Assign value: "1" to PRV "#{prv_bool_one_to_number}" PRA3: Assign value: "0" to PRV "#{prv_bool_two_to_number}" PRA4: Assign value: "1" to PRV "#{prv_bool_two_to_number}" PRA5: Assign value: "#{prv_bool_one_to_number} + #{prv_bool_two_to_number} + 1" to DE | | | There are 2 variables for boolean, one gets the value via a PRV definition “value form DE” and the other one via a PRA. |
DHIS2 web version evaluate numbers in a more flexible way casting values from integer to floats if required for a division, however, Android take numbers as such (without a casting) which my end up giving unexpected results. Check the table below for examples and possible solutions.
| Program Rule Condition(s) | Program Rule Action(s) | Web version | Android version | Comment |
|---|---|---|---|---|
| true | Assign value to DE: d2:daysBetween('2020-05-13', '2020-05-17') / 3 | | | The user would expect the division to be calculated as 4/3 with a result of 1.3333. However, Android does not cast 4 to a float (4.0 as the web version does) so the result in Android is a pure 1 as the result of the integer division 4/3 |
| true | Assign value to DE: d2:daysBetween('2020-05-13', '2020-05-17') / 3.0 | | | Division results in 1.33333 in both web and Android |
In the version 2.2 of the application (released on August, 2020) a new rule-engine was included. This rule-engine requires some optional and some mandatory changes to be performed on the program rules expressions in order to make it work in the new application. A list of those changes, how to detect them and how to fix them is included in the following subsections.
This is an optional change. d2:hasValue now works with both single quotes or full variable expression. The following expressions is valid: (d2:hasValue('variable_name') and d2:hasValue(#{variable_name}))
Get programRules where either the condition or the program rule action uses the d2:hasValue function.
https://example.org/api/programRules?fields=program[name],name,programRuleActions[data],condition&filter=programRuleActions.data:like:hasValue&filter=condition:like:hasValue&rootJunction=OR
<programRule name="PR01 - Check variable with hasValue(#{variable})">
<condition>d2:hasValue(#{Age in years})</condition>
<program name="JB_Testing_2.2"/>
<programRuleActions>
<programRuleAction/>
</programRuleActions>
</programRule>
<programRule name="PR01 - Check variable with hasValue('variable')">
<condition>d2:hasValue('Age in years')</condition>
<program name="JB_Testing_2.2"/>
<programRuleActions>
<programRuleAction/>
</programRuleActions>
</programRule>
The example above shows how different ways of using the hasValue function will have the same effect as from version 2.2. There are no mandatory changes but have in mind that while writing new program rules being consistent might help avoiding problems.
This is a mandatory change. !#{variable_name} can only be used boolean type variables (BOOLEAN and TRUE_ONLY).
Get programRulesVariables with dataElements of the type NOT BOOLEAN or TRUE_ONLY
https://example.org/api/programRuleVariables?fields=name&filter=dataElement.valueType:!in:[TRUE_ONLY,BOOLEAN]&paging=False
Get all programRule.conditions https://example.org/api/programRules?fields=displayName,condition&paging=False
Check manually (or programmatically via a script) if in the list of programRule.conditions (obtained via the second API call) any of the program rules variables (obtained via the first API call) is being used.
For example, from the first list we get:
<programRuleVariable name="AdditionalMedication"/>
<programRuleVariable name="age"/>
<programRuleVariable name="Age in years"/>
<programRuleVariable name="AgeYears"/>
<programRuleVariable name="allergies"/>
<programRuleVariable name="apgarcomment"/>
And we can compare with the second list:
<programRule>
<condition>!#{Pregant}</condition>
<displayName>PR03- !#{variable_name} - BOOLEAN</displayName>
</programRule>
<programRule>
<condition>!#{Age in years}</condition>
<displayName>PR03- !#{variable_name} - NOT BOOLEAN</displayName>
</programRule>
<programRule>
<condition>#{PregnancyStatus} != 'YES'</condition>
<displayName>Pregnancy status : false</displayName>
</programRule>
This shows that a NON BOOLEAN variable is being used wrongly.
Make sure that you are evaluating BOOLEAN or TRUE_ONLY variables in your conditions. In case the program rule variable is not of that type update your program rule condition with d2:hasValue(#{variable_name}) or d2:hasValue(‘variable_name’)
In the example above the condition should change from:
<condition>!#{Age in years}</condition>
To:
<condition>d2:hasValue(‘Age in years’)</condition>
This is a mdantory change. In program rule actions of the type ASSIGN, DISPLAY TEXT, DISPLAY KEY/VALUE PAIR, SHOW WARNING, SHOW ERROR, WARNING ON COMPLETE or ERROR ON COMPLETE if the Expression to evaluate and assign/display is a text, it must be enclosed with single quotes.
Get the Program Rules which actions are of type text, with something on the field data and verify their data content to find strings without quotes.
https://example.org/api/programRules?fields=program[name],name,programRuleActions[programRuleActionType,content,data]&filter=programRuleActions.programRuleActionType:in:[ASSIGN,DISPLAYTEXT,DISPLAYKEYVALUEPAIR,SHOWWARNING,SHOWERROR,WARNINGONCOMPLETE,ERRORONCOMPLETE]&filter=programRuleActions.data:!null&paging=false
For example we can detect here an error of a text field without quotes in the first Program Rule Action while the second one is correct.
<programRule name="PR04- !#{variable_name} - BOOLEAN - Assign text without quotes">
<program name="JB_Testing_2.2"/>
<programRuleActions>
<programRuleAction>
<programRuleActionType>SHOWWARNING</programRuleActionType>
<data>embarazada</data>
<content>PR04 text with quotes is: </content>
</programRuleAction>
</programRuleActions>
</programRule>
<programRule name="PR04- !#{variable_name} - BOOLEAN - Assign text with quotes">
<program name="JB_Testing_2.2"/>
<programRuleActions>
<programRuleAction>
<programRuleActionType>SHOWWARNING</programRuleActionType>
<data>'embarazada'</data>
<content>PR04 text with quotes is: </content>
</programRuleAction>
</programRuleActions>
</programRule>
Scan the generated list (via the suggested API calls) to find data components of the Program Rule Action where text is not quoted, then go to each of the identified Program Rules and update them.
This is a mdantory change. In program rule actions of the type ASSIGN, DISPLAY TEXT, DISPLAY KEY/VALUE PAIR, SHOW WARNING, SHOW ERROR, WARNING ON COMPLETE or ERROR ON COMPLETE if the Expression to evaluate and assign/display is a text, it must be enclosed with single quotes (same as previous change); but, on top of that, if it requires to concatenate two strings or a combination of functions it is mandatory to use the d2:concatenate function.
Get the Program Rules which actions are of type text, with any content on the field data and verify their data content to check if in case of two or more strings (or other objects) are being joined the d2:concatenate function is used
Get the Program Rules which actions are of type text and verify their data content to find strings without quotes.
http://localhost:8034/api/programRules?fields=program[name],name,programRuleActions[programRuleActionType,content,data]&filter=programRuleActions.programRuleActionType:in:[ASSIGN,DISPLAYTEXT,DISPLAYKEYVALUEPAIR,SHOWWARNING,SHOWERROR,WARNINGONCOMPLETE,ERRORONCOMPLETE]&filter=programRuleActions.data:!null&paging=false
For example we can detect here an error of two strings in an action without the use of d2:concatenate.
<programRule name="PR08- Assign text and variable without concatenate">
<program name="JB_Testing_2.2"/>
<programRuleActions>
<programRuleAction>
<programRuleActionType>SHOWWARNING</programRuleActionType>
<data>'Age is 10 and modulus' 'another string'</data>
<content>PR05 text without concat is: </content>
</programRuleAction>
</programRuleActions>
</programRule>
Scan the generated list (via the suggested API calls) to find data components of the Program Rule Action where two or more objects are being concatenated and update them to use the d2:concatenate function.
In the example above the data should change from:
<data>'Age is 10 and modulus' 'another string'</data>
To:
<data>d2:concatenate('Age is 10 and modulus','another string')</data>
The following is a comprehensive list of all Program indicator variables available in DHIS2, and notes on whether or not these have been implemented in the Android Capture app.
Any issues around using a particular feature with Android are highlighted with an exclamation mark.
| legend | description |
|---|---|
| Component implemented |
| Component not implemented (rule fails) |
| Not applicable |
| Work in progress. Feature not completely implemented yet or with unexpected behaviour already reported. |
| Function | Description | Status | Notes on implementation |
|---|---|---|---|
| if | Evaluates the boolean expression and if true returns the true expression value, if false returns the false expression value. The arguments must follow the rules for any indicator expression. | | |
| isNull | Returns true if the element value is missing (null), otherwise false. | | |
| isNotNull | Returns true if the element value is not missing (not null), otherwise false. | | |
| firstNonNull | Returns the value of the first element that is not missing (not null). Can be provided any number of arguments. Any argument may also be a numeric or string literal, which will be returned if all the previous objects have missing values. | | |
| greatest | Returns the greatest (highest) value of the expressions given. Can be provided any number of arguments. | | |
| least | Returns the least (lowest) value of the expressions given. Can be provided any number of arguments. | |
| Function | Description | Status | Notes on implementation |
|---|---|---|---|
| addDays | Produces a date based on the first argument date, adding the second argument number of days. | | |
| ceil | Rounds the input argument up to the nearest whole number. | | |
| condition | Evaluates the boolean expression and if true returns the true expression value, if false returns the false expression value. The conditional expression must be quoted. The true-expr and false-expr arguments must follow the rules of any program indicator expression (including functions). | | |
| count | Counts the number of data values that has been collected for the given program stage and data element in the course of the enrollment. The argument data element is supplied with the #{programStage.dataElement} syntax. | | |
| countIfCondition | Counts the number of data values that matches the given condition criteria for the given program stage and data element in the course of the enrollment. The argument data element is supplied with the #{programStage.dataElement} syntax. The condition is supplied as a expression in single quotes. | | |
| countIfValue | Counts the number of data values that matches the given literal value for the given program stage and data element in the course of the enrollment. The argument data element is supplied with the #{programStage.dataElement} syntax. The value can be a hard coded text or number. | | |
| countIfZeroPos | Counts the number of values that is zero or positive entered for the source field in the argument. | | |
| daysBetween | Produces the number of days between two data elements/attributes of type date. | | |
| floor | Rounds the input argument down to the nearest whole number. | | |
| hasUserRole | Returns true if current user has this role otherwise false. | | |
| hasValue | Returns true if the data element/attribute has a value. | | |
| inOrgUnitGroup | Evaluates whether the current organisation unit is in the argument group. The argument can be defined with either ID or organisation unit group code. | | |
| left | Evaluates to the left part of a text, num-chars from the first character. | | |
| length | Find the length of a string. | | |
| minutesBetween | Produces the number of minutes between two data elements/attributes of type “date and time”. | | |
| modulus | Produces the modulus when dividing the first with the second argument. | | |
| monthsBetween | Produces the number of full months between the first and second argument. | | |
| oizp | Returns one if the expression is zero or positive, otherwise returns zero. | | |
| relationshipCount | Produces the number of relationships of the given type that is connected to the enrollment or event. When no type is given, all types are counted. | | |
| right | Evaluates to the right part of a text, num-chars from the last character. | | |
| round | Rounds the input argument to the nearest whole number. | | |
| split | RSplit the text by delimiter, and keep the nth element(0 is the first). | | |
| substring | Evaluates to the part of a string specified by the start and end character number. | | |
| validatePatten | Evaluates to true if the input text is an exact match with the supplied regular expression pattern. | | |
| weeksBetween | Produces the number of full weeks between two data elements/attributes of type date. | | |
| yearsBetween | Produces the number of years between the first and second argument. | | |
| zing | Returns zero if the expression is negative, otherwise returns the expression value. | | |
| zpvc | Returns the number of numeric zero and positive values among the given object arguments. | |
| Variable type | Description of variable type | Status | Notes on implementation | | --- | --- | :-: | --- | --- | | Event Date
event_date | The date of when the event took place. | | | | Creation Date*
creation_date | The date of when an event or enrollment was created in the system. | | | | Due Date
due_date | The date of when an event is due. | | | | Sync Date*
sync_date | The date of when the event or enrollment was last synchronized with the Android app. | | | | Incident Date
incident_date | The date of the incidence of the event. | | | | Enrollment Date (not visible on UI)
enrollment_date | The date of when the tracked entity instance was enrolled in the program. | | | | Enrollment Status
enrollment_status | Can be used to include or exclude enrollments in certain statuses. | | | | Current Date
current_date | The current date. | | | | Completed Date | The date the event is completed. | | | | Value Count
value_count | The number of non-null values in the expression part of the event. | | | | Zero or positive value count
zero_pos_value_count | The number of numeric positive values in the expression part of the event. | | | | Event Count
event_count | The count of events (useful in combination with filters). | | | | Enrollment Count
enrollment_count | The count of enrollments (useful in combination with filters). | | Indicators in the Android App are calculated in the domain of one TEI enrollment. Value always 1. | | | TEI Count
tei_count | The count of tracked entity instances (useful in combination with filters). | | Indicators in the Android App are calculated in the domain of one TEI enrollment. Value always 1. | | | Program Stage Name
program_stage_name | Can be used in filters for including only certain program stages in a filter for tracker programs. | | | | Program Stage ID
program_stage_id | Can be used in filters for including only certain program stages in a filter for tracker programs. | | | | Reporting Period Start
reporting_period_start | Can be used in filters or expressions for comparing any date to the first date in each reporting period. | | Indicators in the Android App are calculated in the domain of one TEI enrollment. | | | Reporting Period End
reporting_period_end | Can be used in filters or expressions for comparing any date to the last inclusive date in each reporting period. | | Indicators in the Android App are calculated in the domain of one TEI enrollment. | | | Organisation Unit Count
organisationunit_count | . | | | |
The following is a comprehensive list of all value types available in DHIS 2, and notes on whether or not these have been implemented in the Android Capture app.
Any issues around using a particular feature with Android are highlighted with an exclamation mark !.
| Value type implemented |
| Value type not implemented, but will be safely ignored (if not compulsory) |
| Work in progress. Feature not completely implemented yet or with unexpected behaviour already reported |
| Value type | Description of value type | Program with registration | Program with registration | Program without registration | Data Set | Notes on implementation |
|---|---|---|---|---|---|---|
| Attributes | Data Elements | Data Elements | Data Elements | |||
| Time | Time only | | | | | |
| Date & Time | Date plus time | | | | | |
| Date | Date only | | | | | |
| Age | Enables entry of either an age in years/months/days or a date-of-birth (both are stored as date-of-birth) | | | | | |
| Phone number | A valid phone number | | | | | |
| An email address in a valid format | | | | | ||
| Yes/no | Boolean yes/no (or no response) | | | | | |
| Yes only | Yes or no response | | | | | |
| Number | Any valid number, including decimals | | | | | |
| Integer | Any integer (whole numbers, no decimals) | | | | | |
| Positive Integer | Only positive integers (no zero or negative values) | | | | | |
| Positive or Zero Integer | Only zero or positive integers (no negative values) | | | | | |
| Negative Integer | Only negative integers (no zero or positive values) | | | | | |
| Percentage | Any decimal value between 0 and 100 | | | | | |
| Unit interval | Any decimal value between 0 and 1 | | | | | |
| Text | Text (length of text up to 50,000 characters) | | | | | |
| Long text | Text (no constraints on length) | | | | | |
| Letter | A single letter | | | | | |
| File | Enables upload of files in various formats (requires appropriate storage to be configured) | | | | | |
| Organisation unit | Enables selection of a DHIS2 organisation unit as the chosen value | | | | | |
| Tracker Associate | Enables selection of an existing Tracker 'tracked entity instance' (e.g. a person) as the value | | | | | |
| Username | Enables selection of a valid DHIS2 username as the value | | | | | |
| Coordinate | Enables manual entry of geographical coordinates (doesn't enable automatic capture of coordinates) | | | | | |
| URL | Enables manual entry of a URL. | | | | | |
| Image | Enables upload of images. | | | | |
This section focuses on the Android Settings Web App implementation.
The Android Settings Web App allows admins to configure synchronization parameters for the DHIS2 Android Capture App, encrypt the local database of the android devices, customize the appearance of Programs, Data sets, and Home screen, and add TEI Analytics items. The configuration parameters defined within this web app will overwrite the settings of all android devices using the DHIS2 Android Capture App.
Please note that in this version of the web app, only users with 'ALL' authority are able to define those parameters in the configuration. Other users having access to the web app can see the value of the parameters, but cannot edit them.
Warning
This version comes with improvements and disruptive features, so previous versions are no longer supported, the settings stored there will be removed.
Includes configurations such as the Matomo URL and project ID, the number of reserved values to download per TEI, and encrypt the device database.
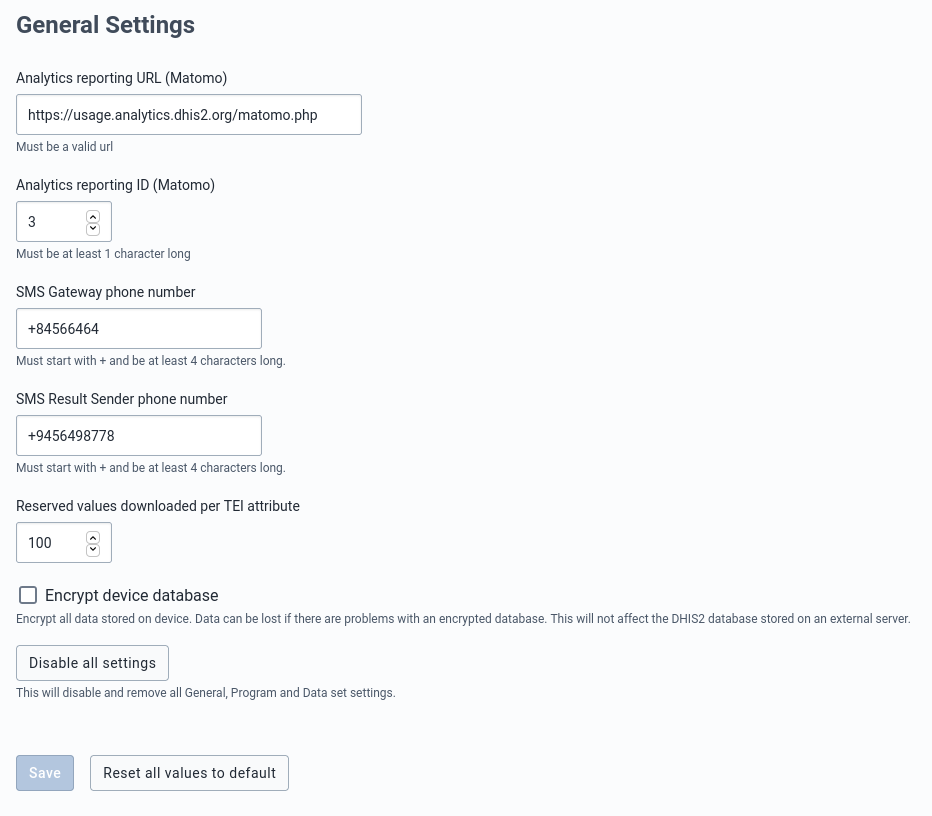
Matomo configuration: If you already have a Matomo instance, add the Matomo URL and the project ID.
Mobile configuration: This section allows admin users to edit the SMS gateway ad result sender phone number.
Reserved values: This will specify the number of values per TEI attribute reserved to download in the devices.
Encrypt device database:
Warning
This is a critical action and will affect the local database of all android devices synchronizing with the server (it won't affect the server DHIS2 database).
By default, the android app database is not encrypted, but an admin can check the Encrypt device database to encrypt the metadata and data stored in every device. Encrypting the database will have an impact on the database volume and performance of the android app. Note that at the moment of selecting or unselecting this option, no data is lost (even if it hasn't been previously synchronized with the server)
Disable all settings: By clicking this button, the user will remove all android configuration settings. No configuration will be applied to the Android Capture app (if this is the case, the sync parameters applied are the ones defined in the Android Capture app).
It offers additional parameters to control metadata/data synchronization.
Metadata sync: Admin users can choose how often the metadata will sync. e.g. Sync metadata every 24 hours.
Data sync: Admin users can choose how often the data will sync. e.g. Syncing data every 6 hours.
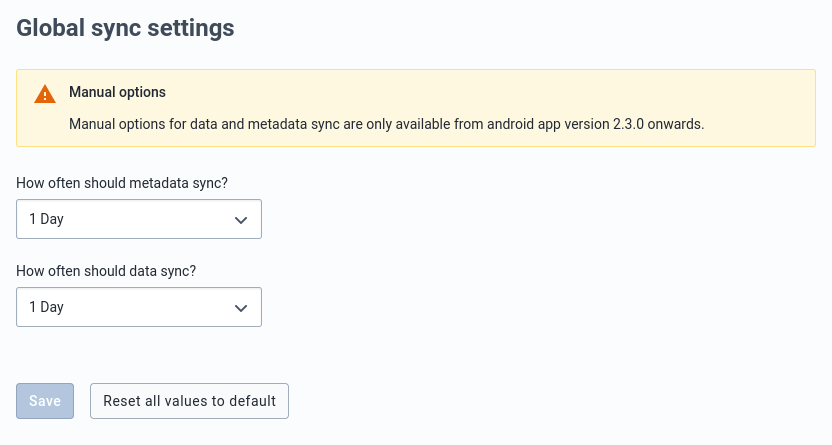
This section controls the program data synchronization parameters. It has a section to define global or default parameters to be used in the synchronization of all programs.
Global settings apply to all programs that an android user has access to.
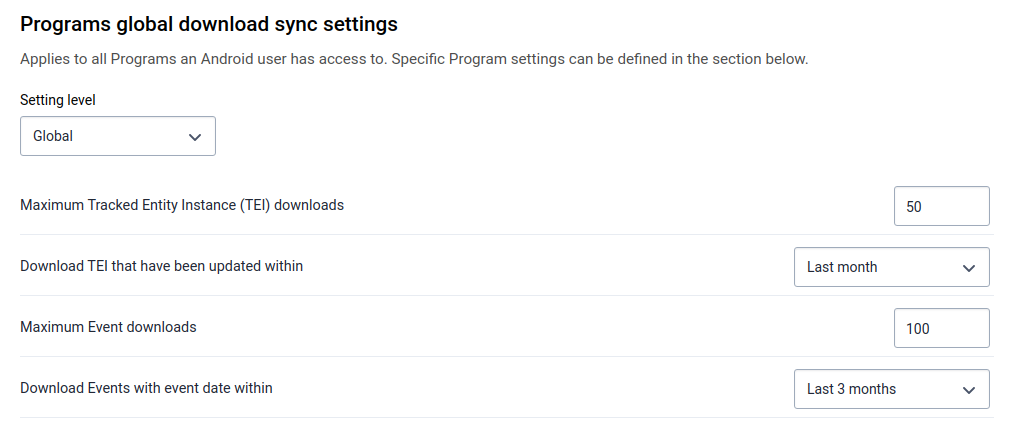
TEI to download: Maximum number of TEIs to download from the server.
TEI download period: It downloads the TEIs that have been updated within a period. e.g. TEIs that have been updated within last month
Event to download: Maximum number of Events to download.
Event download period: It downloads Events which event date belongs to a specific period.
This section allows the admin users to specify the behaviour of a particular program/s when syncing the data. The specific configuration overwrites the general settings for the programs listed in this section. To add a setting for a specific program:
Settings for Program Without Registration
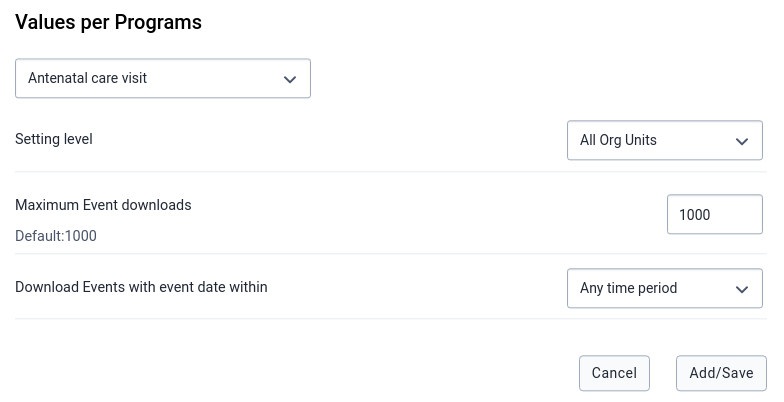
Settings for a Program With Registration
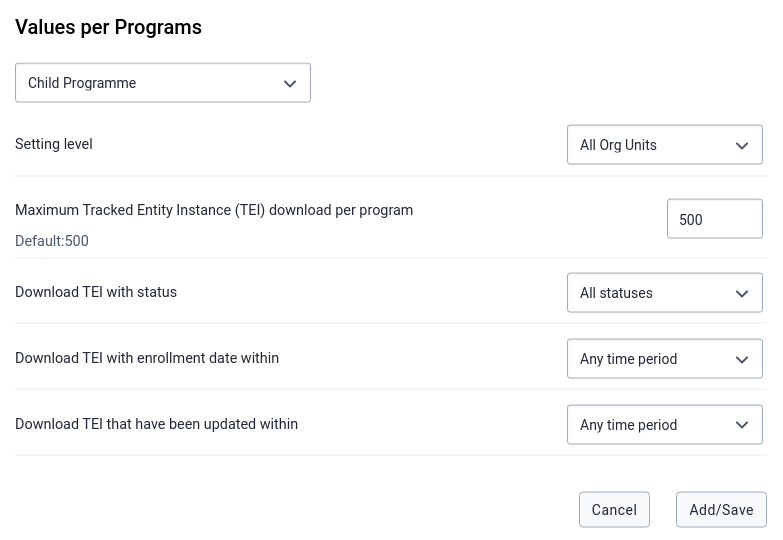
In the case that any specific settings has been saved, a table will show a summary with the specific configuration per program, and the options to edit or delete these settings.
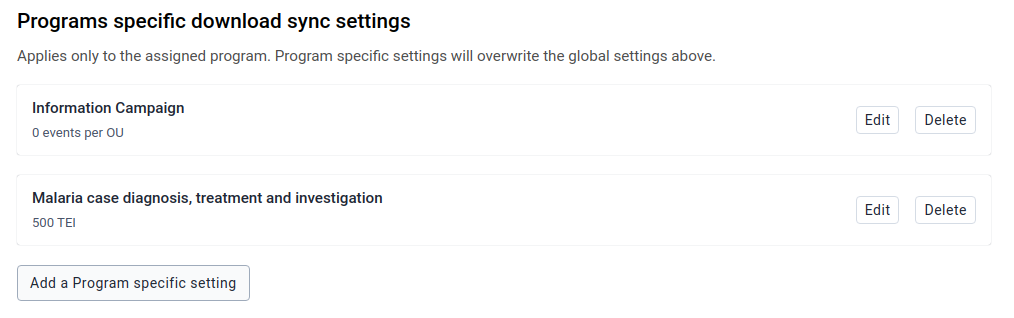
Caution
Using specific settings per program might have unexpected results in the number of TEIs downloaded and the total amount might exceed the one defined in the Global Settings. This is due to how the appliation download the TEIs from the server. The Android client will first download a max number of TEIs from the server based on the Organistation Units where the user has access and based on the lastUpdate field. Afterwards it will download a max munumber of TEIs from the specific programs. Therefore, if the TEIs downloaded from the Global setting (500 in the example above) have been updated more recently than any of the TEIs from a specific program (500 for Malaria case diagnosis, treatment and investigation) the Android client will end up downloading 1000 TEI.
This might look confusing at first, but once understood can be used to ensure a minium (and maximum) number of TEIs for a specific program will be downloaded which can be very useful in specific implementations.
Imagine an implementation where it must be ensured that the Android user has all the TEIs of a specific program in a server where the same user has access to other Organisation Units where other TEIs might be enrolled in another program. The program is called Community Care and it has 17 TEIs which have been updated very long time ago. The administrator can ensure that the 17 TEIs will be donwloaded by setting anything in Global Settings (if needed to reduce bandwidth a very low value should be set) and a at least 17 for the specific program as show in the image below:
When the initial synchronization is triggered the Android device will first download the last TEIs updated on the server (which according to our example do not belong to the specific program) and secondly up to 20 TEI from the specific program resulting in the following (notice all the TEIs for the program were downloaded):
And by going to the settings it can be appreciated how the total number of TEIs is the expected 37, 20 from the Global Setting, and 17 from the program specific.
By clicking on Reset all values, the admin user will restore the default settings values of the program section. Please note that in this case it means no specific settings per program.
To save any configuration, the admin user needs to click on the Save button (this button is disabled for the users who don't have the 'ALL' authority)
This section controls the aggregated data synchronization parameters.
The first part is for global settings that apply to all data sets an android user has access to.

Number of Periods: Maximum number of periods to download.
To add a specific setting:
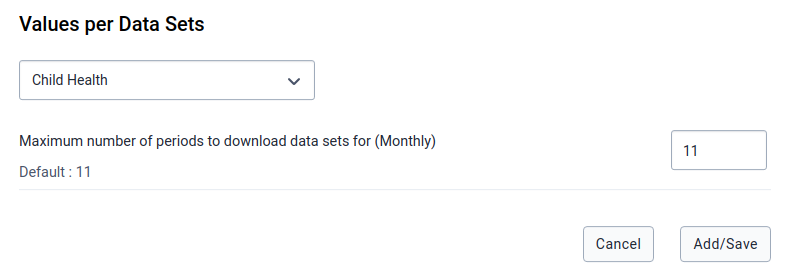
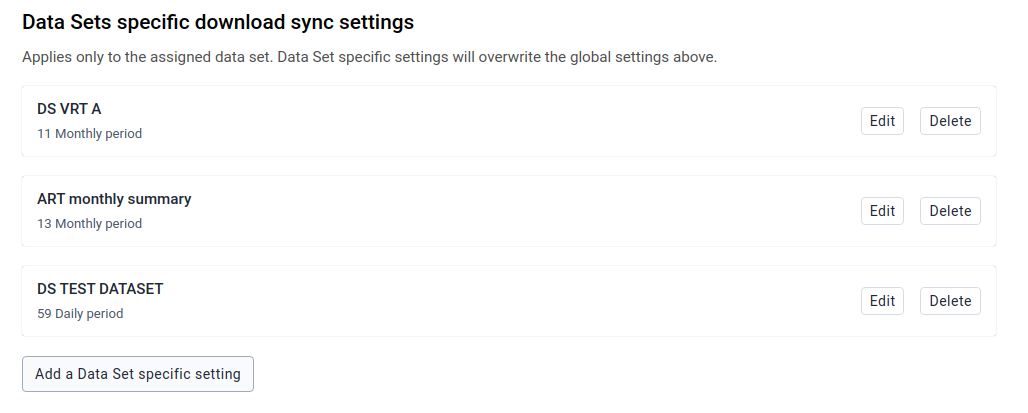
This section checks the amount of data and metadata a user would sync to his/her device. You can run this test on any user that you have access to. This test shows up the number of organisation units, data sets, program rules, programs, etc., that an android user has access to (so the resources that the android app will download), and the metadata and data download size (approx estimation). Please note that a user doesn't need to have the 'ALL' authority to run this test.
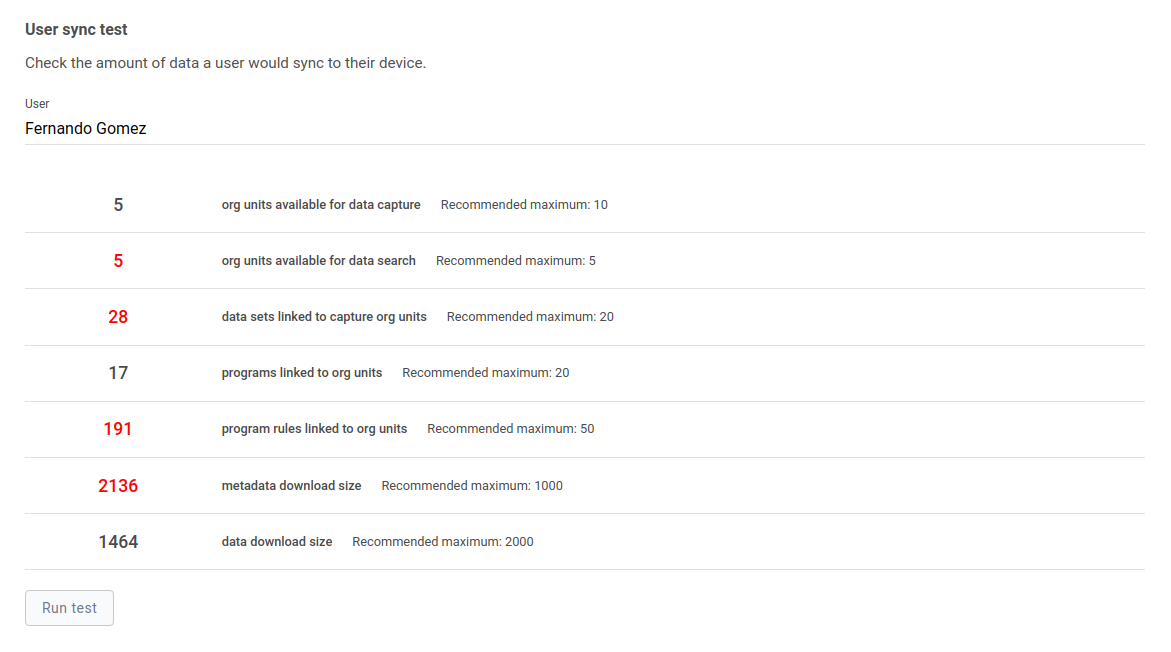
Note:
The values that are highlighted in red are because the value is considered greater than the maximum recommended value.
These settings give control over the appearance of the data entry and list forms.
These settings refer to visual components, so they must be consumed by the app.
It allows the admin user to enable or disable the option to show the filters related to Date, Organisation Unit, Sync Status, and Assigned to me on the Home screen.
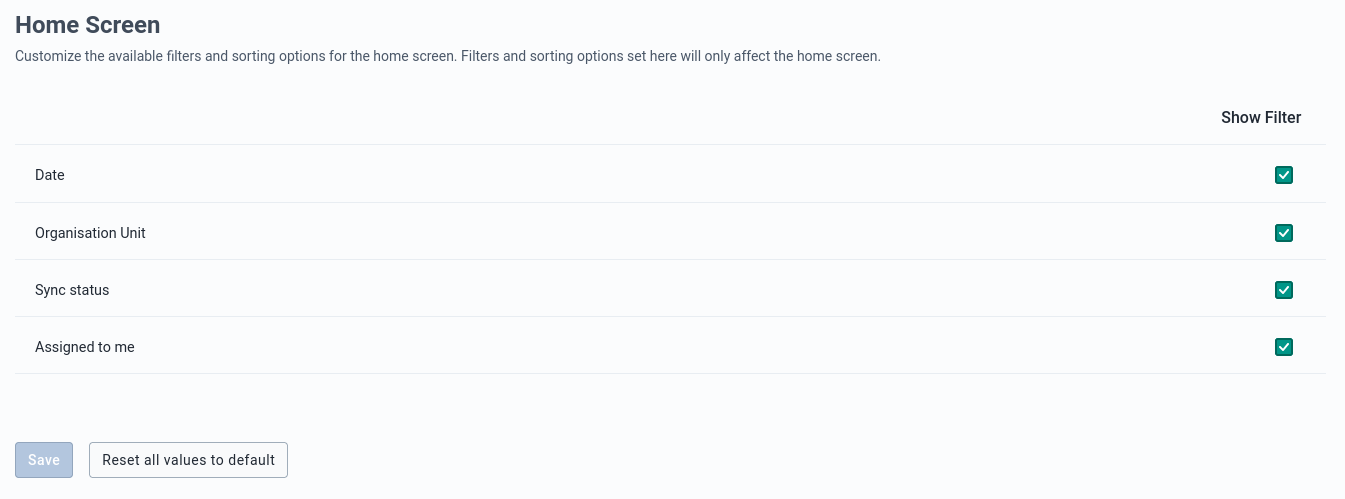
It allows the admin user to specify which filters should be shown and enable or disable the option to show the completion percentage of the data entry form.
Global settings apply to all programs that an android user has access to.
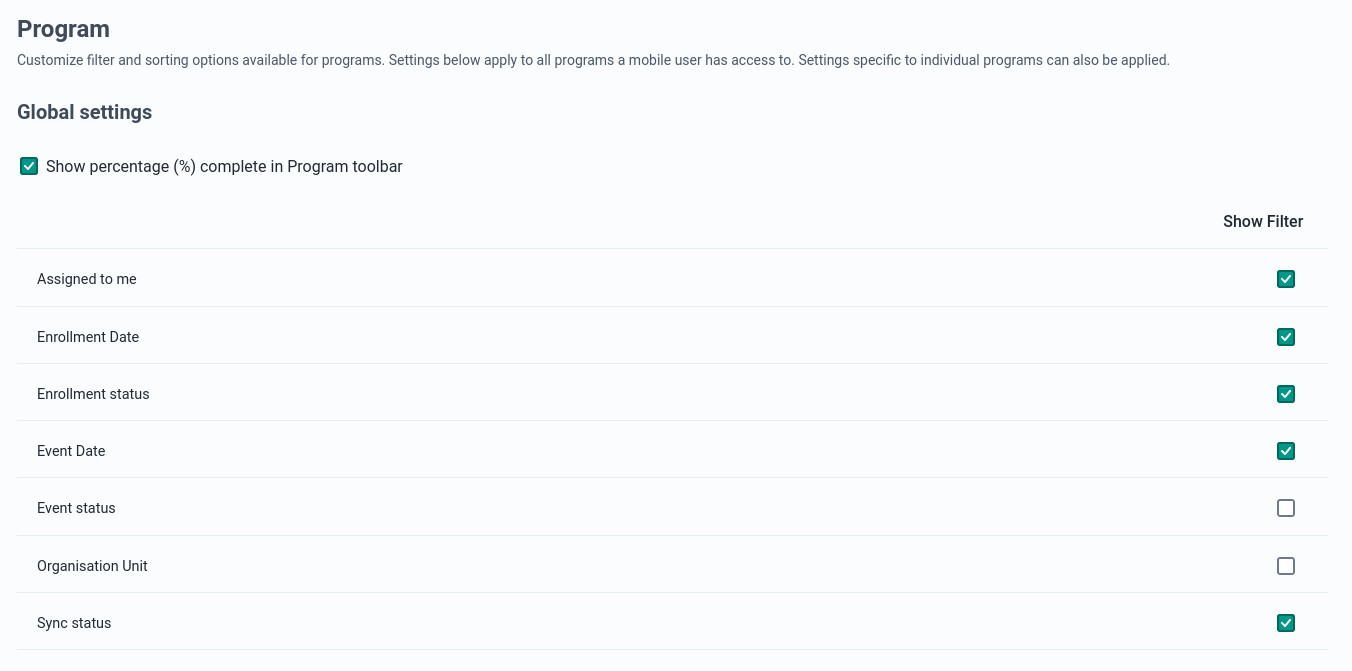
This section allows to admin user to customize the filter and percentage completion appearance option. To add a specific setting:
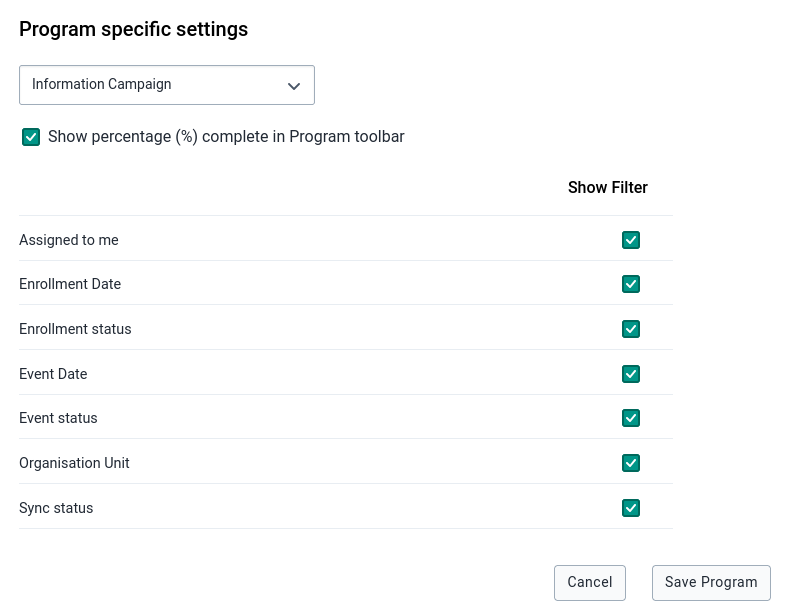
If any specific settings have been saved, a table will summarize the particular configuration per program, and the options to edit or delete these settings.
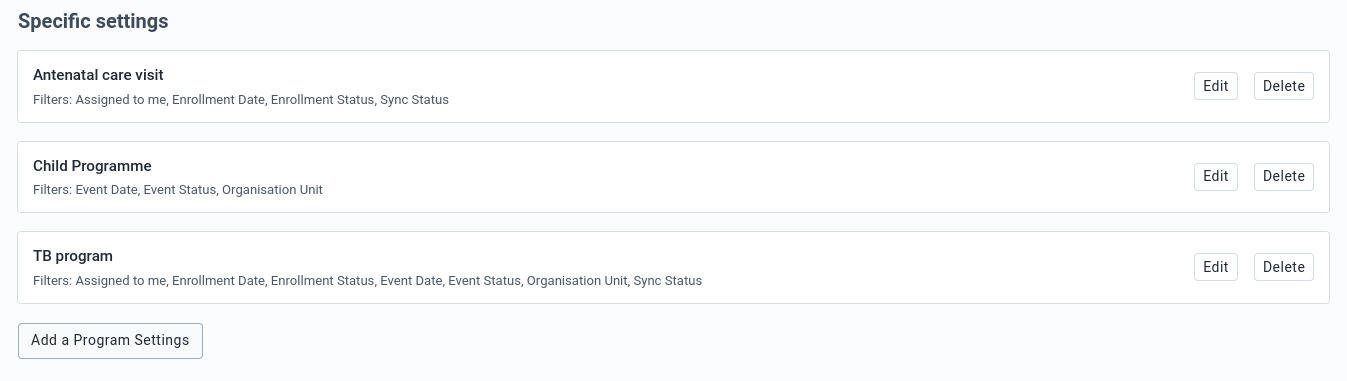
It allows admins to enable/disable filters for the data set section
The first part is for global settings that apply to all data sets an android user has access to.
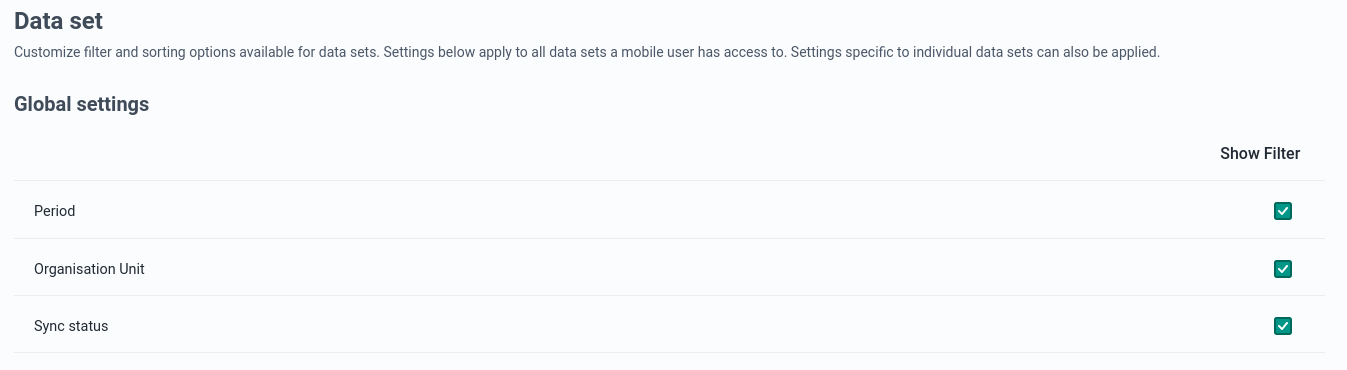
To add a specific setting:
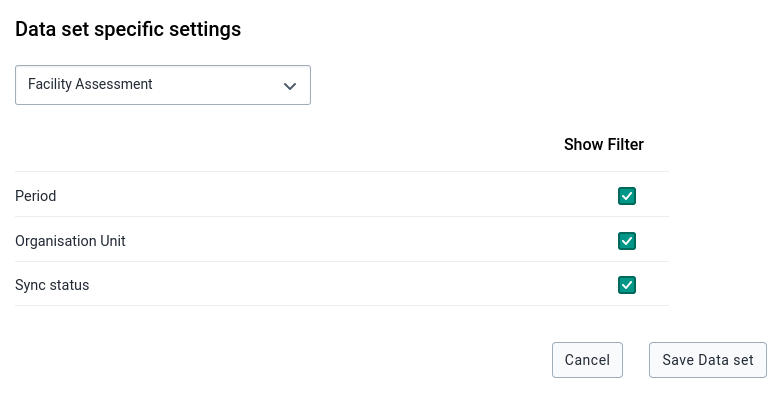
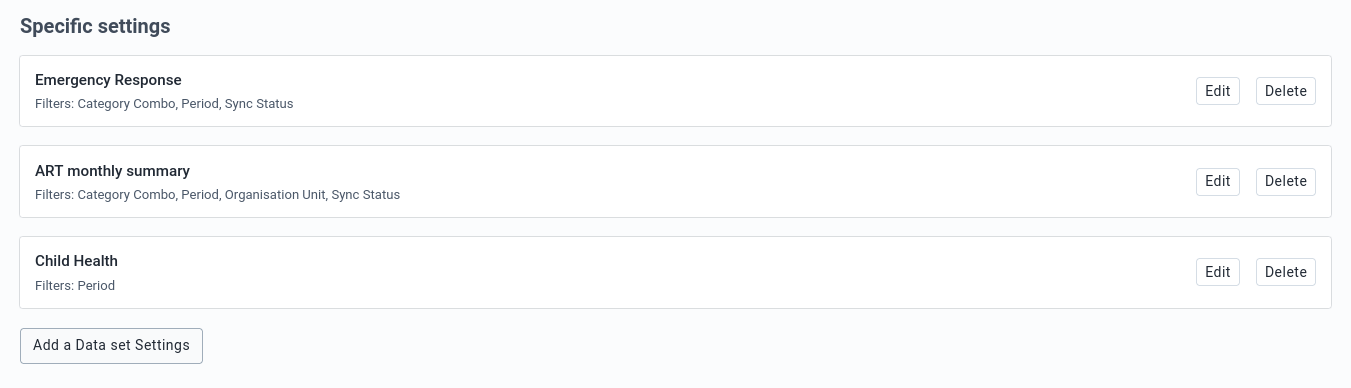
Analytics settings define the TEI analytics items (charts, tables) that will be displayed to the user. The scope of the analysis is the TEI, so the visualizations will be displayed in the TEI dashboard of the android app.
Any item defined in the settings app will overwrite the default behaviour of the android app, only showing the items defined in the settings app. The purpose of this section is to define visualizations to show evolution of dataelements and program indicators over time. Based on that, it will only take into cosideration dataelements that belongs to a repeatable program stage, or programindicators which formula contains at least one dataelement that belongs to a repeatable program stage.
To create a TEI Analytics item:
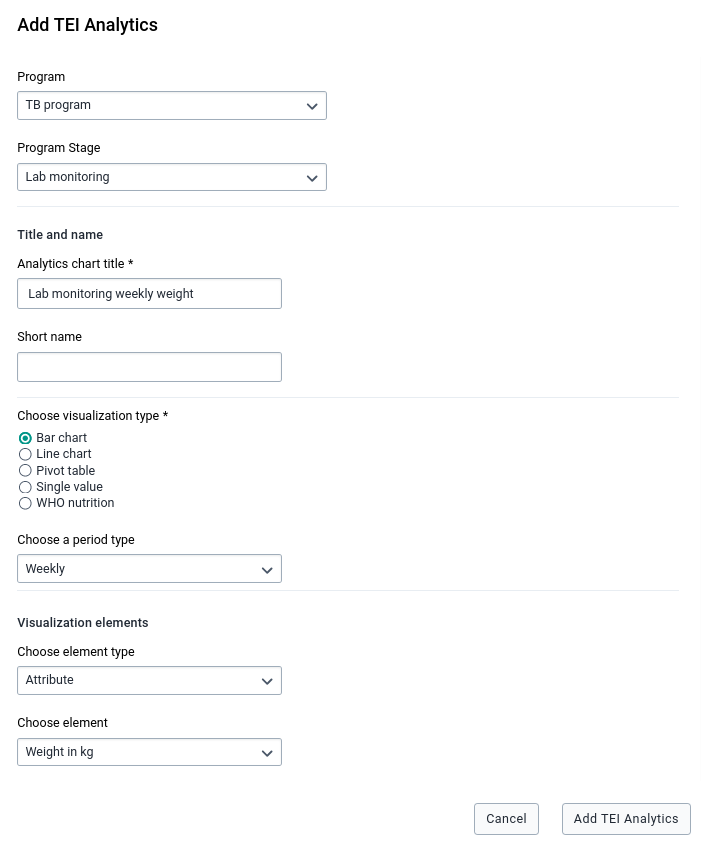
To create a WHO Nutrition Analytics item:
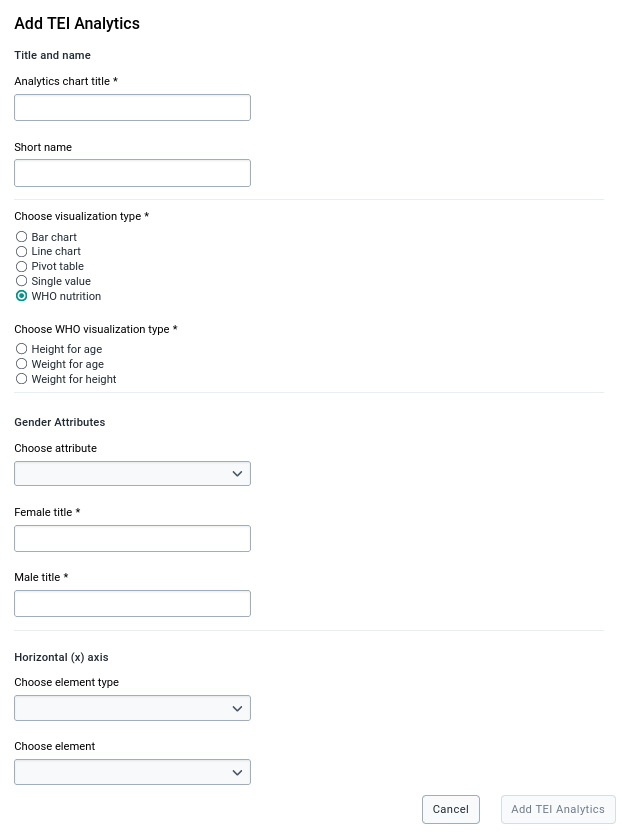
If any TEI Analytics item has been created, a table will show the item's title and program name, and action buttons to delete or edit that item.
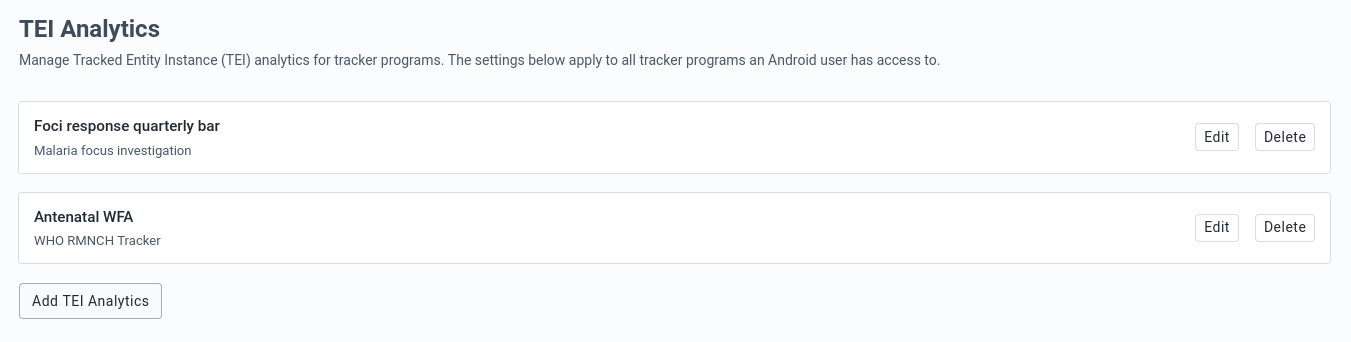
A user can easily install the Android Settings Web App by logging into the DHIS2 and going to App Management.
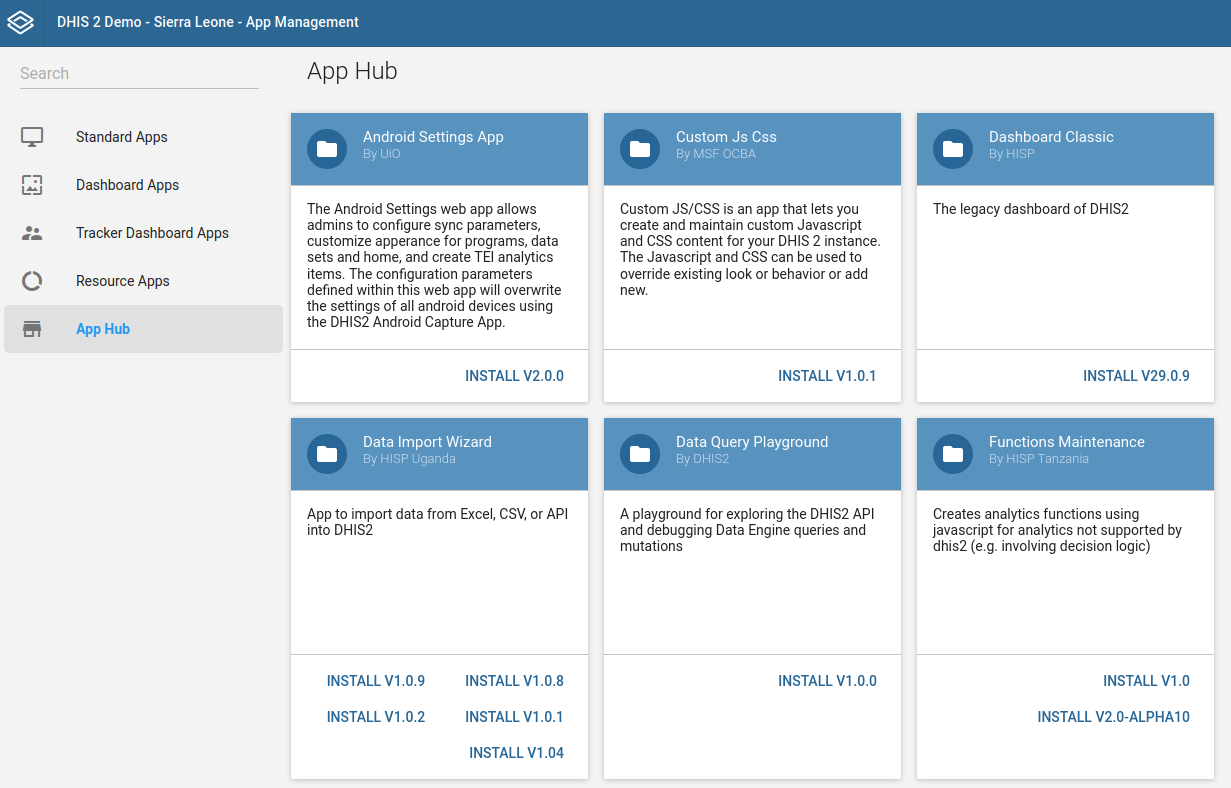
After a user installs and launches the Android Settings Web App for the first time, the web app will require setting and saving the default values of the configuration. This will apply default settings to all android devices connected to the instance.
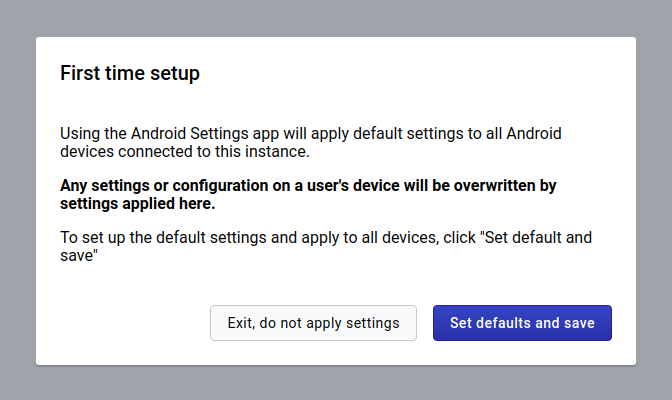
Warning
Be aware that previous versions are deprecated, so you will start with a new default configuration.
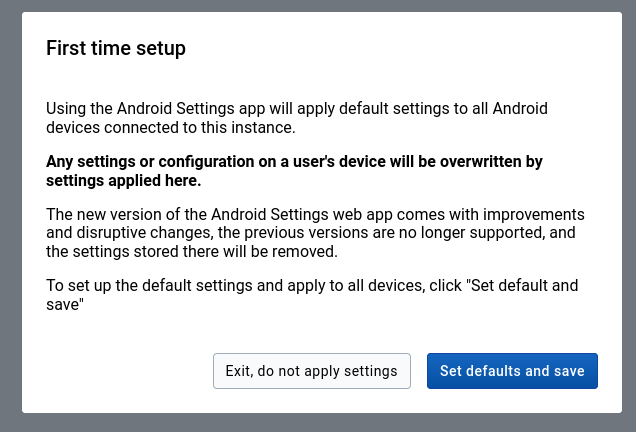
Warning
Only users will 'ALL' authority are able to save or update the configuration, but any user will have view access once it's created.
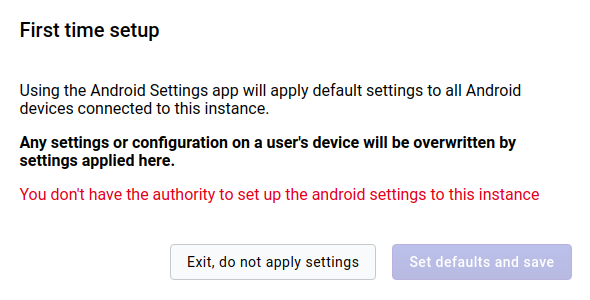
Internally all settings are stored in Datastore in JSON format.
Datastore structure:
| Item | Description | Data type |
|---|---|---|
| Namespace | Namespace for organization of entries | String |
| Key | Key for identification of values | String |
| Value | Value holding the information for the entry | JSON |
At the form footer of all settings sections, admin users can find a Save button.
Only when an admin user clicks on this button, all changes made on the current section are saved on the Datastore. These changes will apply to the Android Capture Apps when they synchronize their configuration.
Unsaved changes:
In case an admin user wants to go to another section when there are still some unsaved changes, an alert will be displayed before navigating away from the current section. In case the user accepts leaving the page, the unsaved changes will be lost.
An admin user can restore the settings at any time. There is a Reset all values to default button at the form footer of all settings sections.
The default values will be only restored on Datastore and applied after clicking on Save.