Spravujte uživatele, uživatelské role a skupiny uživatelů
O správě uživatelů
Multiple users can access DHIS2 simultaneously and each user can have different authorities. You can fine-tune these authorities so that certain users can only enter data, while others can only generate reports.
-
You can create as many users, user roles and user groups as you need.
-
You can assign specific authorities to user groups or individual users via user roles.
-
Můžete vytvořit více uživatelských rolí, z nichž každá má svá vlastní oprávnění.
-
You can assign user roles to users to grant the users the corresponding authorities.
-
You can assign each user to organisation units. Then the user can enter data for the assigned organisation units.
-
Jednotlivým uživatelům můžete nastavit datum vypršení platnosti
Tabulka: Termíny a definice správy uživatelů
| Období | Definice | Příklad |
|---|---|---|
| Autorita | Povolení provádět jeden nebo několik konkrétních úkolů | Vytvořit nový datový prvek Aktualizovat organizační jednotku Zobrazit sestavu |
| Uživatel | Uživatelský účet DHIS2 osoby | admin traore host |
| Uživatelská role | Skupina autorit | Referent pro zadávání dat Správce systému Přístup k programu předporodní péče |
| Uživatelská skupina | Skupina uživatelů | Zaměstnanci Keni Příjemci zpětné vazby Koordinátoři programu HIV |
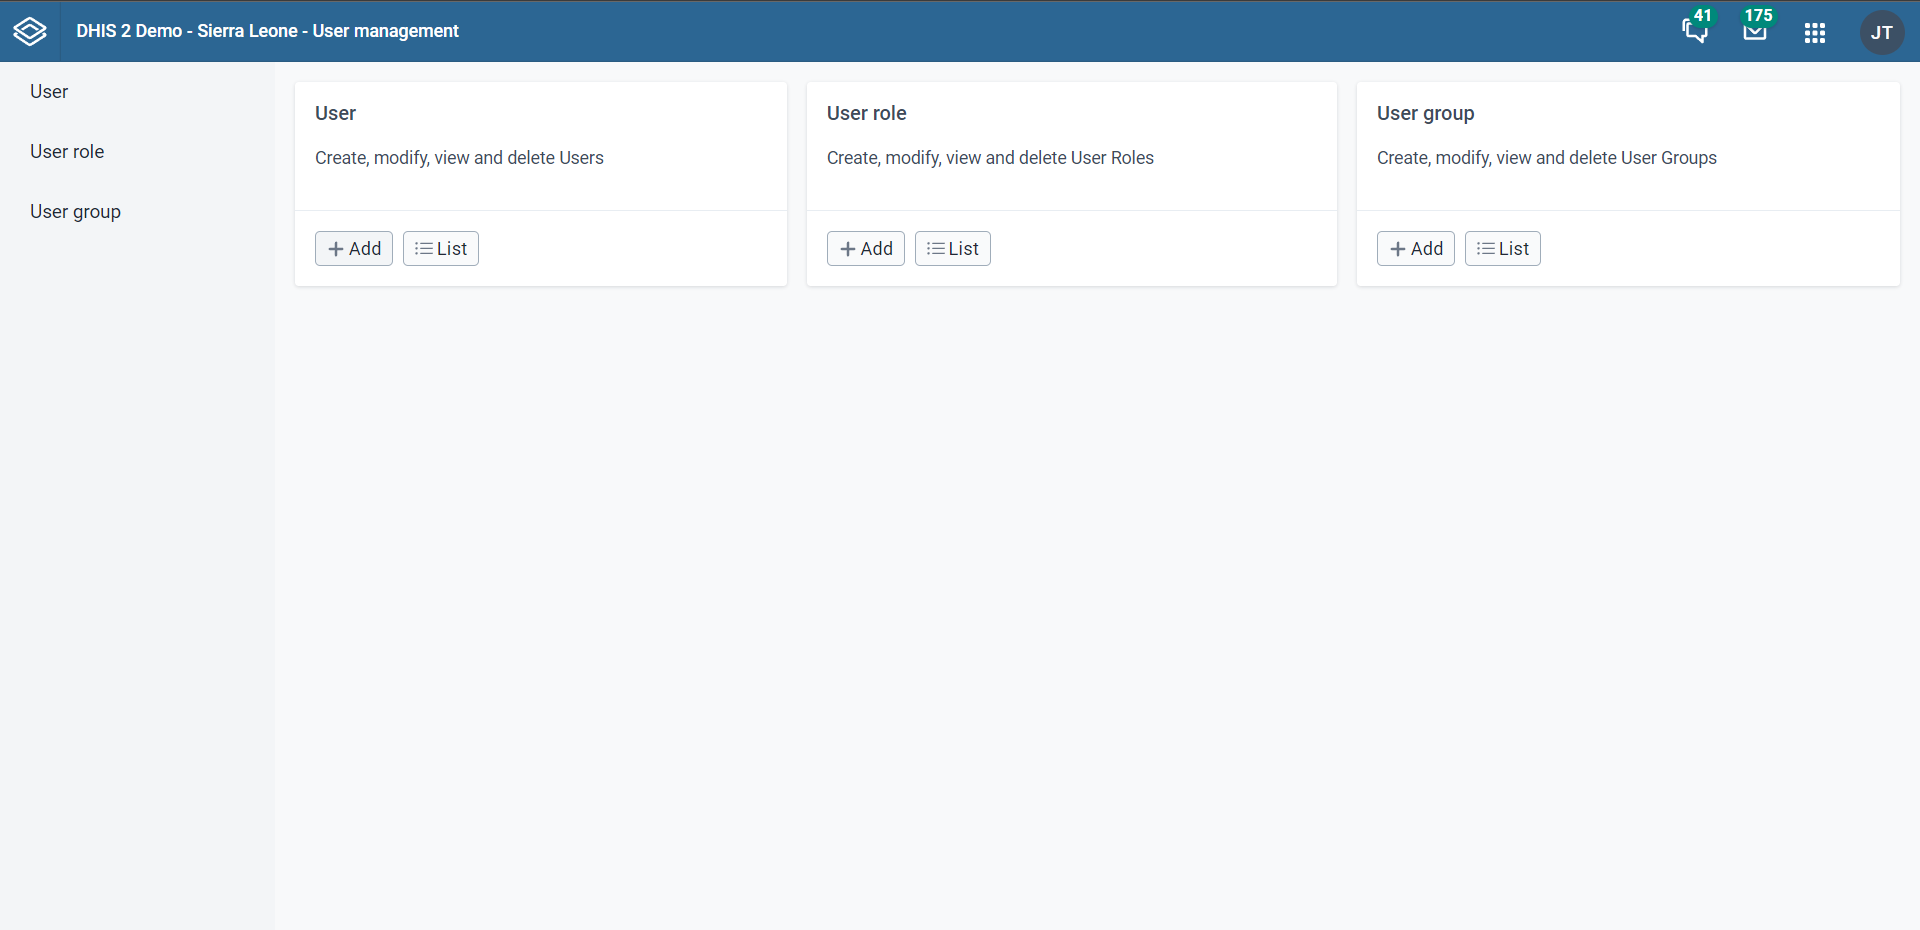
V aplikaci Uživatelé spravujete uživatele, uživatelské role a skupiny uživatelů.
Tabulka: Objekty v aplikaci Uživatelé
| Typ objektu | Dostupné funkce |
|---|---|
| Uživatel | Vytvářet, upravovat, pozvat, klonovat, deaktivovat, zobrazovat podle organizační jednotky, mazat, zobrazovat podrobnosti a resetovat heslo |
| Uživatelská role | Vytvářet, upravovat, sdílet, mazat a zobrazovat podrobnosti |
| Uživatelská skupina | Vytvářet, upravovat, připojit se, opouštět, sdílet, mazat a zobrazovat podrobnosti |
O uživatelích
Each user in DHIS2 must have a user account which is identified by a user name. You should register a first and last name for each user as well as contact information, for example an email address and a phone number.
It is important that you register the correct contact information. DHIS2 uses this information to contact users directly, for example sending emails to notify users about important events. You can also use the contact information to share for example dashboards and pivot tables.
A user in DHIS2 is associated with an organisation unit. You should assign the organisation unit where the user works.
When you create a user account for a district record officer, you should assign the district where he/she works as the organisation unit.
Přiřazená organizační jednotka ovlivňuje, jak může uživatel používat DHIS2:
-
In the Data Entry app, a user can only enter data for the organisation unit she is associated with and the organisation units below that in the hierarchy. For instance, a district records officer will be able to register data for her district and the facilities below that district only.
-
In the Users app, a user can only create new users for the organisation unit she is associated with in addition to the organisation units below that in the hierarchy.
-
In the Reports app, a user can only view reports for her organisation unit and those below. (This is something we consider to open up to allow for comparison reports.)
Důležitou součástí správy uživatelů je kontrola, kterým uživatelům je povoleno vytvářet nové uživatele, s kterými orgány. V DHIS2 můžete určit, kteří uživatelé mohou provádět tento úkol. Klíčovým principem je, že uživatel může udělit pouze oprávnění a přístup k souborům dat, ke kterým má přístup sám uživatel. Počet uživatelů na národní, provinční a okresní úrovni je často relativně malý a mohou je vytvářet a spravovat správci systému. Pokud velká část zařízení zadává data přímo do systému, může se počet uživatelů stát nepraktickým. Doporučuje se tento úkol delegovat a decentralizovat na okresní úředníky, zefektivní to proces a lépe podpoří uživatele zařízení.
O uživatelských rolích
A user role in DHIS2 is a group of authorities. An authority means the permission to perform one or more specific tasks.
A user role can contain authorities to create a new data element, update an organisation unit or view a report.
A user can have multiple user roles. If so, the user's authorities will be the sum of all authorities and data sets in the user roles. This means that you can mix and match user roles for special purposes instead of only creating new ones.
A user role is associated with a collection of data sets. This affects the Data Entry app: a user can only enter data for the data sets registered for his/her user role. This can be useful when, for example, you want to allow officers from health programs to enter data only for their relevant data entry forms.
Doporučení:
-
Vytvořte jednu uživatelskou roli pro každou pozici v organizaci.
-
Create the user roles in parallel with defining which user is doing which tasks in the system.
-
Only give the user roles the exact authorities they need to perform their job, not more. Only those who are supposed to perform a task should have the authorities to perform it.
O skupinách uživatelů
A user group is a group of users. You use user groups when you set up sharing of metadata objects or notifications for example for reports or programs.
Viz také:
Pracovní postup
-
Define the positions you need for your project and identify which tasks the different positions will perform.
-
Pro každou pozici vytvořte zhruba jednu uživatelskou roli.
-
Vytvářejte uživatele.
-
Přiřaďte uživatelům uživatelské role.
-
Přiřaďte uživatele k organizačním jednotkám.
-
(Volitelné) Seskupte uživatele do skupin uživatelů.
-
Share datasets with users or user-groups via the Sharing Dialog in Data set management section of the Maintenance app
Tip
For users to be able to enter data, you must add them to an organisational unit level and share a dataset with them.
Správa uživatelů
Vytvořit uživatele
-
Otevřete aplikaci Uživatelé a klikněte na + na kartě Uživatelé.
-
Select whether you want to fill in all the personal user information, or invite the user by email to complete the rest of the user information:
-
Vytvořit účet s podrobnostmi uživatele
 Choose this option if you would like to enter all the login details of the new user such as username, password, etc. Under these conditions, the fields username, password, surname, first name, and roles are mandatory.
After you've created the user, the account is ready for the user to use with the user name and password that you provide.Username requirements
The following rules apply when you create a new username. The username must:
-
Contain at least 4 characters.
-
Not contain more than 255 characters.
-
Contain lowercase and UPPERCASE latin characters and numbers (
a-z,A-Z,0-9). -
These characters are also allowed
. _ @and#, but these may only be used as a separator, and not as a leading or trailing character, and should not be repeated (i.e.user@@nameis not allowed).
-
-
E-mailová pozvánka k vytvoření účtu
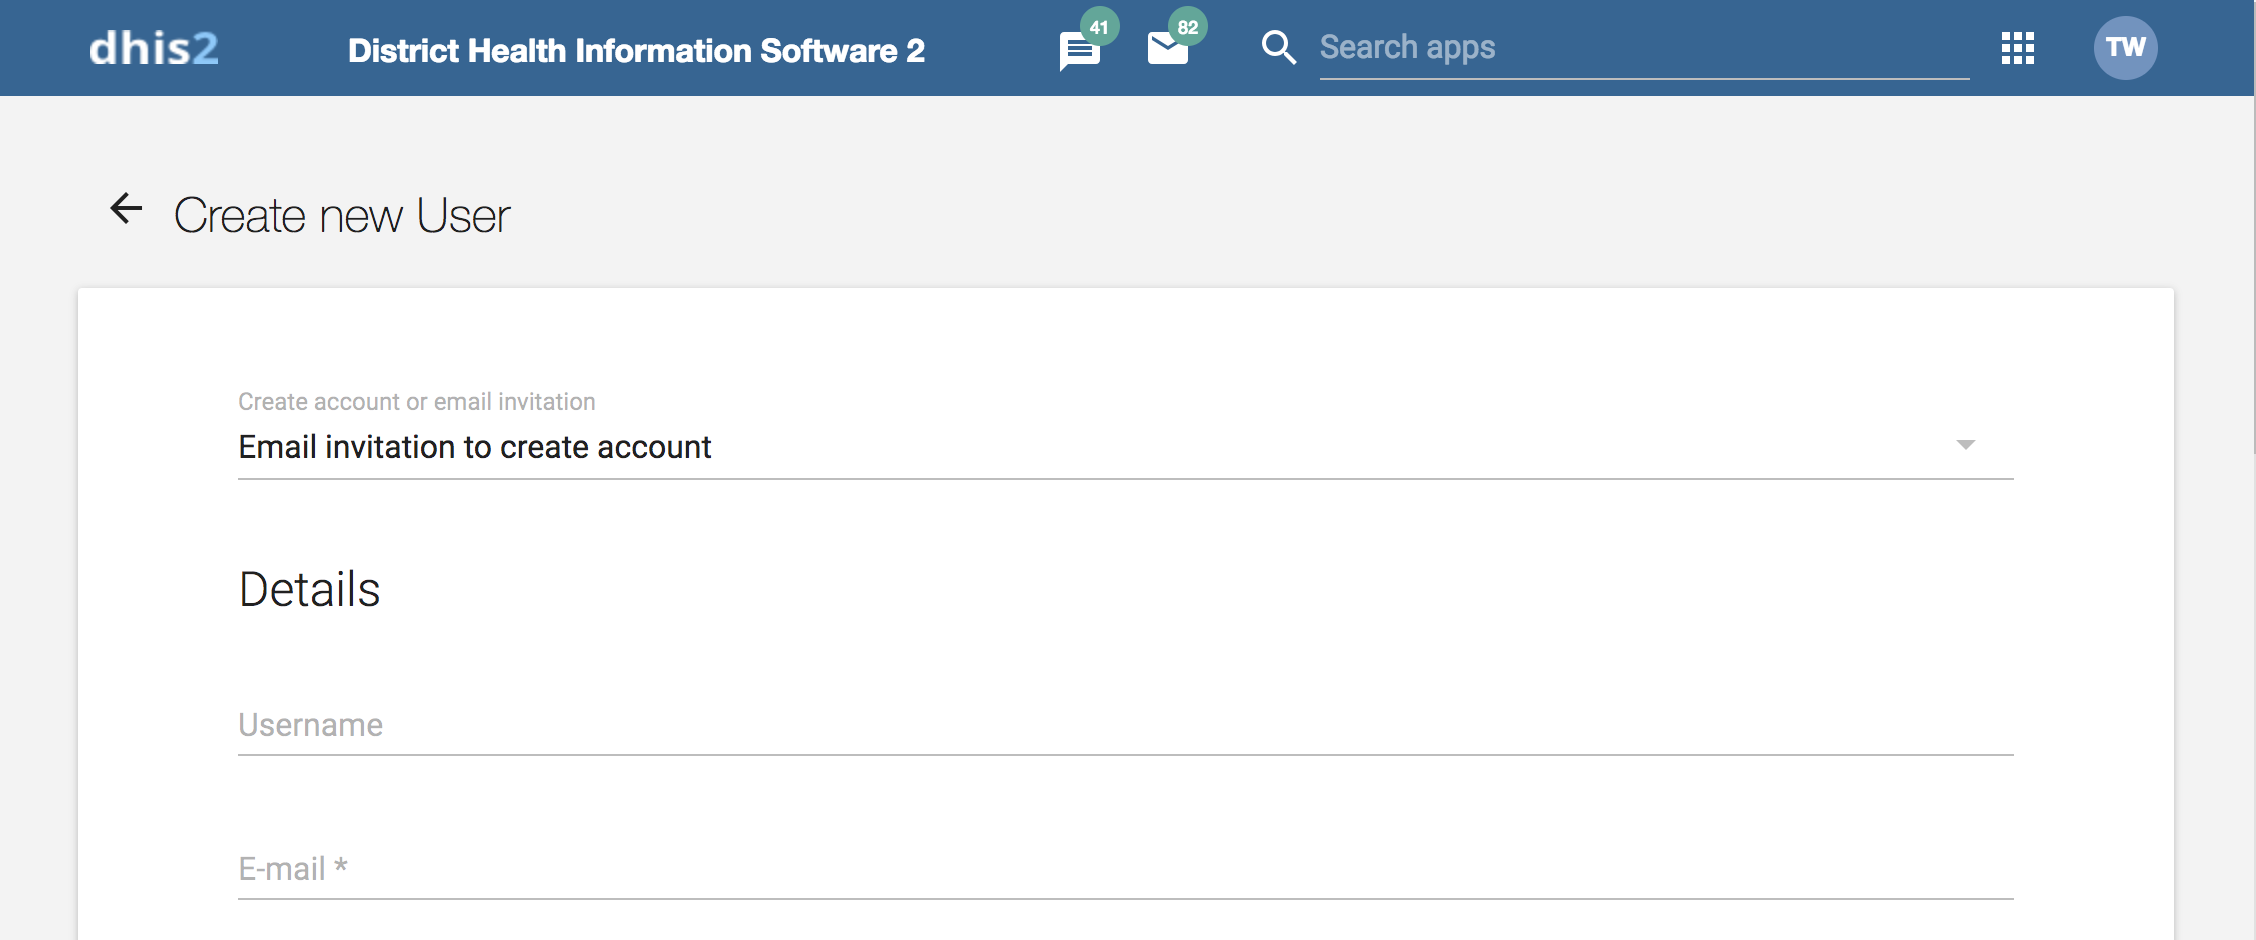 Choose this option if you want to send an invitation by email to the user. Then she/he must return to DHIS2 and finish setting up their user account. The account that the user finishes setting up will be limited according to how you configure the account.
Note
In order to use this feature the system should have a valid email configuration in SystemSettings -> Email
Enter the email address to which the invitation should be sent. If you want to, you may also enter the user name that the account will have. If you leave the user name empty, then the user may choose their own user name when they respond to the invitation (as long as it is not taken already for another user.)
After you've created the user, the system sends an email to the address you provided. It contains a unique web link by which the user can return to the system and activate their account by entering the rest of their user information. The user must finish setting up the account within 4 days, after that the invitation becomes invalid.
-
(Volitelné) Zadejte hodnoty pro pole Deklarace mapování OIDC, identifikátor LDAP, číslo mobilního telefonu, WhatsApp, Facebook Messenger, Skype, Telegram a Twitter.
-
Select an Interface language.
You can select a language into which fixed elements of the DHIS2 user interface have been translated. -
Select a Database language.
You can select a language into which implementation-supplied items have been translated in the database, for example data element names or organisation unit level names. -
V části Dostupné role poklepejte na uživatelské role, které chcete uživateli přiřadit.
-
Select Data capture and maintenance organisation units.

The data capture and maintenance organisation units control for which organisation units the user can do data entry. You must assign at least one data capture and maintenance organisation unit to each user.
Users will have access to all sub-organisation units of the assigned organisation units. For example, if you've assigned a user to a district which has several facilities contained in the district, the user would have access to the district's data, as well as all of the facilities contained within the district. -
(Volitelné) Vyberte Výstupy a analýzy dat organizační jednotky.
The data output and analysis organisation units controls for which organisation units the user can view aggregated data in the analytics apps, for example the Pivot Table and GIS apps. You can assign any number of data output and analysis organisation units to a user.
Users will have access to all sub-organisation units of the assigned organisation units. You shouldn't select the descendants of an organisation unit which you have already selected. For example, if you've assigned the user to a district, you shouldn't select the facilities within that district.
Note
Assigning data output and analysis organisation units organisation units is optional. If you don't specify any organisation unit, the user will have access to the full organisation unit hierarchy for viewing aggregated data. As with the data capture organisation units, you should not select descendant organisation units of a unit which you have already selected.
In several places in the analytics apps, you can select "user organisation unit" for the organisation unit dimension. This mechanism will first attempt to use the data view organisation units linked to the current user. If not found, it will use the data capture and maintenance organisation units. If the user has been assigned to multiple organisation units, the use of "user organisation unit" may result in unpredictable behaviour.
-
Click Show more options and an additional three fields will show. (Optional)
-
In the Search organisation units select the organisation units you want the user to be able to search in.
-
(Optional) In the Available user groups section, double-click the user groups you want to assign to the user.
-
(Optional) In the Available dimension restrictions for data analytics section, double-click the dimensions you want to assign to the user.
You can restrict the values the user sees in data analytics apps by selecting dimensions that will restrict the user's view.
Example
Let's say you have defined Implementing Partner as a category option group set, and you have shared with this user only one or more specific implementing partners (category option groups). If you want to make sure that the user does not see totals in analytics that include values from other groups, assign Implementing Partner to the user.
This insures that any data visible to the user through the analytics apps will be filtered to select only the Implementing Partner category option group(s) which are visible to the user.
- Klikněte Uložit.
Upravit uživatele
-
Otevřete aplikaci Uživatelé a najděte uživatele, kterého chcete upravit.
-
In the user list, directly click the relevant user, or click the menu icon and select Edit.
-
Upravte požadované možnosti.
-
Klikněte Uložit.
Nastavte datum vypršení platnosti účtu
In case a user account should expire on a specific date, you can set an account expiration date for a user
-
Otevřete aplikaci Uživatelé a klikněte na Uživatel.
-
Vyberte uživatele, jehož účet by měl mít datum vypršení platnosti
-
Pomocí vstupu "Datum vypršení platnosti účtu" definujte datum
-
Uložte aktualizace odesláním formuláře
Zakázat uživatele
You can disable a user. This means that the user's account is not deleted, but the user can't log in or use DHIS2.
-
Otevřete aplikaci Uživatelé a klikněte na Uživatel.
-
In the list, click the menu icon of relevant user record and select Disable.
-
Potvrďte kliknutím na OK.
Warning
If you are using the Android Capture App disabling a user (in DHIS2 versions previous to 2.30 and after 2.38) will cause the Android application to delete the local data stored on the phone next time the user attemps an on-line login. Please make sure that when you use the disable user function all the data has been synced with the server. Or that you are using this funcionality to ensure data deletion in case of a device being lost.
Zobrazit uživatelský profil
-
Otevřete aplikaci Uživatelé a klikněte na Uživatel.
-
In the list, click the menu icon of the relevant user and select Profile.
Filtrovat uživatele podle organizační jednotky
You can view all users that have been assigned to a particular organisation unit.
-
Otevřete aplikaci Uživatelé a klikněte na Uživatelé.
-
Above the user list, click on the Organisation Unit filter input.
-
A pop-up will appear in which you can select the organisation units you would like to filter by.
The list of users will be filtered to only include users which have been assigned to the selected organisation units.
Clone user
-
Otevřete aplikaci Uživatelé a klikněte na Uživatel.
-
In the user list, click the menu icon of the relevant user and select Replicate.
-
Zadejte nové uživatelské jméno a heslo pro klonovaný uživatelský účet.
-
Klikněte na Replikovat.
-
In the user list, click the user you just created and click Edit.
-
Upravte požadované možnosti.
-
Klikněte Uložit.
Změňte heslo uživatele
Chcete-li změnit heslo uživatele:
-
Otevřete aplikaci Uživatelé a klikněte na Uživatel.
-
In the user list, click the menu icon of the relevant user and select Edit.
-
Zadejte nové heslo a znovu jej zadejte.
-
Klikněte Uložit.
Požadavky na heslo
Při vytváření nového hesla platí následující pravidla. Heslo musí:
-
Contain at least 8 characters. Note that this number is configurable through the system setting "Minimum characters in password", which can be up to 14 characters.
-
Not contain more than 34 characters.
-
Obsahuje alespoň jeden speciální znak (nealfanumerický znak).
-
Contain at least one UPPERCASE character.
-
Contain at least one lowercase character.
-
Obsahuje alespoň jednu číslici (číslo).
Reset user password by email
Chcete-li obnovit heslo uživatele e-mailem:
- Otevřete aplikaci Uživatelé a klikněte na Uživatel.
- V seznamu uživatelů klikněte na ikonu nabídky příslušného uživatele a vyberte „Obnovit heslo“.
- Klikněte na Potvrdit.
The person owning the user account will receive an email with instructions for how to reset the password. The email is sent to the address specified for the user account.
Delete user
-
Open the Users app and find the type of user you want to delete.
-
In the user list, click the menu icon of the relevant user and select Remove.
-
Klikněte na Potvrdit.
Display details of user
-
Otevřete aplikaci Uživatelé a najděte uživatele, kterého chcete zobrazit.
-
In the user list, click the menu icon of the relevant user and select Show details.
Zakázat dvoufaktorové ověřování pro uživatele
If a user has enabled Two Factor Authentication and then loses access to his/her authentication device (e.g. smartphone gets lost or broken), this user will not be able to log into the system any more. To solve this issue, a user manager can disable Two Factor Authentication for the affected user, so that the user is able to access the system again using just a password.
-
Otevřete aplikaci Uživatelé a klikněte na Uživatelé.
-
In the user list, click the menu icon of the relevant user and select Disable Two Factor Authentication.
-
Potvrďte kliknutím na OK
Note
The option to disable Two Factor Authentication will only be available for users that have set up Two Factor Authentication via the user-profile-app.
Spravujte uživatelské role
Vytvořte uživatelskou roli

-
Otevřete aplikaci Uživatelé a klikněte na Uživatelská role.
-
Klikněte na Přidat nový.
-
Zadejte název, například „Super uživatel“ nebo „Správce uživatelů“.
-
Zadejte popis.
-
In the Authorities section, select the authorities you want to give to the user role. You can also use the filter inputs above the authority section to search for a specific authority.
-
Klikněte na Přidat.
Edit user role
-
Open the Users app and find the type of user role you want to edit.
-
In the user list, directly click the relevant user role, or click the menu icon and select Edit.
-
Upravte požadované možnosti.
-
Klikněte Uložit.
Delete user role
-
Otevřete aplikaci Uživatelé a najděte uživatelskou roli, kterou chcete smazat.
-
In the user role list, click the menu icon of the relevant user and select Remove.
-
Klikněte na Potvrdit.
Display details of user role
-
Otevřete aplikaci Uživatelé a najděte uživatelskou roli, kterou chcete zobrazit.
-
In the user list, click the menu icon of the relevant user role and select Show details.
Change sharing settings for user role
-
Otevřete aplikaci Uživatelé a najděte uživatelskou roli, kterou chcete upravit.
-
In the user list, click the relevant user role and select Sharing settings.
-
(Optional) Search for a user group and select it, then click the plus icon. The user group is added to the list.
-
(Volitelné) Vyberte Externí přístup (bez přihlášení).
Note that this only gives access when no user is logged in. To give access also to logged in users, you must also allow Public access.
-
Změňte nastavení skupin uživatelů, které chcete upravit.
- Žádný
- Může zobrazit: Objekt může zobrazit každý ve skupině uživatelů
-
Může upravovat a prohlížet: Objekt může zobrazit a upravovat každý ve skupině uživatelů
-
Klikněte Uložit.
Spravujte skupiny uživatelů
Vytvořte skupinu uživatelů
-
Otevřete aplikaci Uživatelé a klikněte na Skupina uživatelů.
-
Klikněte na Přidat nový.
-
Do pole Název zadejte název skupiny uživatelů.
-
In the Available users section, double-click the users you want to add to the user group.
-
In the Available user groups section, double-click the user groups you want to add to the user group.
-
Klikněte na Přidat.
Připojte se ke skupinám uživatelů
-
Otevřete aplikaci Uživatelé a klikněte na Skupina uživatelů.
-
In the list, click the relevant user group and select Join group.
Opusťte skupiny uživatelů
-
Otevřete aplikaci Uživatelé a klikněte na Skupina uživatelů.
-
In the list, click the relevant user group and select Leave group.
Edit user group
-
Open the Users app and find the type of user group you want to edit.
-
In the user group list, directly click the relevant user group, or click the menu icon and select Edit.
-
Upravte požadované možnosti.
-
Klikněte Uložit.
Delete user group
-
Open the Users app and find the type of user group you want to delete.
-
In the user group list, click the menu icon of the relevant user group and select Remove.
-
Potvrďte kliknutím na OK.
Display details of user group
-
Otevřete aplikaci Uživatelé a najděte skupinu uživatelů, kterou chcete zobrazit.
-
In the object list, click the menu icon of the relevant user group and select Show details.
Change sharing settings for user group
-
Otevřete aplikaci Uživatelé a vyhledejte uživatele, kterého chcete upravit.
-
In the user group list, click the relevant user group and select Sharing settings.
-
(Optional) Search for a user group and select it, then click the plus icon. The user group is added to the list.
-
(Volitelné) Vyberte Externí přístup (bez přihlášení).
Note that this only gives access when no user is logged in. To give access also to logged in users, you must also allow Public access.
-
Změňte nastavení skupin uživatelů, které chcete upravit.
- Žádný
- Může zobrazit: Objekt může zobrazit každý ve skupině uživatelů
-
Může upravovat a prohlížet: Objekt může zobrazit a upravovat každý ve skupině uživatelů
-
Klikněte Uložit.
Decentralizovat správu uživatelů
DHIS2 supports a concept for user management referred to as managed users which allows to explicitly define which users should be allowed to manage or modify which users. To "manage a user" implies that you can see and modify that user. The basic concept for user management is that you can see and modify users which you have been granted all of the authorities; in other words you can modify users which have a subset of your own authorities. The managed users concept gives you greater control over this.
The managed users concept allows you to define which users should be able to manage which users. This is configured through user groups and memberships within such groups. A user group can be configured to be allowed to manage other user groups from the standard add and update user interface. The effect is that a specific user can manage all users which are members of user groups which can be managed by a user group that the user is member of. In other words, users can be managed by all members of user groups which are managing user groups they are member of.
To enable this concept you should grant users the authority to "Add/update users within managed groups", and not grant access to the standard "Add/update users" authority. An implication of the managed users concept is that when creating a user with the "Add/update users within managed groups" only, the user must be made a member of at least one user group that the current user can manage. If not, the current user would lose access to the user being created immediately. This is validated by the system.
When granted the "Add/update users within managed groups" authority, the system lets a user add members to user groups for which she has read-only access to. The purpose of this is to allow for decentralized user management. You may define a range of user groups where other users may add or remove members, but not remove or change the name of the group.
Příklad: správa uživatelů ve zdravotním systému
In a health system, users are logically grouped with respect to the task they perform and the position they occupy.
-
Define which users should have the role as system administrators. They are often part of the national HIS division and should have full authority in the system.
-
Pro každou pozici vytvořte zhruba jednu uživatelskou roli.
Příklady běžných pozic jsou:
| Pozice | Typické úkoly | Doporučené autority | Komentář |
|---|---|---|---|
| Správci systému | Nastavte základní strukturu (metadata) systému. | Přidejte, aktualizujte a odstraňte základní prvky systému, například datové prvky, indikátory a datové soubory. | Metadata by měli upravovat pouze správci systému. Pokud povolíte uživatelům mimo tým systémových administrátorů upravovat metadata, může to vést k problémům s koordinací. Aktualizace systému by měli provádět pouze správci systému. |
| Národní zdravotní manažeři Zdravotní manažeři provincie | Monitorujte a analyzujte data | Přístup k modulu sestav, aplikacím GIS, Kvalita dat a ovládacímu panelu. | Nepotřebujete přístup k zadávání dat, úpravě datových prvků nebo souborů dat. |
| Úředníci divize národního zdravotnického informačního systému (HISO) Okresní zdravotničtí pracovníci a informační důstojníci (DHRIO) Zdravotní záznamy a informační pracovníci zařízení (HRIO) | Zadejte data, která pocházejí ze zařízení, která toho nejsou schopna přímo Monitorujte, vyhodnocujte a analyzujte data | Přístup ke všem aplikacím pro analýzu a ověřování Přístup k aplikaci Zadávání dat. | - |
| Referenti pro zadávání dat | - | - | - |